Growing thyme in pots is one of the friendliest ways to keep a useful herb close at hand, especially if your “garden” is a balcony rail, a sunny windowsill, or one square foot beside a patio chair. Thyme does not ask for rich soil, constant feeding, or daily fussing. In fact, most struggling potted thyme plants are loved a little too hard: too much water, too much compost, or a pot that stays wet after every watering.
The trick is to copy what thyme likes in the ground: bright light, fast drainage, and lean growing conditions. A small terracotta pot with a gritty mix can grow a sturdy culinary thyme plant for years, while a shallow bowl can hold creeping thyme as a fragrant spillover herb. The best soil recipe for thyme in pots is not complicated, but it does need enough mineral texture to keep the roots from sitting wet. In this guide, I’ll walk you through container size, planting depth, watering cues, shade limits, seed starting, pruning, and the small mistakes that make the biggest difference in apartment gardens.
Start With the Right Thyme for Your Pot
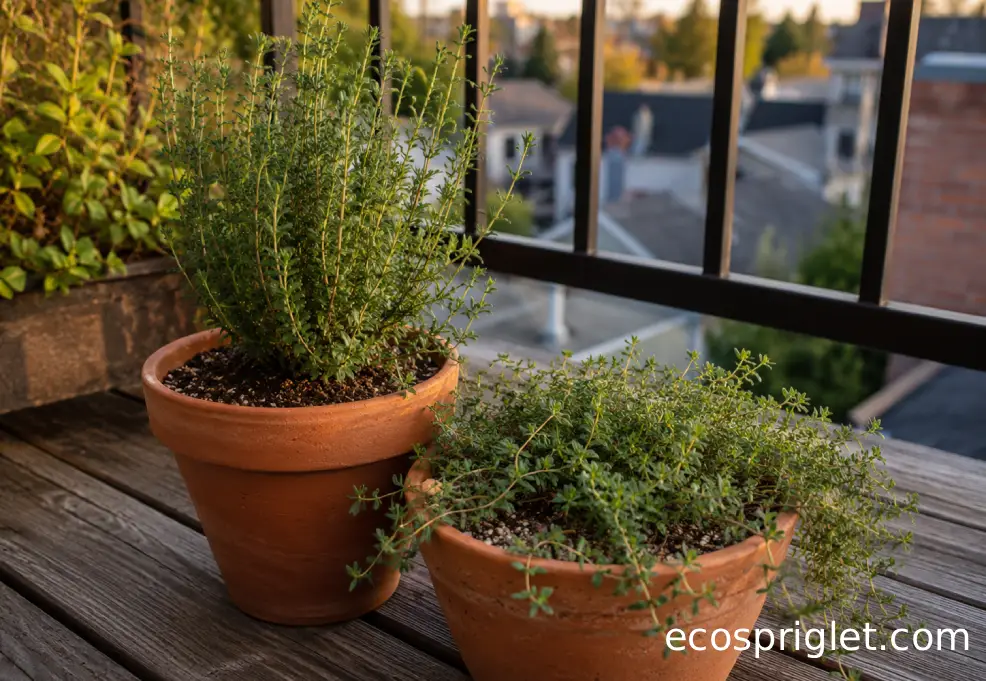
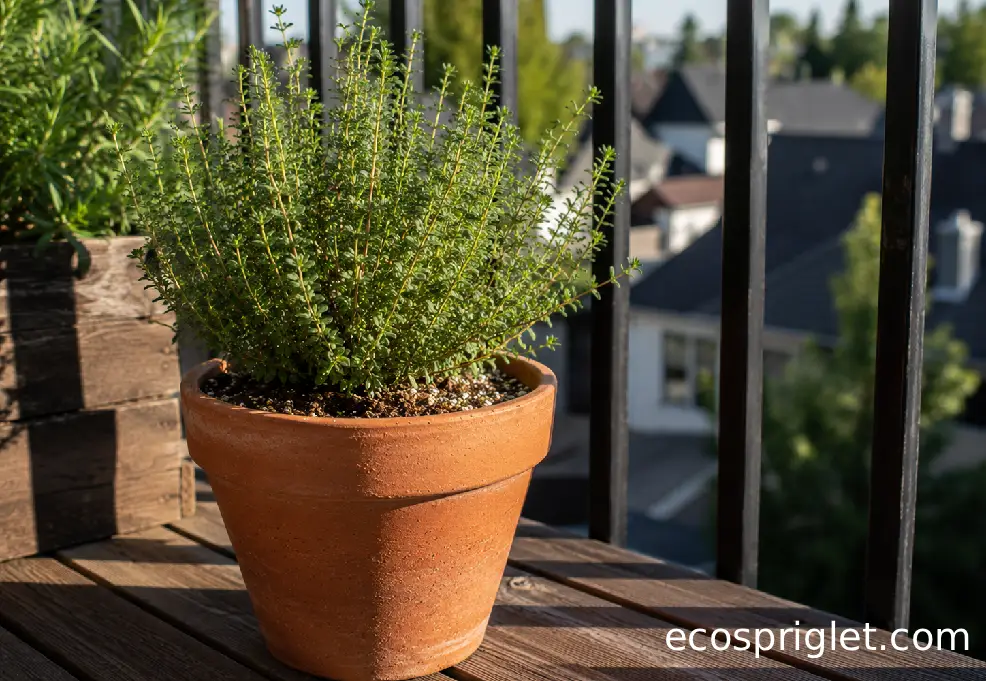
Not all thyme behaves the same in a container. Common thyme, often sold as garden thyme or Thymus vulgaris, is the easiest choice if you mainly want sprigs for cooking. It grows as a compact woody mound, usually staying small enough for a 6- to 8-inch pot, and the upright stems are easy to snip without digging through the plant.
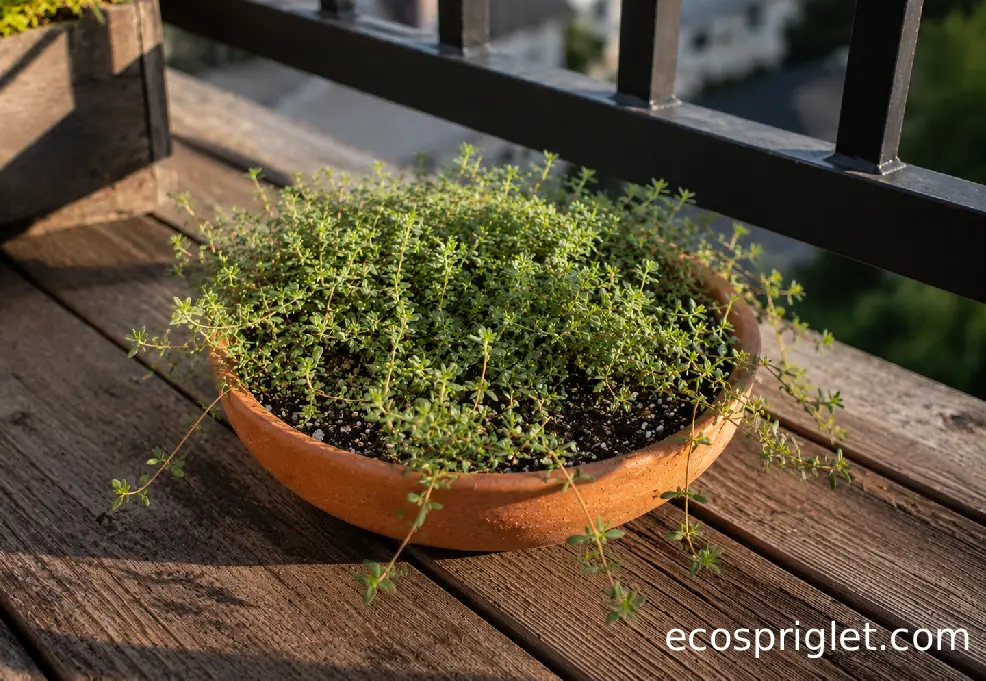
Creeping thyme is different. It grows low and spreading, so it looks lovely at the edge of a shallow bowl, trough, or mixed Mediterranean herb planter. It is useful as an ornamental edible herb, but it is not as convenient to harvest as bushier culinary thyme. NC State Extension describes creeping thyme as low, prostrate, aromatic, and suited to containers, borders, patios, and pathways, while common thyme is noted for its dry, sandy or rocky soil preference and good drainage needs.
For apartment growers, I’d choose based on use:
- Pick common thyme for cooking, frequent clipping, and windowsill pots.
- Pick lemon thyme if you want a citrus scent for tea, roast vegetables, and balcony brushing.
- Pick creeping thyme in pots if you want a low mat that spills over a bowl or softens a railing planter.
- Avoid mixing thyme with thirsty herbs like mint, parsley, or basil in the same pot.
One practical note from my Portland balcony: thyme looks tougher than it is when it first comes home from the nursery. Give it a week of bright but not brutal exposure before placing it in a windy, all-day-sun spot. A young plant with a small root ball can dry out fast before it has settled into the new mix.
Choose a Pot That Drains Fast and Fits Your Space
A single thyme plant does well in a pot about 6 to 8 inches wide, but a 10- to 12-inch pot is easier to manage outdoors because it dries a little less wildly on hot balconies. For creeping thyme, think wider rather than deeper: a shallow 10- to 14-inch bowl, trough, or railing planter lets the stems spread while still keeping the root zone airy.
The non-negotiable detail is drainage. Illinois Extension notes that herbs in containers need drainage holes, loose well-drained potting mix, and watering until water drips from the holes. That last part matters because a tiny sip on the surface can leave dry pockets below the root ball.
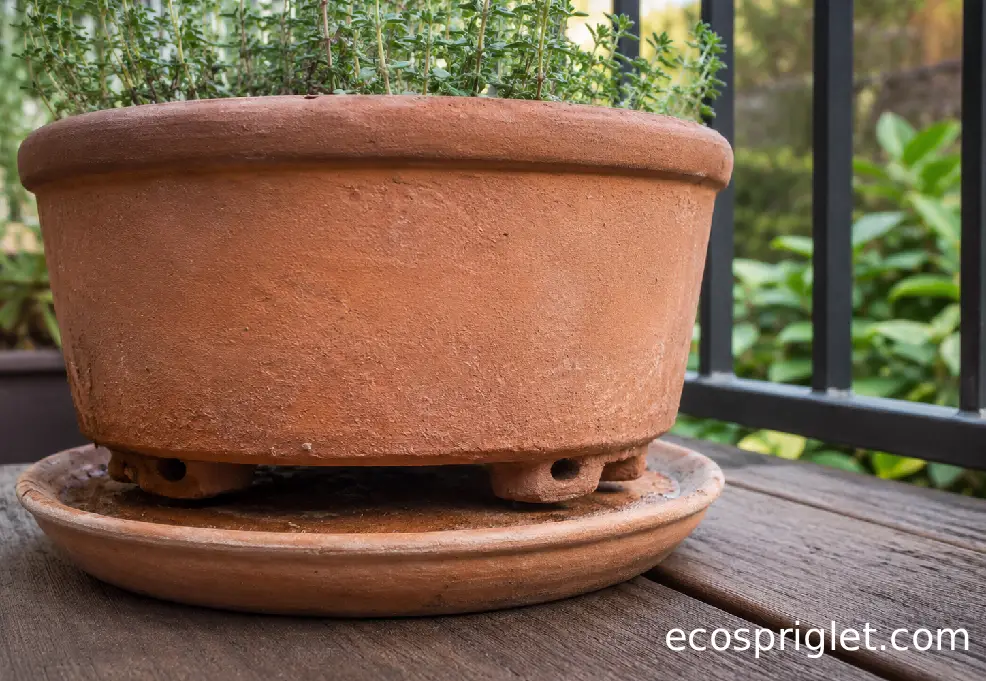
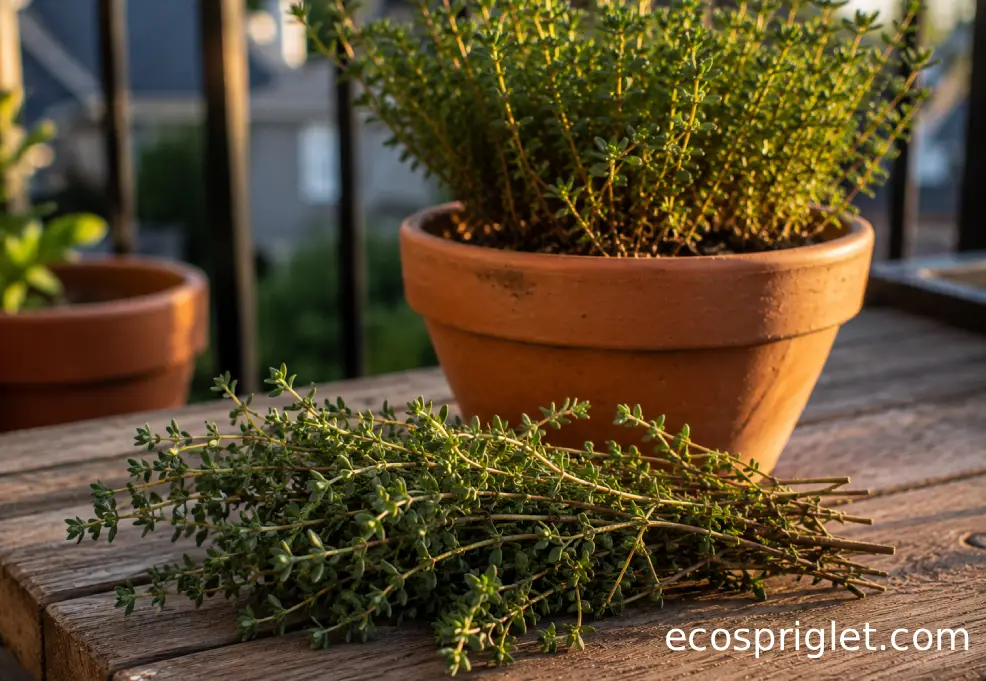
Terracotta is my first choice for thyme because it breathes and helps the mix dry between waterings. Plastic works too, especially on exposed balconies where terracotta can dry extremely fast, but choose a pot with several holes rather than one tiny center hole. If you use a decorative cachepot indoors, keep thyme in a plastic nursery pot inside it and empty standing water after each watering.
Skip the old gravel layer at the bottom of the pot. Illinois Extension explains that gravel inside the bottom of an individual pot does not improve drainage; water can perch in the soil above it instead. A better fix is a real drainage hole, a gritty mix, and pot feet or a raised saucer so water can escape cleanly.
The Best Soil Recipe for Thyme in Pots
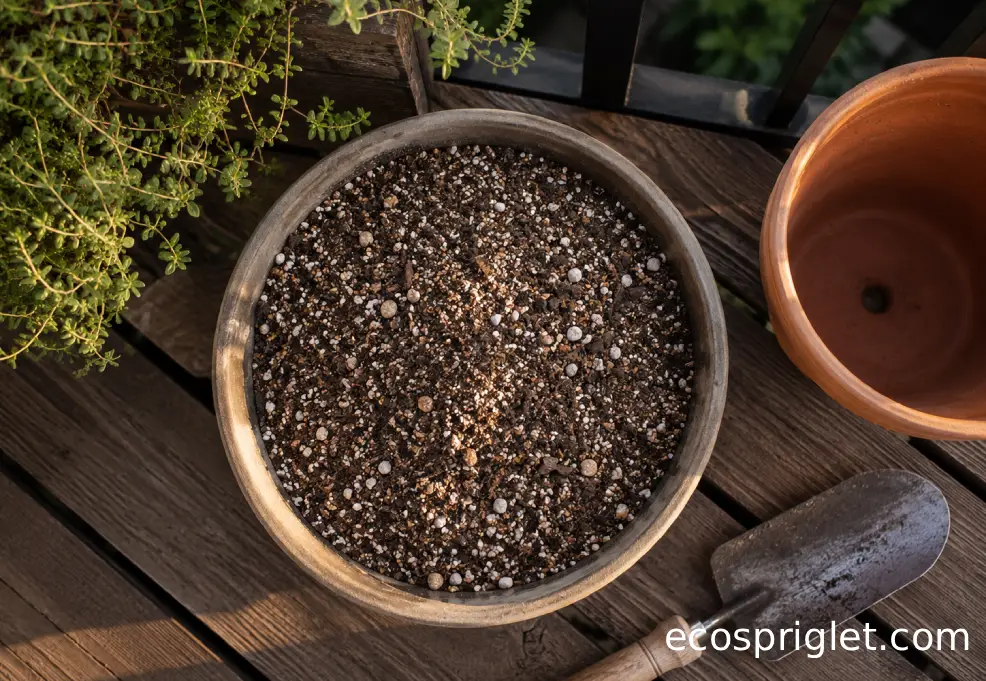
Thyme wants a lean, open mix that drains quickly but does not turn dusty and hydrophobic after one warm weekend. RHS recommends thyme in free-draining conditions and suggests adding up to 25 percent grit by volume to a loam-based compost for containers. RHS also notes that container herbs should be kept moist but never soggy.
For one apartment-friendly batch, mix:
- 2 parts organic potting mix
- 1 part coarse sand, pumice, fine grit, or perlite
- 1 part fine bark or cactus/succulent mix
- Optional: 1 small handful of compost per 8-inch pot, only if your potting mix is very poor
That gives you a rough 50 percent potting mix and 50 percent drainage-supporting material. If your balcony is hot, windy, and south-facing, lean slightly closer to 60 percent potting mix so the plant does not dry out twice a day. If your pot sits indoors or in cool spring weather, lean grittier.
Do not use heavy garden soil in a small pot. It compacts, drains slowly, and can turn into a cold wet block in winter. Also go easy on compost and fertilizer. Thyme’s flavor and sturdy growth are usually better in modest soil than in a rich, leafy mix. Illinois Extension notes that thyme prefers well-drained soil and that poorly drained soil, especially over winter, can shorten its useful life.
Plant Thyme So the Crown Stays Dry
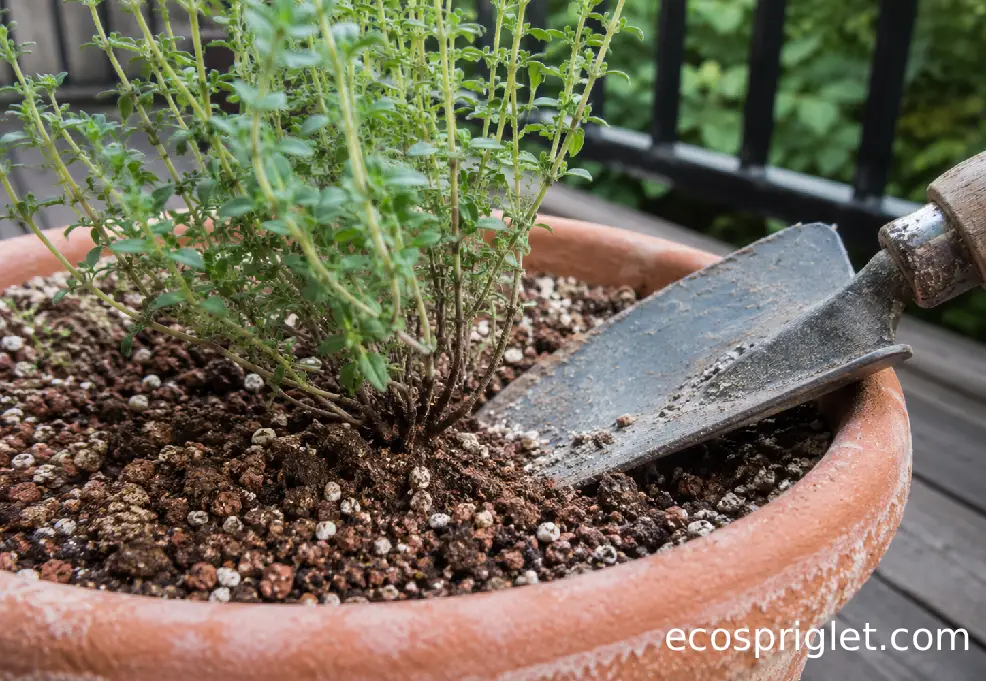
Planting depth is a small detail that saves a lot of thyme plants. Set the root ball so the top of the nursery soil sits level with the new potting mix, not buried under an extra blanket of soil. Thyme has woody stems near the base, and burying the crown can trap moisture where the plant most needs air.
Before planting, water the nursery pot lightly if the root ball is bone dry. Then slide the plant out, loosen only the outer roots, and set it into the new container. Firm the mix gently with your fingertips. You want the plant steady, not packed into concrete. Leave about 1 inch of headspace below the rim so you can water without spilling gritty mix across the balcony floor.
After planting, water once until water runs from the drainage holes. Let the pot drain completely before it goes back into a saucer or decorative outer pot. For the first two weeks, check moisture every two or three days. The goal is not to keep thyme wet; it is to help new roots move into the surrounding mix before you shift to a drier rhythm.
If you are planting several thyme plants in a trough, give upright thyme about 8 to 12 inches of breathing room. Creeping thyme can be planted closer if you want a fuller mat, but avoid cramming starts so tightly that air cannot move between stems.
Give Thyme Enough Sun Without Baking the Balcony
Thyme is a sun herb. For the strongest flavor and tightest growth, aim for at least 6 hours of direct sun whenever your space allows. NC State Extension lists common thyme as a full-sun plant that performs best in dry, sandy, rocky soils with good drainage, and RHS describes thyme as thriving in warmth, sunshine, and free-draining conditions.
On an apartment balcony, though, “full sun” can mean very different things. A west-facing balcony with dark decking and a metal railing can become much hotter than the air temperature suggests. If thyme wilts hard every afternoon even when the mix was lightly moist in the morning, slide the pot where it gets morning sun and bright afternoon light, or place it behind a taller pot that filters the harshest late-day heat.
Indoors, use your brightest window. A south- or west-facing window is usually best in winter, but keep leaves from pressing against cold glass. Rotate the pot every week so one side does not stretch toward the light. If growth becomes pale, floppy, or widely spaced, the plant is asking for more sun, not more fertilizer.
For renters using railing planters, check building rules and fastening limits before hanging anything outside the rail. A wet planter is much heavier than a dry one, and wind can turn a light container into a problem quickly.
Water Lightly, Feed Sparingly, and Prune Often
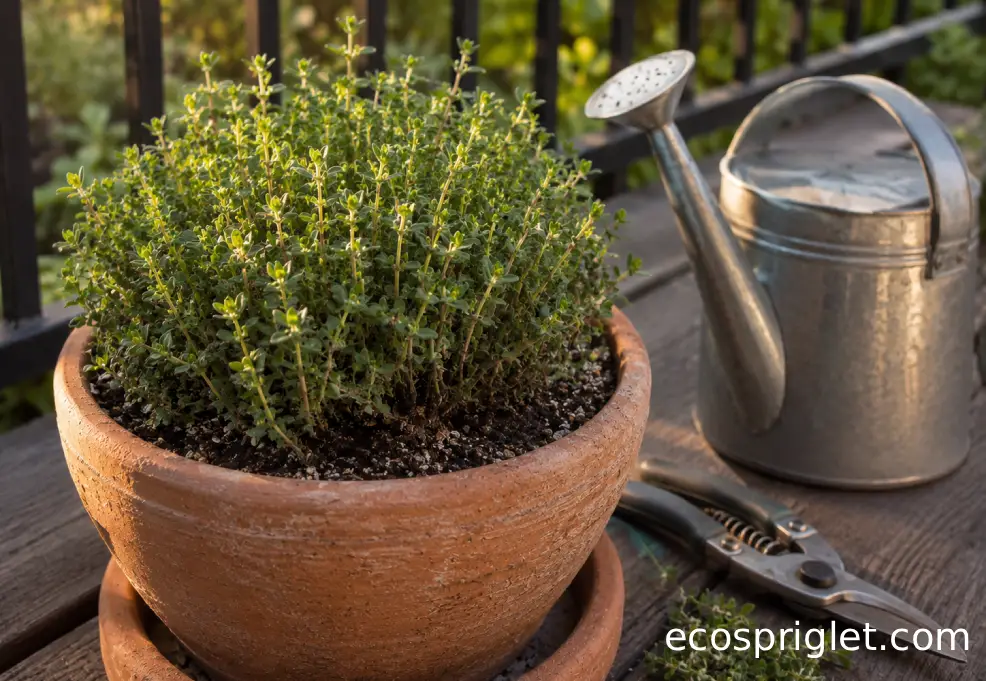
Thyme likes a drink, then a chance to breathe. Water when the top 1 to 2 inches of mix feel dry and the pot feels noticeably lighter. In a small terracotta pot outdoors, that may be every two or three days during a hot dry spell. Indoors in winter, it might be every 10 to 14 days. The finger test beats the calendar.
When you water, water thoroughly enough that a little drains from the bottom, then empty the saucer. Illinois Extension recommends watering container herbs until water drips from the drainage holes and watering indoor herbs only when the soil is dry. RHS also cautions that thyme rarely needs watering once established except when newly planted or in containers during hot, dry weather.
Fertilizer should be light. If your thyme is in fresh potting mix, skip feeding for the first month. After that, a half-strength balanced liquid fertilizer once in spring is usually enough for a small pot. Too much nitrogen gives soft growth that flops, attracts pests more easily, and often tastes weaker.
Pruning is where potted thyme becomes generous. Snip small sprigs often, cutting back to a leafy point rather than into bare old wood. Harvesting the top third of flexible growth encourages branching and keeps the plant compact. I usually give my balcony thyme a light trim whenever it starts leaning over the pot rim; waiting until it is woody and tangled makes recovery slower.
Can Creeping Thyme Grow in Shade?
Creeping thyme can handle light shade better than many people expect, but it will not be its best in deep shade. If you are wondering whether creeping thyme will grow in shade, the practical answer is: bright partial shade may work, especially with a few hours of direct morning sun, but dense shade usually leads to thin growth, fewer flowers, and a looser mat.
NC State Extension describes creeping thyme as preferring full sun and thriving in sandy, gritty, or rocky soil with average to dry moisture. That full-sun preference matters even more in containers because low light and damp mix together create the conditions thyme dislikes most.
Use this quick balcony test:
- 6 or more hours of direct sun: best for dense growth and flowering.
- 3 to 5 hours of direct sun plus bright open sky: workable, especially for foliage.
- Only reflected light or heavy shade: choose a different herb, such as parsley or mint in its own pot.
- Shade plus slow-drying soil: high risk for rot and sparse stems.
If your only spot is part shade, make the pot shallower, use extra grit, and water less often. Do not compensate for shade with fertilizer. That usually creates soft, stretched growth instead of a tighter plant.
Creeping Thyme From Seed Takes Patience
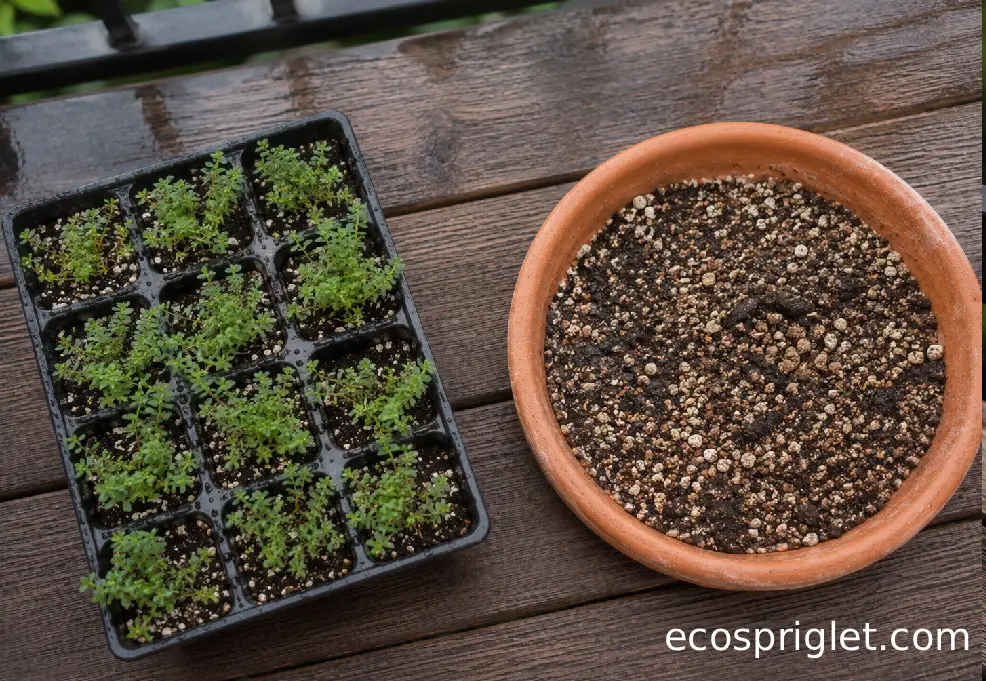
Creeping thyme how to grow from seed is a common question because seed packets are inexpensive and one packet can cover several bowls or troughs. It can work, but it is slower and less predictable than buying a small plant. NC State Extension notes that common thyme has uneven germination and is difficult from seed, while Illinois Extension says thyme can be grown from seed but is easier from divisions or cuttings.
For containers, I prefer starting seeds in a tray instead of sowing directly into the final pot. Use a fine seed-starting mix, press the tiny seeds onto the surface, and keep the mix evenly damp, not wet. A clear cover helps hold moisture, but lift it daily for airflow. Once seedlings have enough size to handle, move small clusters into a shallow container with gritty thyme mix.
Here is the beginner-friendly version:
- Start more seed than you think you need because germination can be uneven.
- Use bright light as soon as seedlings appear so they do not stretch.
- Water with a mister or bottom watering to avoid washing seeds into clumps.
- Transplant gently; tiny thyme seedlings resent rough handling.
- Expect a slow start before the plants begin forming a visible mat.
My honest advice: use seed if you enjoy the process, but buy one healthy creeping thyme start if you want a good-looking container this season. A nursery start gives beginners a clearer feel for how the plant should look when it is happy.
Common Mistakes to Avoid
I learned the biggest thyme mistake the hard way: I treated my first balcony thyme like basil. I gave it rich compost, watered whenever the top looked dry, and tucked it beside thirstier herbs. It looked lush for a few weeks, then collapsed from the base. Thyme is not difficult, but it is particular about what it does not want.
- Using a pot without drainage. Fix it by repotting into a container with holes or using a removable nursery pot inside a decorative outer pot.
- Adding gravel inside the pot. Fix it with a gritty mix instead; gravel at the bottom can leave the soil above too wet.
- Planting thyme with thirsty herbs. Fix it by grouping thyme with rosemary, oregano, or sage rather than mint or parsley.
- Watering by habit. Fix it by checking the top 1 to 2 inches of soil and the weight of the pot first.
- Letting the plant go woody. Fix it with light, regular trims while there is still leafy growth to cut back to.
Another quiet mistake is choosing too large a pot for a tiny thyme start. A 4-inch nursery plant moved straight into a deep 14-inch container can sit in damp unused mix for too long. Step up gradually: from a 4-inch nursery pot to a 6- or 8-inch pot, then larger only if the plant fills it well.
If your thyme smells weak, grows floppy, and looks too green and soft, reduce fertilizer and increase light. If the stems blacken near the soil line, suspect excess moisture first. Pull the plant from the pot and check the roots. Healthy roots should look firm and pale, not mushy or sour-smelling.
Harvest and Overwinter Without Wearing the Plant Out
Harvest thyme lightly and often. Once the plant is growing well, snip 2- to 4-inch sprigs from flexible stems, always leaving leafy growth behind. Avoid cutting deeply into old bare wood unless you are doing a planned spring renewal on a mature plant. RHS notes that regular harvesting helps keep thyme compact and bushy, and Illinois Extension recommends harvesting perennial herbs less heavily than annual herbs because future harvests depend on new growth.
For kitchen use, harvest in the morning after dew has dried if the pot is outdoors. Fresh sprigs can go straight into soups, beans, roasted vegetables, and marinades. To dry thyme, bundle a few clean sprigs loosely or spread them on a rack in a warm, airy place out of direct sun. Strip the leaves once they are crisp and store them in a small airtight jar.
Winter care depends on your climate and exposure. Common thyme is generally frost-tolerant, but pots are more exposed than garden soil. RHS recommends moving thyme containers to a more sheltered spot in winter, especially where damp conditions are likely. NC State Extension lists common thyme as hardy in USDA Zones 5a through 9b, but container plants still benefit from protection against repeated freezing, thawing, and winter wet.
On a balcony, move the pot near a wall, out of the strongest rain and wind. Indoors, place thyme in the sunniest window and water sparingly. Do not fertilize in winter unless the plant is actively growing under strong light.
Bring It All Together for a Better Balcony Herb Pot
Thyme rewards the gardener who keeps things simple. Choose a compact plant, give it a pot with real drainage, use a gritty mix, and place it where it receives strong light. Water deeply but only after the mix has started to dry, and prune small amounts often instead of waiting for a woody tangle. That rhythm is what makes growing thyme in containers so satisfying for small-space gardeners: one modest pot can season dinner, soften a balcony edge, and bring in pollinators when it flowers.
If your space is shady, creeping thyme may survive in bright partial shade, but it will be thinner and less flowery than it would be in sun. If you want thyme from seed, treat it as a patience project rather than the fastest route to a full pot. For most beginners, one healthy nursery plant in a 6- to 10-inch terracotta pot is the best starting point.
For your next herb setup, pair thyme with other dry-loving Mediterranean herbs and keep thirstier plants separate. You can explore more small-space pairings in our balcony herbs guide and in our container gardening practical guide. Sources used for horticultural guidance include RHS, Illinois Extension, NC State Extension, University of Maryland Extension, and ASPCA. Common thyme is listed by ASPCA as non-toxic to dogs, cats, and horses, although pets should still be discouraged from chewing heavily on any potted plant.