When you garden in an apartment, your soil is basically your entire “yard.” It has to hold water without turning into a swamp, feed plants without burning roots, and stay airy enough that roots can breathe. That’s why making your own potting soil (often called potting mix) can be a game-changer: you can tune it for a sunny balcony, a low-light living room, or a wind-whipped railing planter that dries out fast.
I started mixing my own potting soil in Portland after one too many bargain bags turned into a soggy brick in my herb pots. Once I learned what ingredients actually do, it stopped feeling like a mysterious recipe and started feeling like basic cooking: you’re balancing structure, moisture, and nutrition. The good news? You don’t need a garage full of supplies. A bucket, a scoop, and a few base ingredients can cover most container plants you’ll grow—houseplants, succulents, vegetables, and even acid-lovers like blueberries.
Potting Soil vs Potting Mix: What’s Really in the Bag?
In everyday gardening talk, “potting soil” and “potting mix” get used interchangeably. The key idea is this: most container blends are designed to be lightweight, drain well, and stay relatively pest-free compared with scooping soil from the ground. University container-growing guidance often refers to these as soilless substrates or potting mixes, and the common ingredients are things like peat moss, pine bark, perlite, vermiculite, and sand (in different combinations). Sources: NC State Extension.
If a bag says “potting soil,” it still may not contain much actual mineral soil. Many commercial mixes are mostly organic fibers (peat or coir) plus aeration materials (perlite/bark) with a little starter fertilizer and lime to balance pH. A University of Maryland Extension overview notes these mixes are typically made from ingredients such as sphagnum peat moss, perlite, vermiculite, composted bark, compost, and coconut coir. Sources: University of Maryland Extension.
My practical rule for apartment gardeners: if it’s going into a container, think “mix,” not “dirt.” Dirt compacts, drains unpredictably, and can bring weed seeds and fungus gnats to the party. You can still use mineral soil in special cases (we’ll cover it), but it’s a tool—not the default.
What Are the 5 Elements of Potting Soil?
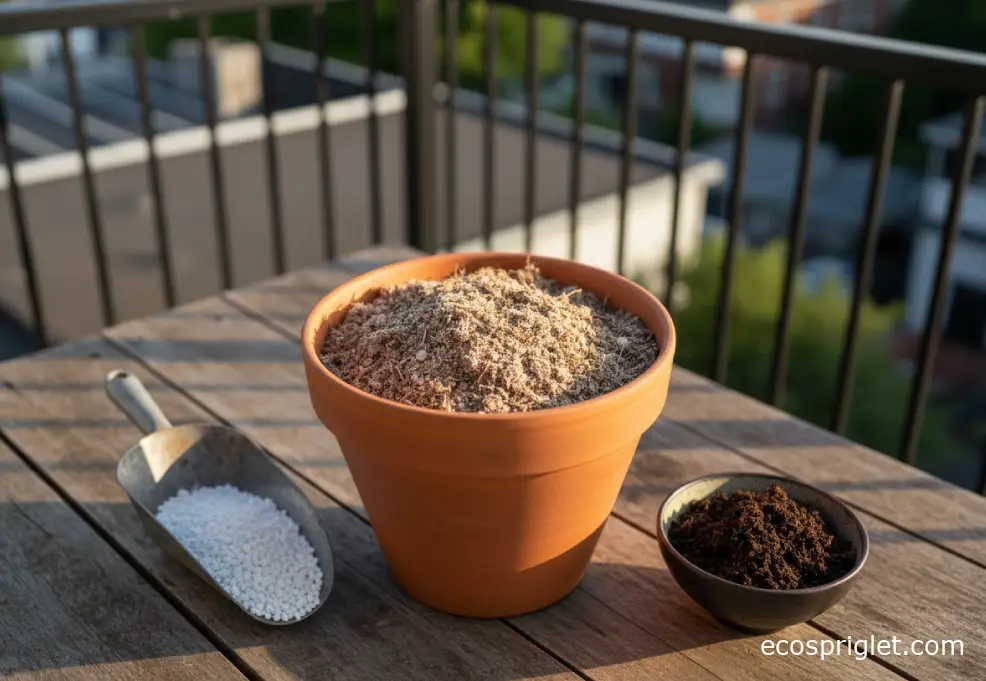
When you make your own potting soil, you’re balancing five functions. Ingredients can vary, but the “jobs” stay the same:
- Water-holding base: peat moss or coconut coir (holds moisture so containers don’t dry out in a day).
- Aeration/drainage: perlite, pumice, or coarse sand (keeps tiny air pockets so roots don’t suffocate). Common container-mix ingredients include perlite and sand. Sources: NC State Extension.
- Structure: pine bark fines or composted bark (helps the mix stay springy longer and improves drainage). Sources: NC State Extension; University of Maryland Extension.
- Nutrition: finished compost and/or a measured fertilizer (adds slow nutrients and microbial life; too much compost can make mixes heavy).
- pH balance: lime (often needed with peat-based mixes) or sulfur/acidic components for acid-lovers. Many commercial container mixes include small amounts of lime and fertilizer. Sources: University of Maryland Extension.
A beginner mistake I see all the time is assuming “more compost = better.” Compost is great, but in containers it can push a mix toward dense and water-retentive. For most indoor pots and balcony planters, I like compost around 20–30% of the total volume. If you’re tempted to go higher, counterbalance with extra aeration (more perlite/pumice/bark fines) and be ready to water less often.
My Go-To DIY Potting Mix Base Recipe (The One You’ll Use Most)
If you only learn one mix, make it this: a balanced, all-purpose container blend that’s light enough for indoor plants but sturdy enough for patio peppers.
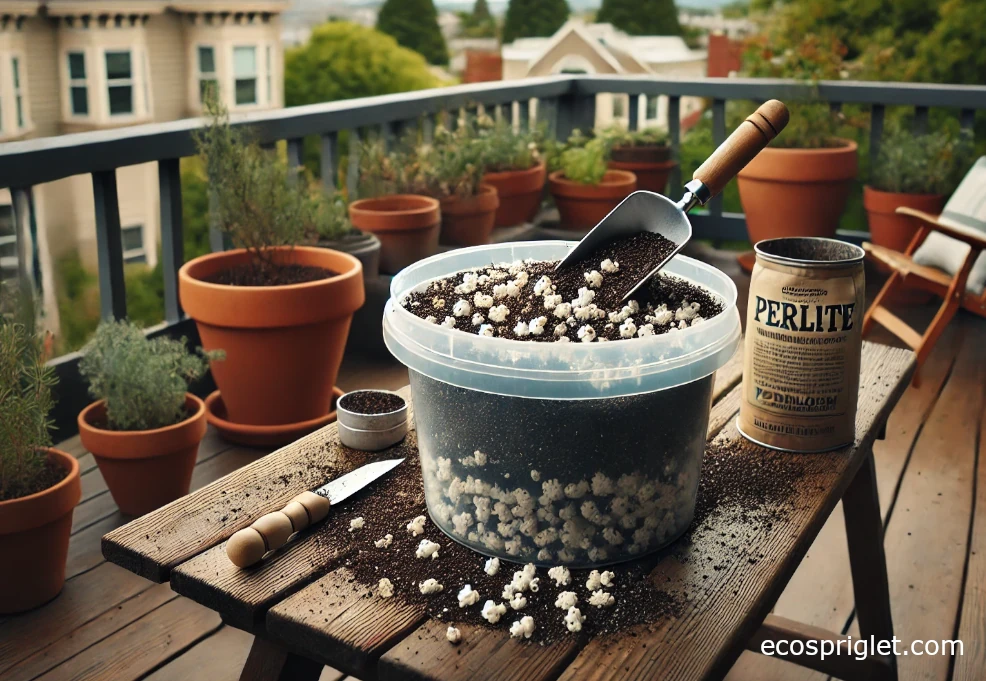
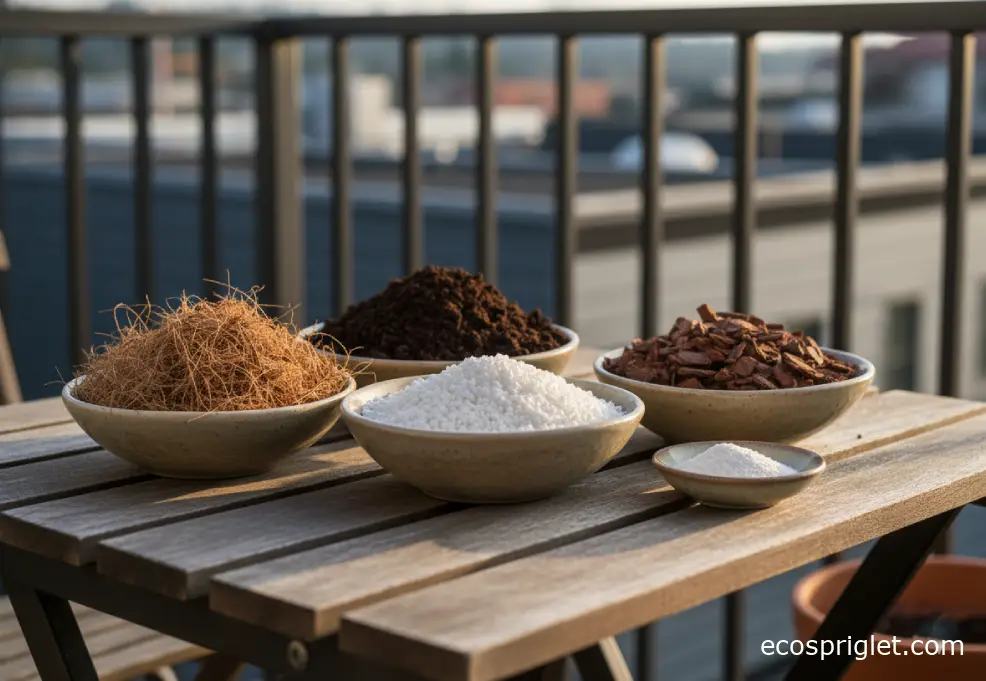
Simple all-purpose mix (by volume): 1 part compost + 1 part peat moss or coconut coir + 1 part perlite (or vermiculite). This “equal parts” style recipe lines up with common extension and organic potting mix guidance where peat/coir, compost, and perlite/vermiculite are frequently used in roughly 1:1:1 (or 2:1:1) proportions. Sources: ATTRA (NCAT).
Two tips that make it work better in real apartments:
- Pre-moisten the coir/peat before mixing. Aim for “wrung-out sponge” damp—when you squeeze a handful, it clumps but water doesn’t stream out.
- Sift or crumble compost if it’s lumpy. Big chunks create wet pockets that invite fungus gnats indoors.
And a quick myth-buster: don’t “improve drainage” by putting gravel in the bottom of your pot. It can actually hold water higher in the container rather than helping it drain. If you want better drainage, improve the mix itself and make sure the pot has drainage holes. Sources: Washington State University Extension (Chalker-Scott).
How to Make Potting Soil From Dirt (Without Making a Brick)
Sometimes you want a heavier mix—maybe your balcony is windy and lightweight pots tip over, or you’re growing a big tomato in a tall container. You can use mineral soil, but you have to prevent compaction.
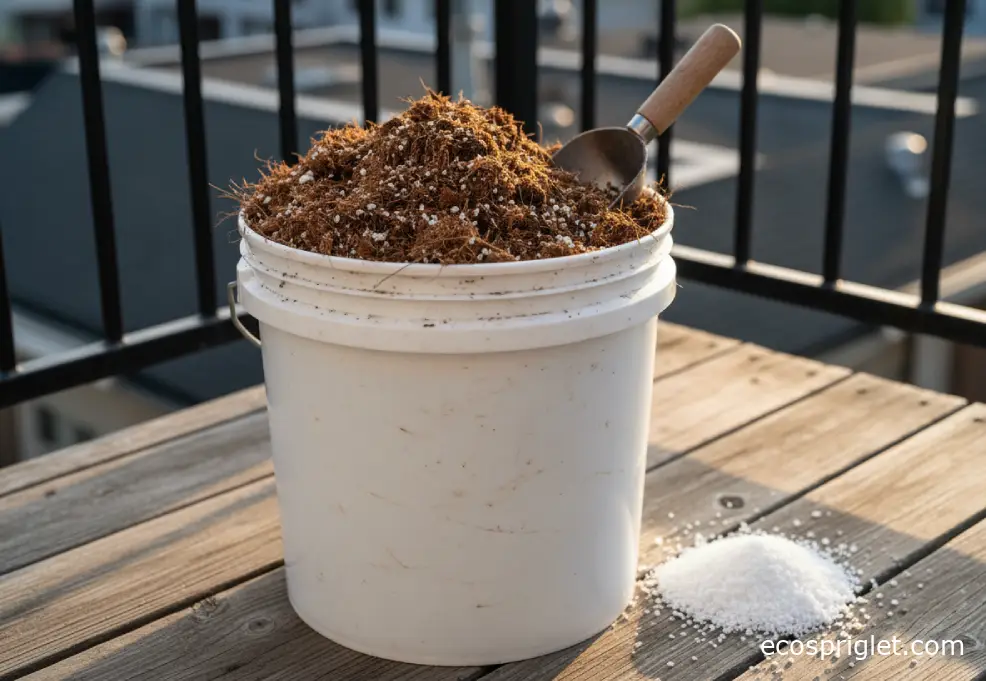
NC State Extension notes a simple approach for edible container gardens: mix 1 part compost + 1 part perlite/vermiculite/coarse builder’s sand + 1 part potting soil (or similar base). They also point out that increasing sand/soil can help prevent containers from blowing over in wind. Sources: NC State Extension.
Here’s how I adapt that idea when someone asks “how to make potting soil from dirt”:
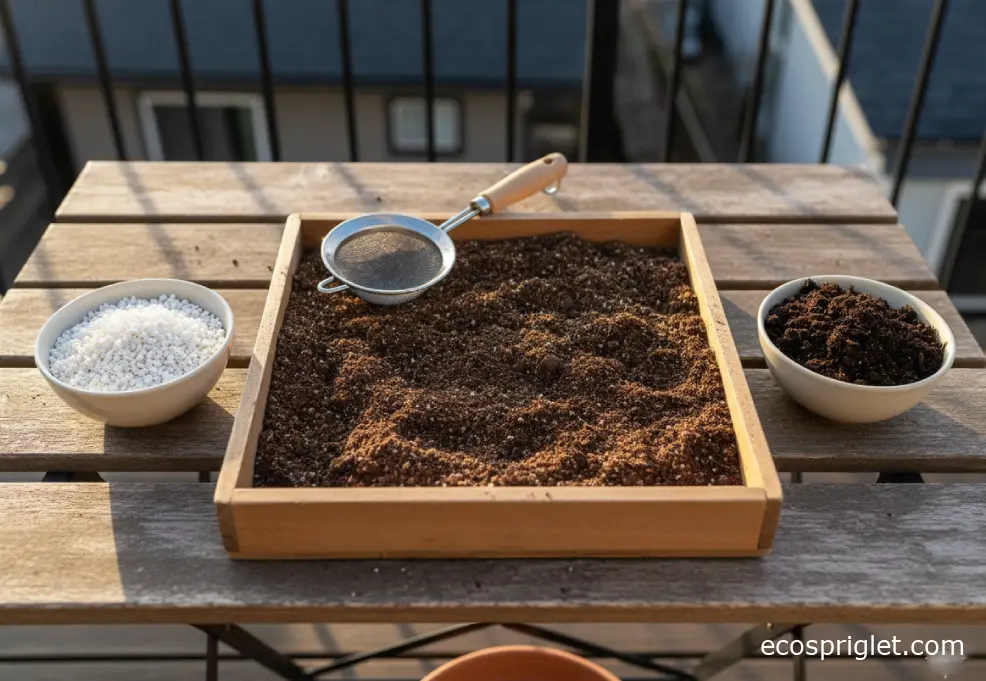
- Sift the dirt through a mesh sieve to remove rocks, sticks, and clods.
- Blend it so it’s never more than about 1/3 of the total mix (start with 25% and see how it behaves).
- Add extra aeration (perlite/pumice/bark fines) so the finished mix still feels springy when you squeeze it.
Common mistake: using straight yard soil in a pot “just for a season.” Even in one summer, it can settle into a dense layer that stays wet at the bottom and dries like concrete on top. If that happens, don’t just water more—repot with a lighter mix and add aeration.
Mix Tweaks for Indoor Plants (Less Gnat Drama, Better Watering)
Indoor containers dry slower, get less airflow, and punish heavy mixes. If you’re making potting soil for indoor plants, the goal is “even moisture, plenty of air.” A University of Maryland Extension overview emphasizes that container media are designed to be lightweight and drain well, using ingredients like peat/coir and perlite/vermiculite. Sources: University of Maryland Extension.
My indoor tweak: take the all-purpose recipe and bump aeration a bit.
Indoor-friendly mix (by volume): 2 parts peat/coir + 1 part compost + 1 part perlite (or pumice). If your apartment runs humid or you’re prone to overwatering, go 1.5 parts perlite instead of 1.
Two practical triggers that save beginners:
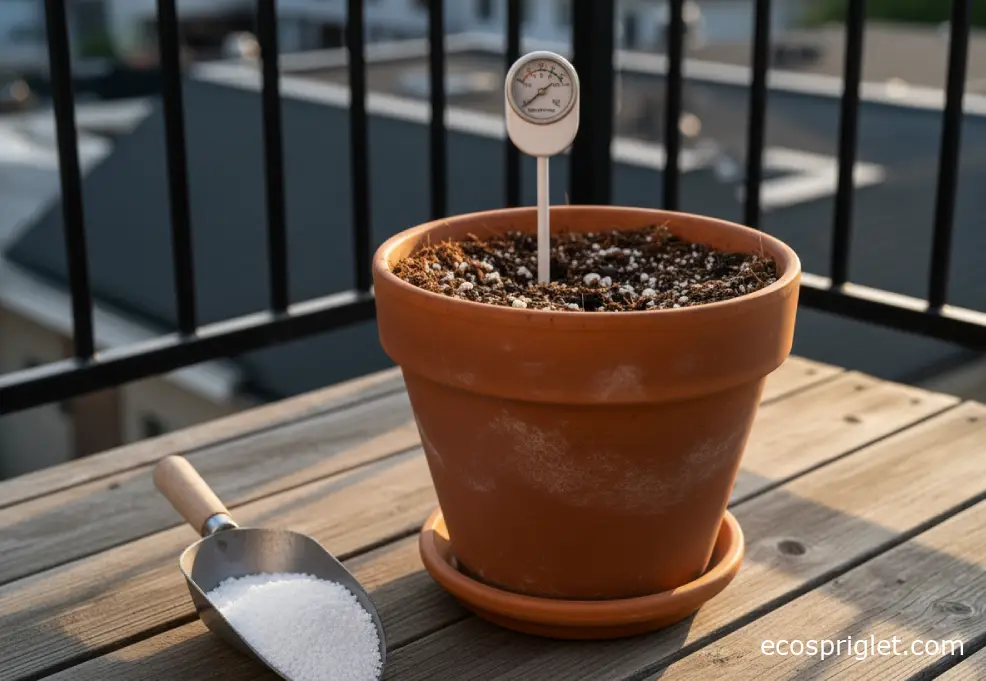
- Water when the top 1–2 inches feel dry, not on a calendar. If you want an extra check, a simple moisture meter can help you learn your pot’s rhythm. (More watering cues here: indoor plant watering guide.)
- Fungus gnats show up when the top stays wet. Use a chunkier mix, let the surface dry a bit between waterings, and consider a thin layer of coarse sand or horticultural grit on top as a physical barrier.
How to Make Potting Soil for Succulents (A Fast-Draining Blend)
Succulents don’t want “dry soil,” they want “oxygen at the roots.” That means a mix that drains quickly and doesn’t collapse into mush over time.
Succulent mix (by volume): 2 parts mineral/aeration (pumice, perlite, or coarse sand) + 1 part peat/coir + 1 part compost (or skip compost and feed lightly during the growing season).
I remember when I first got serious about succulents, I used a compost-heavy houseplant mix and told myself I’d “just be careful” with watering. Two weeks later, the pot still felt damp at the bottom, and my little echeveria started dropping leaves like it was offended. The fix was simple: repot into a grittier mix and switch to a smaller pot with a drainage hole.
- If your succulent pot stays wet longer than 5–7 days indoors, increase grit/aeration and reduce compost.
- If the mix becomes water-repellent when bone dry (common with peat), bottom-water once to rehydrate, then adjust the recipe with more coir or a touch more compost next batch.
Sources I trust for container-media basics: NC State Extension and University of Maryland Extension both emphasize the role of peat/coir plus aeration components like perlite/vermiculite in container media.
How to Make Potting Soil for Vegetables (More Food, Still Airy)
Vegetables are hungry and thirsty, but they still hate soggy roots. For most balcony edibles, I keep the same five-element balance, then add nutrition in a controlled way.
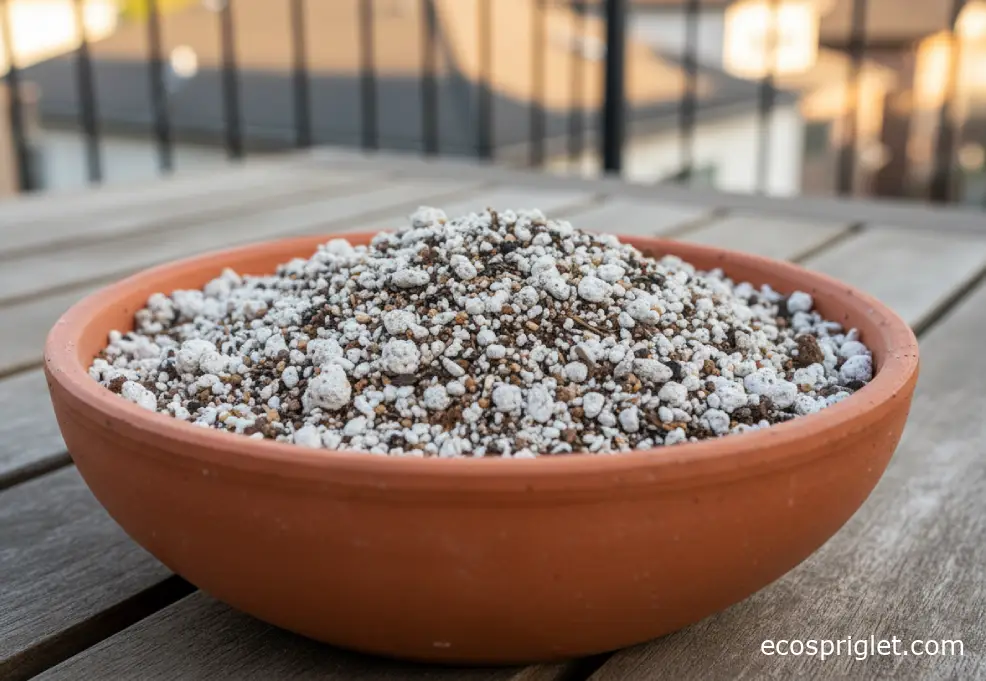
Vegetable mix (by volume): 2 parts peat/coir + 1 part compost + 1 part perlite/bark fines. If you’re using a lot of compost, keep an eye on drainage and don’t be shy about adding bark fines for long-term structure.
Two practical tips that keep veggie pots productive:
- Use a measured slow-release fertilizer (or regular liquid feeds) rather than trying to make compost do everything. Compost helps, but containers often need replenishment over the season. (University container-media guidance commonly notes mixes may include small amounts of fertilizer and lime.) Sources: University of Maryland Extension.
- Top-dress with 1–2 inches of compost midseason instead of constantly remixing the pot. It’s cleaner on a balcony and less stressful on roots.
Common mistake: making a super-rich, heavy mix “so you don’t have to fertilize.” That usually backfires with slow growth (roots can’t breathe) and more fungus issues. If your veggie leaves look pale, it’s often a feeding issue—not a reason to add more dirt.
How to Make Acidic Potting Soil for Blueberries and Other Acid-Lovers
“Acidic potting soil” is really about pH, and pH is where DIY can get opinionated fast. Rather than guessing, I like a controlled approach: choose naturally acid-leaning ingredients, then adjust carefully.
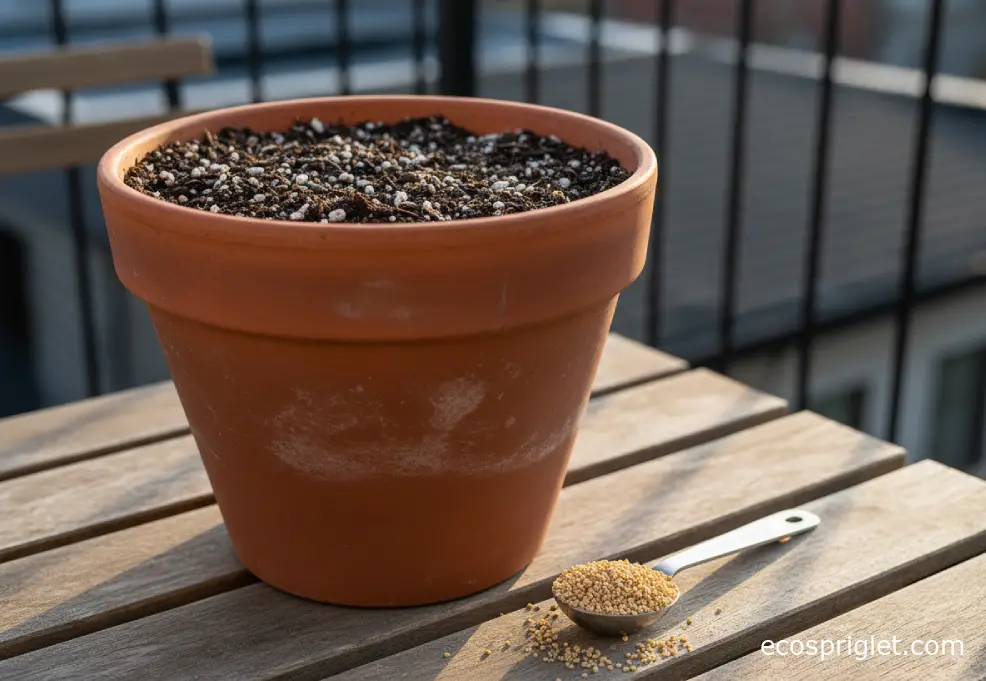
Acid-friendly base (by volume): 2 parts peat moss (peat is naturally acidic) + 1 part pine bark fines + 1 part perlite/pumice + up to 1/2 part compost (optional, and keep it modest).
Two apartment-friendly tips:
- If you’re growing blueberries in containers, use a mix with lots of bark fines and peat, and avoid adding lime. Many general mixes include lime to raise pH, which is great for most plants but not for acid-lovers. Sources: University of Maryland Extension (notes lime is commonly included in potting media).
- Use a simple pH probe or test kit before you start “correcting” with additives like sulfur. Slow changes beat dramatic swings that stress roots.
Common mistake: trying to acidify a compost-heavy mix. Compost varies widely and can buffer pH in ways that make adjustments feel random. Start with a peat/bark base, then add only what you need.
Common Mistakes New Balcony Gardeners Make
I learned a few of these the hard way—usually after hauling a heavy pot across my balcony and wondering why the plant looked worse, not better.
- Adding gravel “for drainage”: It doesn’t fix a bad mix, and it can create a wetter zone above the gravel layer. Fix drainage by improving the mix and using drainage holes. Sources: Washington State University Extension (Chalker-Scott).
- Overloading compost: Great in garden beds, risky in pots. Keep compost moderate and add aeration materials to maintain air spaces.
- Using dirt straight from outside: It compacts and can bring pests. If you must use it, keep it a minority ingredient and sift it well. Sources: NC State Extension (container media concepts and ingredients).
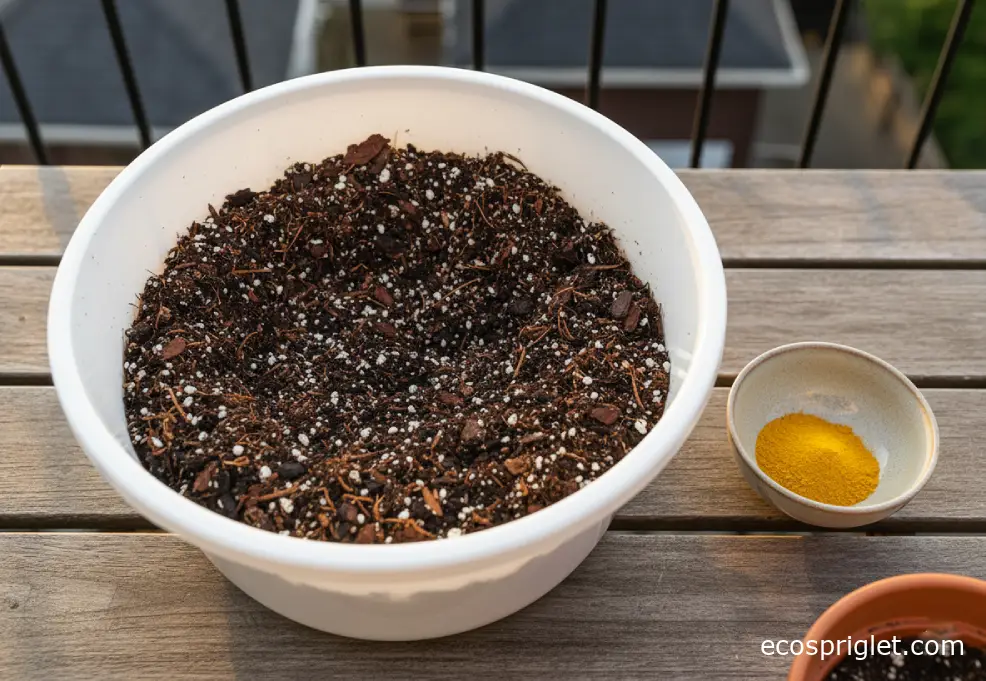
- Skipping pre-moistening: Dry peat/coir can repel water and lead to “water runs down the side” problems. Pre-wet to a damp, crumbly texture.
- Forgetting the feed plan: Many mixes start with limited nutrients. Make a simple plan: slow-release at potting time or liquid feed every couple weeks during active growth.
If you’re staring at a pot that never dries or one that dries in a day, that’s not you “being bad at watering.” That’s the mix telling you what it needs—more air, or more water-holding base.
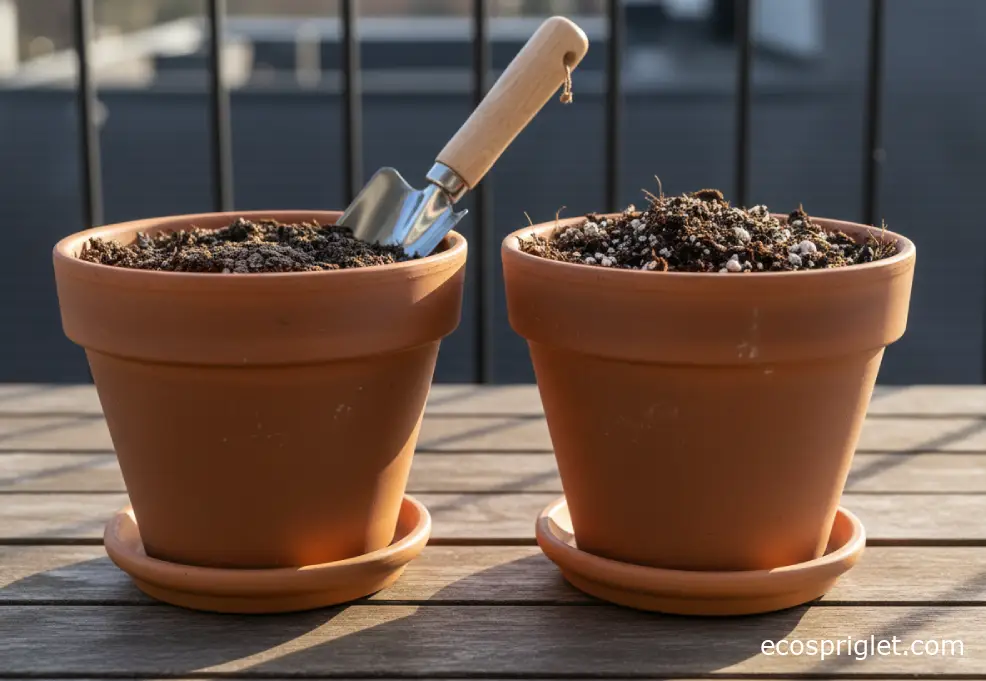
Storing, Reusing, and Refreshing DIY Potting Soil
DIY mixes are easy to store, but they do change over time—especially if they dry out completely or stay damp in a closed bag.
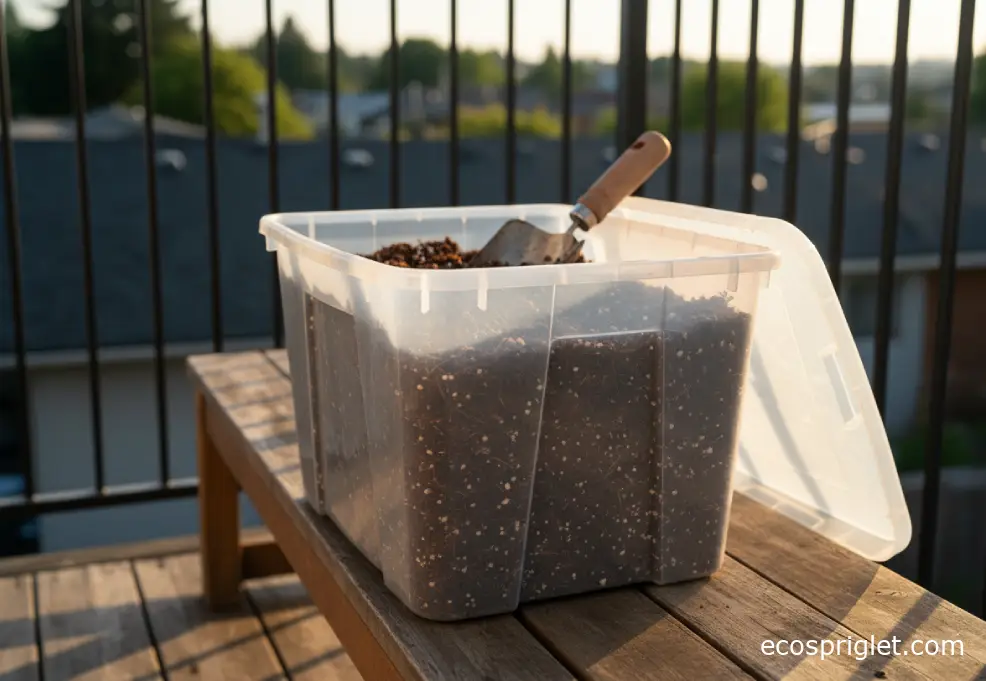
Storage: Keep extra mix in a lidded bin or sealed tote. If it’s slightly moist, leave the lid cracked for a day so it doesn’t get funky, then seal it. If it’s bone dry, that’s fine—just plan to rehydrate slowly later.
Reusing: I reuse potting soil all the time for non-disease issues. Dump the old mix into a tub, remove old roots, then refresh it:
- Add 20–30% fresh compost (or a smaller amount if the old mix was already compost-heavy).
- Add new aeration (perlite/pumice/bark fines) until it feels springy again.
- Mix in a measured fertilizer if you’re planting something hungry.
Common mistake: reusing a mix that stayed soggy and smelled sour. That’s often a sign the mix was too dense and oxygen-starved. In that case, reuse it only after cutting it heavily with fresh airy ingredients—or retire it into outdoor beds where it can breathe and break down.
Quick Recipe Table: Choose Your Potting Soil Mix by Plant Type
| Use | Base Recipe (By Volume) | What to Watch |
|---|---|---|
| All-purpose containers | 1 compost : 1 peat/coir : 1 perlite/vermiculite | If it dries too fast, add a bit more peat/coir; if it stays wet, add more perlite/bark fines. |
| Indoor plants | 2 peat/coir : 1 compost : 1–1.5 perlite | Keep the top from staying soggy (gnats); water when top 1–2 inches are dry. |
| Succulents | 2 grit (pumice/perlite/sand) : 1 peat/coir : 0–1 compost | If it stays wet > 5–7 days indoors, increase grit and reduce compost. |
| Vegetables | 2 peat/coir : 1 compost : 1 perlite/bark fines | Plan to fertilize; compost alone rarely carries a whole season in containers. |
| Acid-loving plants | 2 peat : 1 bark fines : 1 perlite/pumice (+ up to 1/2 compost) | Avoid lime; test pH before adding sulfur or other adjusters. |
These mixes are built around common container-media ingredients emphasized by extension resources (peat/coir, perlite/vermiculite, bark, compost) and the idea that you adjust the recipe based on drainage and plant needs. Sources: NC State Extension; University of Maryland Extension.
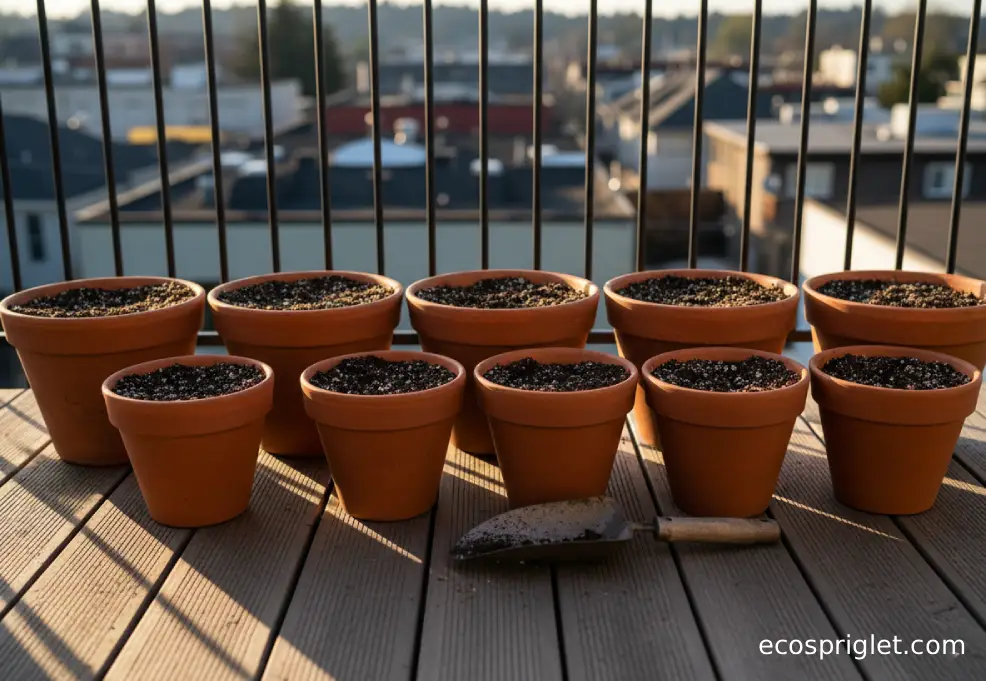
Wrap-Up: Make One Base Mix, Then Customize It
Making potting soil at home doesn’t have to turn into a complicated science project. If you remember the five elements—water-holding base, aeration, structure, nutrition, and pH control—you can build a mix that behaves well in containers and matches the plants you actually grow. Start with the all-purpose recipe, then nudge it: more perlite for indoor plants and succulents, more structure for long-season vegetables, and a peat/bark base for acid-lovers.
The biggest win for apartment gardeners is consistency. When you mix your own, you learn how a pot should feel when it’s properly moist, how fast it should dry in your light and airflow, and what “healthy drainage” looks like without gravel tricks. If something goes sideways—staying wet too long, drying too fast—you don’t have to blame your watering habits. You can adjust the recipe and fix the root environment.