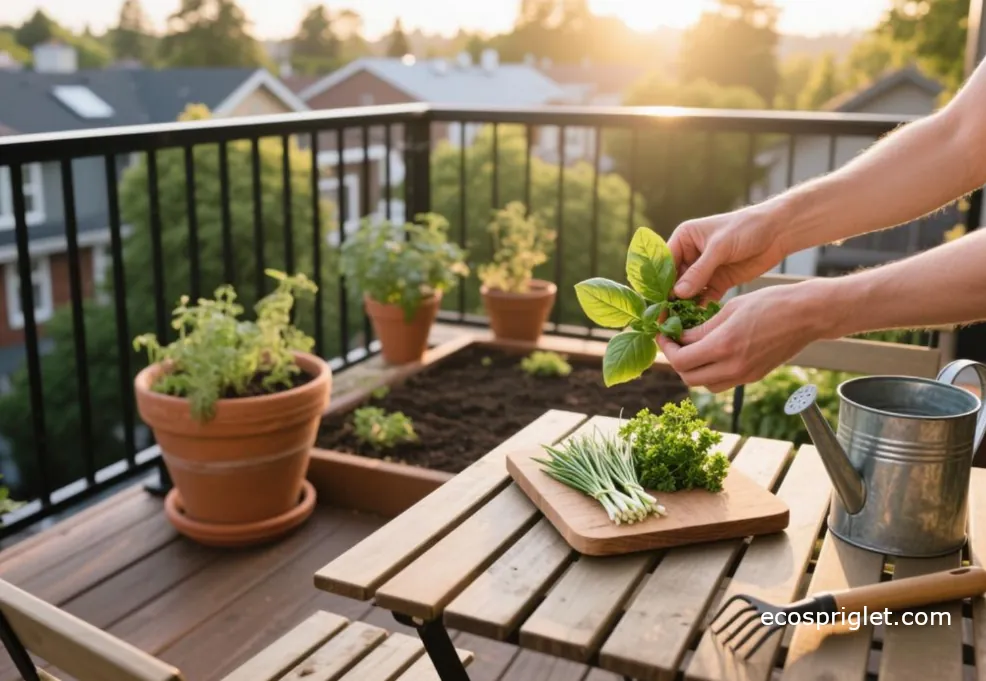
If you love that bright, lemony aroma on roasted potatoes, eggs, salmon, cucumbers, or a cool yogurt sauce, growing dill indoors is worth the little bit of fuss. Dill is not quite as forgiving as basil. It wants strong light, a deeper pot than you might expect, and steady moisture without sitting wet.
The good news is that once you understand those few needs, indoor dill becomes a simple short-season crop. Sow it directly in its final pot, keep it close to bright light, harvest lightly, and start a fresh batch every few weeks. That rhythm gives you tender fronds for dinner without needing a greenhouse or a garden bed.
Dill Indoors: What To Expect
Dill can grow well indoors, but it behaves more like a quick herb crop than a long-lived houseplant. Most plants give you usable fronds about 4 to 6 weeks after sowing, then gradually slow down or try to flower. That is normal. Instead of fighting it forever, plan to succession-sow new pots.
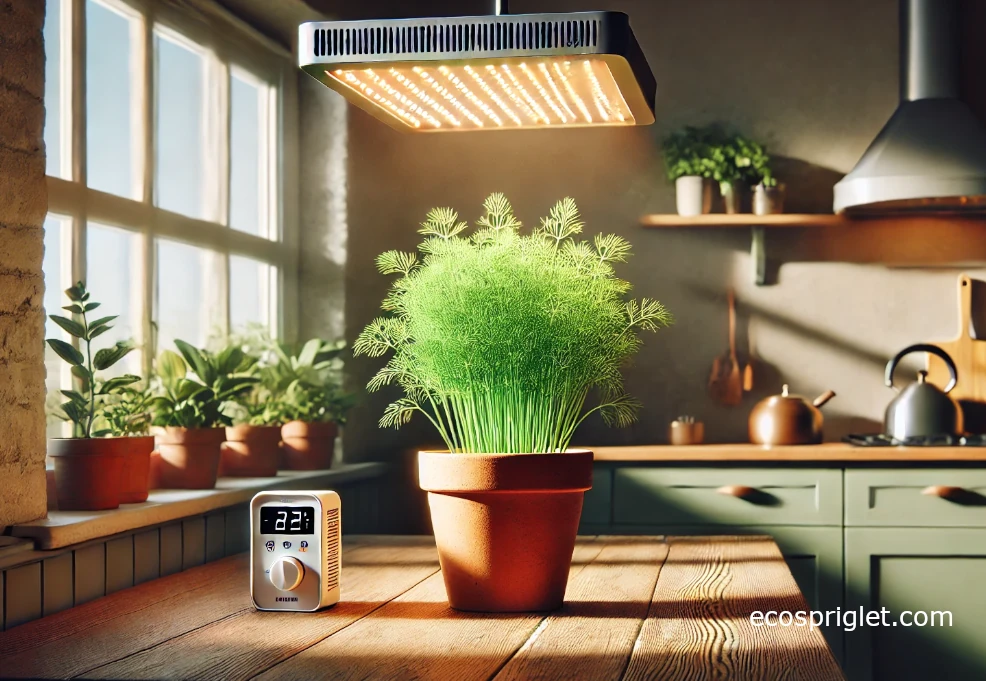
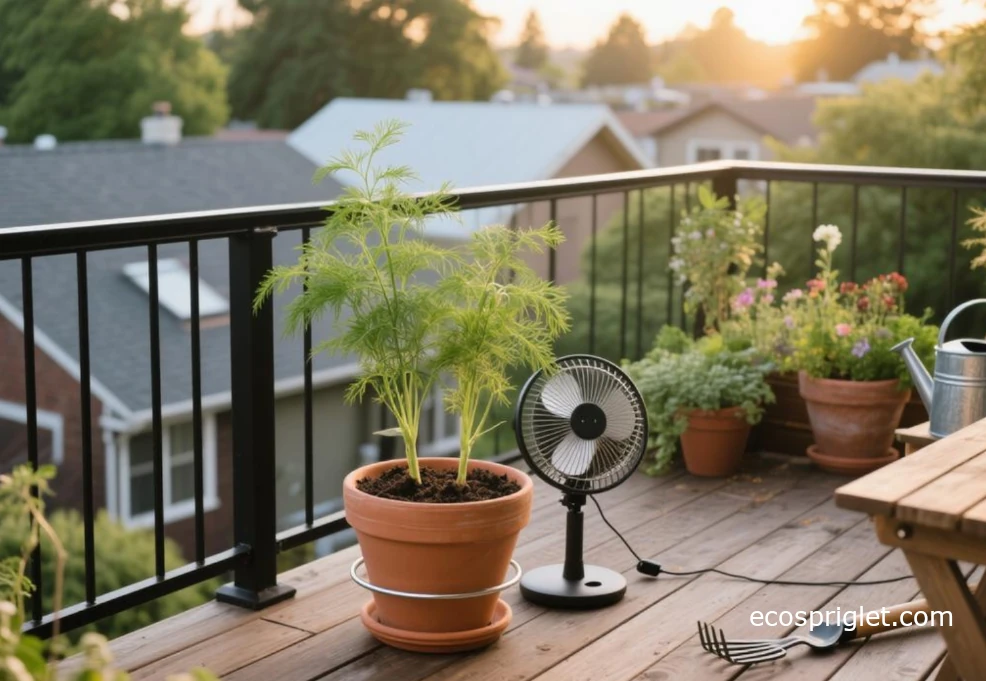
The main indoor challenge is light. Weak window light makes dill stretch into thin, floppy stems. Hot, dry conditions push it toward early flowering. A cool, bright spot in the 60s to mid-70s °F is the sweet spot for leafy growth.
- Best setup: A south or southwest window with 6 to 8 hours of strong sun, or an LED grow light for 12 to 14 hours per day.
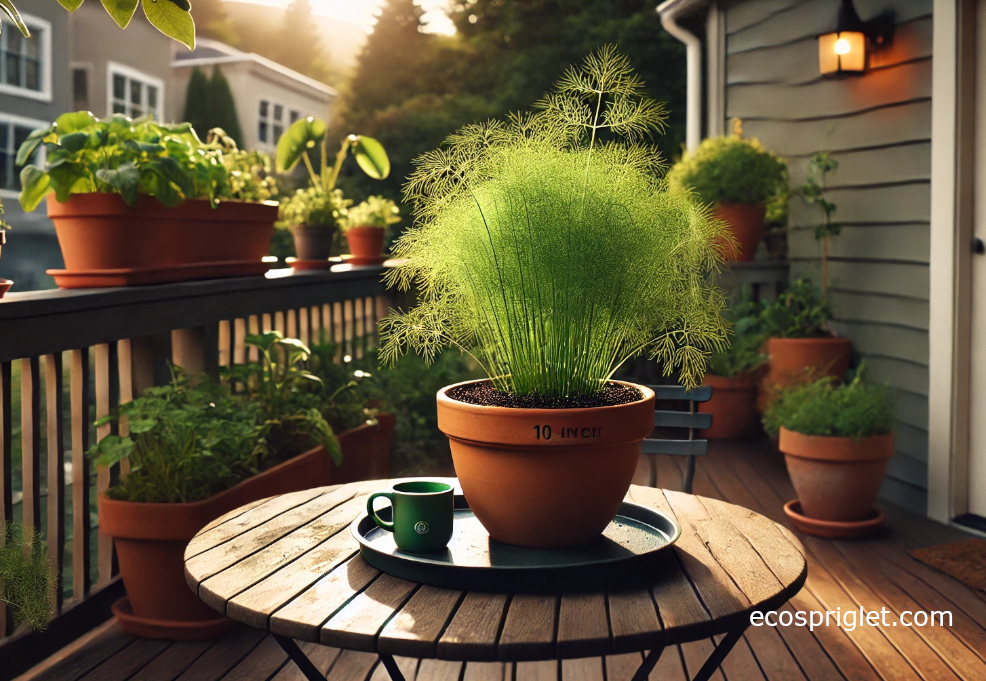
- Best container: At least 8 to 10 inches deep for compact dill, and closer to 10 to 12 inches deep for taller varieties.
- Best habit: Sow a new small pot every 2 to 3 weeks instead of expecting one plant to last all season.
I used to treat dill like mint and tuck it into any small pot I had open. Once I switched to brighter light and deeper containers, the plants stood straighter and the fronds had much better flavor.
Best Indoor Dill Varieties
For indoor growing, choose dill varieties that stay compact, produce plenty of foliage, or mature quickly. Tall garden varieties can still grow indoors, but they need more space, stronger light, and sometimes a small stake.
- Fernleaf: The easiest pick for windowsills and small shelves. It stays shorter and bushier than many standard dill varieties.
- Dukat: A good choice when you want a fuller, leafy plant and have enough light to keep it sturdy.
- Bouquet: Fast and reliable, especially if you also want flowers or seed heads later. Indoors, it may bolt sooner in warm rooms.
For a small kitchen setup, I would start with Fernleaf first. It is the least dramatic option and usually gives the best return in a modest pot under a basic grow light.
Light: The Difference Between Feathery And Floppy Dill
Light is the make-or-break part of growing dill indoors. A bright summer window can be enough, but winter window light is often too weak for dense, leafy growth. If your dill leans hard toward the glass, stretches between leaf sections, or collapses after watering, it probably needs more light.
Place LED grow lights about 8 to 12 inches above the plant tops and run them for 12 to 14 hours per day. Raise the fixture as the dill grows so the top fronds stay close to the light without touching it. A simple plug-in timer makes this much easier.
- Use a south or southwest window when available.
- Add an LED grow bar in winter, in north-facing rooms, or anywhere the plant looks pale and stretched.
- Rotate the pot once or twice a week so the plant does not lean in one direction.
- Move pots back a few inches from hot glass if the window gets harsh afternoon heat.
Once I stopped guessing and put my herbs on a timer, leggy dill became much less common. Consistency matters more than fancy equipment.
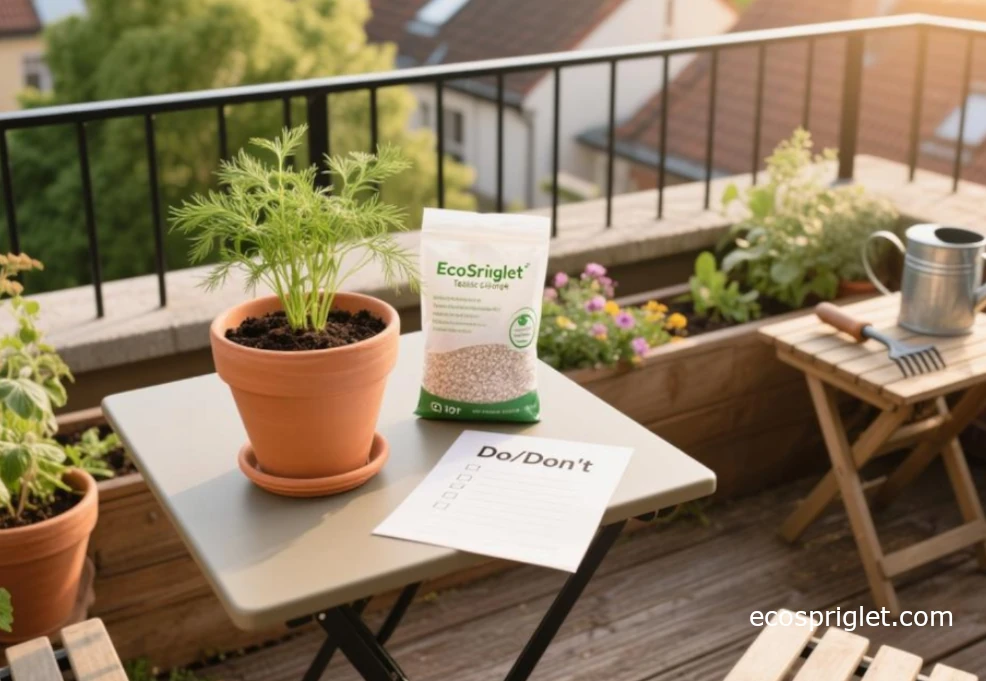
Pots And Potting Mix: Give The Taproot Room
Dill forms a taproot, so it appreciates depth more than width. A shallow 6-inch pot may look cute on a windowsill, but it usually dries too quickly and limits root growth. For one or two compact plants, use a pot at least 8 to 10 inches deep. For taller varieties, choose a deeper container or a narrow window box with good depth.
Use a light indoor potting mix rather than garden soil. Garden soil is often too dense for containers, drains poorly indoors, and can bring in pests. A peat- or coco-based potting mix with added perlite works well. If the mix feels heavy or stays wet for days, blend in extra perlite until it feels loose and springy.
- Choose containers with drainage holes.
- Set the pot on a saucer, but empty standing water after watering.
- Skip gravel in the bottom of the pot. It reduces usable root space and does not fix soggy potting mix.
- For apartment growing, use a tray or boot mat under several pots to catch spills and keep shelves clean.
Depth was the biggest upgrade in my own indoor dill setup. A deeper pot gave the roots a steadier moisture zone, and the stems stopped collapsing so easily.
How To Grow Dill From Seed Indoors
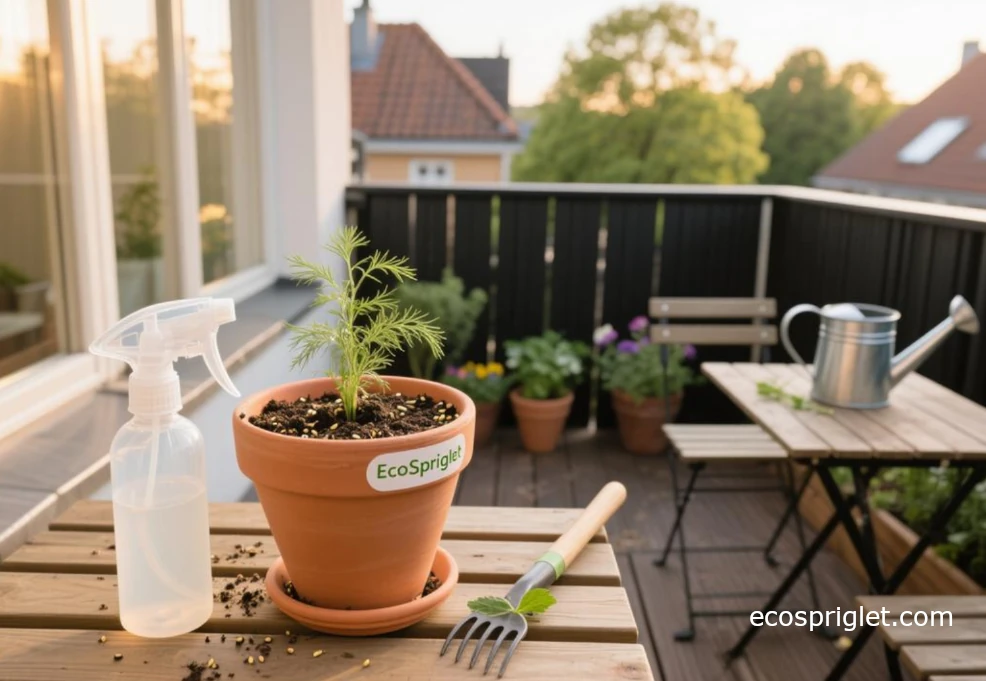
Dill is best grown from seed right where it will mature. It dislikes being transplanted, and seedlings often sulk when their roots are disturbed. Start with a clean pot, pre-moistened potting mix, and fresh seed if possible.
- Fill the pot with damp potting mix and leave about 1 inch of space at the top for watering.
- Scatter seeds over the surface, then press them gently into the mix.
- Cover with no more than 1/8 inch of fine mix, or just a light dusting. Dill seed should not be buried deeply.
- Mist or bottom-water gently so the seeds do not wash into one corner.
- Keep the surface evenly damp until germination, usually about 7 to 14 days.
- Once seedlings are 2 to 3 inches tall, thin them with clean scissors so the strongest plants stand about 4 to 6 inches apart.
Do not save every seedling. Crowded dill looks lush for a week, then turns thin and weak because each plant is fighting for light, air, and root space.
Watering And Feeding: Moist, Not Soggy
Dill likes steady moisture, but it does not like stale, soggy potting mix. For established plants, water when the top 1 inch of mix feels dry. In a deeper pot, that usually means watering thoroughly until a little drains from the bottom, then letting the surface dry slightly before watering again.
Small seedlings need gentler treatment. Keep the top layer lightly moist while they germinate, then gradually shift to deeper watering as roots develop. If the base of the plant yellows or the mix smells sour, you are probably watering too often or the pot is not draining well.
- Water in the morning when possible so the surface can dry during the day.
- Bottom-water young seedlings if top-watering keeps knocking them over.
- Use room-temperature water rather than icy water straight from the tap.
- Feed lightly after the plants are established, about every 3 to 4 weeks, with a diluted balanced liquid fertilizer.
- Skip heavy feeding. Too much fertilizer can encourage soft, floppy growth instead of sturdy stems.
I like the lift test for small pots: pick up the container after watering, then again when the top inch is dry. After a few rounds, you can feel when the plant is ready.
Airflow, Spacing, And Gentle Support
Indoor air can be still, especially on a shelf or in a tight kitchen window. Crowded dill in still air is more likely to flop, stay damp at the base, or develop mildew problems. Good spacing and gentle airflow make the plant sturdier.
- Thin seedlings instead of letting them form a dense mat.
- Keep plants 4 to 6 inches apart in a shared container.
- Run a small fan on low for 15 to 30 minutes a day, aimed near the plants rather than blasting the leaves.
- Use a thin bamboo stake, skewer, or small ring support if a taller variety starts leaning.
If your dill is already stretched, support it gently but also fix the cause. A stake can hold a weak stem upright, but stronger light is what prevents the next round of growth from doing the same thing.
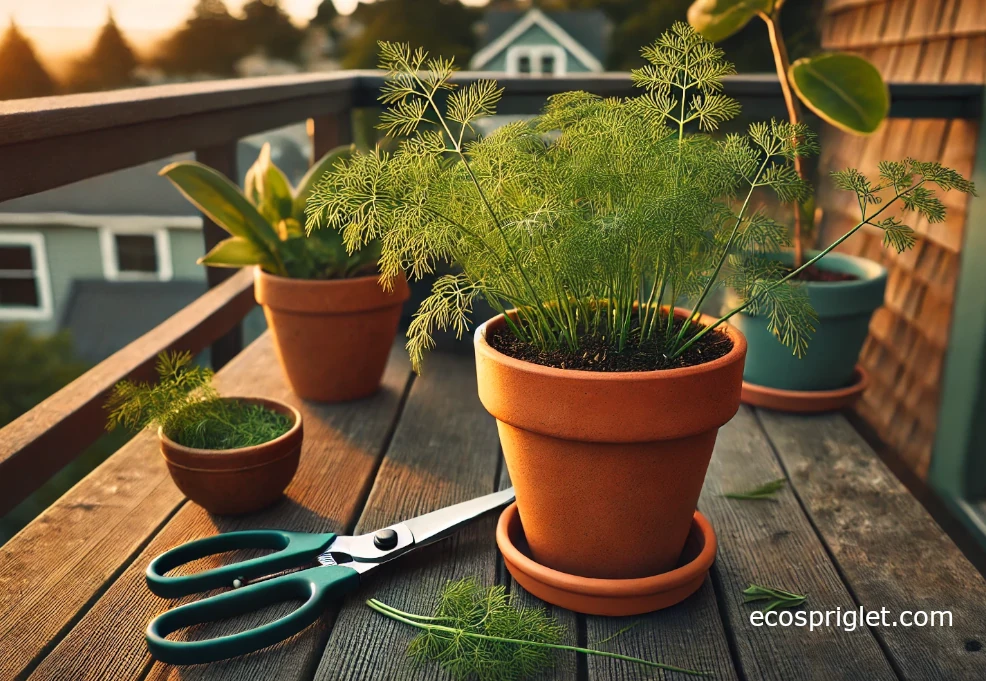
Harvesting And Pruning Indoor Dill
Start harvesting of dill once the plant is about 6 to 8 inches tall and has enough fronds to spare. Snip outer fronds first and leave the central growing point intact. A light, regular harvest keeps the plant useful for longer than one heavy haircut.
- Take no more than one-third of the plant at one time.
- Snip just above a leaf junction when possible.
- Rotate harvests between plants so each one has time to recover.
- Pinch off early flower buds if you want leaves for a little longer.
- Let flower umbels mature only if you want dill seed.
Dill will eventually try to flower. That does not mean you failed. It means the plant has reached the next stage of its life cycle. I usually harvest the best remaining fronds, freeze what I cannot use, and start the next pot.
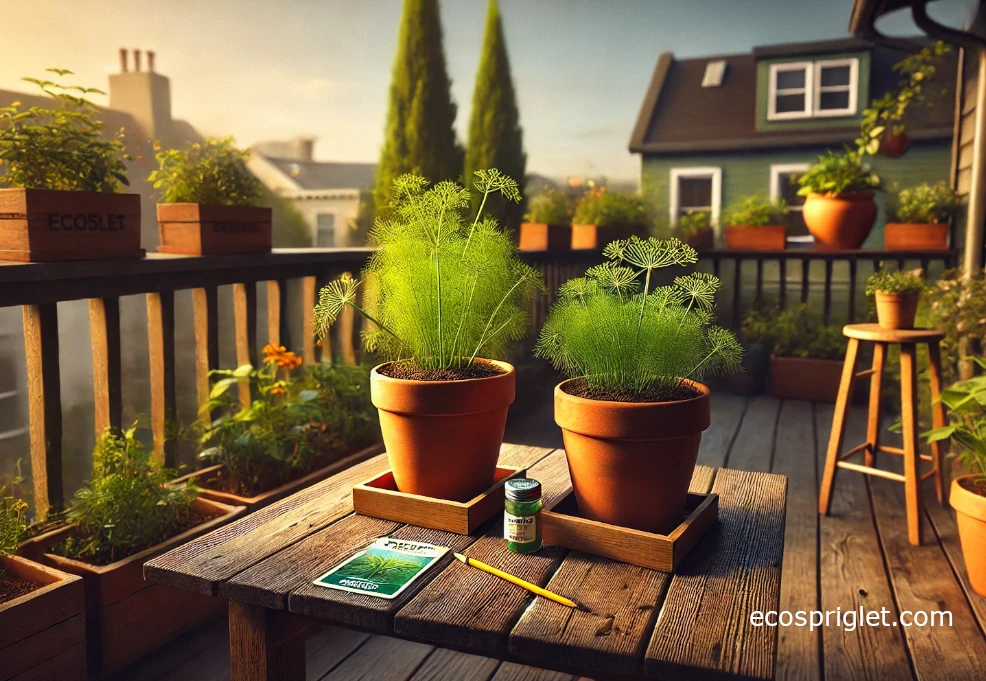
Succession Sowing For A Steady Supply
The easiest way to have indoor dill regularly is to sow in small waves. One big pot will give you a burst of fronds, then slow down. A few smaller pots started 2 to 3 weeks apart give you a steadier kitchen supply.
- Label each pot with the sowing date.
- Start a fresh pot every 2 to 3 weeks if you cook with dill often.
- Keep one young pot, one harvest pot, and one older flowering pot if you have space.
- Retire tired plants instead of trying to revive them forever.
My simple rhythm is one sowing at the beginning of the month and a smaller top-up around the middle. Under lights, that keeps enough dill around for sauces, potatoes, eggs, and quick pickles.
Troubleshooting Indoor Dill
Most dill problems indoors come back to light, water, spacing, or heat. Start with the simplest fix first before changing everything at once.
| Problem | Likely Cause | What To Do |
|---|---|---|
| Thin, floppy stems | Not enough light, light too far away, or crowded seedlings | Move LEDs 8 to 12 inches above the plant tops, run lights 12 to 14 hours per day, and thin crowded plants. |
| Yellowing near the base | Overwatering, poor drainage, or old exhausted mix | Let the top inch dry before watering, empty the saucer, and feed lightly if the plant is actively growing. |
| Early flowering | Heat, dry soil, stress, or normal maturity | Move the pot away from hot glass, keep moisture steadier, pinch early buds, and start a new sowing. |
| Mildew or damp foliage | Still air, crowding, or watering late in the day | Improve spacing, water in the morning, and add gentle airflow. |
| Aphids | Soft new growth attracting pests, often after plants come from outdoors or sit near infested houseplants | Rinse the plant gently, isolate the pot, and use insecticidal soap labeled for edible plants if needed. |
During a heat wave, I move dill a few feet back from the window and water earlier in the day. That small change often slows the bolt-fest better than fertilizer or extra pruning.
Common Mistakes To Avoid
Indoor dill is not difficult, but it is easy to make the same few mistakes. Fix these and the plant becomes much more predictable.
- Using a shallow pot. Choose at least 8 to 10 inches of depth so roots have room and moisture stays steadier.
- Relying on a dim window. Add a grow light if the plant stretches or leans hard toward the glass.
- Planting seeds too deeply. Press them in and cover only lightly.
- Keeping every seedling. Thin early so the remaining plants grow stronger.
- Sip-watering every day. Water thoroughly, then let the top inch dry before watering again.
- Adding gravel for drainage. Use a free-draining potting mix and real drainage holes instead.
- Taking one huge harvest. Snip lightly and often, taking less than one-third of the plant at a time.
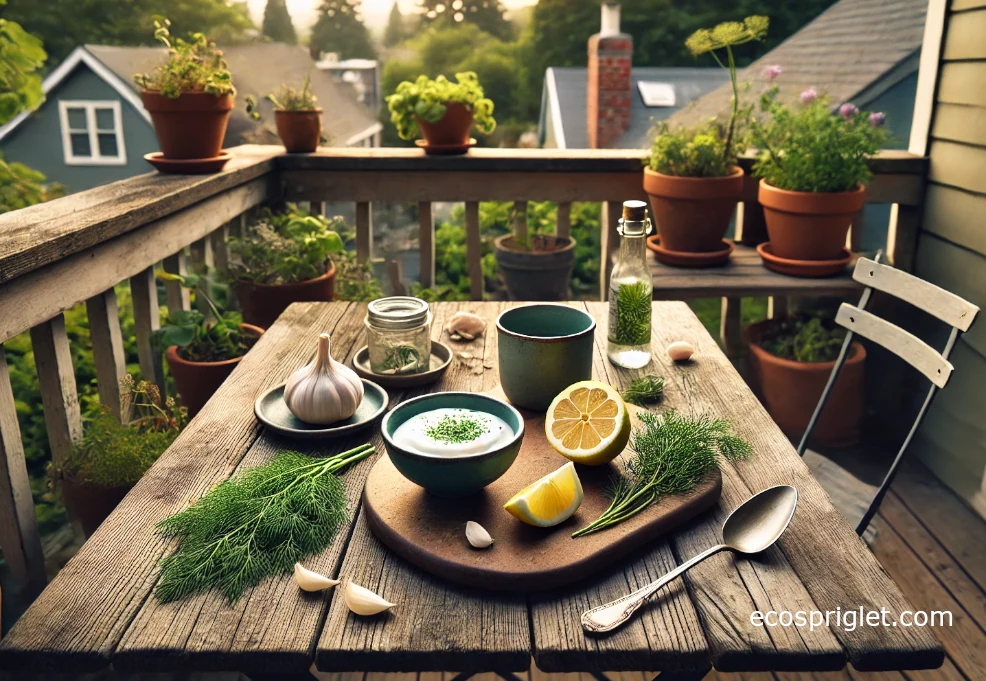
How To Use Fresh Dill
Fresh dill is best added near the end of cooking or used raw. Long heat dulls its bright flavor. Snip what you need right before serving when possible.
- Stir chopped dill into yogurt, lemon juice, garlic, salt, and pepper for a quick sauce.
- Finish roasted potatoes with dill, lemon zest, and olive oil.
- Add dill to scrambled eggs after turning off the heat.
- Use it with cucumbers, salmon, tuna salad, chickpea salad, or quick refrigerator pickles.
- Mix a spoonful into softened butter for vegetables, toast, or fish.
For me, roasted potatoes with lemon and a handful of fresh dill are the payoff. It is the kind of small indoor harvest that makes a weeknight dinner feel fresher.
Preserving Dill: Fridge, Freezer, Or Drying
Fresh dill is delicate, so use it quickly when you can. For short storage, wrap dry fronds in a barely damp paper towel and place them in a loose or vented container in the refrigerator. Wash dill under running water just before using it, then dry it well with a towel or salad spinner.
Freezing usually keeps dill flavor better than drying. Chop clean, dry fronds and freeze them flat in a freezer bag, or pack them into an ice cube tray with water, olive oil, or softened butter. Once frozen solid, move the cubes to a labeled freezer bag.
- Use refrigerated fresh dill within a few days for the best aroma.
- Freeze dill promptly if you mix it with oil or butter, and keep the cubes frozen until cooking.
- Use frozen dill in soups, potatoes, sauces, eggs, and cooked dishes rather than as a fresh garnish.
- Dry seed heads fully before storing dill seed in a jar.
- Compost or discard dill that is slimy, moldy, or smells off.
My freezer “green cubes” are the best way I have found to save extra dill. One cube in a skillet of potatoes or vegetables brings back that fresh June smell in the middle of winter.

Quick FAQ
Can Dill Regrow After Cutting?
Yes, dill can keep producing if you harvest lightly and leave the center growth intact. Take outer fronds first and avoid removing more than one-third of the plant at once.
Why Is My Indoor Dill Thin And Floppy?
The usual cause is weak light. Move the plant to a brighter window or place an LED grow light 8 to 12 inches above the tops for 12 to 14 hours per day. Also thin crowded seedlings so each plant has room.
How Deep Should A Pot Be For Dill?
Use a pot at least 8 to 10 inches deep for compact indoor dill. Taller varieties do better with 10 to 12 inches of depth and may need light support as they grow.
Can I Stop Dill From Flowering Indoors?
You can delay flowering with bright light, steady moisture, cooler temperatures, and regular light harvesting. You cannot stop it forever. Dill is naturally short-lived, so succession sowing is the better long-term plan.
Can I Grow Dill Indoors All Year?
Yes, if you provide enough light. In winter, most homes need a grow light for reliable dill. Without supplemental light, expect slower, thinner growth.
Final Indoor Dill Routine
Grow indoor dill as a short-lived, high-reward herb crop. Give it a deeper pot, strong light, steady moisture, light feeding, and gentle airflow. Harvest small amounts often, then sow a new pot every 2 to 3 weeks so younger plants are always coming along.
- Do this today: Put your grow light on a timer and check that your pot is at least 8 to 10 inches deep.
- This week: Sow dill directly in its final container and label the pot with the date.
- In 2 to 3 weeks: Start a second small pot so your harvest does not come all at once.
For a broader herb setup with basil, parsley, mint, and other kitchen favorites, see Indoor Herb Garden.