Seeing tomato leaves turning yellow can be alarming, especially when the plant was deep green a week ago. The reassuring part is that yellow foliage is a symptom, not a diagnosis. On balcony and patio tomatoes, the cause is often something manageable: uneven watering, a container staying too wet, nutrients running low, or an older leaf naturally declining. Spots, stippling, wilting, or yellowing that moves rapidly up the plant point toward a different set of problems.
I grow tomatoes in containers where Portland’s summer sun, reflected heat, and occasional windy afternoons can change soil moisture surprisingly fast. I’ve learned not to reach for fertilizer the moment one leaf turns yellow. First, look at where the yellowing starts, whether the leaf has spots, how wet the potting mix feels, and whether the rest of the plant is still growing normally. Those four clues usually narrow the possibilities quickly.
Use the guide below as a troubleshooting sequence. Start with water and drainage, then check nutrition, pests, and disease. That order prevents the common mistake of treating the symptom while making the underlying problem worse.
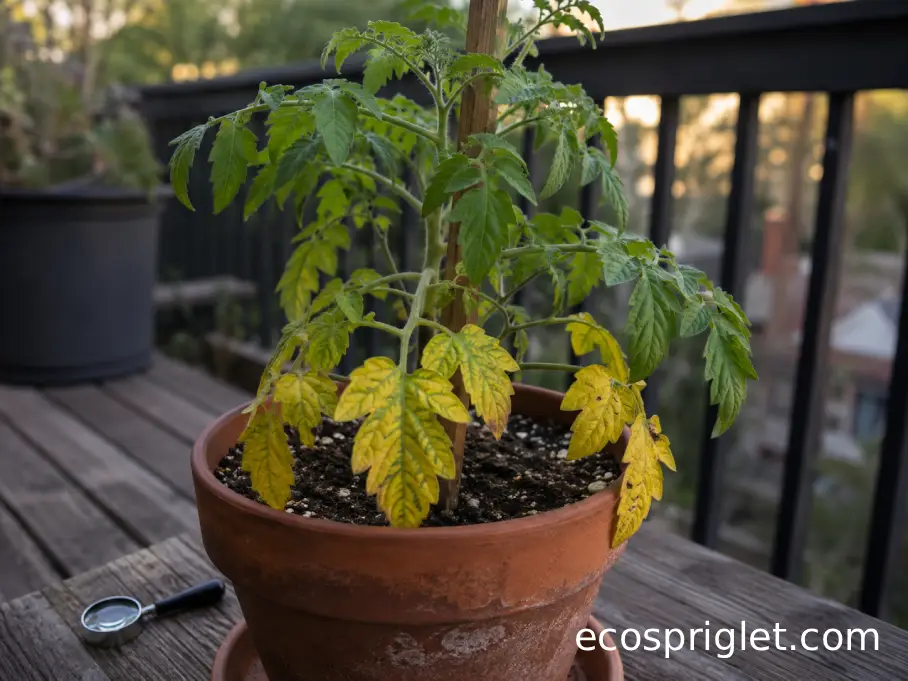
Read the Yellowing Pattern Before You Treat Anything
The location and pattern of yellowing tell you more than the color itself. Before changing your watering or fertilizer routine, inspect the whole plant from soil line to growing tip.
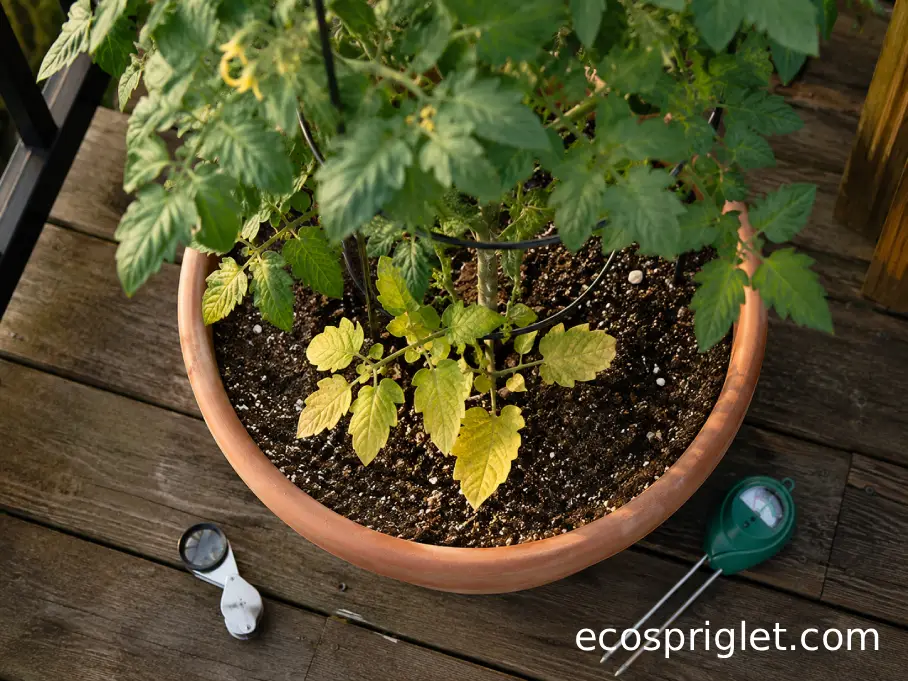
- If the oldest lower leaves are evenly pale yellow while the upper growth remains green, think first about normal aging, nitrogen shortage, or repeated nutrient leaching.
- If yellowing appears between green veins on older leaves, a nutrient imbalance such as magnesium deficiency becomes more plausible.
- If the newest leaves are yellow between greener veins, nutrient availability or root-zone problems deserve attention rather than an automatic dose of nitrogen.
- If yellow areas surround brown or black spots, investigate leaf-spot disease.
- If leaves show hundreds of tiny pale dots or fine webbing underneath, check closely for spider mites.
I once spent several days trying to correct what I assumed was a fertilizer problem on a balcony tomato. A hand lens eventually revealed spider mites on the undersides of the leaves. That experience changed my routine: now I inspect first and fertilize second.
University of Georgia Cooperative Extension notes that nitrogen deficiency typically appears first on older foliage, while magnesium deficiency can create interveinal yellowing on older leaves and iron problems tend to affect newer foliage.
Fix Watering and Drainage First
For container tomatoes, water problems are the first thing I investigate because both extremes can produce yellow foliage. A plant that repeatedly dries hard may shed older leaves, while roots sitting in saturated potting mix cannot function normally either.
Push a finger about 1 to 2 inches into the mix. If that layer still feels noticeably moist, wait before watering (How Often to Water Tomato Plants) again. If it feels dry and the pot is becoming lighter, water thoroughly enough for excess water to escape from the drainage holes. Avoid giving the plant a small splash several times a day; thorough watering followed by monitoring the soil gives roots a more stable moisture zone.
University of Minnesota Extension advises keeping container media moist rather than soggy and notes that containers may need daily watering, or occasionally more than once per day, depending on pot size and temperature. University of Maryland Extension likewise identifies improper watering as one of the biggest limitations in container vegetable growing.
On an apartment balcony, check the saucer too. Catching runoff is useful when you need to protect decking or the neighbor below, but don’t leave a tomato pot standing in water for long periods. Empty accumulated water after drainage has finished.
Wind and reflected heat deserve extra attention. A pot beside a sunny brick wall or dark railing can dry much faster than the same container in an open garden. During hot weather, I check containers in the morning and again later in the day rather than following a rigid calendar. For more small-space watering strategies, see our house plants watering guide.
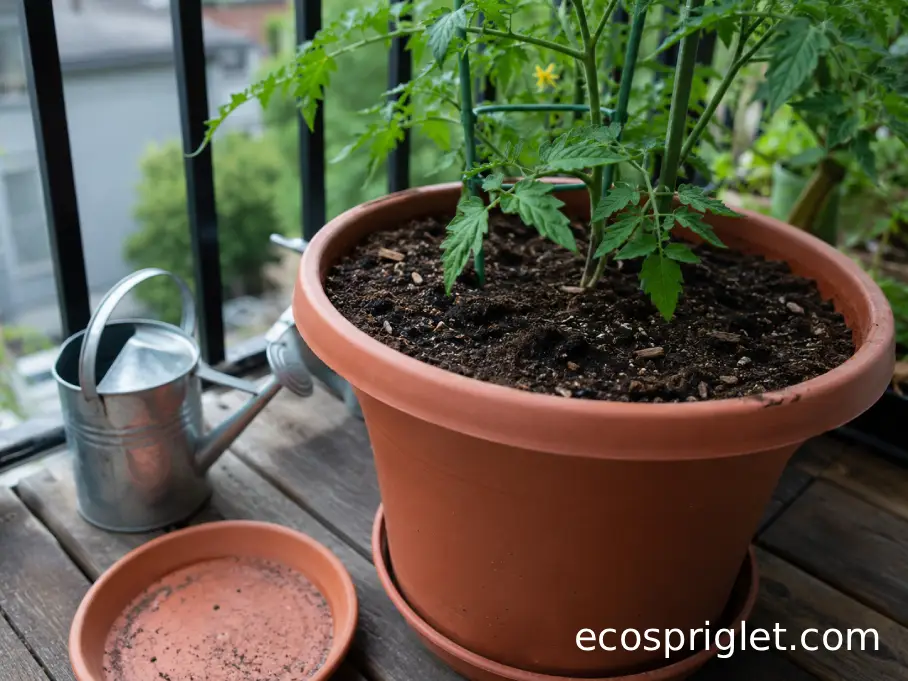
Check Whether the Container Is Running Low on Nutrients
Tomatoes are vigorous plants, and containers hold a limited nutrient reserve. Every thorough watering also carries some soluble nutrients out through the drainage holes. If the older leaves gradually become pale yellow, growth has slowed, and you have not fertilized for several weeks, nutrition deserves a closer look.
University of Minnesota Extension recommends regular fertilization for container plants and specifically notes that soluble fertilizer can be useful when lower tomato leaves are yellowing because nitrogen is insufficient. The same source cautions gardeners to follow the fertilizer label rather than overapply it.
That last point matters. Do not respond to yellow leaves by doubling the concentration. Excess fertilizer can injure roots and create additional nutrient imbalances. If your potting mix contained fertilizer when purchased, check how long that charge was intended to last. Then use a complete fertilizer labeled for vegetables or tomatoes at the manufacturer’s container rate.
If yellowing occurs mainly between the veins instead of across the entire leaf, don’t automatically assume nitrogen is missing. University of Georgia Cooperative Extension describes magnesium deficiency as interveinal yellowing that appears first on older foliage. Iron deficiency tends to produce yellowing between veins on newer growth and can be associated with unsuitable root-zone pH or watering problems.
This is why I would not add Epsom salt simply because a tomato looks pale. Treat a suspected magnesium problem only when the symptom pattern and growing conditions actually support that diagnosis. Random supplements can solve the wrong problem while delaying the right fix.
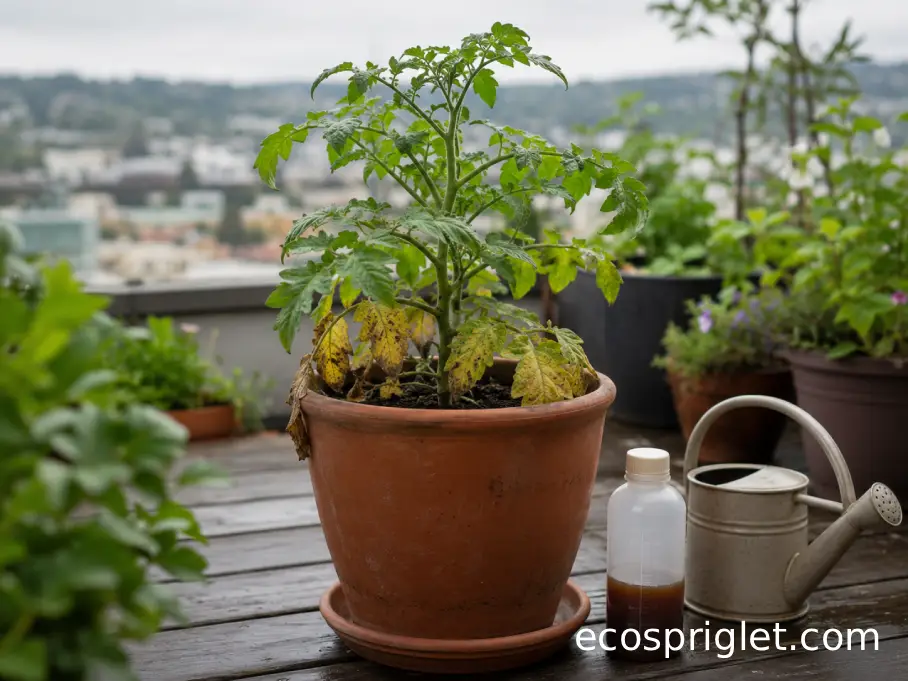
Inspect Spots, Speckles, and the Undersides of Leaves
Yellow leaves with distinct marks need a different response from leaves that are simply pale. Before changing the fertilizer, look closely at both surfaces of several affected leaves.
- Brown spots with target-like rings: early blight is a possibility. University of Minnesota Extension describes early blight as beginning on older lower foliage, with brown spots that may develop concentric rings and yellow tissue around them.
- Numerous small spots with pale or tan centers: Septoria leaf spot may be involved. It also commonly begins on lower leaves.
- Tiny dark spots surrounded by yellow: bacterial spot or speck belongs on the shortlist.
- Fine pale stippling and webbing underneath: inspect for spider mites. Their feeding can merge into larger yellow patches, especially during hot, dry weather.
For leaf-spot problems, remove clearly infected lower leaves, keep foliage as dry as practical, water the potting mix instead of showering the plant, and increase airflow around crowded stems. University of Minnesota Extension recommends staking, mulching, watering at the base, and removing affected leaves as important cultural controls. Avoid stripping the plant bare; removing too much healthy foliage exposes fruit to excessive sun and reduces the plant’s ability to photosynthesize.
If spider mites are the culprit, a strong stream of plain water can physically dislodge them. Insecticidal soap or horticultural oil may also be appropriate when the product is labeled for the crop and pest, but coverage must reach the leaf undersides and label instructions matter. Avoid homemade detergent mixtures, which can damage foliage.
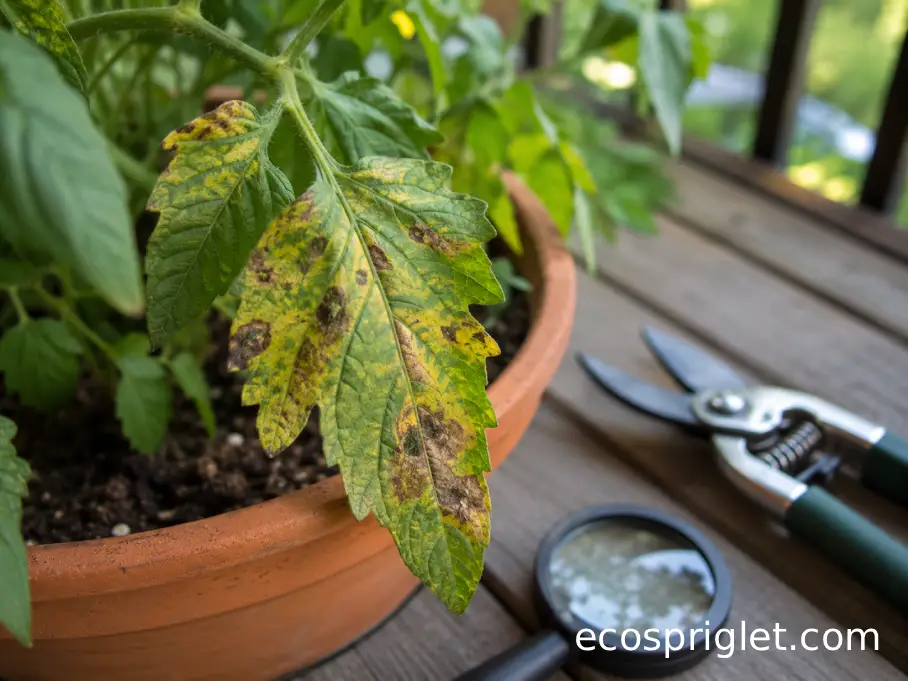
Pay Special Attention When Bottom Leaves Turn Yellow
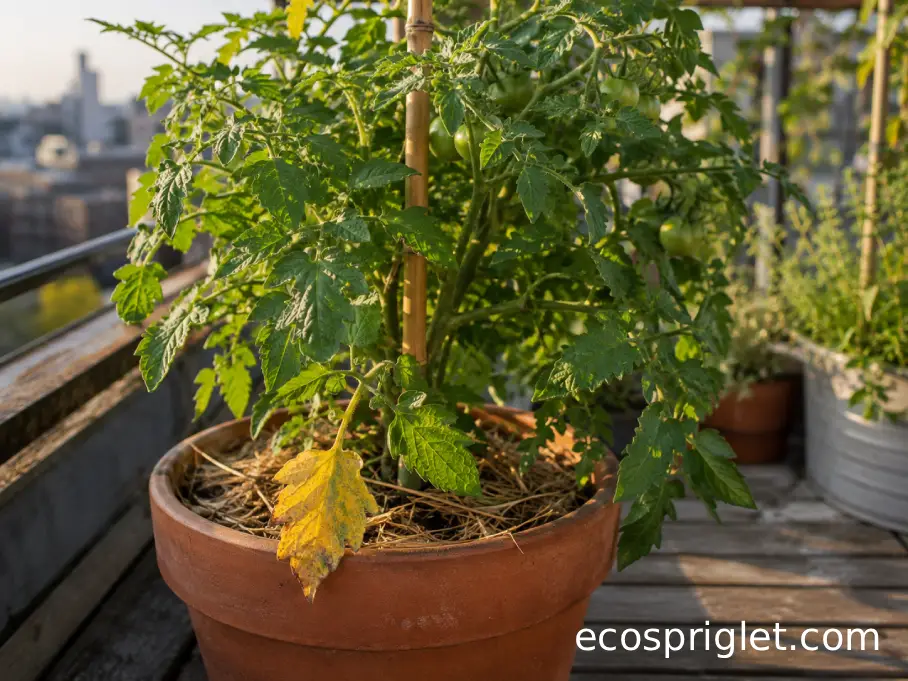
Bottom leaves turning yellow on tomato plants do not automatically mean the plant is sick. An older leaf that has spent weeks shaded beneath the canopy may simply be reaching the end of its useful life. If only one or two of the lowest leaves are fading, the upper growth is vigorous, and there are no spots, wilting, or pest signs, removing those old leaves is usually reasonable.
The pattern becomes more important when yellowing continues upward. Uniform pale lower foliage paired with weak growth can indicate declining nitrogen availability. Lower leaves covered with dark lesions point more toward a foliar disease. Lower leaves that yellow and wilt on one side of the plant deserve even closer attention.
University of Maryland Extension describes Fusarium wilt as beginning with yellowing of lower leaves, sometimes on only one side of a branch or plant, followed by wilting. Brown discoloration can develop in the plant’s vascular tissue. Verticillium wilt can produce a similar lower-to-upper pattern.
A container tomato that is progressively yellowing and wilting despite correctly moist soil is therefore different from one that merely drops an old bottom leaf. If one-sided wilting continues to spread, avoid reusing that potting mix for another tomato or related crop. Starting with fresh container media next season reduces the chance of carrying soilborne problems forward.
Make Sure the Pot, Sun, and Balcony Conditions Fit the Plant
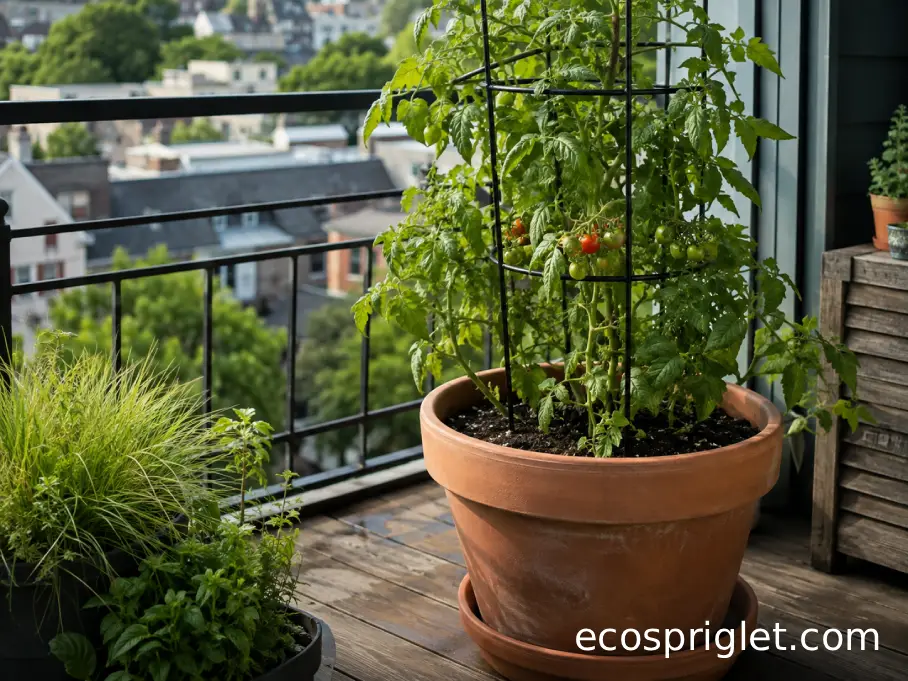
A tomato can receive perfectly sensible watering and still struggle if its container is undersized or its balcony is too shaded. Colorado State University Extension recommends at least a 5-gallon container for tomatoes and notes that larger containers hold more water and nutrients, making plants easier to maintain. University of Maryland Extension recommends about 6 to 8 hours of direct sun for warm-season container crops such as tomatoes.
A 5-gallon container is best treated as a practical minimum, not an ideal ceiling for every tomato. Large indeterminate plants become easier to keep evenly moist when they have more potting mix (Potting Soil Calculator) around their roots. If your plant is already fruiting heavily in a small pot, however, repotting it abruptly can be stressful. In that case, focus first on consistent irrigation, adequate feeding, and protecting the pot from the harshest reflected heat.
Measure your actual direct sun rather than judging the balcony by brightness. A space can look bright all day while nearby buildings limit direct sun to three or four hours. If possible, position the tomato where it receives at least 6 hours, preferably toward the higher end of the range.
Large wet containers can also become very heavy. Before moving to a substantially larger pot, consider the balcony’s structural rules, your lease, and whether the container can be positioned securely out of strong wind. Never attach a heavy planter or tomato support to a railing unless the setup is specifically permitted and safely secured.
For more setup details, see our container tomato growing guide.
Common Mistakes to Avoid
I learned several of these the hard way, usually after trying to help a stressed plant too enthusiastically. Yellow leaves often tempt gardeners into doing several things at once, which makes the real cause harder to identify.
- Watering every day without checking the mix. Hot containers may genuinely need daily water, but cool or shaded pots may not. Test the top 1 to 2 inches first.
- Giving a weak plant extra fertilizer immediately. Fertilizer does not correct waterlogged roots, disease, or mites. Diagnose before feeding.
- Leaving runoff in a deep saucer. Use saucers to control balcony mess, then empty standing water once the container has drained.
- Wet foliage late in the day. Direct water toward the potting mix. Reducing prolonged leaf wetness helps limit several tomato leaf diseases.
- Removing every yellow leaf at once. Take clearly diseased or fully declining leaves first, but preserve enough healthy foliage to shade fruit and power growth.
The mistake I see most often in small-space gardening is changing three variables on the same afternoon: repotting, fertilizing, and watering heavily. If the plant improves or gets worse, you learn almost nothing. Unless the tomato is in obvious distress, make the simplest correction first and watch the new growth over the next several days.
A 10-Minute Balcony Tomato Check
If you’re still wondering why the leaves on your tomato plant are turning yellow, run through the plant in a fixed order instead of guessing.
- Check the top 1 to 2 inches of potting mix and inspect the drainage saucer.
- Look at the newest leaves, then compare them with the oldest leaves near the base.
- Turn over three to five affected leaves and check for mites, webbing, spots, or insects.
- Look for one-sided wilting, stem discoloration, or a pattern moving rapidly upward.
- Review the last few weeks of watering and fertilizer rather than only what happened today.
If the soil is soggy, correct drainage before adding anything. If the plant is dry, water it thoroughly and reassess after it recovers. If lower leaves are uniformly pale and the watering pattern looks sound, review your feeding schedule. If spots or mites are visible, treat the specific problem rather than the color change.
Also look at the leaves that form after you make a correction. Old yellow tissue rarely becomes perfectly green again. Healthy new growth and a slowdown in further yellowing are much better measures of whether the plant is recovering.
That’s the practical goal: not to make every old leaf flawless, but to stop the underlying stress and keep the productive part of the tomato growing.
Keep the Diagnosis Simple and Watch the New Growth
Yellow leaves on tomato plants are frustrating because several unrelated problems can look similar at first. The fastest route to an answer is usually to examine the pattern rather than reaching immediately for a product. Check moisture and drainage, compare old leaves with new ones, inspect both leaf surfaces, and look for spots or wilting. Those clues separate most simple container-care problems from pests and diseases.
For balcony tomatoes, I would correct one obvious problem at a time. Keep the root zone evenly moist rather than constantly wet, use a properly sized container, provide roughly 6 to 8 hours of direct sun where possible, and replace nutrients that frequent container watering has gradually removed. If you find leaf spots or mites, switch from general care adjustments to targeted management.
Most importantly, judge recovery by what happens next. A badly yellowed leaf may never return to its original color. If new leaves emerge healthy, the plant remains upright, and the yellowing stops spreading, you’re moving in the right direction. Keep observing for several days before making another major change, and your tomato will usually tell you whether the diagnosis was correct.