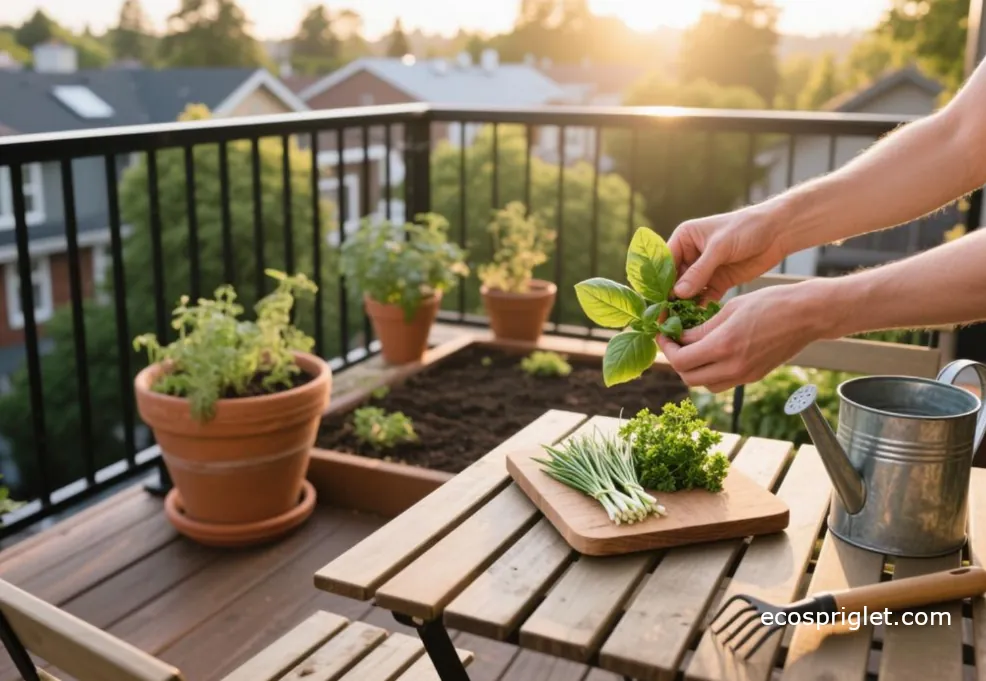
Growing kale is one of the more forgiving ways to turn a balcony, patio, or sunny apartment terrace into a useful vegetable garden. You do not need a raised bed or a row of plants. One properly sized pot can produce leaves for repeated harvests, and a shallow, wide container can work well if you prefer picking baby greens.
Kale is a cool-season crop, so it is especially useful for spring and fall when summer vegetables are either not ready yet or already winding down. You can start with kale seeds or buy transplants, and both routes work well in containers. The important parts are giving mature plants enough room, keeping the potting mix evenly moist without leaving the roots waterlogged, and paying attention to cabbage-family pests before they become established.
For apartment gardeners, I also like kale because the plant tells you quite a lot through its leaves. Wilting, chewed holes, crowded growth, and heat stress are usually easy to spot. Once you know those signals, cultivating kale becomes a pleasantly straightforward routine.
Start With the Right Kale for Your Space
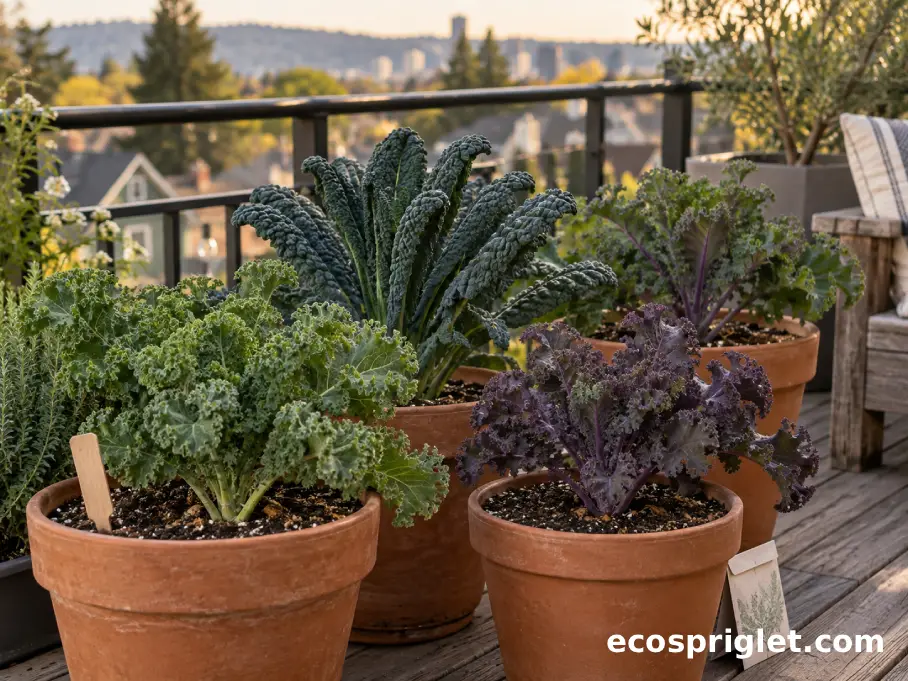
Kale does not come in a single shape. Choosing a type that suits the way you cook and the space you have is more useful than buying the first packet on the seed rack. Curly types form heavily ruffled leaves, while lacinato-type kale has long, narrow, deeply textured foliage. Lacinato is also commonly sold under names such as dinosaur kale or Tuscan kale. Red Russian types tend to have flatter, more open leaves with attractive colored stems and veins.
| Kale Type | What to Expect | Small-Space Use |
|---|---|---|
| Curly kale | Dense, strongly ruffled foliage | A good general-purpose choice for one-plant pots |
| Lacinato or dinosaur kale | Long, narrow, puckered leaves | Easy to harvest a few leaves at a time |
| Red Russian | Flatter, frilled foliage with colored stems | Useful when you want edible greens with visual interest |
| Siberian kale | Broad, leafy growth | Another option worth comparing on local seed racks |
| Baby-leaf mix | Harvested while plants are still small | Well suited to wide containers where full-size spacing is impractical |
Oregon State University Extension lists Siberian, Nero di Toscana, Dwarf Blue Curled Scotch, Redbor, Winterbor, and Red Ursa among kale choices for Central Oregon, while Utah State University Extension also recommends varieties including Red Russian. If your main goal is harvesting greens, check the packet carefully before buying ornamental kale seeds. Oregon State specifically advises container growers seeking edible greens to avoid packets sold as ornamental or flowering kale and select vegetable kale instead.
Sow Seeds at the Right Depth and Time
Growing kale from seed is inexpensive and gives you far more choice than relying on whatever seedlings happen to be available at a garden center. Kale also tolerates cool conditions better than many warm-season vegetables, so you can get started relatively early.
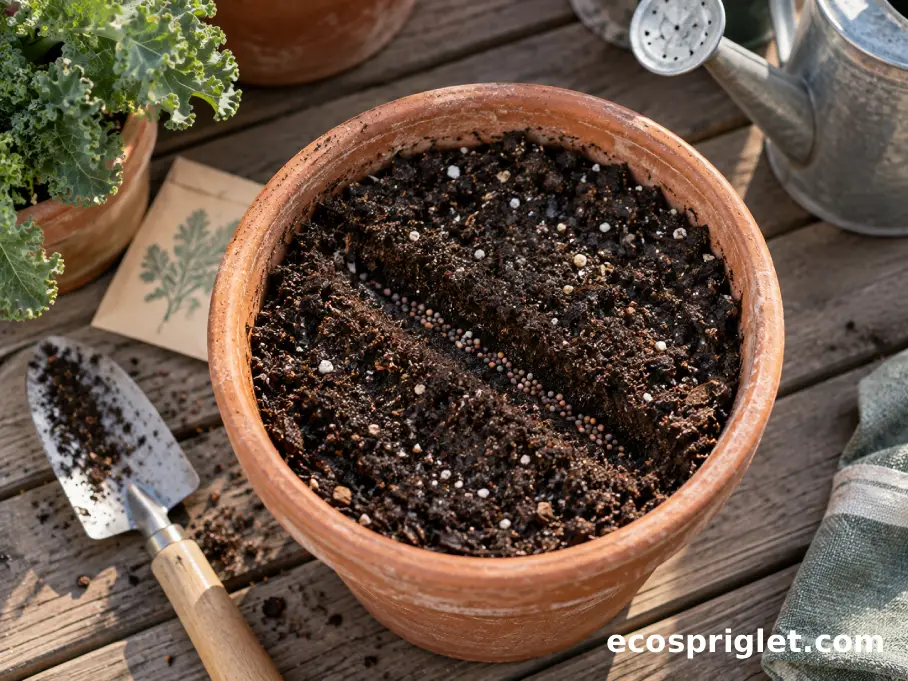
- Sow kale seeds about 1/4 to 1/2 inch deep.
- For spring transplants, start seeds indoors roughly 4 to 6 weeks before your average last frost date.
- Keep the seed-starting mix consistently moist during emergence rather than allowing the surface to repeatedly dry hard.
- Once seedlings develop 3 to 4 true leaves, begin thinning crowded plants instead of letting them compete indefinitely.
A newly emerged kale seedling first opens two seed leaves, or cotyledons. These look much simpler than mature kale. The first true leaves emerge afterward and gradually start showing the shape and texture associated with the variety. That difference helps if you are wondering what kale seedlings look like among several trays of vegetable starts.
I usually resist the urge to sow an entire pinch of seed into one tiny cell. It looks reassuring when everything germinates, but a crowded clump quickly turns into a tangle of stems and roots. Two or three seeds per starting cell gives you room to select the strongest seedling without creating unnecessary work.
Oregon State University Extension recommends starting spring kale about 4 to 6 weeks before the average last frost, while Utah State University Extension recommends a planting depth of 1/4 to 1/2 inch and thinning once plants have 3 to 4 true leaves.
Give Seedlings Room Before They Compete
One of the biggest differences between baby-leaf kale and a full-size kale plant is spacing. You can sow baby greens fairly densely because you harvest them young. A mature plant needs much more room for its roots and expanding leaves.
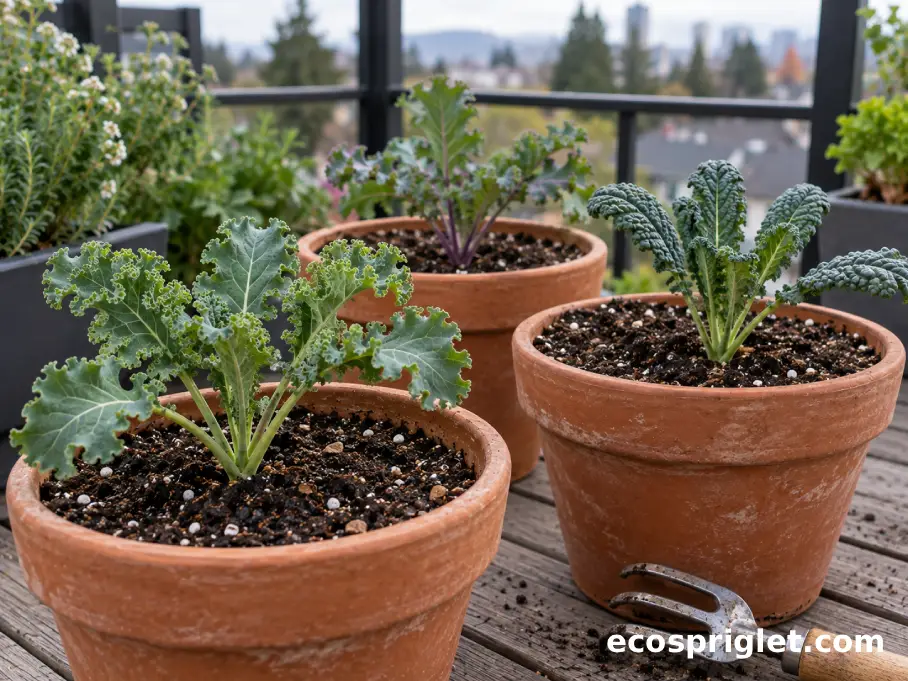
Extension recommendations commonly place full-size kale about 12 to 18 inches apart. In a container, I translate that into one mature plant in a pot roughly 12 inches across rather than trying to squeeze three full-size plants into the same space. If you have a large rectangular planter, measure between planting points rather than judging spacing by how small the seedlings look today. Kale seedlings can look almost comically tiny in their final pots at first, but the empty space disappears surprisingly quickly.
If you are planting kale seedlings that were started indoors, wait until they have a well-developed root system and several true leaves. Utah State University notes that transplants commonly take about 5 to 6 weeks to reach a useful planting size with 4 to 6 mature leaves. Before moving indoor-grown seedlings permanently onto a balcony, gradually expose them to outdoor light, wind, and temperature changes rather than moving them straight from a protected windowsill into full outdoor conditions.
Plant the transplant at approximately the same soil depth at which it was growing in its starter container, firm the mix gently around the roots, and water thoroughly. If two seedlings are hopelessly intertwined, cutting the weaker one at soil level can cause less root disturbance than trying to pull the pair apart.
Sources: Utah State University Extension and University of Illinois Extension recommend roughly 12 to 18 inches between mature kale plants, with Extension guidance also supporting transplanting once plants have several mature leaves and a developed root system.
Build a Container That Stays Moist, Not Soggy
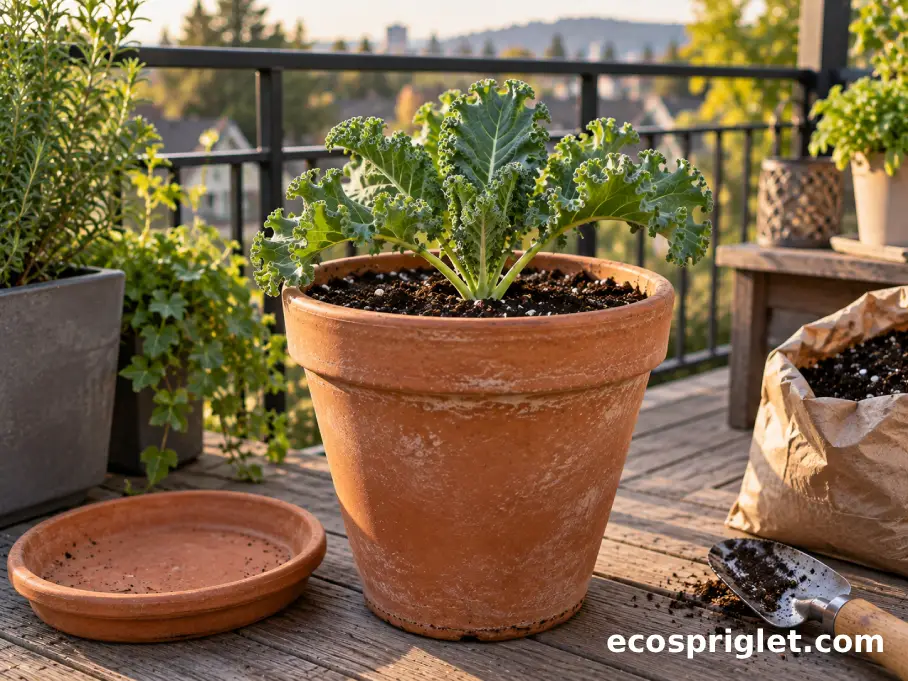
A good kale container does two jobs at once: it holds enough moisture to prevent constant wilting, and it lets excess water escape. For one mature plant, I would start with a container at least about 12 inches wide and 12 inches deep. A pot in roughly the 3- to 5-gallon range gives a single plant useful soil volume without taking over a small balcony. Larger pots also dry more slowly than tiny ones.
I learned the container-size lesson on my own terrace after trying to keep leafy greens productive in a row of undersized pots. I could make them grow, but warm afternoons turned watering into a twice-daily guessing game. Moving the same kind of plants into deeper containers made the routine much calmer.
- Choose a pot with unobstructed drainage holes.
- Fill it with a lightweight commercial potting mix rather than dense soil dug from the ground.
- Leave about 1 inch between the mix and the rim so you can water thoroughly without washing soil over the side.
- Skip the layer of gravel beneath the potting mix; it does not improve drainage inside the growing container.
If you use a saucer to protect an apartment balcony, empty standing drainage water rather than leaving the pot soaking in it. Self-watering containers can also be useful on hot or windy balconies because their reservoirs reduce rapid moisture swings, provided the system is designed to let the root zone remain aerated.
Wind deserves extra attention above ground level. A leafy kale plant catches more wind as it gets larger, so favor a broad, stable pot on exposed balconies. Avoid balancing heavy containers on railings unless the hardware and railing are specifically designed for them, and check building rules or structural guidance before adding several large, saturated pots to a balcony.
Oregon State University Extension recommends containers with drainage holes and notes that many container vegetables do well with 2 to 5 gallons of growing medium and at least 12 inches of depth. University of Illinois Extension advises against putting gravel beneath container soil and specifically cautions gardeners to consider wind stability and balcony weight limitations.
For more setup ideas, see our container gardening guide.
Keep Leaves Tender With Light, Water, and Feeding
Kale prefers cool growing conditions and fertile, well-drained soil. Give the plant sun where you can, but do not assume that the hottest possible balcony location is automatically better. Oregon State University Extension describes kale as suitable for sun or part shade, and Utah State University notes that growth and eating quality decline during high summer heat.
On an exposed south- or west-facing balcony, that can mean moving pots where they receive some relief from intense late-afternoon summer sun. Spring and fall are generally easier seasons for maintaining lush growth. If the weather becomes hot, keep a closer eye on moisture because pots can dry much faster than garden soil.
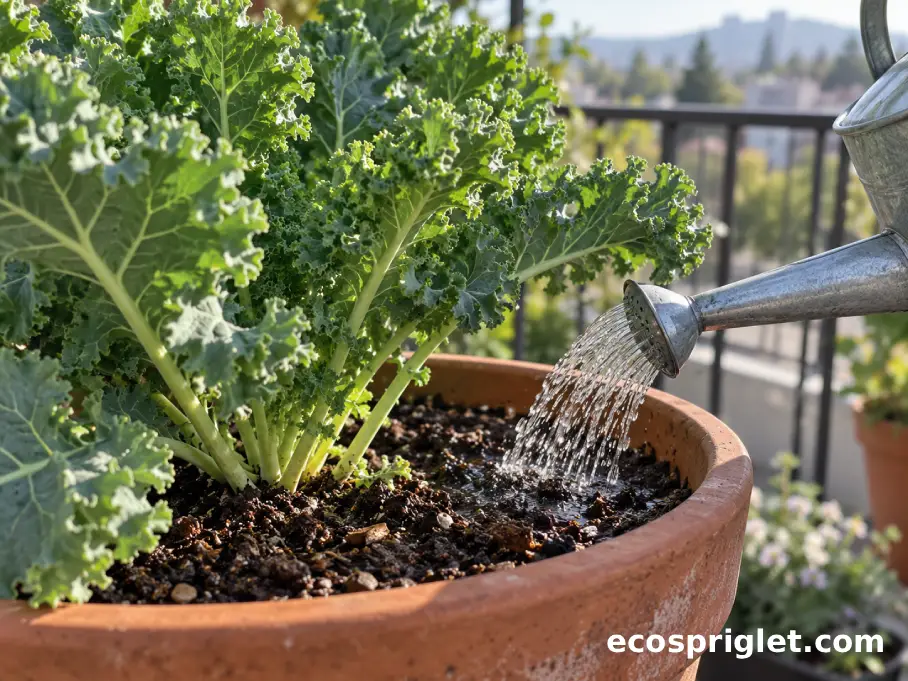
A useful watering test is to push a finger about 1 to 2 inches into the potting mix. If that layer has dried, water thoroughly until some excess drains from the bottom. Do not merely splash the surface. During hot weather, container vegetables may need checking daily, especially in porous terracotta pots or windy locations. The goal is even moisture, not permanent saturation.
Kale also needs nutrients to keep producing foliage. A slow-release fertilizer incorporated according to the product label can simplify container care. Another option is a soluble vegetable fertilizer applied periodically at label rates. Penn State Extension advises that container vegetables may benefit from slow-release fertilizer at planting followed by soluble feeding every 2 to 4 weeks. Avoid the beginner reflex of doubling fertilizer because the leaves seem small; excessive salts in a confined pot can create a new problem instead of solving the old one.
Sources: Oregon State University Extension, Utah State University Extension, and Penn State Extension.
If watering containers is the part you find hardest to judge, our balcony garden watering guide goes deeper into moisture checks and hot-weather routines.
Stop Pests Before They Turn Leaves Into Lace
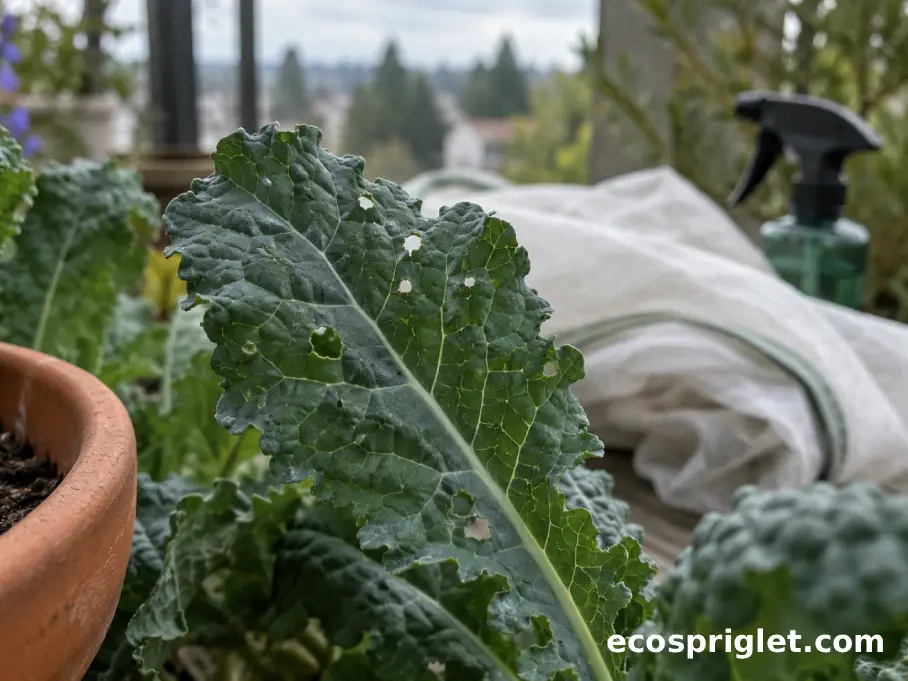
Kale belongs to the cabbage family, and several insects appreciate it as much as gardeners do. Aphids may gather on tender growth or leaf undersides, while cabbage worms, loopers, flea beetles, and related pests can create holes in foliage.
On a balcony, prevention is easier than trying to rescue heavily damaged plants. Inspect the undersides of a few leaves whenever you water. Tiny holes that multiply over several days are a good reason to look closely for caterpillars. If you are growing only one or two pots, hand-removing visible caterpillars is often quicker than reaching for a pesticide.
Oregon State University Extension recommends a firm spray of water for aphids and plant covers for flea beetles and cabbage worms. A lightweight insect cover is most effective when it goes on early, before egg-laying insects have already reached the leaves. Keep the cover supported so the plant has room to expand, and secure the edges well enough that wind cannot repeatedly lift them.
If leaves are limp but the soil is wet, resist adding more water automatically. Check drainage first. If the plant is wilting and the top 1 to 2 inches are dry, a thorough watering is more appropriate. Yellowing on the oldest lower leaves can occur as plants age, but widespread yellowing, persistently soggy soil, or stalled growth should send you back to the root zone, drainage, light, and feeding routine rather than straight to pest treatment.
Harvest for Weeks Instead of Taking the Whole Plant
How long kale takes to grow depends on the variety, the season, and whether you want baby leaves or a full-size plant. For planning a mature crop, roughly 7 to 11 weeks is a useful window, but the date printed on your particular seed packet should be your main reference. Utah State University recommends allowing about 50 to 75 days when timing fall crops, and some of its listed varieties are rated at around 50 to 55 days.
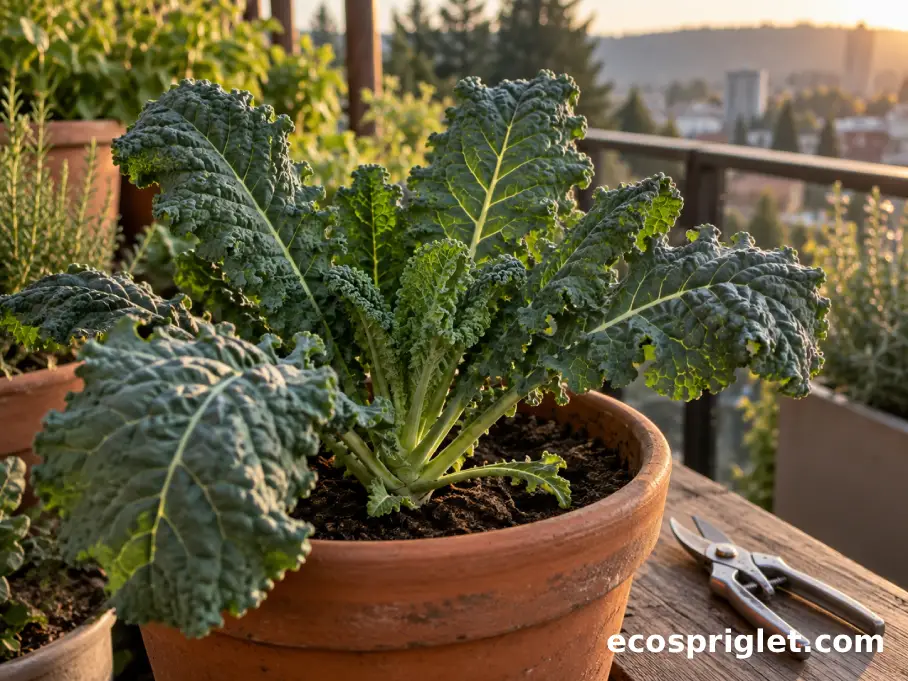
You do not necessarily need to wait for the entire plant to look mature. Baby leaves can be taken sooner, while full-size plants can be harvested gradually. Once the outer leaves reach a useful size, remove a few from around the lower portion of the plant and leave the central growing point intact. The plant can then continue producing new foliage.
I prefer this outside-in harvest on a balcony because it gives me manageable amounts for cooking instead of a refrigerator full of kale on one afternoon. As a rough routine, take only what you can use and leave plenty of healthy foliage behind to keep the plant growing.
Cool weather can improve the eating quality of kale, which is another reason fall crops are worth growing. If a spring plant becomes increasingly tough or bitter during prolonged heat, I usually stop trying to force it through the worst part of summer and use the container for another crop before sowing fresh kale for fall.
Oregon State University Extension recommends harvesting mature outer leaves while allowing continued growth, while Utah State University provides the 50- to 75-day planning range for fall kale and advises leaving the terminal bud intact during repeated harvests.
Common Mistakes to Avoid
Kale is forgiving, but containers magnify small mistakes. There is less soil to buffer changes in water, temperature, and nutrients, so a habit that causes only mild stress in a garden bed can become obvious within a day or two in a pot. I learned this the hard way with overcrowding: young plants looked perfectly comfortable together until their leaves suddenly overlapped and the pots began drying much faster.
- Overcrowding mature plants: Thin or transplant until full-size kale has roughly 12 inches or more of personal space. Grow densely only when you intend to harvest baby leaves.
- Using a tiny pot: Move a full-size plant to a container around 12 inches wide and deep instead of trying to compensate with constant watering.
- Adding gravel for drainage: Use drainage holes and a suitable potting mix instead. A gravel layer beneath the soil can leave the wetter zone higher in the pot.
- Letting containers swing from bone-dry to soaked: Check the upper 1 to 2 inches regularly and water thoroughly when that zone dries.
- Ignoring heat and wind: Shift containers away from punishing afternoon exposure when appropriate and use stable pots on exposed balconies.
Another mistake is treating every leaf problem as a fertilizer deficiency. Look at the whole plant first. Check the soil moisture, drainage holes, undersides of leaves, recent temperatures, and whether the roots are badly crowded. The simplest explanation is often the right place to start.
University of Illinois Extension supports using stable containers on exposed balconies, warns against gravel layers inside individual pots, and notes that larger containers generally require less frequent watering than smaller ones. Oregon State University Extension likewise emphasizes adequate drainage and suitable container volume.
Keep Your Kale Harvest Going
A single pot is enough to learn how to grow kale well. Choose a culinary variety you actually want to eat, sow the seed about 1/4 to 1/2 inch deep, give a mature plant roughly a 12-inch-wide home with real drainage, and keep the potting mix from repeatedly drying out. Those few decisions solve most of the problems I see beginners run into.
Once the first plant is established, succession sowing is a simple way to make a small space more productive. Start another few seeds several weeks later rather than filling the balcony with mature kale all at once. Oregon State University Extension recommends staggered planting as a way to spread harvests across the season, and the method works particularly well when you have room for only two or three containers.
Pay attention to the season, too. Kale is at its easiest in cool weather. A spring crop can bridge the gap before summer vegetables take over, while late-summer seeding can give you fresh growth heading into fall. Harvest the outer leaves, protect young plants from cabbage-family pests, and replace tired plants when prolonged heat has reduced their quality.
That is the part I enjoy most about growing kale on a balcony: you do not need a complicated setup. One sturdy pot, a packet of seeds, and a few minutes of observation every couple of days can keep useful greens within arm’s reach for weeks.