Knowing when to harvest potatoes is less about circling a date on the calendar and more about reading the plant. For a few tender new potatoes, you can start checking while the plant is still green. For a mature crop that you want to store, wait until the foliage naturally yellows, collapses, and dries, then check whether the tuber skins have toughened enough to resist rubbing off.
That distinction matters even more when you grow potatoes on a balcony or patio. A grow bag or large container can dry out quickly, foliage may decline earlier in summer heat, and you probably do not want to dump 10 or 15 gallons of potting mix onto the decking just to discover marble-size potatoes.
I like to treat harvest as a three-part check: look at the foliage, consider how long the plants have been growing, and inspect one tuber before disturbing the whole crop. University of Minnesota Extension recommends harvesting mature potatoes after the plants have dried, while new potatoes can be dug much earlier—about seven to eight weeks after planting. Here is how to make that call confidently.
The Quickest Way to Tell They’re Ready
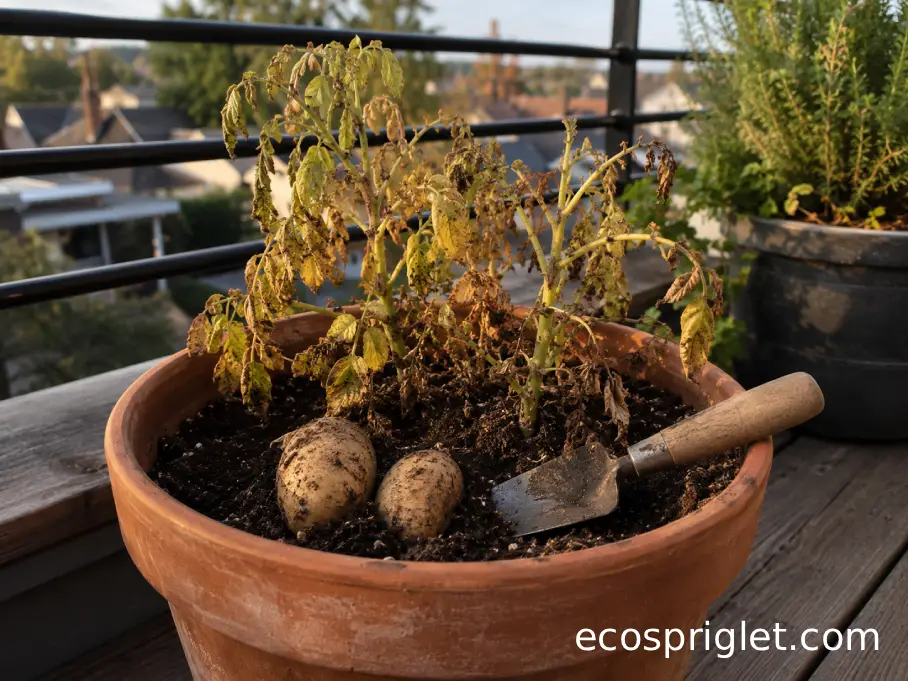
If you want full-size potatoes for storage, the most useful signal is natural vine dieback. Healthy green foliage gradually turns yellow, flops over, browns, and dries as the crop matures. University of Minnesota Extension and Colorado State University Extension both recommend waiting until the tops die back for mature potatoes with tougher skins.
Use these three clues together rather than trusting any one of them:
- Foliage: Most of the plant has yellowed, browned, or dried naturally.
- Timing: Your crop is near the variety’s expected maturity period. Late-season potatoes can take as long as about 120 days, so the seed-potato label is useful as a rough guide rather than a harvest deadline.
- Skin: A test potato has firm skin that does not readily scrape away when rubbed gently with your thumb.
Do not panic if the calendar says the crop should be ready while the plants are still vigorous and green. Growing conditions affect development. Likewise, don’t assume every yellow leaf means maturity; heat stress, lack of water, nutrient problems, and disease can also cause premature decline. If the foliage changes suddenly instead of gradually, inspect the plant before calling it harvest time.
New Potatoes and Storage Potatoes Need Different Timing
You do not actually have to wait for the plant to die before eating its potatoes. A new potato is simply a tuber harvested while immature, before the skin has fully toughened. University of Minnesota Extension says gardeners can begin digging new potatoes about seven to eight weeks after planting, while Colorado State University suggests harvesting small, tender potatoes around the flowering period.
I usually sacrifice one exploratory potato rather than emptying a container based on flowers alone. Ease your fingers or a narrow trowel into the outer edge of the pot and feel for a tuber. If the potatoes are roughly the size you want for cooking, you can harvest a few and leave the plant growing. University of Minnesota Extension specifically notes that gardeners can dig alongside a plant, remove several new potatoes, and leave the rest in place.
For potatoes you hope to keep for weeks or months, patience pays off. Let the foliage finish naturally and give the tuber skins time to toughen. New potatoes have wonderfully tender skins, but that same tenderness makes them easier to scuff and less suitable for long storage.
A simple rule works well in small spaces: harvest early for tenderness; harvest after dieback for storage quality.
What Potato Plants Look Like at Harvest Time
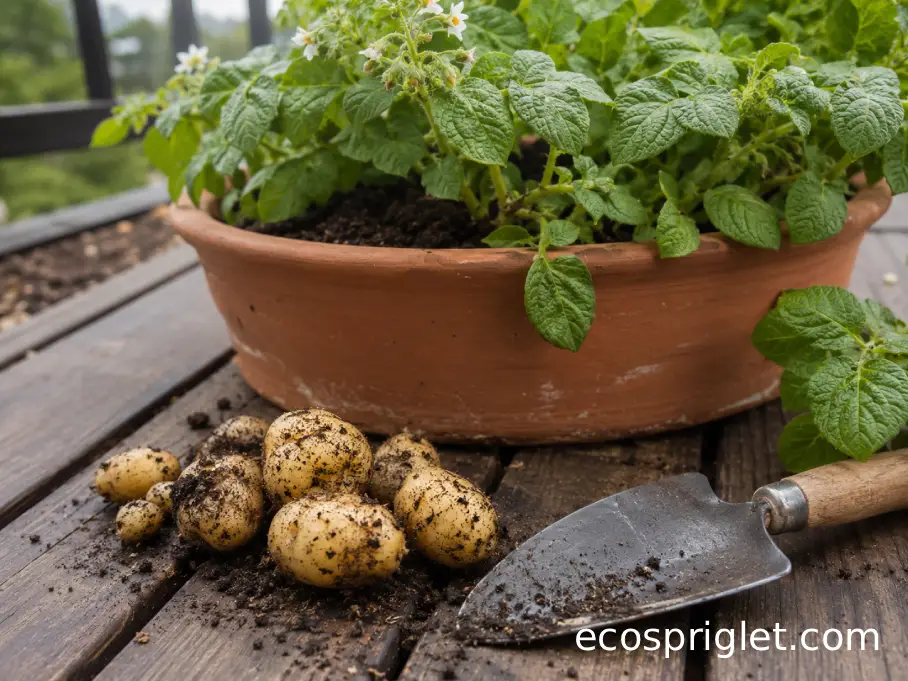
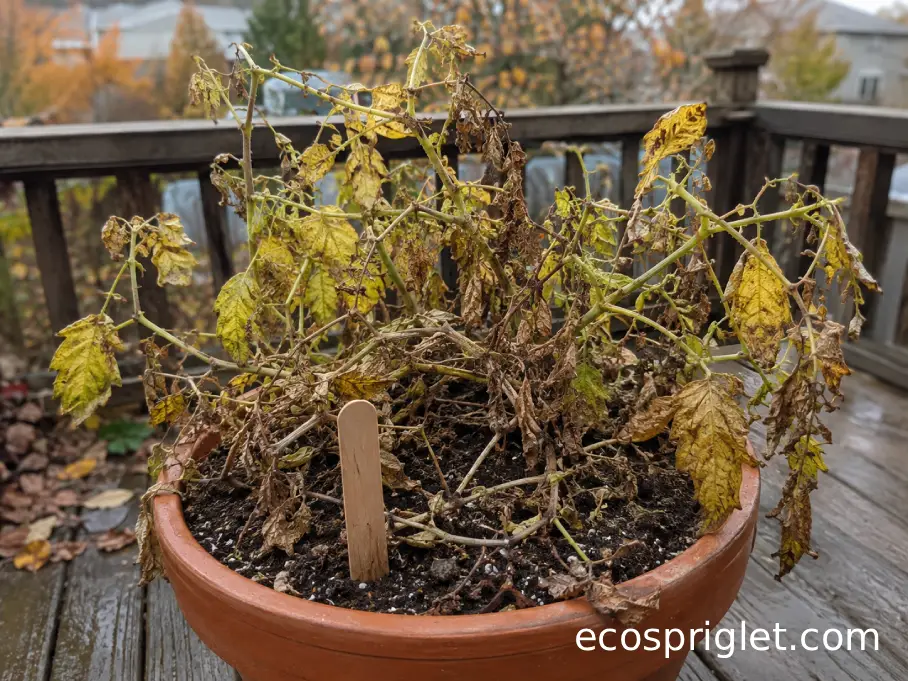
A potato plant ready for a mature harvest rarely looks attractive. The lush plant you watched all summer starts losing its deep green color. Lower leaves may yellow first, stems lean outward, and eventually much of the top turns brown and dry.
That untidy appearance is useful. Mature tubers remain underground while the top finishes its life cycle. Illinois Extension likewise advises harvesting potatoes after the vines have died.
What you want to see is gradual, whole-plant decline, not one isolated yellow leaf. On a hot balcony, containers can also wilt or scorch simply because the root zone overheated or dried out. Water-stressed plants may perk up after irrigation; naturally mature foliage does not suddenly become lush again.
Disease is another reason not to use color alone. If foliage develops abrupt dark lesions, unusual spotting, rapid collapse, or other suspicious symptoms while neighboring stems remain green, diagnose the problem instead of assuming the potatoes have simply matured. Late blight, for example, can affect both potato foliage and tubers.
For a normal-looking plant that has simply reached the end of its season, wait for substantial dieback and then move to the test that tells you much more: the skin check.
Use the Skin Test Before a Full Harvest
If you’re still wondering how to know when potatoes are ready to harvest for storage, dig one before committing the entire container.
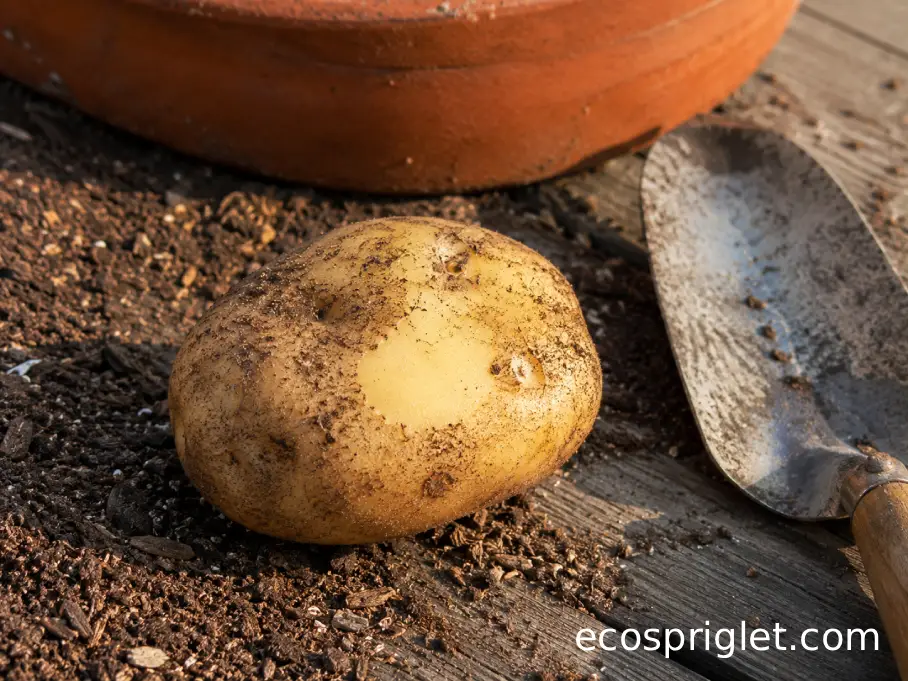
Gently rub the potato with your thumb. If the skin peels, feathers, or slips away easily, it has not fully set. Oregon State University Extension recommends waiting another week when the skin still rubs off easily. University of Minnesota Extension similarly says storage-ready skins should be difficult to rub off.
That test is especially handy for container gardeners because foliage can look finished before the tubers have developed durable skins. You can remove one potato from near the outer edge, perform the test, and leave the rest undisturbed if they need more time.
If the skin stays firmly attached, the tops have died back, and the tubers have reached a useful size, I would harvest rather than chase an extra week of growth. Once the plant has finished, there is little advantage in leaving a balcony container sitting wet through repeated autumn rain.
For red potatoes, use the same signals. Red skin color by itself does not prove maturity. Check plant dieback and skin set just as you would with white, yellow, purple, or russet-type potatoes.
How to Harvest Potatoes Without Bruising or Spearing Them
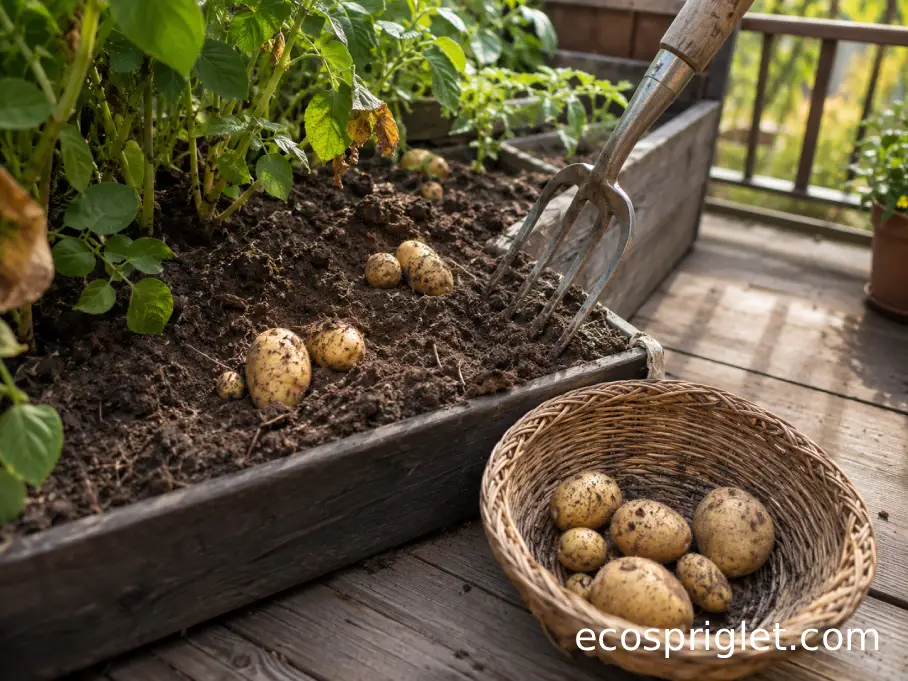
Potato skins can bruise more easily than they look, so harvesting is a job for leverage rather than force. University of Minnesota Extension recommends choosing a dry, warm day and using a spading fork carefully enough that the tines do not pierce the tubers.
For potatoes growing in a bed or very large planter, start farther from the stems than you think necessary. Push the fork into the soil at the outer edge of the root zone, lift the soil gently, and work inward. Do not stab directly beneath the plant.
- Let overly wet soil drain before digging; loose soil separates from tubers more easily.
- Set potatoes into a basket or tray instead of tossing them.
- Keep freshly dug tubers out of direct sunlight while you finish harvesting.
- Separate potatoes that were cut, pierced, or badly bruised and use them before sound storage potatoes.
I learned the fork lesson on one of my first patio crops. I was so eager to see what was underground that I drove a garden fork straight into the center of the pot and managed to spear one of the largest potatoes. These days I work from the outside edge and accept that finding potatoes slowly is faster than sorting through damaged ones later.
Mechanical injury matters because damaged potatoes deteriorate faster in storage. University of Minnesota Extension recommends using injured tubers first rather than including them with the long-term crop.
Harvesting Potatoes From Containers and Grow Bags
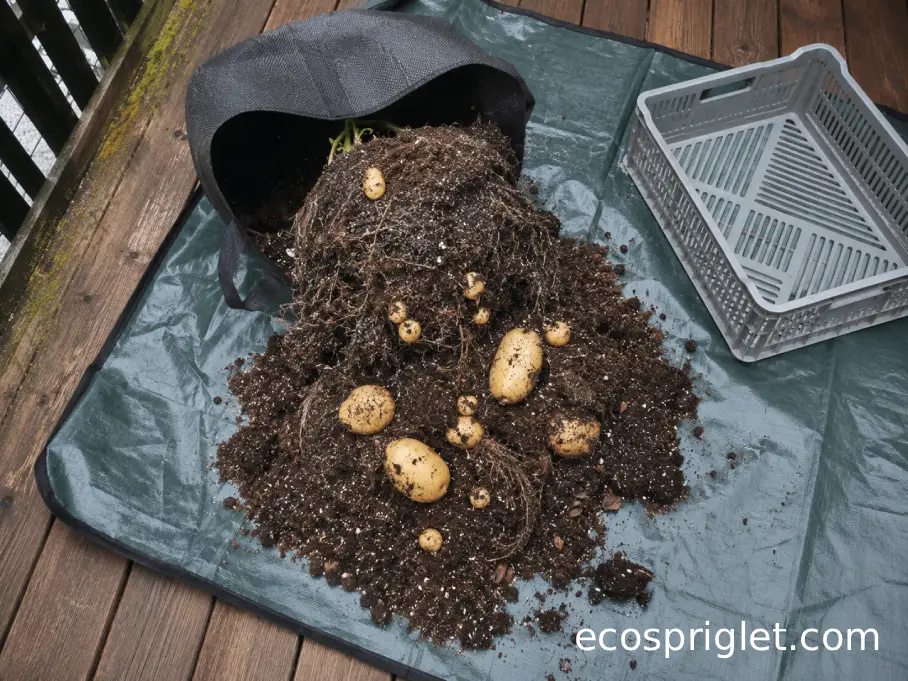
Containers make the actual potato harvest wonderfully simple, but they can create an impressive mess on a third-floor balcony. My favorite setup is a tarp, an empty tote for used potting mix, and a shallow box for potatoes.
Once the crop is mature, move the container onto the tarp. For a flexible grow bag, roll the sides down or tip the bag gently and break apart the root ball with your hands. With a rigid pot, lay it partly on its side and ease the soil out rather than lifting the plant violently by the stems. University of Maine Extension describes container harvesting in much the same way: empty the grow bag and work through the growing medium by hand, handling the tubers gently.
Run your fingers through the soil twice. Small potatoes have an uncanny ability to hide against chunks of potting mix, especially if the mix contains bark or compost.
For an apartment balcony, a few practical details make cleanup easier. Keep the drain holes or balcony drain clear of loose soil, do not sweep potting mix over the railing, and transfer the spent mix into a tote or bag before the wind gets a chance to redistribute it. If the old potato foliage showed signs of disease, do not automatically reuse that growing mix for another potato-family crop.
If you’d like to set up the next crop more efficiently, see our guide to growing potatoes in containers.
Common Mistakes to Avoid
Most disappointing potato harvests are not ruined by one dramatic mistake. It is usually a series of small decisions—digging too soon, handling the crop roughly, or leaving harvested tubers in the light.
- Emptying the container as soon as flowers appear: Flowers can indicate that tubers are developing, but they do not mean a storage crop is mature. Take a few new potatoes if you want them; otherwise let the plant continue.
- Using a calendar as the only test: Days to maturity are estimates. Pair them with foliage condition and the skin-rub test.
- Assuming yellow foliage always means maturity: Heat, drought, nutrient stress, and disease can also cause premature yellowing.
- Digging aggressively: Pierced and bruised potatoes do not store as reliably as intact tubers.
- Leaving the harvest in sunlight: Light encourages greening. Protect harvested potatoes from light as you work and during storage. Oregon State University Extension recommends minimizing light exposure because greening is associated with increased glycoalkaloids.
One more mistake is treating every green potato as merely cosmetic. Potatoes with pronounced greening or damage should not be eaten, according to Oregon State University Extension. University of Minnesota Extension also advises against eating potatoes with extensive green areas and recommends removing sprouts before cooking.
Cure and Store the Crop Without Losing Quality
If you plan to eat your potatoes over the next few meals, complicated storage is unnecessary. For a crop you want to keep longer, curing gives mature skins and minor harvest wounds a chance to firm up before cooler storage.
Extension recommendations vary somewhat with conditions. Oregon State University Extension recommends curing newly harvested potatoes for about 7 to 10 days in a dark, well-ventilated place with moderate temperatures and high humidity, then storing table potatoes around 40–46°F. University of Minnesota Extension gives a curing range of about 50–60°F for 14 days.
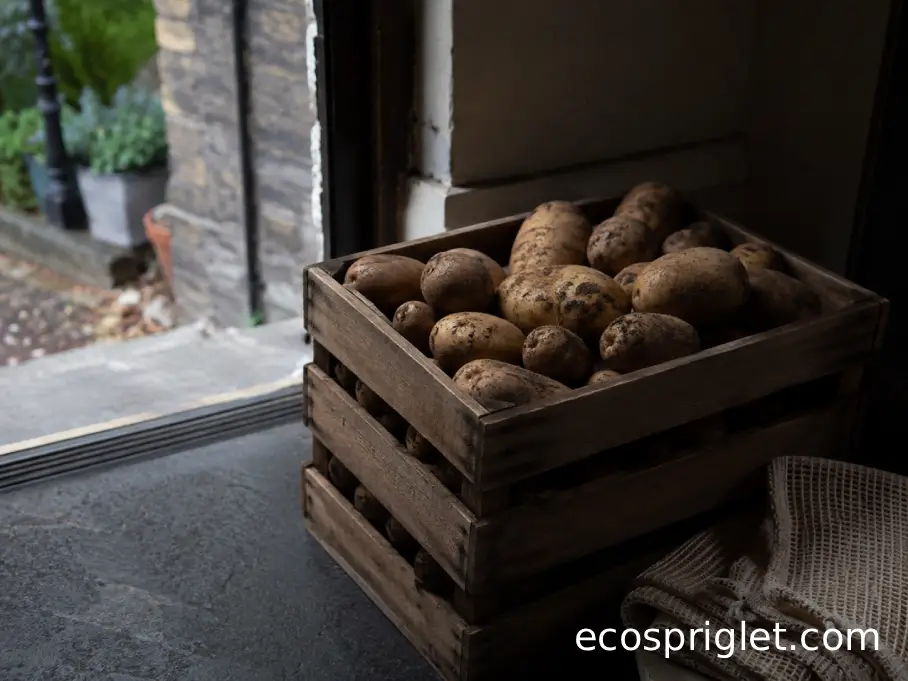
In an apartment, you probably do not have a purpose-built root cellar, so focus on the parts you can control: darkness, gentle handling, ventilation, and a cool, stable location. A perforated bag or ventilated container helps maintain humidity without trapping excessive condensation. Oregon State University Extension specifically recommends well-ventilated containers or perforated plastic bags for storage.
Before storing:
- Sort out badly cut, bruised, soft, or diseased potatoes.
- Make sure the tubers are dry before they go into storage.
- Keep them completely protected from light.
- Check the stored crop periodically and remove any tuber that are beginning to spoil.
Cleaning advice differs slightly among Extension programs because soil conditions matter. University of Minnesota Extension favors gently brushing dry soil away without washing, while Oregon State University says sandy soil can be brushed off and sticky clay may require rinsing, provided the potatoes are completely dried afterward. For a container crop grown in loose potting mix, I normally brush away dry mix rather than adding moisture before storage.
Ready to Dig?
The best answer to when you should harvest potatoes depends on what you want from the crop. For tender new potatoes, you can start checking about seven to eight weeks after planting or around flowering. For potatoes intended to mature fully and store well, let the tops yellow and die back, then dig one tuber and make sure its skin resists gentle rubbing.
On a balcony, that test harvest is especially useful. It takes a minute, costs you one potato, and can save you from dumping an entire grow bag too early. When harvest day arrives, work gently, keep the tubers shaded, and sort damaged potatoes from the sound ones before curing or storage.
I still think emptying a potato container is one of the better small-space gardening payoffs. For months, nearly everything interesting has been hidden below the soil. Then one ordinary-looking pot turns into dinner. Once your container is cleaned up, you can plan the next crop with our container gardening guide for beginners.
Sources: University of Minnesota Extension, Oregon State University Extension, Colorado State University Extension, University of Maine Cooperative Extension, and Illinois Extension.