A plant that suddenly looks limp, yellow, crispy, or half-bare can make any apartment gardener feel like they failed overnight. Most of the time, though, the plant has been sending quiet signals for a while: soil staying wet too long, roots running out of air, a window that is dimmer than it looks, or heat blasting from a vent. The good news is that learning how to revive a dying plant is less about one dramatic trick and more about making a few careful checks in the right order.
Start by slowing down. Don’t fertilize heavily, don’t repot immediately, and don’t keep adding water because the leaves are drooping. Wilting can mean too little water, but it can also mean root rot from too much water. I’ve rescued more balcony herbs and indoor foliage plants by pausing for ten minutes than by rushing into “plant hospital” mode.
This guide walks you through a simple rescue process for common apartment plants, including basil, orchids, snake plants, corn plants, peace lilies, spider plants, Christmas cactus, lavender, rosemary, palms, bamboo, and potted roses.
First, Decide Whether the Plant Is Still Alive
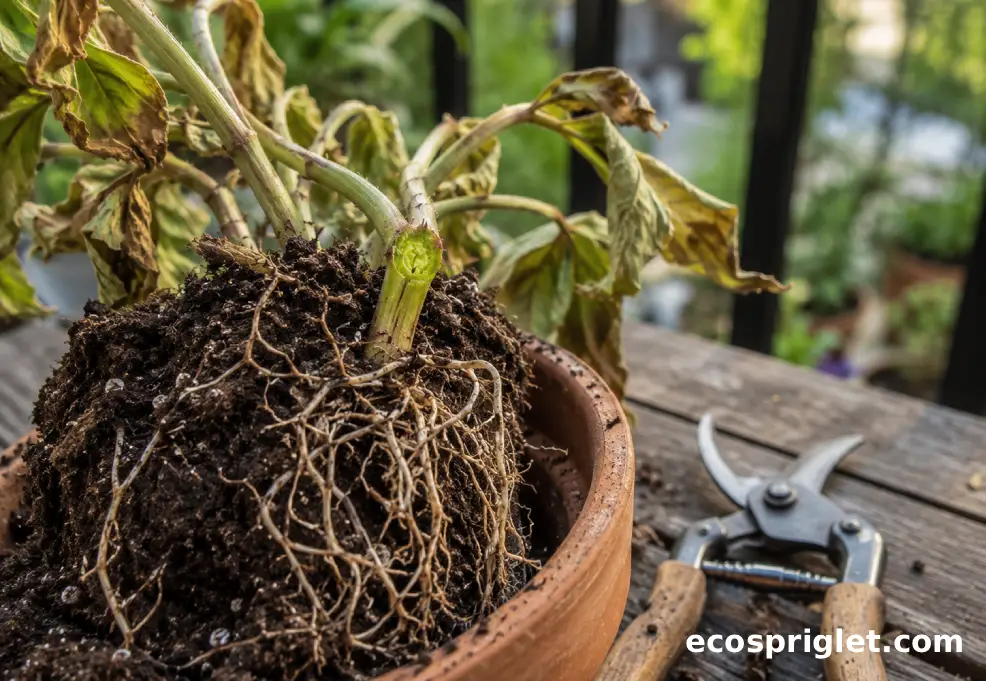
Before you try to save a dying plant, confirm that there is still living tissue to work with. A plant with a few crispy leaves can often recover. A plant with a mushy crown, collapsed stems, and dead roots may not. This is the honest answer to can you revive a dead plant: if every stem, crown, cane, bulb, or root is dead, no. If even one section is green, firm, or capable of producing new growth, you may have a chance.
For woody plants such as potted roses, hibiscus, rosemary, lavender, or small indoor trees, gently scrape a tiny spot on a stem with a clean fingernail or pruning blade. Green or moist tissue under the bark is a good sign. Brown, dry, brittle tissue all the way down the stem means that part is dead. For soft-stemmed plants such as basil or mint, look for firm lower stems and tiny leaf buds at the nodes.
Roots tell the bigger story. Healthy houseplant roots are often pale, cream, or white, while roots damaged by overwatering may be dark, soft, or mushy. University of Illinois Extension notes that healthy roots are generally white, while dark brown to black roots can signal overwatering damage.
Give borderline plants a short trial. If stems are partly alive and roots are not completely mushy, place the plant in suitable light, correct the water problem, trim only fully dead tissue, and watch for two to four weeks. New growth is the real proof of recovery.
Read the Symptoms Before You Reach for Water
The same sad-looking leaf can point to different problems, so diagnosis matters. A peace lily that collapses after a dry week may perk up after watering. A snake plant with yellowing, soft leaves usually needs the opposite: less water, more drainage, and time to dry. University of Minnesota Extension warns that poor drainage and overwatering can cause root rot and encourage fungus gnats, while Illinois Extension recommends watering thoroughly and emptying the saucer afterward.
| Symptom | Most Likely Cause | First Fix |
|---|---|---|
| Leaves wilt but soil is wet | Overwatering or root rot | Stop watering, check roots, improve drainage |
| Leaves wilt and soil pulls from pot edges | Underwatering | Soak thoroughly, then let excess drain |
| Yellow lower leaves and slow growth | Low light plus wet soil | Move brighter and water less often |
| Brown crispy tips | Dry air, drought, salts, or old stress | Flush soil, adjust watering, trim dead tips |
| Soft stems at soil line | Rot | Cut healthy pieces if possible, discard mushy parts |
| Sticky leaves, webbing, or specks | Pests | Quarantine, rinse leaves, inspect weekly |
Light is the quiet troublemaker in apartments. A plant sitting six feet from a window may look close to daylight to us, but it can be dim for a plant. University of Minnesota Extension explains that low light slows plant growth and reduces water use, which is why overwatering becomes easier in darker rooms.
My rule on a small balcony or windowsill is simple: check soil first, then light, then roots. Watering before you know which problem you have can turn a stressed plant into a rotting one.
Do a 30-Minute Rescue Check Before Repotting
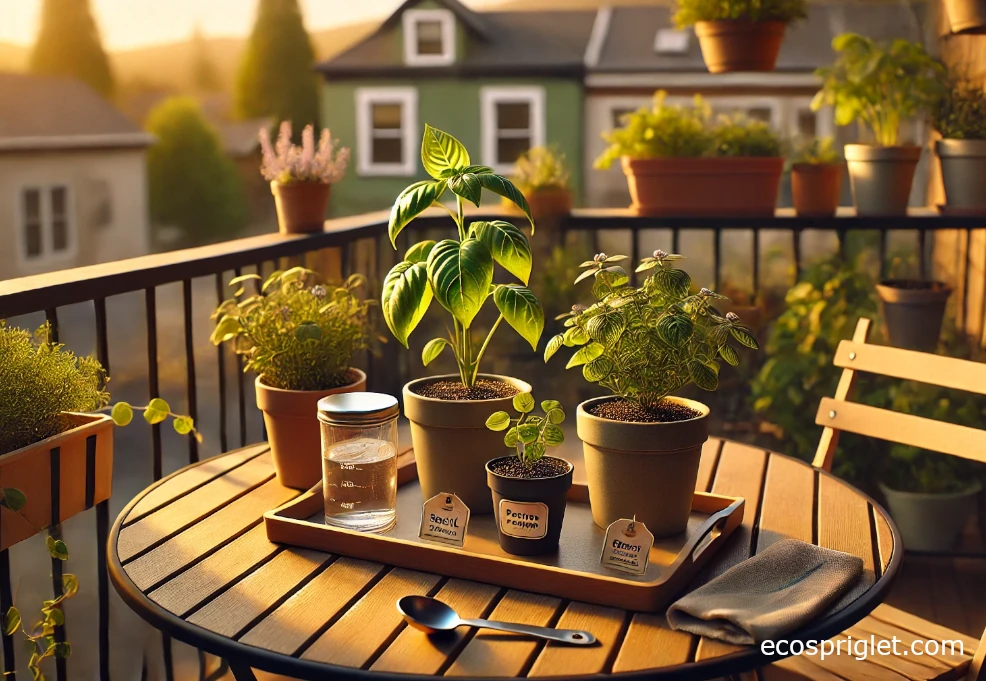
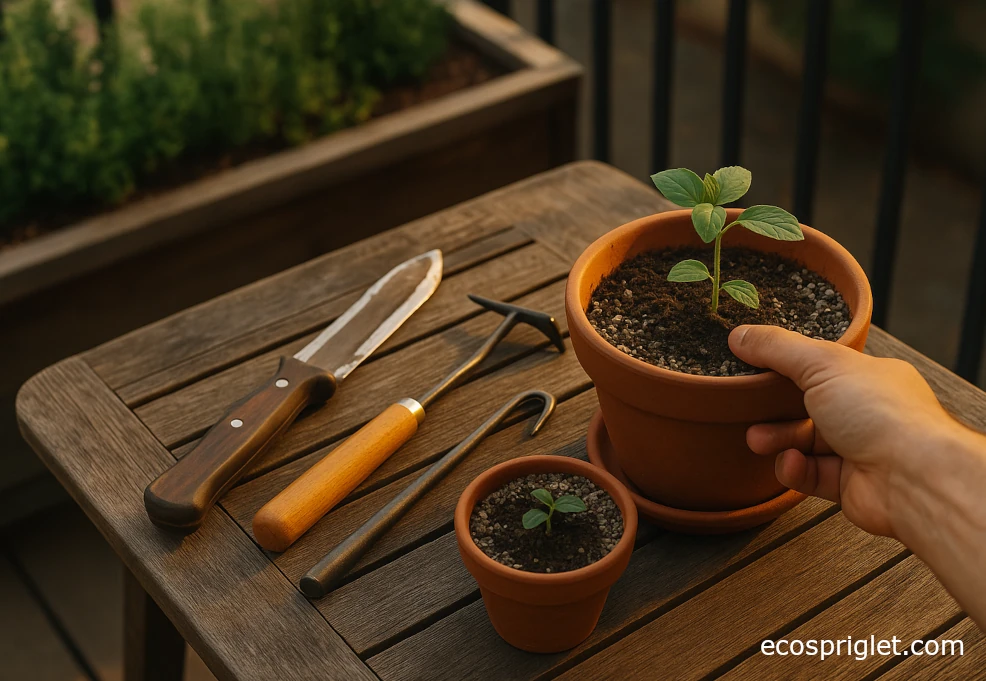
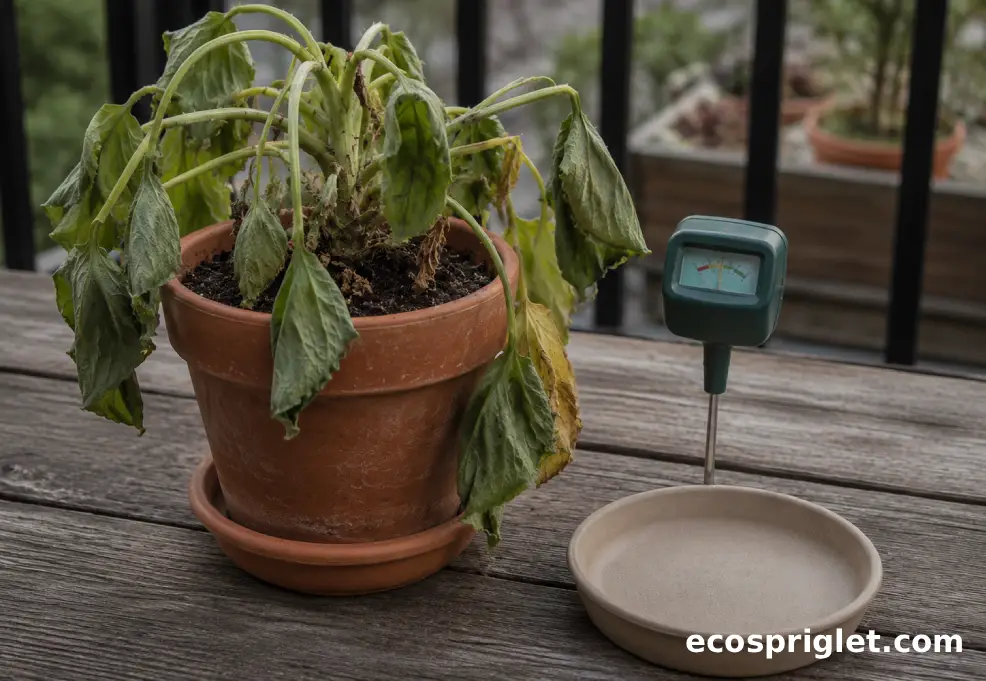
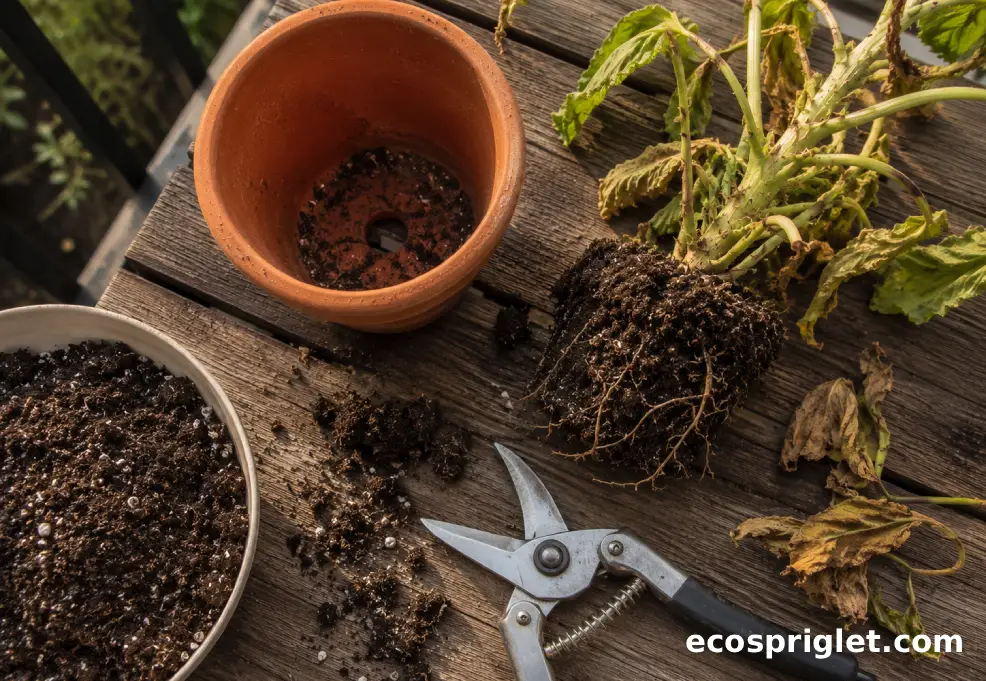
A rushed repot can shock a weak plant. Before you pull it from the container, make a quick rescue station: newspaper or a tray for mess, clean scissors, a bowl for dead leaves, fresh potting mix, and a pot with drainage holes. Apartment gardening is easier when the rescue happens in one contained spot instead of across the kitchen floor.
- Feel the soil 1 to 2 inches down. If it is wet and heavy, do not water again yet.
- Lift the pot. A surprisingly lightweight pot usually means dry soil; a heavy pot may still be waterlogged.
- Check the drainage hole. If roots are circling tightly or soil smells sour, root stress is likely.
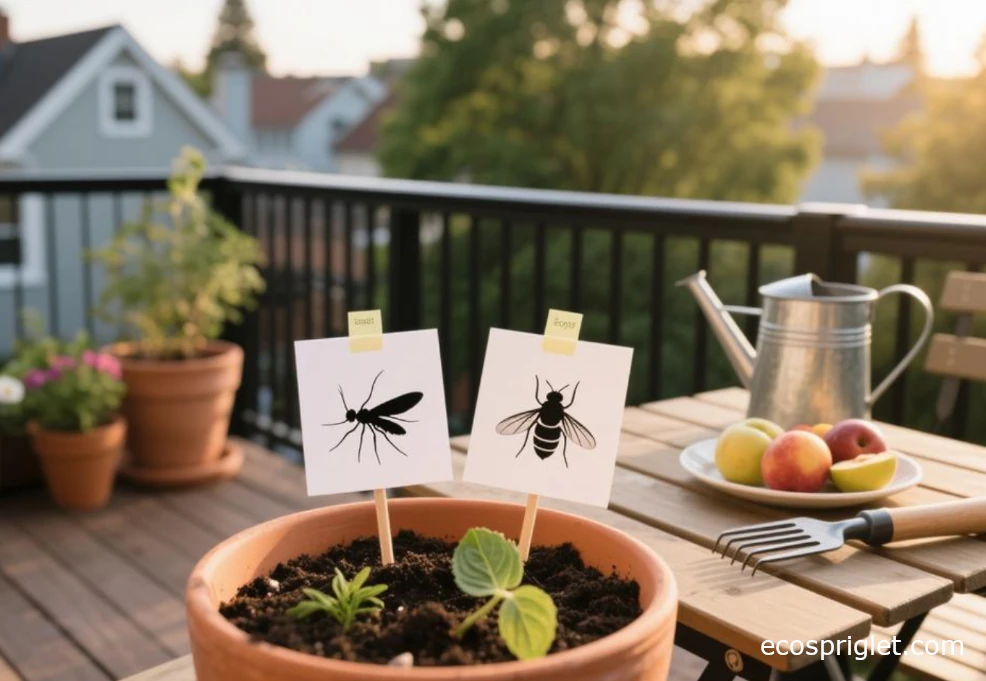
- Look under leaves and along stems for webbing, scale, aphids, or white cottony mealybugs.
- Remove only leaves that are fully yellow, brown, mushy, or pest-covered.
If the plant is dry, water slowly until water runs from the drainage holes, then empty the saucer. If the soil is soggy, move the plant into brighter indirect light with good air movement and let it dry before you do anything else. University of Maryland Extension recommends porous indoor potting media that provide both drainage and root aeration, rather than dense mixes that hold too much water.
This is also the moment to decide whether your goal is rescue or replacement. Basil with blackened stems may be faster to restart from a cutting or new plant. A slow-growing corn plant or snake plant, on the other hand, is usually worth a patient rescue attempt.
Match the Fix to the Plant You’re Trying to Save
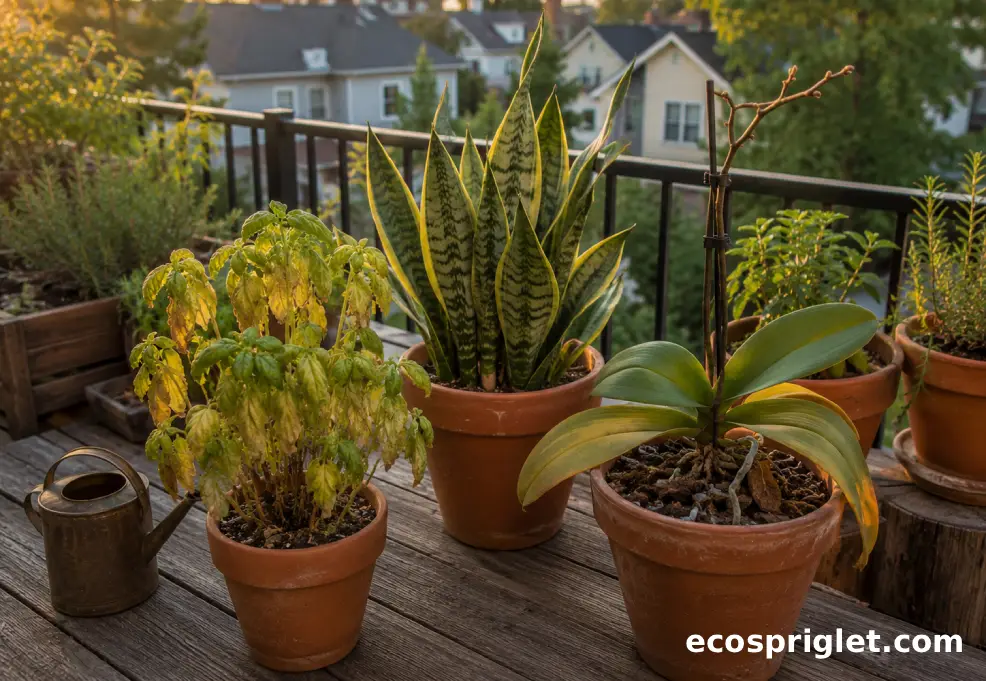
Different plants fail in different ways. The fix for why your basil plant is dying is not the same as the fix for why your snake plant is dying. Use this table as a practical starting point, then fine-tune based on the plant’s actual soil, roots, and light.
| Plant | Common Apartment Problem | Best First Rescue Move |
|---|---|---|
| Basil | Too little sun, dry spells, cold windows, or soggy roots | Give 6 to 8 hours of bright light where possible, water when soil is dry about 1/2 inch down, and pinch back leggy stems |
| Lavender | Low light, rich wet soil, poor airflow | Move to the brightest spot available, use a fast-draining mix, and let the top soil dry well before watering |
| Rosemary | Indoor winter low light and wet roots | Place in strong light, avoid drafts and heat vents, and water only when the mix is dry |
| Mint | Rootbound pot or repeated wilting | Cut stems back by one-third, water deeply, and divide or up-pot if roots fill the container |
| Orchid | Overwatering or stale bark | Check roots, remove mushy ones, and water bark thoroughly only when it approaches dryness |
| Corn plant | Brown tips, low light, wet soil, or salt buildup | Move to bright indirect light, flush the pot, and trim only dead leaf edges |
| Snake plant | Soft yellow leaves from too much water | Let soil dry completely, cut mushy leaves, and repot only if rot is present |
| Aloe | Rot from frequent watering or dense soil | Use cactus-style mix, bright light, and allow soil to dry fully between waterings |
| Spider plant | Brown tips, salts, dry air, or inconsistent watering | Flush soil, trim tips neatly, and keep evenly but lightly moist |
| Peace lily | Drought collapse or soggy soil | Water when leaves just begin to soften, but never leave the pot sitting in water |
| Calathea | Crispy leaves from dry air, mineral-heavy water, or direct sun | Move to bright indirect light, raise humidity modestly, and keep soil lightly moist |
| Christmas cactus | Wilting in wet soil or bud drop from stress | Let wet soil dry, improve drainage, and keep away from vents and sudden temperature swings |
| Poinsettia | Cold drafts, foil trapping water, or dry soil | Remove decorative foil before watering, drain fully, and keep in bright natural light |
| Potted rose | Dry root ball, spider mites, or too little sun | Soak thoroughly, prune dead canes to green tissue, and move to the sunniest safe balcony spot |
| Palm | Dry air, pests, or uneven watering | Check for mites and scale, water thoroughly when partly dry, and avoid hot vents |
| Lucky bamboo | Yellow stems from poor water quality or rot | Remove yellow canes, refresh water weekly, and keep in bright indirect light |
Basil is a high-light herb: University of Minnesota Extension recommends at least 6 to 8 hours of bright light and well-drained soil. Indoor herbs should be watered when the soil feels dry about 1/2 inch below the surface, while outdoor container herbs may need daily checks in hot, sunny weather.
Orchids need a different rhythm. University of Maryland Extension recommends drenching moth orchid bark and aerial roots with warm water, then letting the plant drain completely before it returns to a saucer. Illinois Extension also notes that overwatering is one of the most common causes of orchid decline indoors.
For snake plants, peace lilies, dracaena, and pothos, match care to the light you actually have. University of Maryland Extension lists snake plants as very tolerant of low light and dryness, but not overwatering; peace lilies need more water and may wilt when they are too dry.
Water the Root Ball, Not Your Guilt
The most common rescue mistake is watering a plant because it looks sad. Plants wilt when roots cannot move water to the leaves. That can happen because the soil is bone-dry, but it can also happen because roots are damaged in wet, airless soil. In small apartment pots, both problems can show up fast.
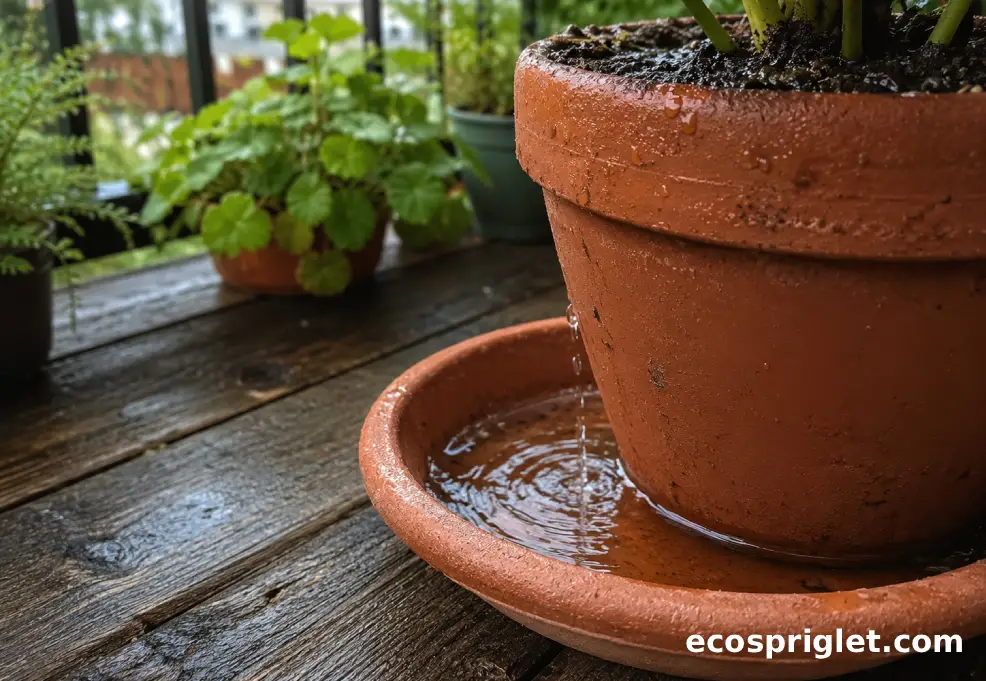
For a dry plant, water slowly until the whole root ball is moist and water runs out the drainage holes. Let it drain for 10 to 15 minutes, then empty the saucer. For a very dry peat-heavy mix that repels water, bottom-water briefly by setting the pot in a few inches of water until the surface begins to feel moist, then drain it completely. Illinois Extension describes both top watering and sub-irrigation, with the important reminder that pots should not sit in standing water afterward.
For a wet plant, the rescue is patience. Move it to brighter indirect light, improve air circulation, and wait until the top layer dries before watering again. Do not add fertilizer to a soggy plant; stressed roots cannot use it well. For succulents such as aloe, jade, and many cacti, University of Minnesota Extension recommends letting the soil dry completely between waterings and using pots with drainage holes because trapped excess water can quickly lead to decay.
On my terrace, I check rescued containers every morning for the first week, but I do not automatically water. I lift the pot, feel the mix, and look at the newest leaves. New leaves matter more than old damaged ones.
Repot Only When It Solves a Root Problem
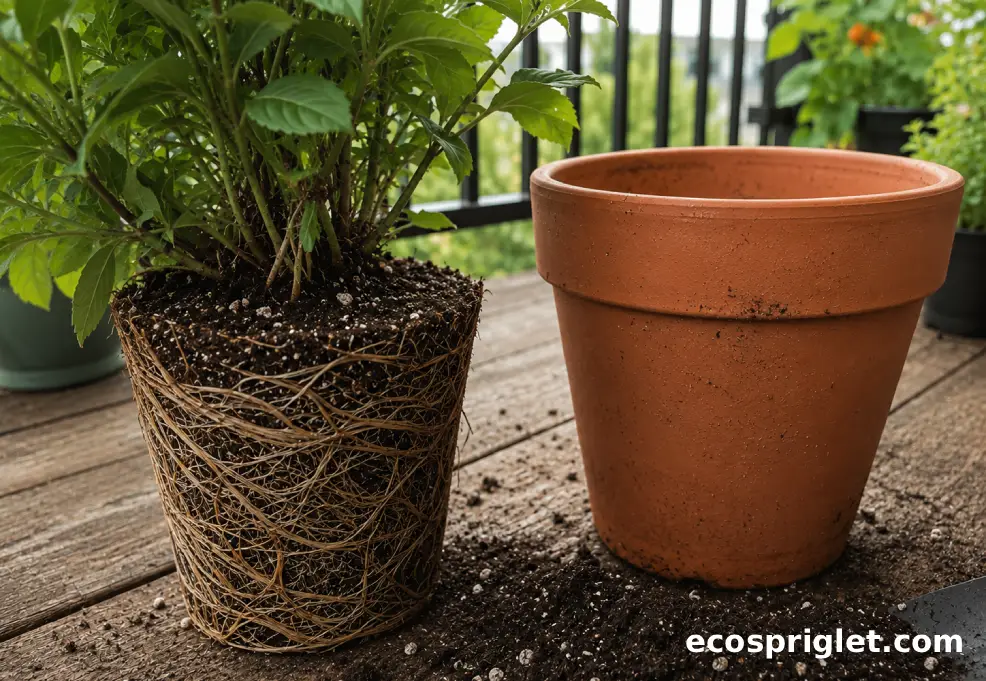
Repotting is useful when the plant is rootbound, the pot has no drainage, the mix is sour and compacted, or root rot needs trimming. It is not useful just because the leaves look bad. A weak plant placed into a huge pot often stays wet too long, which makes root rot more likely.
Choose a new pot only 2 to 3 inches wider than the old one for most houseplants. University of Minnesota Extension gives the same cautious size increase for houseplants and warns that oversized containers can make plants more susceptible to root rot.
Use fresh indoor potting mix, not dense garden soil. If you need extra aeration for a plant that hates wet feet, mix in perlite, bark, or a cactus-style blend depending on the plant. Don’t add a gravel layer at the bottom. University of Maryland Extension states that gravel, rocks, or broken pot shards do not improve container drainage and may raise the water table in the pot.
When you repot a stressed plant, remove only the roots that are clearly dead, mushy, hollow, or foul-smelling. Keep firm pale roots. Set the plant at the same depth it was growing before, firm the mix lightly, water once to settle it, and then give the roots time to recover. For orchids, repot into fresh orchid bark if the old bark has broken down into a dense, moisture-holding mass.
Apartment note: if your decorative cachepot has no drainage hole, use it only as an outer sleeve. Keep the plant in a nursery pot with drainage, water it in the sink, let it drain fully, then return it to the decorative pot.
Trim, Clean, and Quarantine Without Shocking the Plant
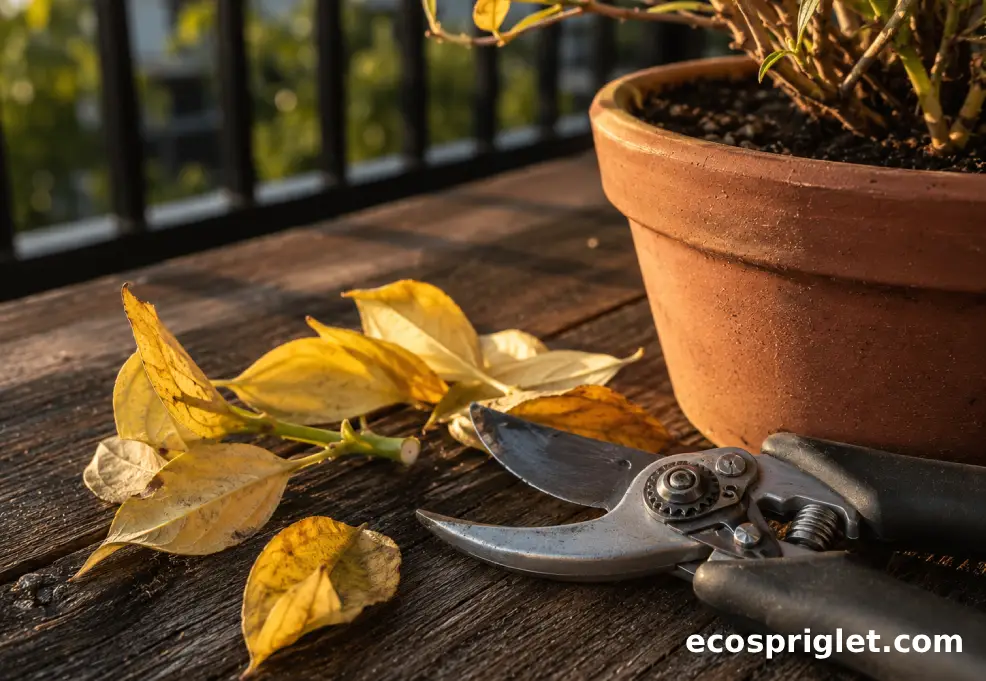
A dying plant does not need a haircut for style; it needs less dead material to maintain and fewer hiding places for pests. Use clean scissors or pruners and remove leaves that are fully brown, yellow, mushy, or pest-infested. Leave partly green leaves if the plant has very little foliage left, because they can still help with photosynthesis.
- Cut dead stems back to the nearest firm green section or healthy node.
- Remove no more than about one-third of living growth at once unless stems are rotten.
- Wipe broad leaves with a damp cloth so they can capture light better.
- Quarantine pest-suspect plants at least a few feet away from healthy plants for two to three weeks.
- Check leaf undersides every three to four days during recovery.
For pests, start with the least dramatic fix. Rinse foliage, remove insects by hand where practical, and improve the plant’s growing conditions. University of Minnesota Extension notes that plants struggle to resist pests when they are already stressed by poor light, wet or dry soil, or unsuitable temperatures.
Do not fertilize heavily after pruning. If the plant is actively pushing new growth, use a balanced houseplant fertilizer at half strength. If it is dormant, nearly leafless, or recovering from root rot, wait. Fertilizer is not medicine; it helps a plant that is already able to grow.
Common Mistakes to Avoid When Saving a Dying Plant
I learned the hard way that enthusiasm can finish off a stressed plant. Years ago, I tried to save a dying rosemary on my Portland balcony by watering it, feeding it, and moving it three times in the same week. It did not appreciate the attention. The rescue finally worked when I stopped fussing, gave it sun, let the mix dry, and pruned only the dead tips.
- Watering every day because leaves droop: Check soil first. Wet soil plus wilted leaves often points to damaged roots.
- Repotting into a giant container: Increase pot size gradually, usually by only 2 to 3 inches.
- Adding gravel for drainage: Use drainage holes and a better potting mix instead.
- Fertilizing a plant with root rot: Wait until you see new growth.
- Moving the plant repeatedly: Choose a suitable spot and give it time to adjust.
Another common mistake is expecting damaged leaves to heal. Brown tips, crispy basil leaves, yellow orchid leaves, and scorched aloe tissue usually will not turn green again. Recovery appears as new healthy growth, firmer stems, better color, and roots that stop declining.
For homes with cats or dogs, also check plant safety before you move pots to floor level. The ASPCA maintains plant toxicity lists, and many popular houseplants require caution around pets. Peace lily, snake plant, dracaena, aloe, ivy, and many holiday plants can be problematic if chewed.
Give the Plant a Recovery Zone for the Next Month
After the first rescue work, the best thing you can offer is consistency. Pick a recovery spot that matches the plant’s needs: bright indirect light for orchids, corn plants, calatheas, peace lilies, and Christmas cactus; stronger sun for basil, lavender, rosemary, roses, and hibiscus; dry bright conditions for aloe and many succulents. Move plants outdoors gradually, because sudden direct sun can burn leaves that developed indoors. University of Minnesota Extension recommends acclimating houseplants outdoors in a protected place away from wind and direct sun at first.
Keep a simple rescue log for two to four weeks. Write down the date you watered, whether the top soil was dry, whether the pot felt heavy or light, and what new growth you see. This sounds fussy, but it quickly shows patterns. If the soil stays wet for a week in a small pot, the plant needs more light, better drainage, or a different mix. If the plant wilts again after one hot afternoon, it may need a deeper watering or a slightly larger container.
Expect older leaves to keep declining for a while. That does not always mean the rescue failed. Watch the newest growth instead. A basil plant pushing fresh side shoots, a snake plant holding firm leaves, a Christmas cactus producing plump segments, or a peace lily standing upright between waterings is moving in the right direction.
When to Start Over With Cuttings or a Replacement
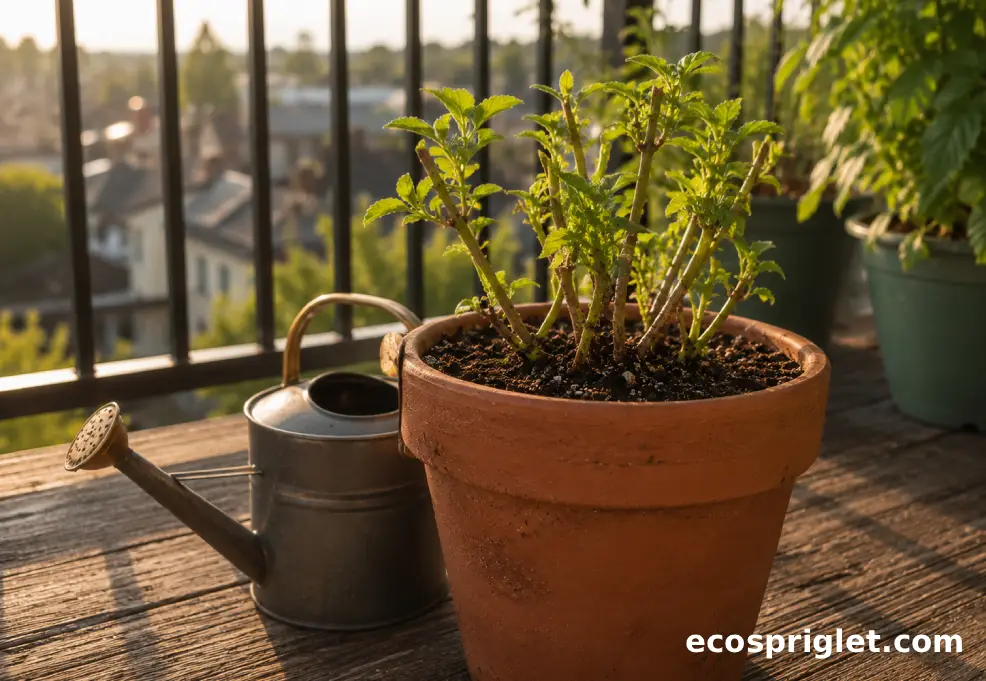
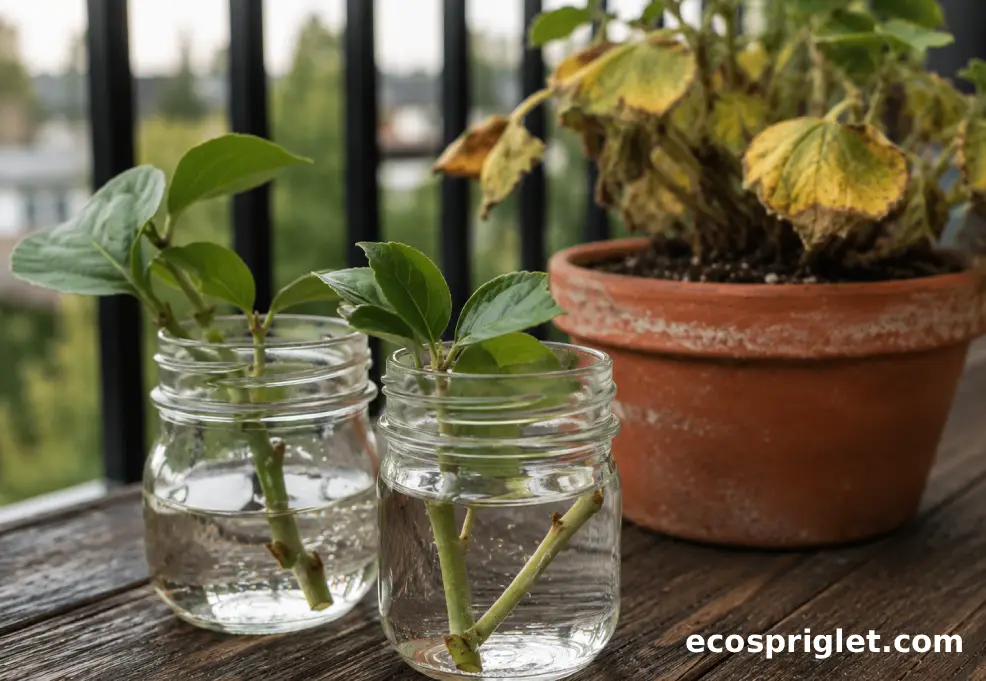
Sometimes the kindest rescue is propagation. If a plant has a few healthy stems but rotten roots, take cuttings before the decline reaches them. This works especially well for pothos, philodendron, mint, basil, coleus, spider plant babies, some dracaena cane sections, and holiday cactus segments. Let cactus or succulent cuttings callus before potting, and keep soft herb cuttings bright but out of harsh sun while they root.
For roses, palms, lavender, rosemary, and orchids, cuttings are less beginner-friendly or slower, so it may be better to focus on root recovery or replace the plant if the crown is gone. For lucky bamboo, remove yellow or soft canes promptly; if a cane has turned yellow from top to bottom, it usually will not green up again.
There is no shame in replacing a truly dead plant. A dead basil plant can become compost, and the next one can live in a brighter window with a better watering rhythm. With orchids, a failed plant can teach you that decorative pots still need drainage. When lavender dies on a shady balcony, take it as a sign to choose mint, parsley, or a low-light foliage plant next time.
For more apartment-friendly plant choices, see our guide to low-light indoor trees. For edible containers, our indoor herb growing guide can help you match herbs to your actual sun and space.
Sources to Keep Handy
For plant rescues, I trust university Extension guidance first because it tends to be practical, conservative, and written for real home gardeners. Useful references for this topic include University of Minnesota Extension on indoor lighting, containers, pests, succulents, holiday cactus, basil, herbs, poinsettia, and moving houseplants outdoors; University of Maryland Extension on orchids, potting media, repotting, container drainage, and indoor plant selection; University of Illinois Extension on watering, orchid overwatering, and root checks; and the ASPCA plant lists for pet-safety checks.
Use those sources as guardrails, then observe your own apartment conditions. A south-facing balcony in July dries a pot far faster than a north-facing bedroom in January. A terra-cotta pot dries faster than plastic. A plant near a heater vent may crisp even when the soil is moist. Rescue work gets easier when you stop treating plant care as a calendar and start treating it as a set of clues.
Conclusion: Bring the Plant Back to Life One Clue at a Time
When someone asks how to save a dying plant, the honest answer is: start with diagnosis, not panic. Check whether the plant is still alive, feel the soil before watering, inspect the roots, correct the light, and make one or two changes at a time. Most apartment plant rescues fail because we do too much too fast. A stressed plant needs stable conditions more than dramatic intervention.
If the roots are firm, the stems have green tissue, or there are healthy nodes left, you have a real chance. Water deeply only when the plant needs it, empty saucers, avoid oversized pots, skip gravel layers, and wait for new growth before feeding. If the crown, roots, or canes are completely dead, start over without guilt and use the lesson to choose a better plant for your light, space, and routine.