Learning how to repot a plant is one of those small gardening skills that makes your apartment jungle feel much less mysterious. You do not need a potting bench, a yard, or a trunk full of tools. A kitchen table covered with newspaper, a clean pot, fresh potting mix, and twenty calm minutes can be enough for most houseplants.
The trick is knowing when your plant actually needs repotting. Moving a plant too soon can leave soggy soil around roots that are not ready to use the extra space. Waiting too long can lead to circling roots, fast-drying soil, and stalled growth. Penn State Extension recommends checking for dense or circling roots in the lower part of the root ball before deciding it is time to move up.
In my Portland apartment-gardening setup, I think of repotting as a reset rather than a rescue mission. You are giving the roots fresh air, better drainage, and a little more room, not burying the plant in a giant new container and hoping for the best.

Know When Your Plant Is Ready
A plant usually tells you it is ready before it collapses. Roots may circle tightly inside the pot, poke through drainage holes, or make the soil dry out much faster than it used to. University of Minnesota Extension gives a simple spring check: look for circling roots, roots coming through drainage holes, or potting mix that dries quickly.
For apartment growers, the fast-drying clue is especially useful. If a pothos, peace lily, rubber plant, or monstera that once needed water every 7–10 days suddenly wilts after 2–3 days, the pot may be mostly roots. Before repotting, slide the plant out gently and look at the bottom third of the root ball. If you still see plenty of loose potting mix, it may only need better watering habits or more light.
Do not repot just because a plant looks sad for one afternoon. Wilting can come from dry soil, soggy soil, cold drafts, low light, pests, or recent movement. Check moisture first by feeling the top 1–2 inches of mix. If the soil is wet and the plant is drooping, a bigger pot may make the problem worse.
Choose a Pot That Gives Roots Room, Not a Swimming Pool
The safest upgrade for most houseplants is one pot size larger, often about 1–2 inches wider in diameter for small and medium plants. University of Minnesota Extension cautions against jumping more than 2–3 inches wider because oversized pots can hold too much wet mix around the roots.
Always choose a container with drainage holes. A cachepot without holes can work only if the plant stays in a removable inner nursery pot and you empty standing water after watering. That extra step matters in apartments, where saucers protect floors but can also hide water that keeps roots soaked.
- For a 4-inch plant, move to a 5- or 6-inch pot.
- For a 6-inch plant, move to a 7- or 8-inch pot.
- For a large floor plant, increase by 2–3 inches only if the root ball truly fills the old pot.
- For succulents, snake plants, and aloe, choose snug pots rather than deep, oversized ones.
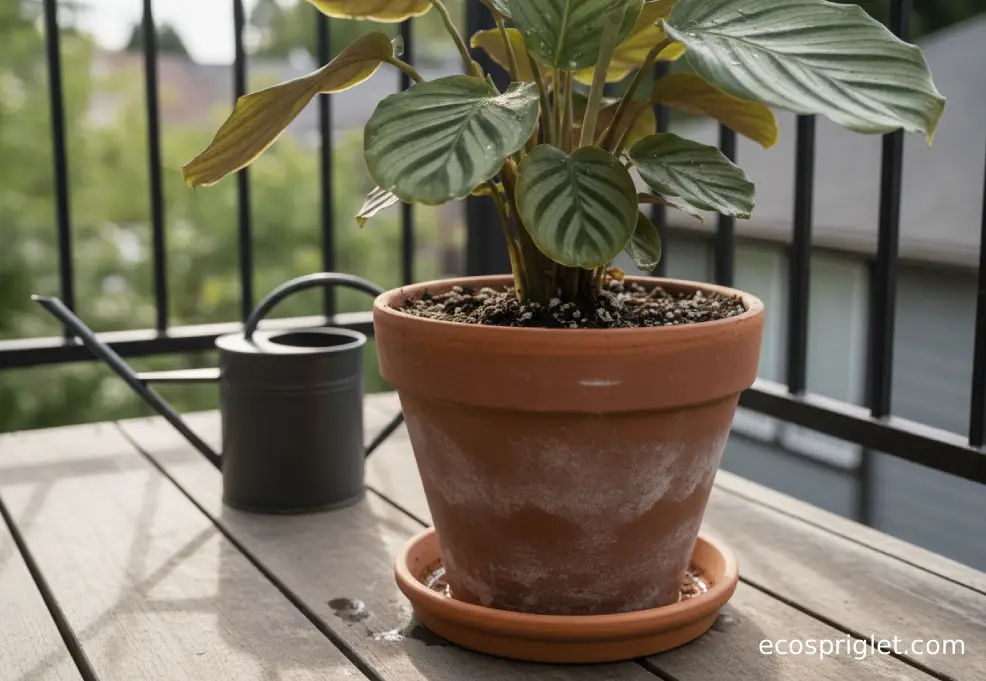
I like heavier terracotta or ceramic for top-heavy plants, especially near balcony doors where air movement knocks things around. Lightweight plastic is fine for shelves, but pair it with a stable saucer and avoid placing tall plants where pets or children can bump them.
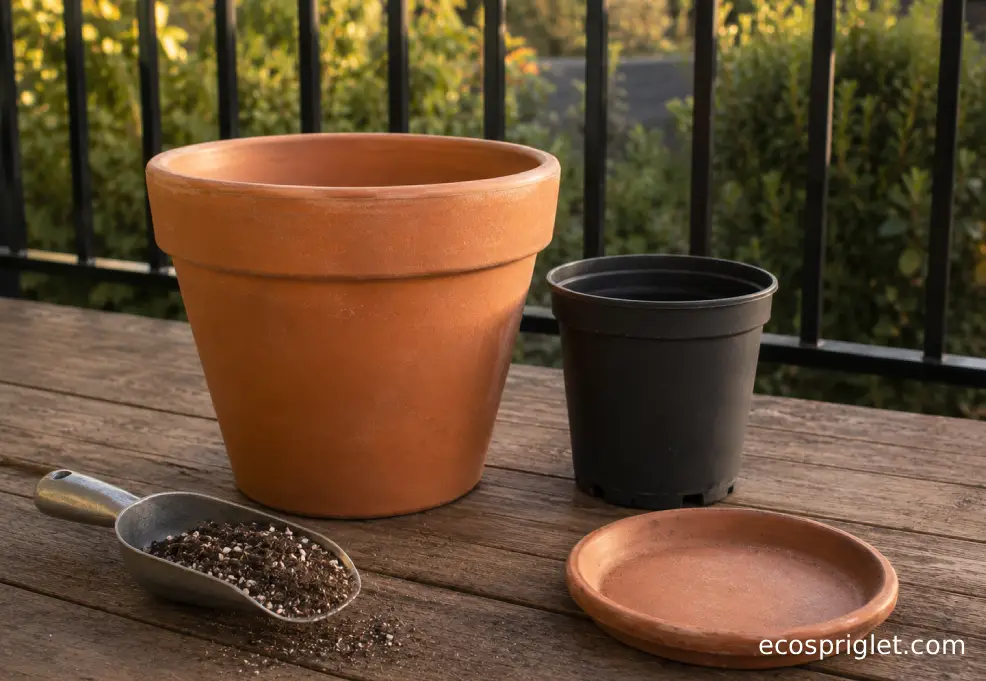
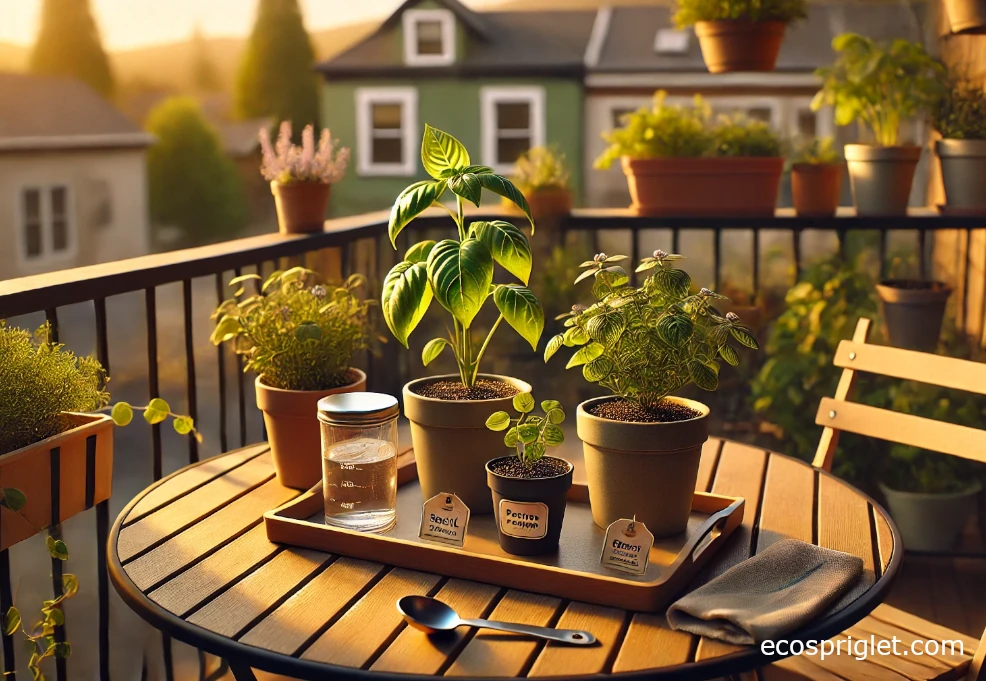
Set Up a Clean, Apartment-Friendly Repotting Station
A good repotting setup keeps the mess small and the plant steady. I usually cover a table with newspaper or a flattened paper grocery bag, keep a small trash bowl nearby for dead leaves, and pre-moisten very dry potting mix just enough that it feels like a wrung-out sponge. Dry mix can repel water at first, while soggy mix compacts too easily.
Use a fresh indoor potting mix for most foliage plants. Garden soil is too dense for containers and can bring in pests, weed seeds, or drainage problems. For aloe, jade, snake plant, and other succulents, use a cactus or succulent mix, or amend a high-quality potting mix with extra mineral material for faster drainage. The RHS recommends well-draining cactus-style compost for aloes, with added grit or sand where needed.
Skip the gravel layer at the bottom. University of Maryland Extension notes that rocks, gravel, or broken pot shards do not improve container drainage and can raise the perched water table, keeping the potting mix wetter. A small screen or shard over a large drainage hole is fine if it keeps mix from spilling out, but the pot should still drain freely.
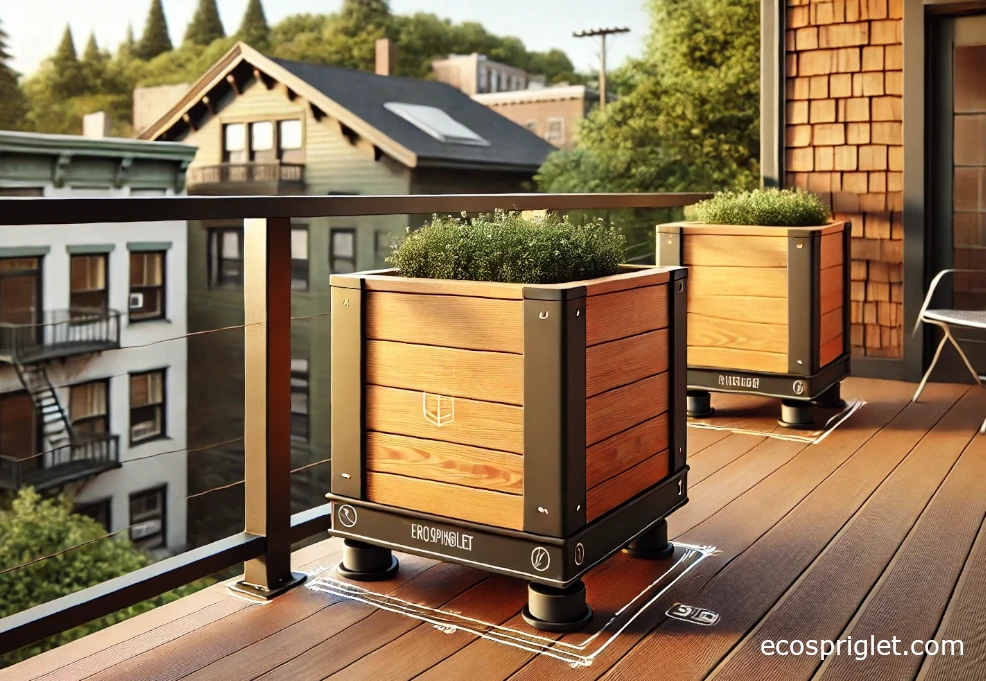
For apartment floors, set the finished pot on a saucer and add small pot feet if the container sits on a balcony. This improves airflow under the pot and reduces staining on wood decking.
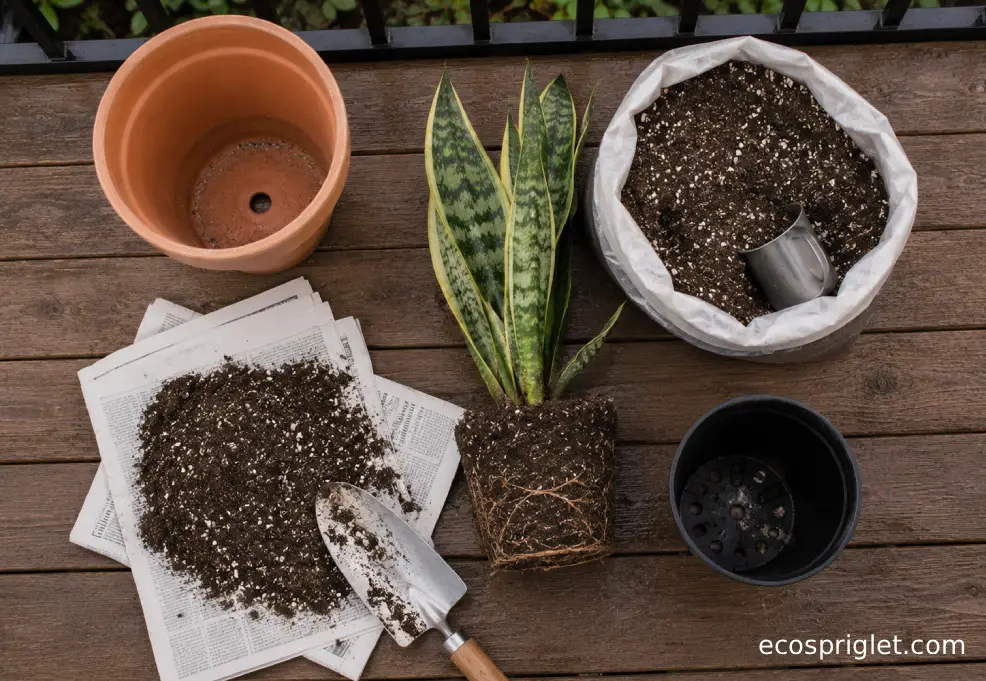
Repotting Plants Step by Step
Repotting plants goes best when you move slowly and keep the root ball intact. Water the plant lightly the day before if the soil is bone-dry. A slightly moist root ball slides out with less tearing than a dry, dusty one.
- Prepare the new pot with enough fresh mix so the root ball will sit about 1 inch below the rim.
- Loosen the old pot by squeezing the sides or tapping the rim; avoid pulling hard by the stems.
- Inspect the roots. Trim only dead, mushy, or blackened roots with clean scissors.
- Tease apart tight circling roots with your fingers, especially at the bottom edge.
- Set the plant at the same depth it grew before, then fill around the sides and firm lightly.
Leave watering space at the top. University of Maryland Extension recommends setting the root ball an inch or two below the rim so there is headroom for watering. If the soil surface is level with the rim, water will run off before it soaks in.
After repotting, water most tropical houseplants until a little drains from the bottom, then empty the saucer after 10–15 minutes. For succulents with damaged or trimmed roots, wait a couple of days before watering so small root injuries can dry. Then water thoroughly and let the mix dry again before the next drink.
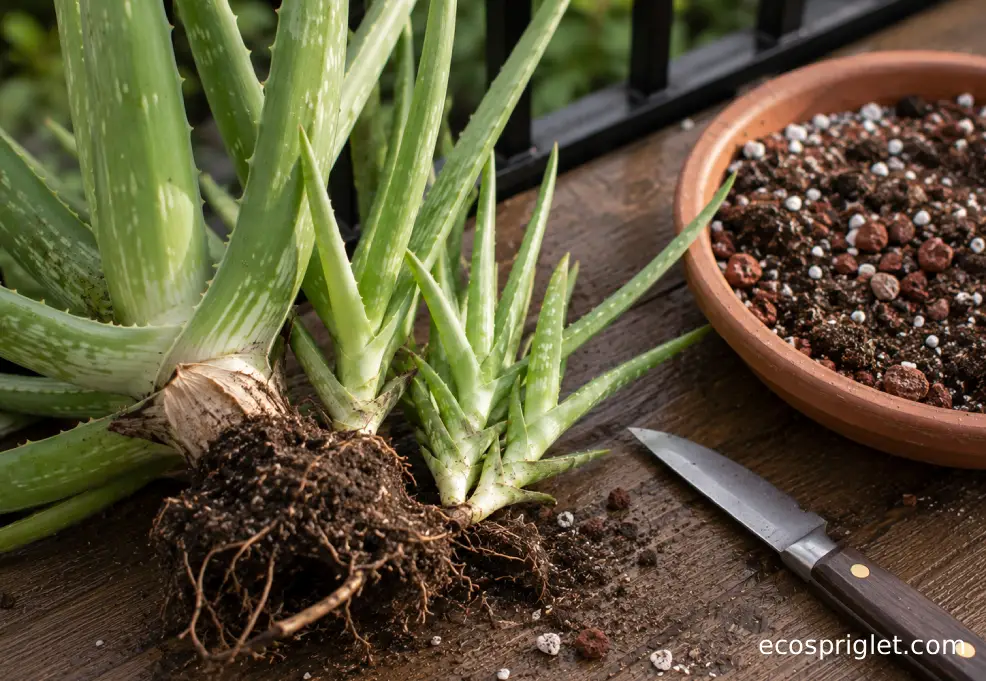
How to Repot Aloe Without Causing Rot
Aloe is easy to love and easy to overwater. When readers ask how to repot an aloe plant, the most important answer is: keep the pot modest, the mix fast-draining, and the crown above the soil line. Penn State Extension notes that aloes are drought tolerant, susceptible to root rot, and should not sit in water.
Choose a pot only 1–2 inches wider than the aloe’s root mass, with a drainage hole. A shallow, stable terracotta pot is often better than a deep decorative one because aloe leaves get heavy and lean toward light. Set the plant so the lowest leaves stay above the mix. Burying the leaf bases can trap moisture and start rot.
If your aloe has pups, separate only the ones with their own small roots. Let broken offsets sit in a dry, bright spot for a day before potting if they have fresh wounds. Then tuck them into small containers of cactus mix and hold off on heavy watering until they feel anchored.
Keep aloe vera away from nibbling pets. The ASPCA lists Aloe vera as toxic to dogs and cats, with possible vomiting, lethargy, and diarrhea if ingested.
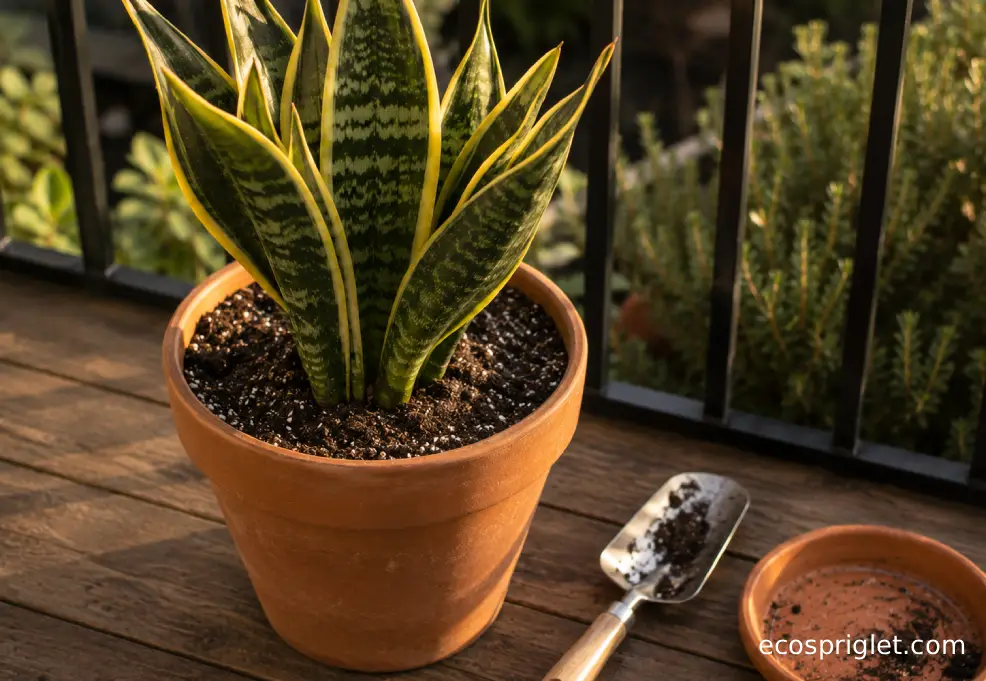
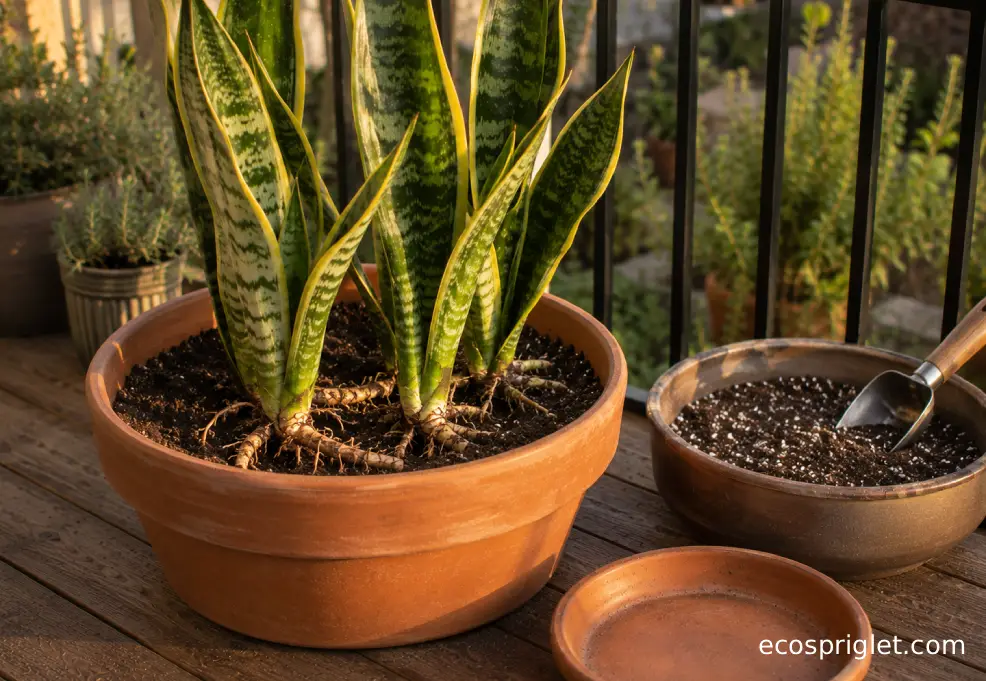
Repot Snake Plant the Right Way
Snake plant repotting is a little different from repotting soft tropical plants. Snake plants grow from firm underground rhizomes, and they often tolerate being snug. The time to repot is when the pot bulges, cracks, dries almost immediately after watering, or the plant becomes so crowded that new shoots have nowhere to go. Penn State Extension’s repotting guidance uses a snake plant as a classic example of a massively rootbound houseplant.
I learned this the hard way with a snake plant that split a plastic nursery pot behind my sofa. The plant looked perfectly calm from above, but the rhizomes were pressing against the sides like packed ginger. Since then, I check snake plants every spring, even if they still look upright and tidy.
- Use a wide, stable pot with drainage rather than a tall, narrow one.
- Move up only 1–2 inches unless dividing the plant into several smaller pots.
- Keep rhizomes just under the soil surface; do not bury the leaf bases deeply.
- Let the mix dry fully between waterings after the plant settles.
If you divide a snake plant, use a clean knife to cut rhizomes into sections with leaves and roots attached. Pot each division into fresh, fast-draining mix. Keep it out of harsh direct sun for a week while the roots recover. Like aloe, snake plant is not pet-friendly; the ASPCA lists it as toxic to dogs and cats.
Common Mistakes to Avoid
The most common repotting mistake is kindness in the wrong direction: too much pot, too much water, too much fuss. A plant with stressed roots needs steady conditions, not constant corrections.
- Choosing a huge pot: Move up gradually. Extra mix stays wet longer and can suffocate roots.
- Adding gravel to the bottom: Use a pot with drainage instead. Gravel does not solve soggy soil.
- Burying the crown: Keep the plant at its original depth unless you are correcting an obviously exposed root ball.
- Fertilizing immediately: Wait 4–6 weeks, especially if the fresh mix already contains fertilizer.
- Repotting during stress: Avoid repotting right after a heat wave, pest treatment, or cold draft unless roots are rotting.
Another apartment-specific mistake is forgetting the saucer. Water can stain wood floors, seep onto a downstairs balcony, or sit hidden under a cachepot. After every deep watering, check the saucer after 10–15 minutes and pour off extra water.
On balconies, make sure pots are stable, not balanced on narrow railings, and allowed by your building rules. Wind can tip a freshly repotted plant before roots grip the new mix.
Aftercare for the First Two Weeks
The first two weeks after repotting are about recovery. Put the plant back in similar light rather than moving it to a dramatically brighter or darker spot. Bright indirect light is a safe holding pattern for many houseplants. For sun-loving aloe, return it to strong light gradually if the roots were disturbed.
Expect a little drooping or a pause in growth. That does not automatically mean something is wrong. Roots need time to explore the new mix, and the top of the plant may look still while the below-soil work happens. I usually wait until the top 1–2 inches of mix feel dry before watering tropical plants again. For snake plants and aloe, I wait until the mix is dry much deeper in the pot.
Hold off on pruning unless leaves are dead, mushy, or broken. Hold off on fertilizer for at least a month. If lower leaves yellow one at a time, remove them cleanly and keep watching. If several leaves yellow quickly and the mix smells sour, slide the plant out and check for root rot. Healthy roots are usually firm and pale to tan; rotting roots are often mushy, dark, and foul-smelling.
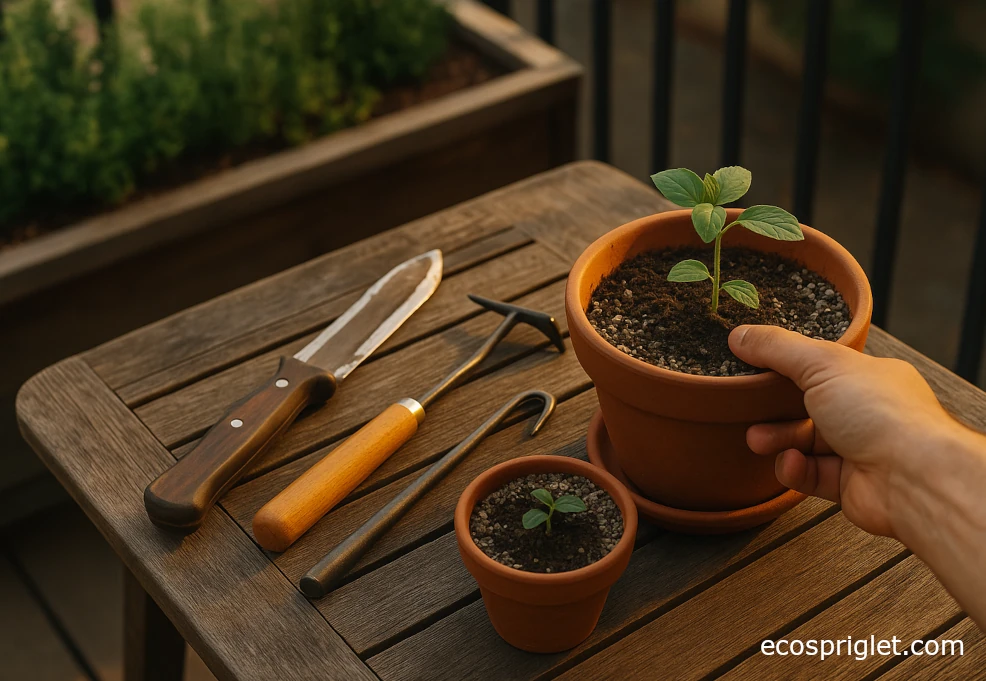
Keep Your Repotting Kit Simple
You do not need a big tool collection to repot plants well. A small bag of the right potting mix, clean scissors, a hand trowel, a few saucers, and pots with drainage will handle most apartment plant jobs. Keep succulent mix separate from all-purpose indoor mix so you are not tempted to use the wrong texture when repotting aloe or snake plants.
For renters, I also recommend a compact plastic bin for supplies. It keeps potting mix dry, contains spills, and fits under a sink or balcony bench. Add old newspaper, a soft brush for cleanup, and a pair of lightweight gloves if you grow spiky plants.
If you are building your plant-care confidence, pair repotting with a simple monthly check. Look under leaves, inspect drainage holes, wipe dusty foliage, and rotate plants a quarter turn.
Repotting is not complicated once you stop treating it like plant surgery. Check the roots first, choose a pot just a little larger, use fresh mix that fits the plant, and keep drainage simple. That one-size-larger rule saves a lot of beginner trouble, especially in apartments where low airflow and decorative cachepots can keep soil wet longer than expected.
For most foliage plants, the goal is steady recovery. For aloe and snake plant, the goal is even more specific: fast drainage, modest pots, and no soggy sitting water. Those two plants can handle tight quarters better than they can handle wet feet.
I still make a little mess every time I repot on my terrace, but the cleanup is worth it. A plant that was drying out too fast or straining against its pot often settles in beautifully once the roots get fresh space. Start with one plant that clearly needs help, work slowly, and let the results build your confidence.