A diy self watering planter is one of those apartment-gardening projects that feels almost too simple once you understand the idea: give the plant a potting mix layer above a water reservoir, add a wick or soil column to move moisture upward, and include an overflow hole so the roots do not sit in a sealed swamp. For balcony growers, that small design change can make a big difference on hot weeks, windy corners, and weekends away.
I started using homemade self-watering containers on my Portland balcony after losing a basil plant during one sunny July stretch. The top inch of mix looked fine in the morning, but by dinner it had pulled away from the pot wall. A reservoir-style container did not remove all plant care, but it gave me a steadier buffer.
This guide walks through what a self-watering planter is, how to build one from a bucket or planter box, how to use it properly, and the common mistakes that quietly cause soggy roots, mosquito water, or weak plants. The advice here is grounded in container-gardening guidance from University Extension sources, especially University of Maryland Extension, Illinois Extension, UNH Extension, and UC Master Gardener Program resources.
What a Self Watering Planter Actually Does
A self-watering planter is not magic, and it is not truly maintenance-free. It is a container with a lower water reservoir and an upper growing area. Moisture moves upward into the potting mix through capillary action, also called wicking. Many designs use a perforated platform, a soil-filled basket, fabric wick, rope wick, or narrow soil columns to connect the reservoir to the mix. University of Maryland Extension describes these containers as a blend of conventional container gardening and hydroponic-style water access, with an overflow hole on the side instead of ordinary bottom drainage.
The big benefit is consistency. Herbs, leafy greens, peppers, and many flowering annuals tend to prefer steady moisture rather than the dry-wet-dry cycle that happens in small balcony pots. Illinois Extension also notes that self-watering pots can be especially useful when gardeners cannot check containers daily.
The tradeoff is that you still need air in the root zone. That is why the overflow hole matters. It keeps the reservoir from filling so high that the potting mix stays saturated from bottom to top. I like to think of the reservoir as a backup water shelf, not a bathtub. The plant should be able to sip from below while the upper mix still has enough pore space for oxygen.
Self-watering systems are best for plants that enjoy even moisture. They are less useful for succulents, cacti, Mediterranean herbs in cool weather, or any plant that needs a firm dry-down between waterings. Rosemary can work in a large container if the mix is airy and the reservoir is managed carefully, but basil, parsley, mint, lettuce, compact peppers, and many annual flowers are usually easier first projects.
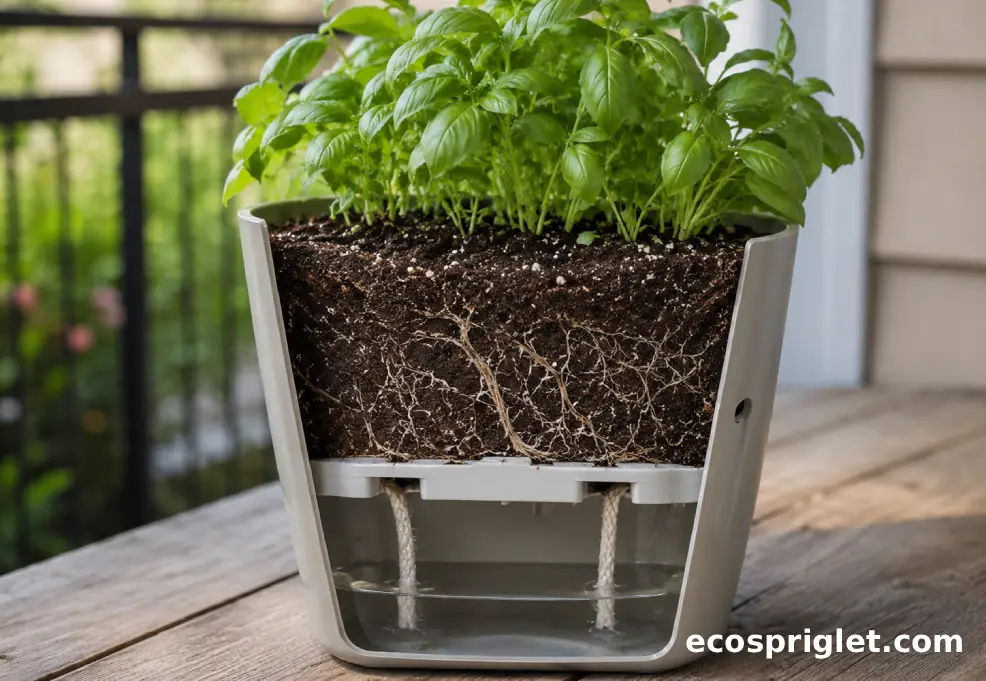
Choose the Right DIY Design for Your Balcony
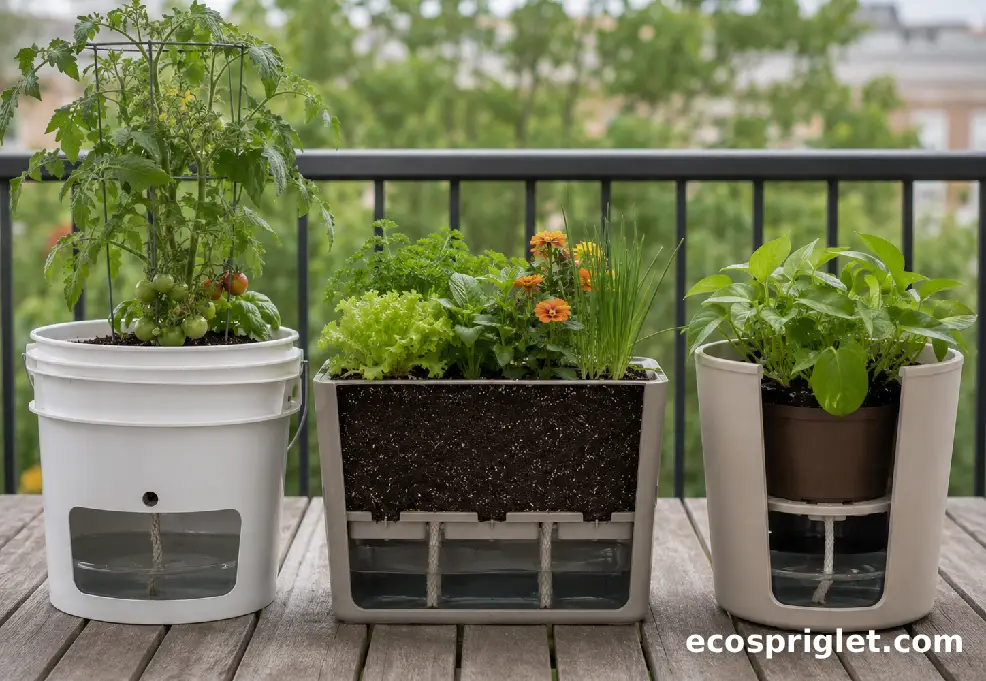
The easiest do it yourself self watering planters fall into three types: a bucket mini-garden, a planter box with a false bottom, or a wick-fed pot set above a water tray. For most beginners, I recommend starting with a 5-gallon bucket or a rectangular planter box that is at least 10–12 inches deep. It gives you enough room to make mistakes without the mix drying out every afternoon.
- Bucket Mini-Garden: Best for one tomato, one pepper, a compact eggplant, basil, or a mixed herb planting. University of Maryland Extension uses a food-grade 5-gallon bucket as a practical homemade self-watering design.
- Planter Box With False Bottom: Best for balcony flowers, lettuce, parsley, basil, chives, or shallow-rooted greens. A box gives you more planting width and better stability in wind.
- Wick Pot System: Best for houseplants, small herbs, or renters who do not want to cut plastic. A fabric or cotton wick connects a nursery pot to a water reservoir below.
For edible plants, use food-grade plastic if you are repurposing buckets or storage tubs. University of Maryland Extension advises avoiding containers that previously held detergents, paint, adhesives, or chemicals, and it notes that #2 HDPE, #4 LDPE, and #5 polypropylene are safer choices for food-garden reuse than PVC.
On an upper balcony, also think about weight before you fall in love with a big planter box. A 20-inch container filled with moist potting mix and plants can weigh about 100 pounds, so spread weight across the balcony, keep heavier planters near structural walls when allowed, and check building rules before attaching anything to railings.
Materials You Need for a 5-Gallon Bucket Planter
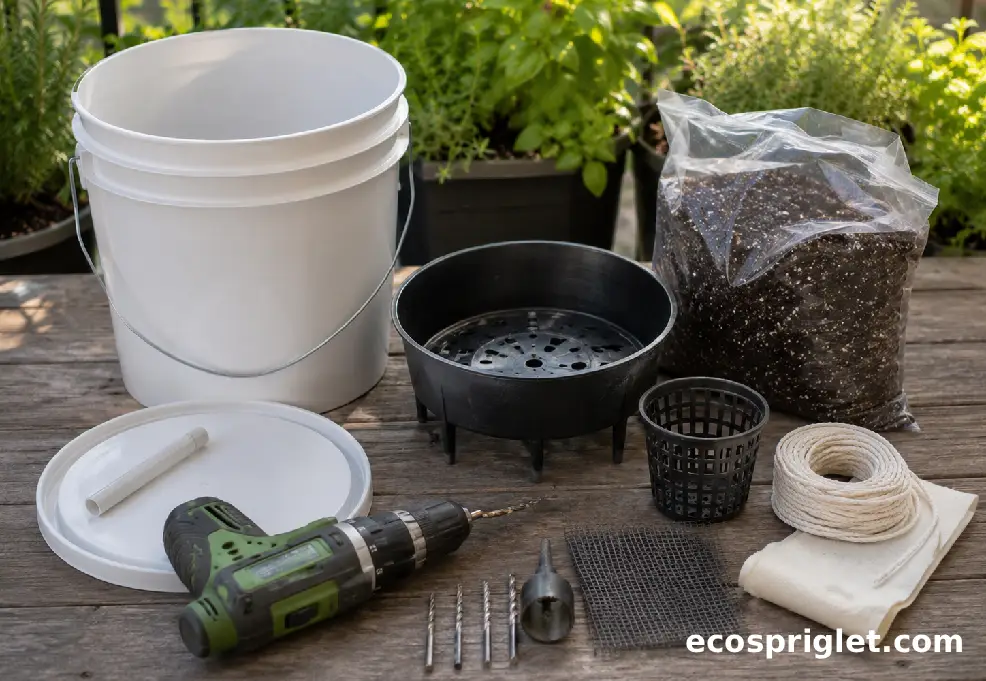
A bucket version is the cleanest first build because the container shape already gives you depth, the plastic is easy to drill, and the finished planter is narrow enough for many balconies. You can build a simple version with a reservoir below, a separator above, and one fill tube or side opening for watering.
For one basic diy self watering planter, gather:
- One clean food-grade 5-gallon bucket with lid
- A second bucket, a sturdy plastic nursery tray, or the bucket lid cut to fit as a false bottom
- A short length of 1/2-inch to 1-inch plastic tubing for filling, or a side fill opening
- A cotton rope wick, fabric strip, or soil-filled wicking cup
- A drill with 1/4-inch to 3/4-inch bits
- Quality soilless potting mix, pre-moistened before planting
- Optional: a small screen scrap to cover large openings and keep mix from falling into the reservoir
University of Maryland Extension’s bucket-garden design uses a food-grade 5-gallon bucket, a separator, support pieces, fill or overflow tubing, and about 4 gallons of moistened growing medium. Their specific design drills small holes in the separator so roots and moisture can move between the growing area and the reservoir.
My apartment-friendly shortcut is to avoid overcomplicating the wick. A soil-filled cup or column is often more forgiving than a skinny rope wick because it makes broader contact with the potting mix. If you use rope, choose untreated cotton or synthetic capillary matting, not a thick decorative cord that resists absorbing water.
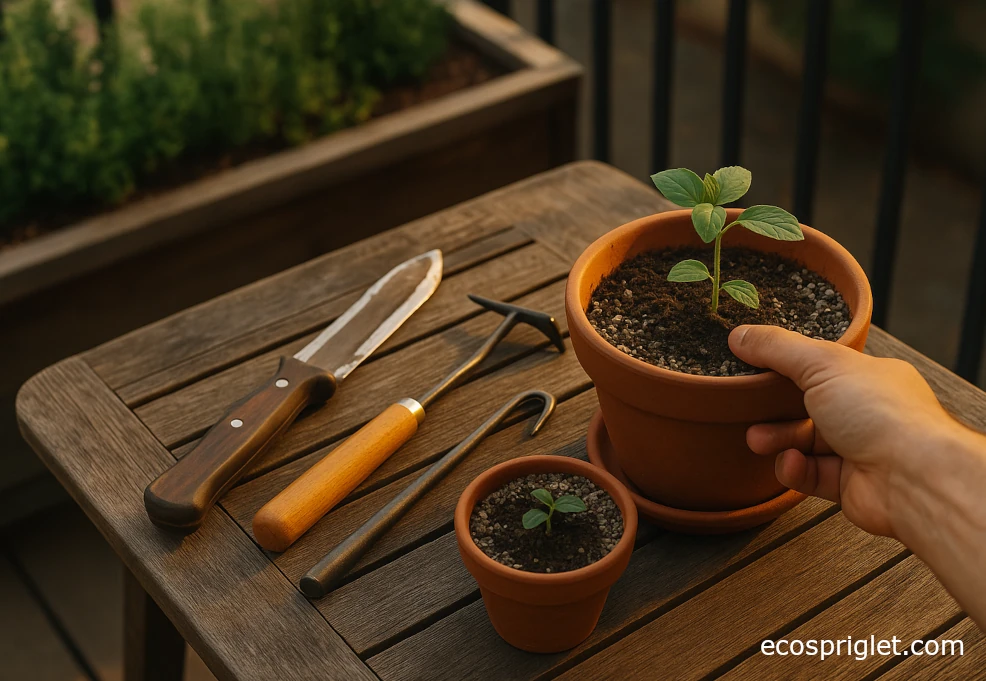
Keep tools simple. A drill, utility knife, and measuring tape are usually enough. Sand any rough plastic edges so they do not slice the wick, and rinse the bucket well before filling. I would rather spend 10 extra minutes cleaning the container than wonder later why a seedling looks stressed.
How to Make a Self Watering Planter Step by Step
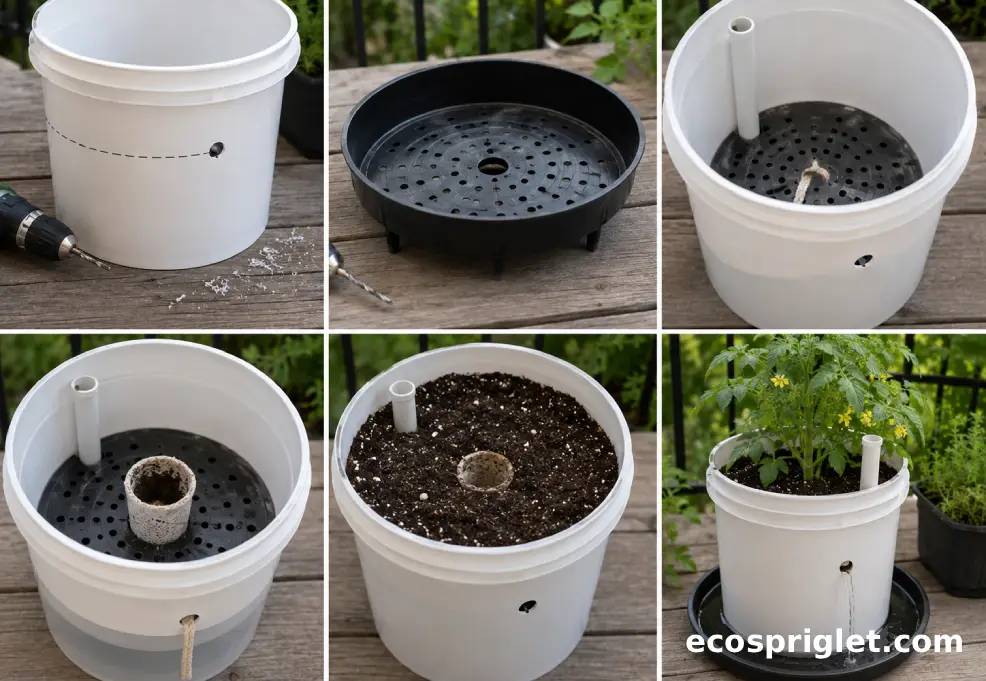
Here is how to make a self watering planter in a sturdy 5-gallon bucket. The same logic works for many do it yourself self watering containers: create a reservoir, separate it from the potting mix, connect the two with a wick, and add an overflow point.
- Mark the Reservoir Height: Measure 2–3 inches up from the bottom of the bucket. This lower zone will hold water. Drill one overflow hole at that height on the side of the bucket so extra water can escape before the potting mix floods.
- Create the Separator: Cut the lid or a sturdy plastic tray so it fits inside the bucket above the reservoir. Drill several 1/4-inch to 5/16-inch holes through it for roots, airflow, and moisture movement.
- Add the Wick: Cut a small central opening for a soil-filled cup, fabric strip, or rope wick. The wick must touch both the reservoir and the potting mix. A dry wick will not work well, so pre-soak it before assembly.
- Install a Fill Tube: Place a short tube from the top of the potting area down into the reservoir. This lets you refill without washing potting mix around the stem.
- Fill With Pre-Moistened Mix: Add damp, fluffy potting mix, pressing gently around the wick area so there are no dry gaps. Do not pack the whole bucket hard.
That last detail matters more than beginners expect. If the potting mix is bone dry when it goes in, water may run through channels instead of wetting evenly. UNH Extension recommends quality soilless potting mix for container vegetables because garden soil compacts, dries unevenly, drains poorly, and may carry weed seeds or disease organisms.
After planting, water once from the top to settle the root ball and start the wick. Then fill the reservoir until water dribbles from the overflow hole. On a rental balcony, set the planter in a shallow tray for the first test fill so you can see where runoff goes before it surprises the downstairs neighbor.
Turn a Planter Box Into a Self-Watering Container
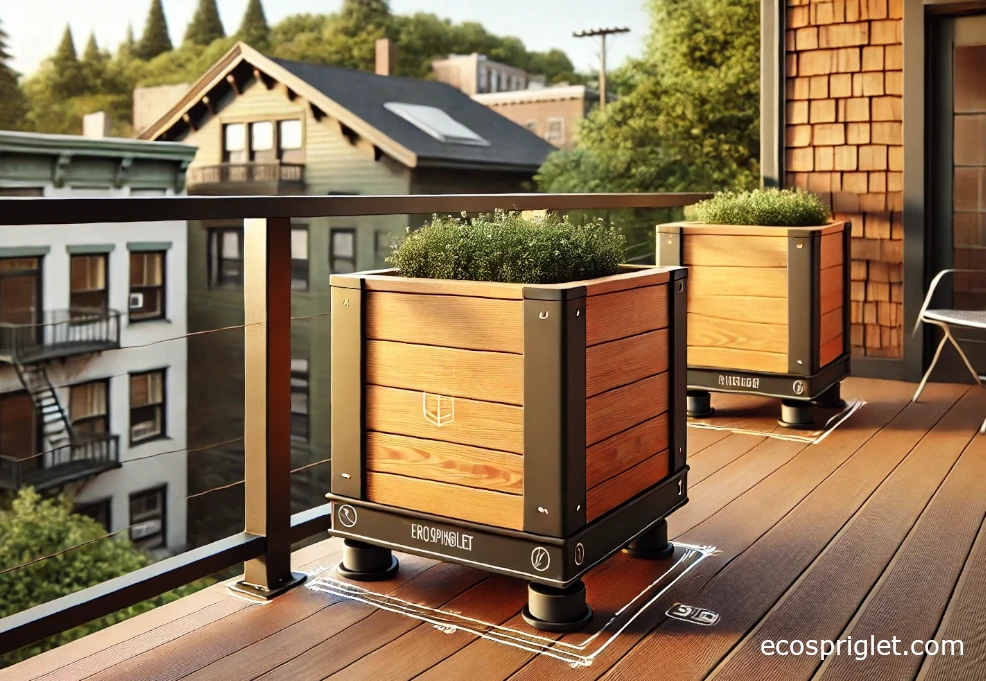
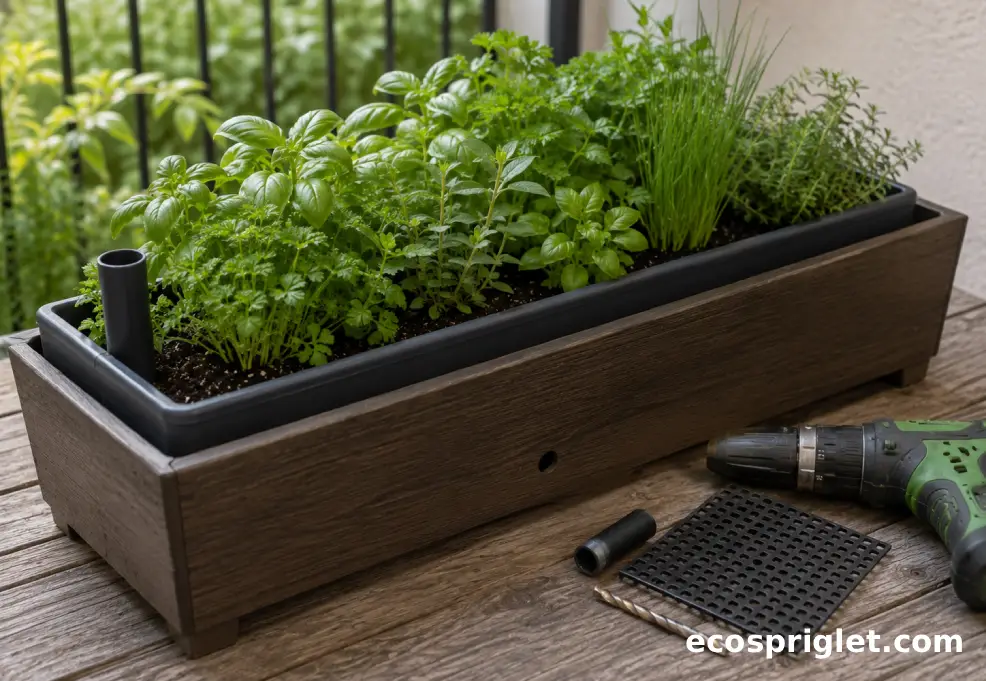
A diy self watering planter box is a better fit than a bucket when you want a row of herbs, a flower display, or a narrow edible balcony edge. The concept is the same, but the wider shape gives roots more horizontal space and keeps the planter from tipping as easily in a breeze.
Use a plastic liner inside wood, or build the water-holding part from a durable plastic storage bin that fits inside the box. Place an overflow hole 2–3 inches above the bottom. Add a false bottom made from perforated plastic, pond basket material, or a drilled insert supported by short pieces of pipe. Then run two or three wicks or soil columns down into the reservoir. In a 24-inch window-box-style container, I like one wick every 8–10 inches so the far corners do not stay dry.
Do not add gravel below the potting mix to improve drainage. This old trick sounds sensible, but Illinois Extension and UC Master Gardener resources explain that a coarse layer can cause water to perch above the gravel, reducing usable root depth and increasing the chance of saturated mix. A better fix is a deeper container, a well-aerated potting mix, and a clear overflow path.
For balcony flowers, keep plant choices modest the first season. Calibrachoa, compact zinnias, parsley, basil, chives, lettuce, and nasturtiums can all work in the right light, but do not cram six thirsty plants into a narrow box and expect the reservoir to keep up indefinitely. If the box is less than 8 inches deep, treat it as a shallow herb or flower planter rather than a tomato home.
One small-space trick: put the fill tube near the back corner instead of the center. It keeps the front view cleaner and makes watering easier when the planter sits against a wall or railing. Just leave enough room to see the overflow hole during the first few waterings.
Use the Right Potting Mix, Wick, and Reservoir Size
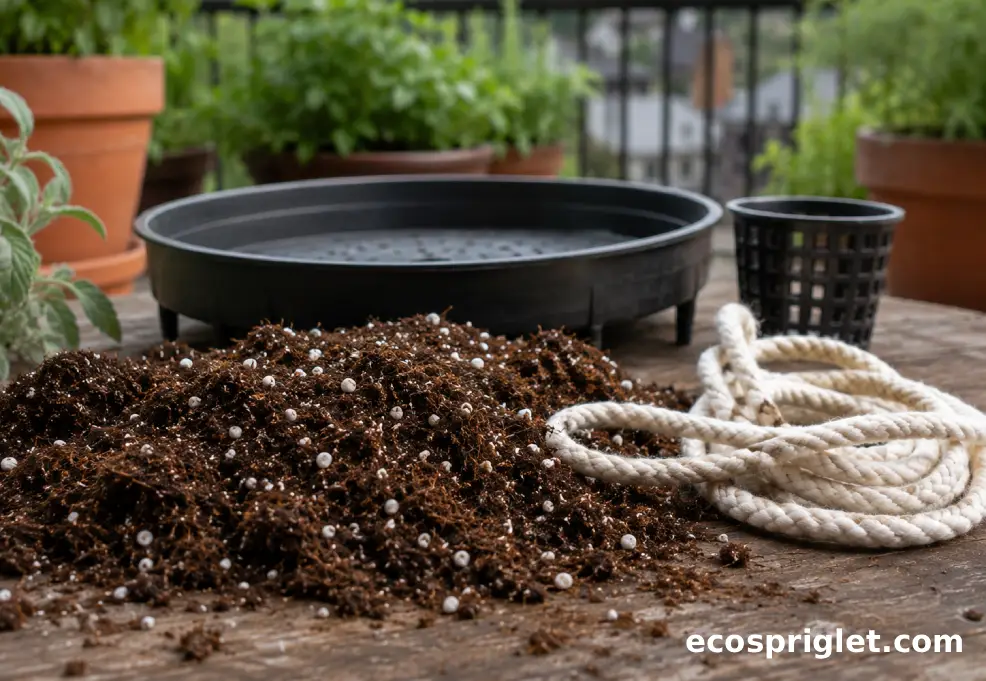
The planter body gets most of the attention, but the potting mix decides whether the system works. A self-watering plant system diy build needs a mix that can wick moisture upward while still holding air. Straight garden soil is usually too dense for this. In containers, it can compact, shrink away from the walls, and stay wet in the wrong places. UNH Extension recommends quality soilless mixes for container vegetables because they are lightweight, moisture-retentive, and able to shed excess water.
For most balcony herbs, flowers, and vegetables, start with a bagged potting mix labeled for containers. If it feels heavy and muddy when wet, blend in perlite, pumice, or coarse bark fines. If it dries into a hard brick, pre-moisten it in a tub before filling the planter. I usually add water slowly, fluff with a hand trowel, wait five minutes, and squeeze a handful. It should hold together loosely, then crumble when poked.
The wick should be snugly connected, not dangling in empty space. A fabric strip can work well in a small pot, but in a 5-gallon bucket, a soil-filled wicking cup is often steadier. The wick area should be moist from day one, because dry peat- or coir-heavy mix can resist wetting at first.
Reservoir size depends on the plant and weather. A 2–3 inch deep reservoir in a 5-gallon bucket is enough for many herbs and peppers, but a fruiting tomato in full sun may still need daily attention in hot weather. University of Maryland Extension notes that even a self-watering 5-gallon bucket in full summer sun may need regular watering, including daily watering in July and August under hot, sunny conditions.
That is the honest promise: fewer emergencies, not no work. A good reservoir smooths out the day. It does not cancel wind, heat, root growth, or a thirsty tomato.
How to Use a Self Watering Planter After Planting
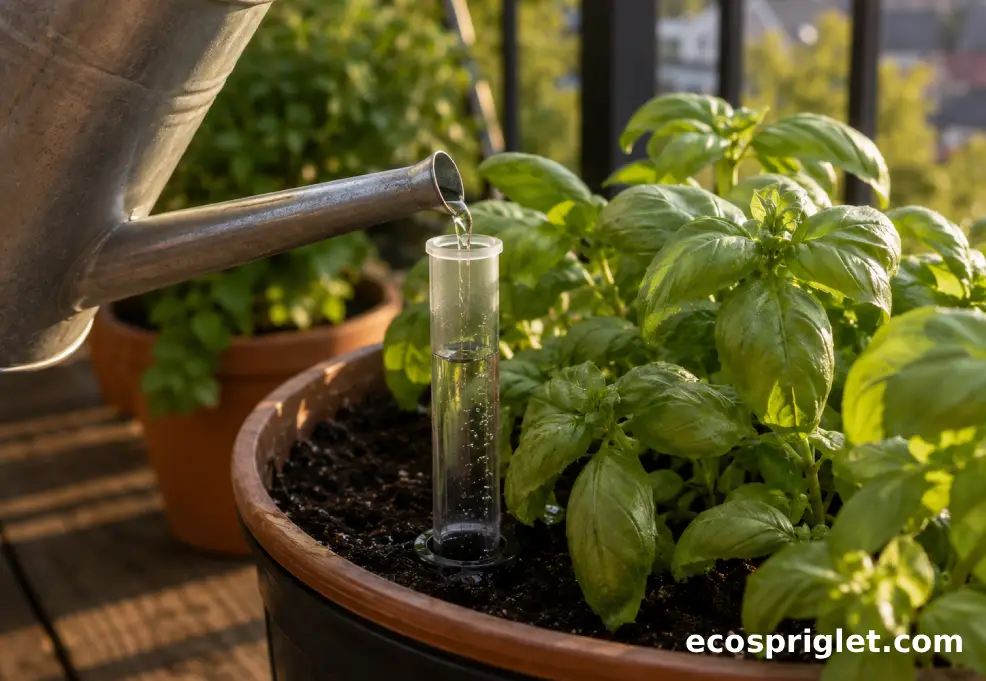
Learning how to use a self watering planter is mostly about patience during the first week. New transplants do not always have roots near the lower moisture zone yet, so water from the top after planting. Keep the upper 1–2 inches of mix lightly moist while the roots settle in, then shift most watering to the fill tube once the plant is growing strongly.
For seedlings and small herbs, check the top mix daily for the first 7–10 days. If the top 1 inch dries completely and the plant is still tiny, give a gentle top watering. Once roots have expanded, fill the reservoir through the tube until water runs from the overflow hole. That overflow is your signal to stop.
On hot balconies, check the reservoir every morning until you learn the rhythm. South- and west-facing balconies can dry containers quickly, especially with dark pots, reflected heat, and wind. For vegetables, UNH Extension notes that most need at least six hours of sun, while leafy vegetables and many herbs tolerate less light than fruiting crops such as tomatoes, peppers, cucumbers, and eggplants.
Fertilizer also needs a lighter touch than many beginners expect. Because self-watering containers conserve water and nutrients, salts can build up if you pour in strong fertilizer every week. Start with a potting mix that includes slow-release fertilizer, or use a diluted liquid feed after plants are actively growing. UNH Extension suggests that container vegetables often need added nutrients after several weeks, but rates should follow label directions and be diluted when liquid fertilizers are used regularly.
Every few weeks, water gently from the top until a little runoff exits the overflow, especially for heavy feeders. This helps refresh the upper mix and reduces dry pockets. Empty any saucer or catch tray after the test so you do not create standing water near your door.
Best Plants for DIY Self-Watering Plant Pots
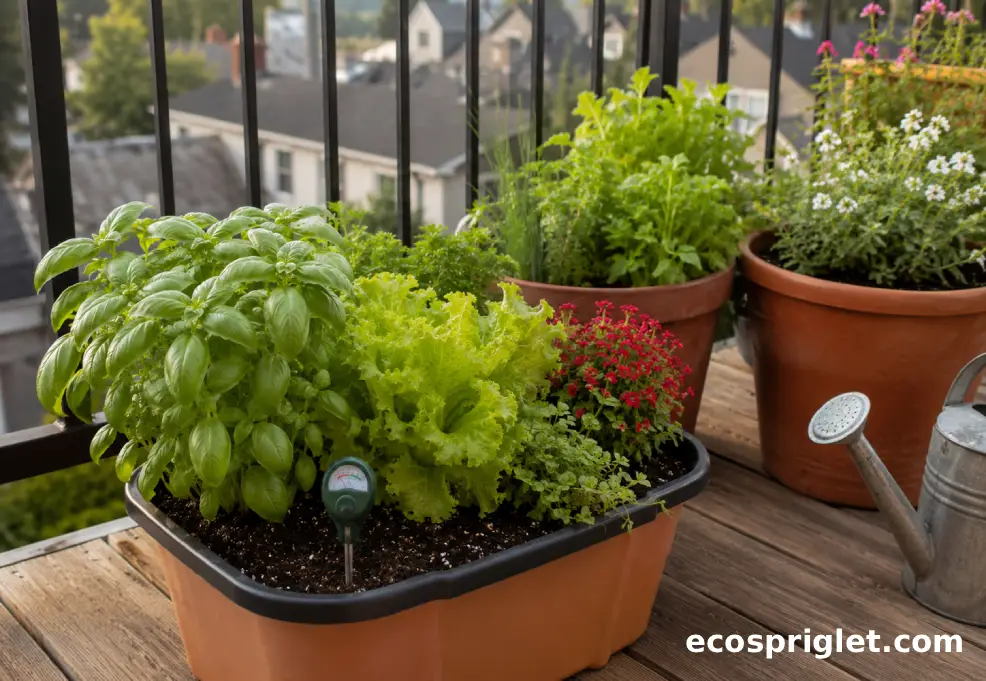
The best plants are the ones that appreciate consistent moisture and fit the container volume. For a first self watering plant diy project, I would start with basil, parsley, mint in its own pot, lettuce, Swiss chard, compact peppers, dwarf tomatoes, or annual flowers that wilt quickly in ordinary pots. These plants give clear feedback: leaves perk up, growth steadies, and you can see whether the reservoir is helping.
Match plant size to soil volume. University of Maryland Extension lists 5 gallons as a minimum container volume for standard tomatoes, peppers, cucumbers, cabbage, and eggplant, while small-statured herbs such as basil, cilantro, thyme, mint, oregano, tarragon, and marjoram can grow well in 2- to 5-gallon pots.
| Plant Type | Good DIY Container Size | Small-Space Note |
|---|---|---|
| Basil, Cilantro, Thyme, Oregano | 2–5 gallons | Great starter choices; basil likes steady moisture and warmth. |
| Leaf Lettuce and Arugula | Wide shallow box, 1/2 gallon or more per planting area | Best in cooler seasons or morning sun with afternoon shade. |
| Parsley, Sage, Lavender, Rosemary | 5 gallons or larger for big, long-lived plants | Use an airy mix and avoid keeping the reservoir constantly full in cool weather. |
| Peppers | 5 gallons per plant | Good balcony crop; stake early if wind is an issue. |
| Standard Tomato | At least 5 gallons, larger is easier | Choose compact varieties for balconies and expect frequent filling in heat. |
Skip succulents and cacti unless you are building a very specialized, airy setup and leaving the reservoir dry most of the time. Illinois Extension specifically notes that plants needing dry conditions, such as many thick-leaved cacti and succulents, usually do not justify the extra cost or moisture of self-watering containers.
For pet households, check plant safety before bringing new flowers or herbs indoors. Many common herbs are fine in normal culinary use, but some ornamentals are toxic to cats or dogs. On my own balcony, I keep unknown ornamentals off low shelves until I have checked them through a reliable plant-toxicity source such as ASPCA.
Common Mistakes to Avoid
The first self-watering container I built worked for about three weeks, then the basil started looking dull even though the reservoir was full. My mistake was simple: I had packed the mix too tightly around a skinny wick, so the top stayed damp in one column and dry everywhere else. A self-watering system only works when water, air, and roots can all move through the container.
- Skipping the Overflow Hole: Without an overflow hole, water can rise into the potting mix and push out air. Drill the overflow 2–3 inches above the bottom for a bucket planter, then test-fill before planting.
- Adding Gravel Under the Mix: Gravel does not fix a soggy planter. Illinois Extension and UC Master Gardener resources explain that water can perch above a gravel layer, keeping the soil above it saturated. Use airy potting mix instead.
- Using Garden Soil: Garden soil can compact in containers. Choose a soilless potting mix that holds moisture while draining excess water.
- Letting the Wick Dry Out at Setup: Pre-soak fabric wicks and pre-moisten the mix. Dry materials often resist wicking at first.
- Assuming It Waters Forever: A reservoir buys time, but it still empties. Check daily during heat waves, especially for tomatoes, peppers, and shallow balcony boxes.
One more apartment-specific mistake is forgetting where overflow goes. On a patio, a little spill may not matter. On a balcony above someone else’s furniture, it does. Set the planter where runoff can be caught, or place a tray under it and empty the tray after watering. University of Maryland Extension also warns that standing water in saucers can contribute to root problems and mosquito breeding, so do not let catch trays become mini ponds.
Troubleshooting: When the Wick, Roots, or Reservoir Misbehave
If the plant wilts even though the reservoir has water, check the wick connection first. Push a finger 2 inches into the mix near the plant and then near the wick. If the wick area is wet but the root ball is dry, the moisture is not spreading. Top-water slowly once or twice, then loosen and rework the mix around the wick if needed. In a box planter, add a second wick at the dry end.
If the mix smells sour or the plant yellows from the bottom, the system may be too wet. Empty the reservoir, let the upper mix dry until the top 1–2 inches feel only slightly damp, and make sure the overflow hole is clear. A blocked overflow is a common hidden problem after potting mix shifts around during setup.
If algae grows in the fill tube or reservoir, block light from reaching the water. Use an opaque tube, cover the opening with a loose cap, or tuck the tube behind foliage. Do not seal the system airtight; you only want to reduce light and debris.
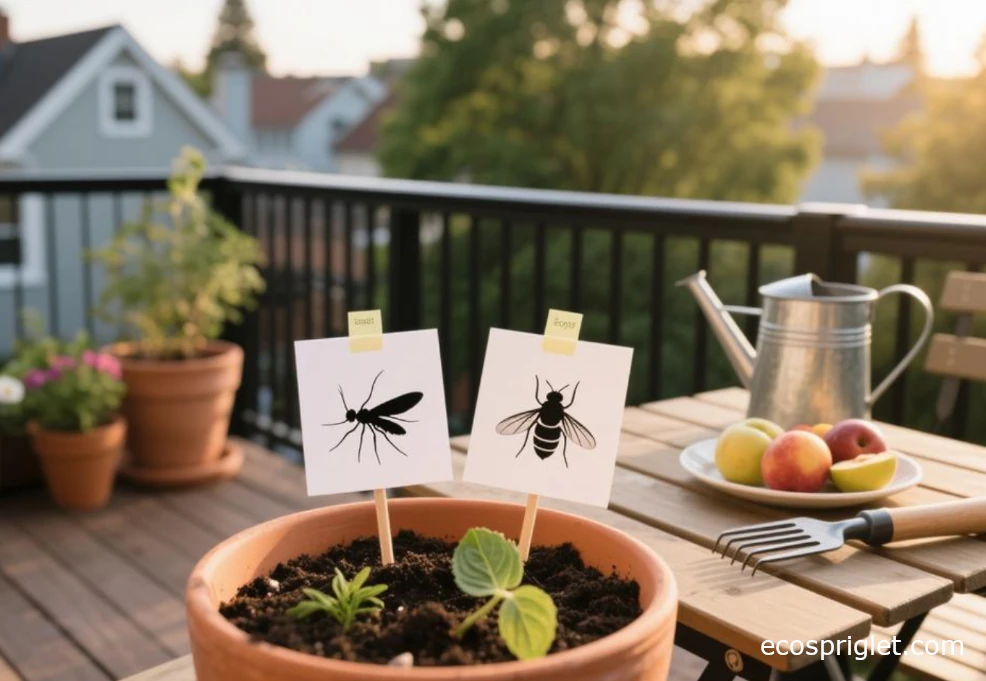
If mosquitoes appear, dump standing water from saucers and make sure the reservoir is not exposed. A properly covered reservoir with a small fill opening is less attractive than an open tray. For indoor or doorway planters, check weekly. Apartment gardening is more pleasant when you do not invite pests right next to the kitchen.
If plants grow slowly, the issue may be light rather than water. Fruiting vegetables generally need more sun than leafy greens. UNH Extension notes that most vegetables need at least six hours of sunlight, while leafy crops tolerate less than tomatoes, peppers, cucumbers, eggplants, and melons.
Wind can also make leaves transpire faster than the reservoir can replace moisture. If the plant droops every afternoon but recovers at night, move it a few feet inward, add a wind-permeable screen, or choose a wider, lower planter that will not topple. A stable container is part of plant health on a balcony.
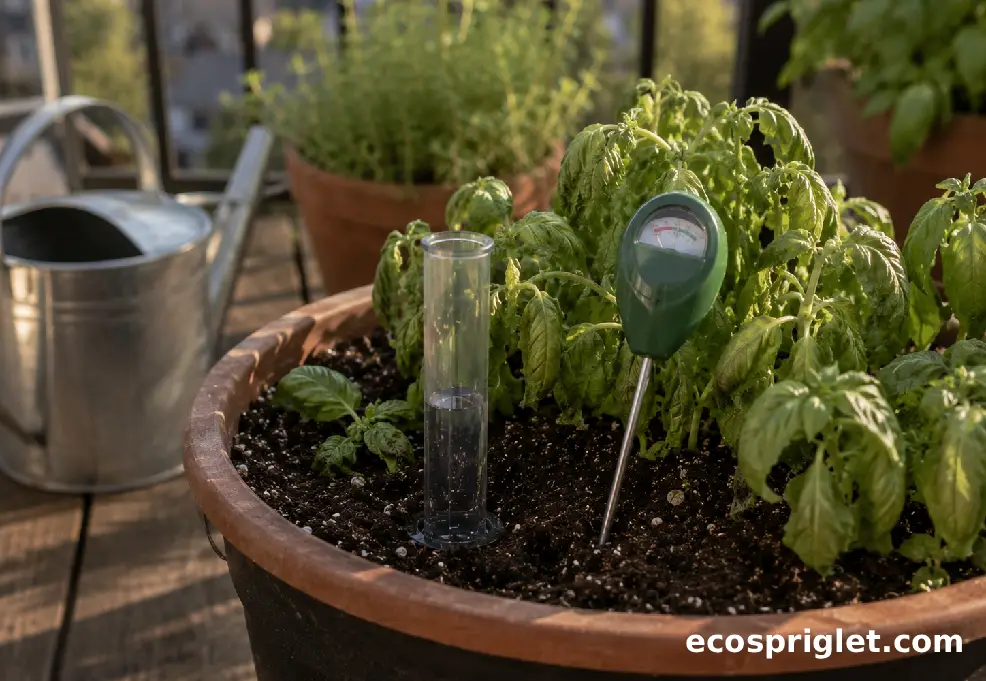
Creative Small-Space Ideas for Self-Watering Containers
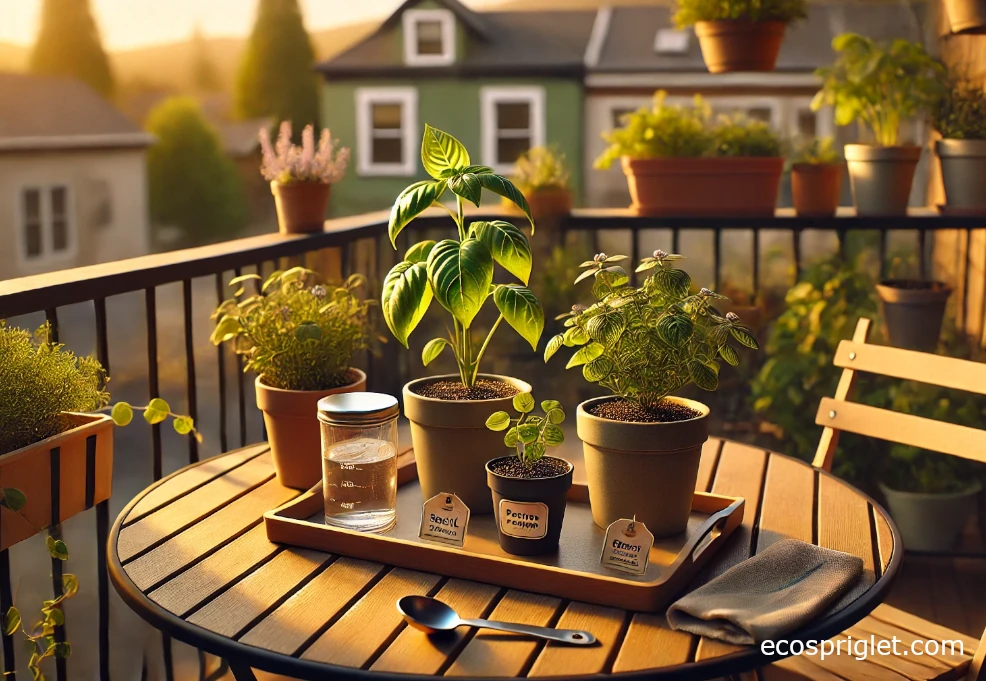
Once you understand the reservoir-and-wick idea, you can adapt it to many apartment setups. A self-watering flower pot can be as simple as a nursery pot with a cotton wick set into a covered water cup, tucked inside a decorative cachepot. A narrow herb box can hide a reservoir under parsley and chives. A patio tomato can grow in a bucket that looks plain at first but becomes nearly invisible once the plant fills out.
For renters, I like reversible projects best. Instead of permanently modifying a decorative planter, build the self-watering insert inside a removable plastic tub. When you move, lift the insert out and keep the outer container clean. For indoor herbs near a bright window, use a smaller reservoir and refill more often rather than keeping a large volume of water indoors for long periods.
Try these practical combinations:
- Kitchen Herb Bucket: Basil, parsley, and chives in a 5-gallon bucket near a sunny balcony door.
- Salad Box: Leaf lettuce, arugula, and a few radishes in a wide self-watering planter box for spring or fall.
- Pollinator Pot: Compact zinnias or nasturtiums in a reservoir planter that does not dry out every afternoon.
- Vacation Backup Pot: A rope-wick nursery pot for a moisture-loving houseplant while you are away for a long weekend.
The most useful diy plant self watering system is the one that solves your actual problem. If you forget to water small herbs, make a small herb system. If your balcony gets punishing afternoon sun, build one larger box instead of five tiny pots. If your building has strict railing rules, keep containers on the floor and use plant stands only where weight and wind are safe. For more small-space planning, see our indoor herbs guide and container gardening for beginners.
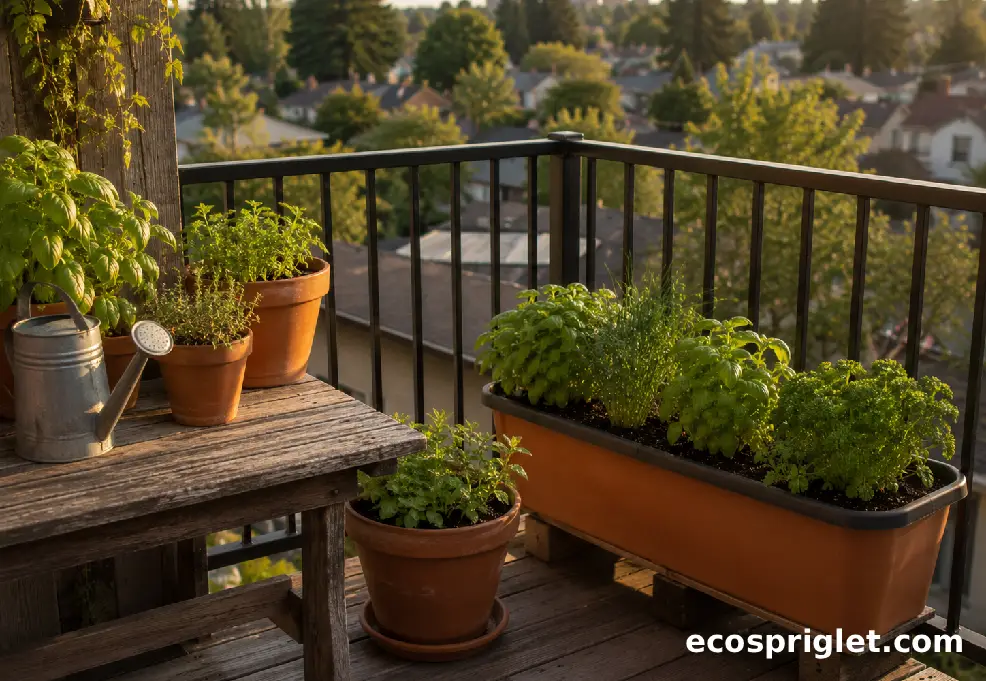
Final Setup Checklist Before You Plant
Before you plant, do one dry run and one wet run. The dry run checks whether the separator sits level, the wick reaches the reservoir, and the fill tube stays upright. The wet run checks whether water exits the overflow hole before it reaches the potting mix layer. This is much easier to fix before basil roots are wrapped around the wick.
Use this quick checklist:
- The container is clean, food-safe if used for edibles, and strong enough when full.
- The reservoir is 2–3 inches deep for a bucket or scaled sensibly for a larger box.
- The overflow hole is open and visible.
- The wick is pre-soaked and firmly touching both water and potting mix.
- The potting mix is moist, fluffy, and made for containers.
- The planted container will not block a doorway, drip onto neighbors, or tip in wind.
After planting, label the date on a small tag. For the first two weeks, note how quickly the reservoir empties. You will learn more from that simple observation than from any perfect online formula. My own basil bucket needs refilling far more often in August than in May, even though the planter is the same. The plant is bigger, the days are warmer, and the balcony boards radiate heat back into the pot.
That is the real skill with self-watering containers: build the system well, then watch how your space changes it. A shaded windowsill, a windy fifth-floor balcony, and a warm brick patio can all use the same basic design, but they will not use water at the same pace.
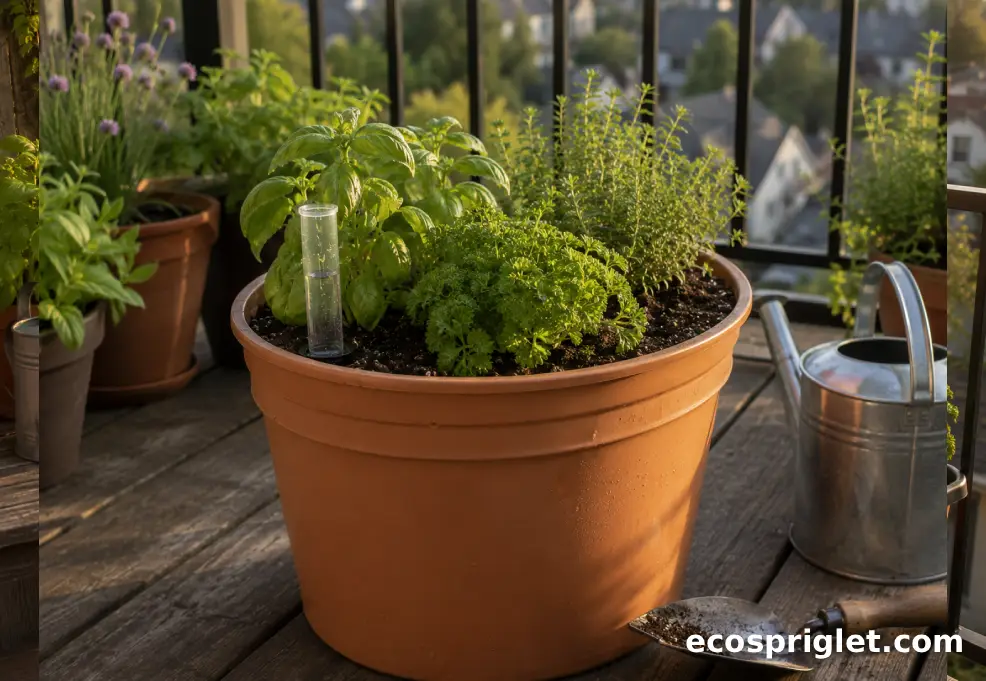
Conclusion: Build Small, Test Honestly, Then Scale Up
A homemade self-watering planter is a smart little upgrade for apartment gardeners because it solves a real container problem: small pots dry fast, especially in sun and wind. Once you know how the reservoir, wick, potting mix, and overflow hole work together, you can build a bucket planter, a self-watering planter box, or a simple wick pot with basic tools and affordable materials.
Start with one container before converting your whole balcony. Choose a forgiving plant such as basil, parsley, lettuce, compact flowers, or one pepper in a 5-gallon bucket. Pre-moisten the mix, test the overflow, water from the top until roots establish, and check the reservoir daily during the first hot stretch. That small testing period helps you avoid the classic beginner traps: packed soil, dry wicks, blocked overflow holes, and forgotten catch trays.
Self-watering planters do not replace attention, but they do make container gardening calmer. They give you a steadier moisture buffer, fewer wilted afternoons, and a better chance of keeping balcony plants happy while life gets busy. Ready to build out the rest of your small-space garden? Explore our Apartment Patio Ideas next.