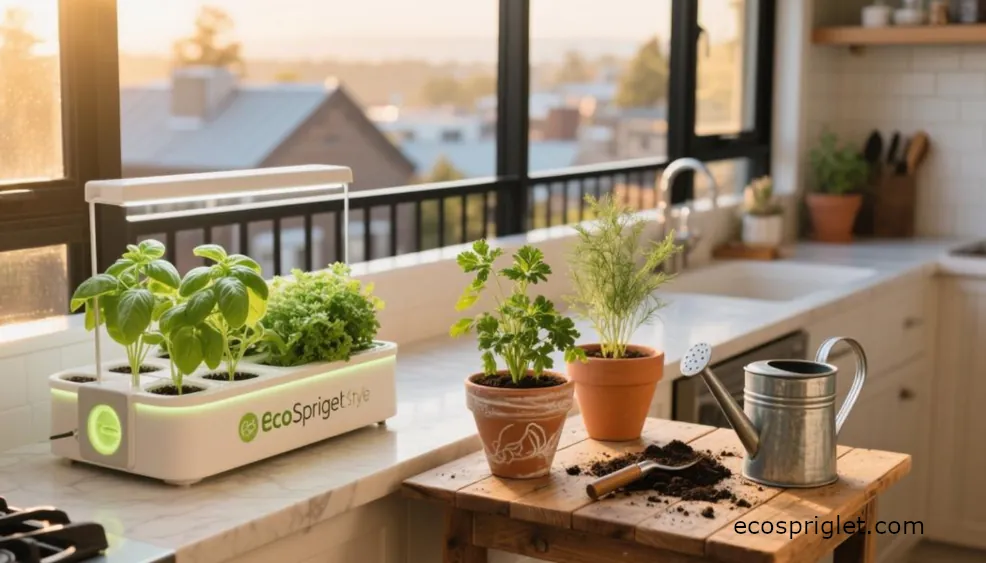
By Daniel Carter — I garden on a small Portland balcony, but some of my favorite herb harvests have come from much less impressive places: a dim kitchen shelf, a narrow windowsill, and one winter corner lit by a simple LED bar. An indoor herb garden does not need fancy gear to work. It needs the right herbs, enough light, pots that drain, and a watering routine that does not drown the roots.
If you are starting from zero, keep it simple. Pick three herbs, give them your brightest spot, and learn how they respond before you build a whole kitchen jungle. Parsley, chives, and mint are forgiving first choices. Basil is wonderful too, but it needs stronger light and a little more attention.
This guide walks you from setup to first harvest: quick-start supplies, light, pots, soil, watering, feeding, beginner herbs, kits vs. DIY setups, a 4-week plan, troubleshooting, seasonal adjustments, and a practical checklist. The goal is not a perfect Pinterest shelf. The goal is herbs you can actually snip over dinner.
Quick Start: Your First 30 Minutes
If you want the fastest path, start with three herbs in separate pots. I suggest parsley, chives, and mint for most apartments because they are more forgiving than basil in moderate indoor light. If you have a very bright window or plan to use a grow light, swap one of them for basil.
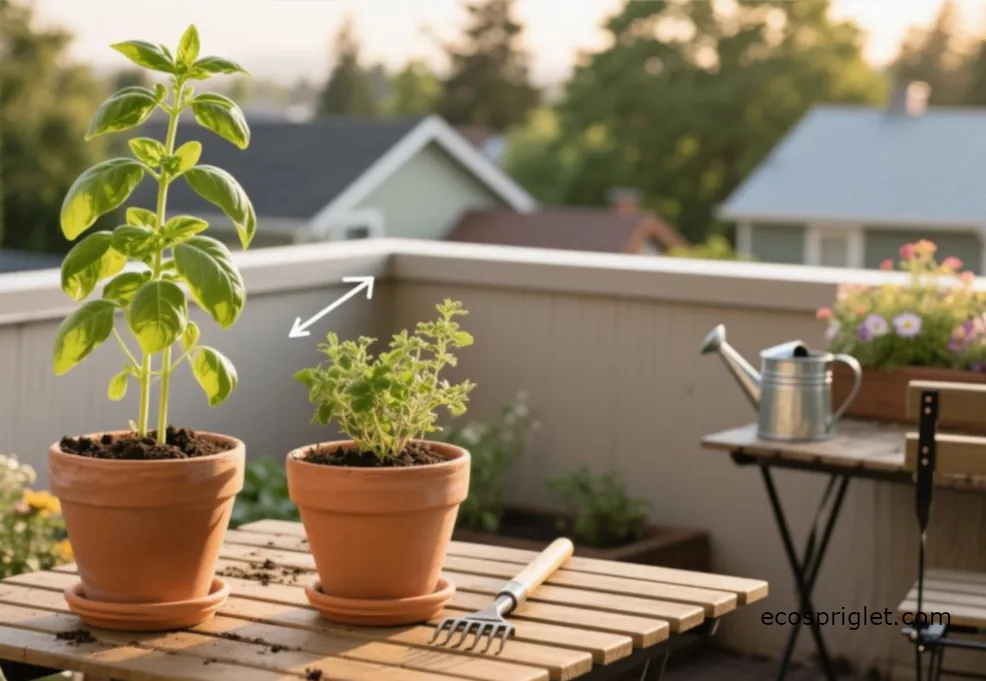
Separate pots make indoor herb gardening much easier. Mint is vigorous and can bully neighbors. Basil wants more light and steadier moisture. Chives bounce back after cutting but do not want to sit in soggy soil. One pot per herb lets you water and move each plant based on what it actually needs.
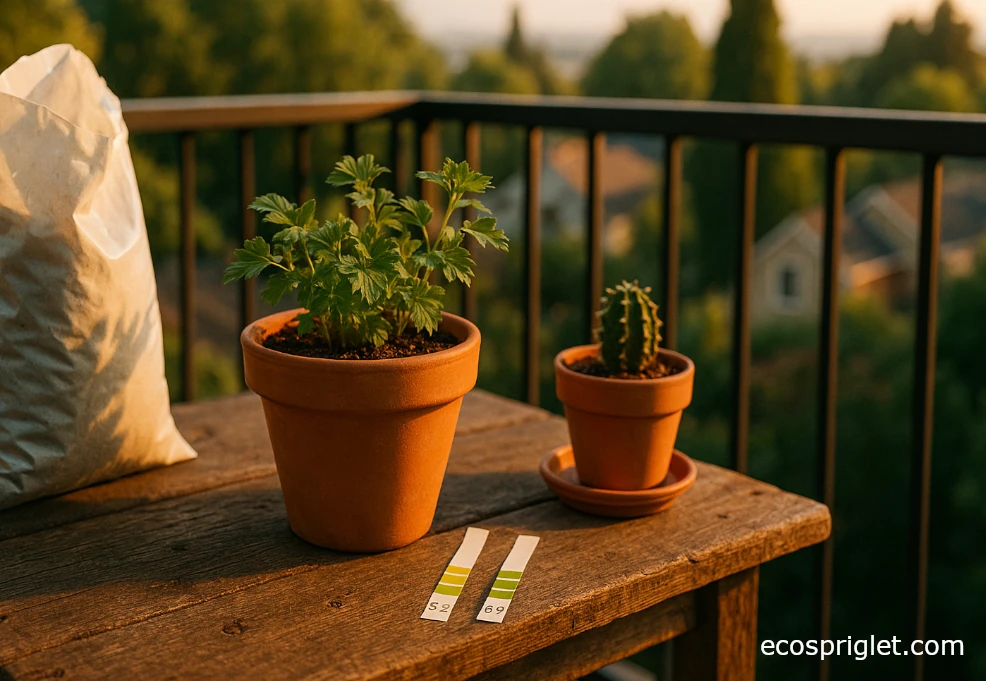
- Containers: use 4–5 inch starter pots with drainage holes and saucers.
- Soil: use potting mix, not garden soil. A mix with perlite helps keep roots airy.
- First watering: moisten the mix evenly, water until a little drains out, then empty saucers.
- Placement: put the tray in the brightest window you have for the first week.
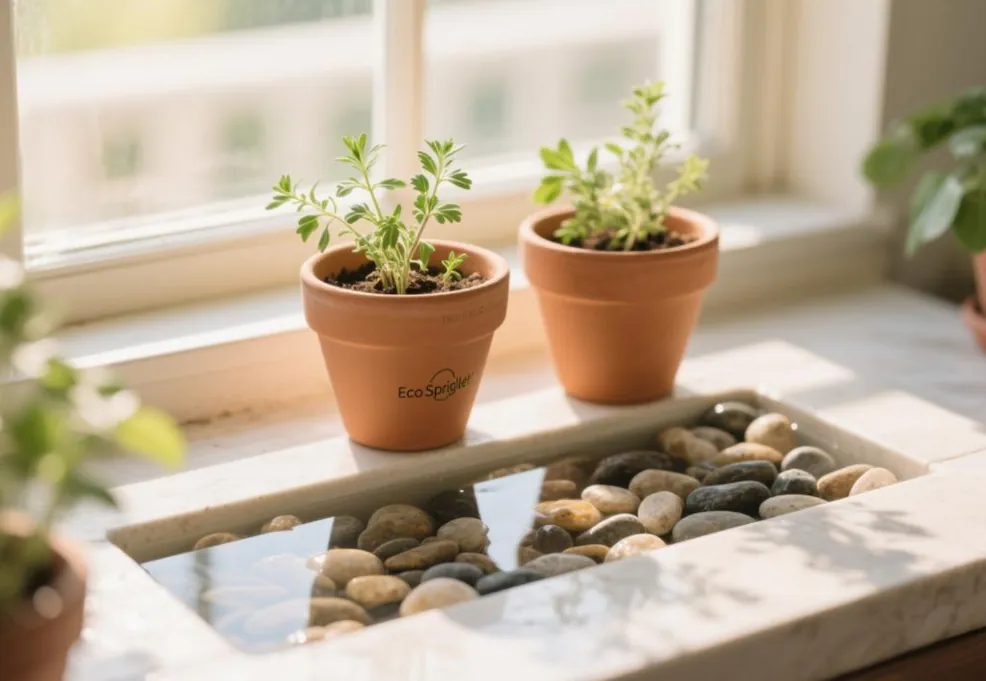
Daniel’s note: I like putting the first three pots on one shallow tray. It catches drips, protects the counter, and lets you move the whole mini garden when you discover the “brightest spot” is actually somewhere else.
Light Is the Real Game-Changer
Most indoor herb problems are light problems wearing a watering-problem costume. Herbs can survive in less-than-perfect light for a while, but flavor, branching, and steady harvests improve dramatically when the light is stronger.
University of Maryland Extension notes that most herbs prefer at least 6 hours of full sun, while mint, chives, chervil, and cilantro tolerate lighter shade. Indoors, that usually means your best window still may not be enough in winter. University of Minnesota Extension recommends 12–14 hours of supplemental light for hydroponic lettuce and herbs, which is a useful target for compact indoor herb setups.
Try the simple shadow test on a sunny day. Hold your hand about 12 inches over a piece of white paper near the plant shelf.
- Crisp shadow: strong direct light. Basil, thyme, oregano, and rosemary have a better chance here.
- Fuzzy shadow: bright indirect light. Parsley, chives, mint, and cilantro are better choices.
- Barely any shadow: low light. Use a grow light or stick to very tolerant herbs and expect slower growth.
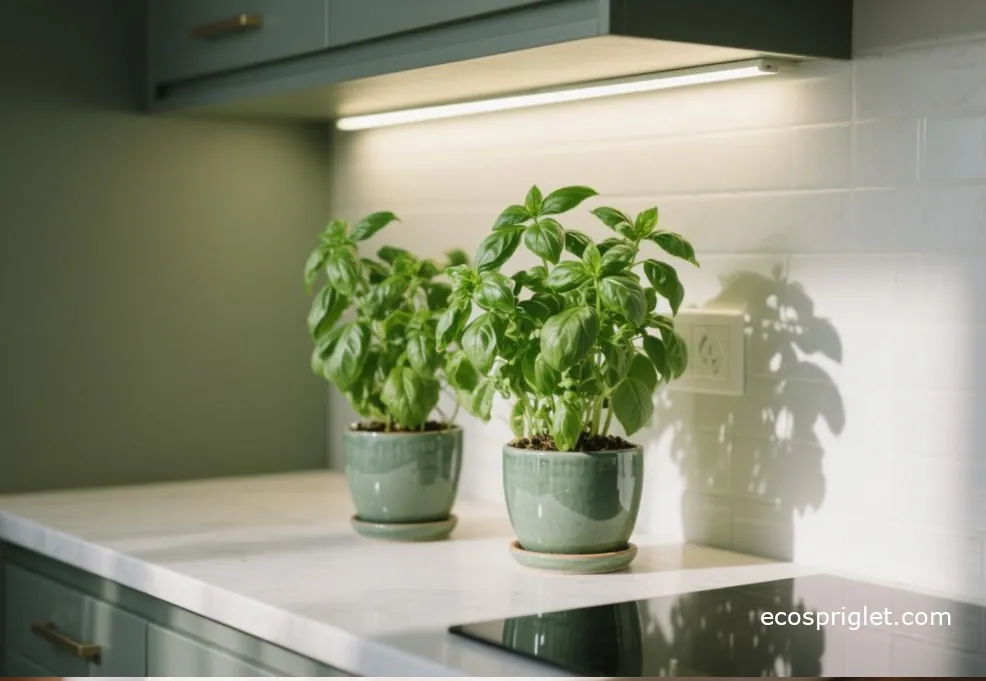
A basic LED bar or clamp light on a timer can transform the results. Start with the light about 8–12 inches above the plant tops unless the manufacturer recommends a different distance. If plants stretch, pale out, or lean hard toward the window, bring the light closer or extend the timer.
My winter basil became stockier and darker green when I stopped pretending a desk lamp was a grow light. A slim LED bar set above the canopy did more than any fertilizer ever did.

Containers, Soil, and Drainage That Prevent Problems
Herbs need oxygen around their roots. That is why drainage holes and a light potting mix matter so much indoors. Penn State Extension recommends containers with drainage holes and potting mix that supports water drainage for herbs grown indoors. Garden soil is usually too dense for small indoor pots and can bring in pests, weed seeds, or drainage problems.
For starter herbs, 4–5 inch pots are enough. Oversized pots sound generous, but they often stay wet too long while the young root system is still small. Once a plant becomes root-bound or dries too quickly, move up one pot size rather than jumping straight to a large decorative container.
- Terracotta: dries faster and helps if you tend to overwater.
- Plastic: holds moisture longer and works well if your apartment is warm and dry.
- Self-watering pots: useful for thirsty herbs, but do not keep the reservoir full for herbs that prefer drier roots.
- Cachepots: fine for looks, but keep the herb in a draining nursery pot inside.
A simple indoor herb mix can be 3 parts quality potting mix and 1 part perlite. For basil, parsley, chives, and mint, that gives a nice balance of moisture and air. For Mediterranean herbs like rosemary, thyme, and oregano, lean slightly grittier and avoid constantly wet soil.
If a plastic pot still feels heavy and clammy several days after watering, the pot may be too large, the mix too dense, or the light too weak. Fix the setup before blaming the herb.
Watering and Feeding Without Guesswork
Most indoor herb failures come from watering by calendar. I’ve done it too: every Saturday, every pot, same amount. It feels responsible until basil collapses from wet roots and mint looks thirsty two days later.
Use the top inch of soil as your first check for most leafy herbs. If the top inch feels dry, water thoroughly until a little drains from the bottom. Then empty the saucer. Light sips encourage shallow, uneven moisture, while proper watering wets the whole root ball and lets excess drain away.
- Finger test: water when the top 1 inch feels dry for basil, parsley, mint, and chives.
- Weight test: lift the pot after watering and again when dry so you learn the difference.
- Bottom watering: useful for even moisture, especially in small pots.
- Top watering: useful for flushing fertilizer salts through the mix.
Alternate bottom and top watering if you like both methods. If you bottom-water often, give the pot an occasional thorough top watering so salts do not build up near the surface.
Feeding should stay mild. Use a balanced liquid fertilizer at half strength every 2–3 weeks during active growth, or follow a gentle indoor routine from DIY Plant Fertilizer. If the herbs are in low light or barely growing in winter, reduce feeding or pause.

Choose the Easiest Herbs First
Pick winners before you chase variety. A small indoor herb garden that gives you steady parsley, chives, and mint is better than ten struggling pots of herbs that all needed brighter light than your kitchen could offer.
- Parsley: steady, useful, and one of the better indoor choices if you have a bright location and drainage.
- Chives: excellent cut-and-come-again herb; snip bunches and let them regrow.
- Mint: vigorous and forgiving, but always give it its own pot.
- Basil: high flavor, high light demand; best with a sunny window or LED.
- Thyme and oregano: better in brighter light and a slightly drier mix.
- Rosemary: possible indoors, but it is less forgiving and needs strong light, drainage, and airflow.
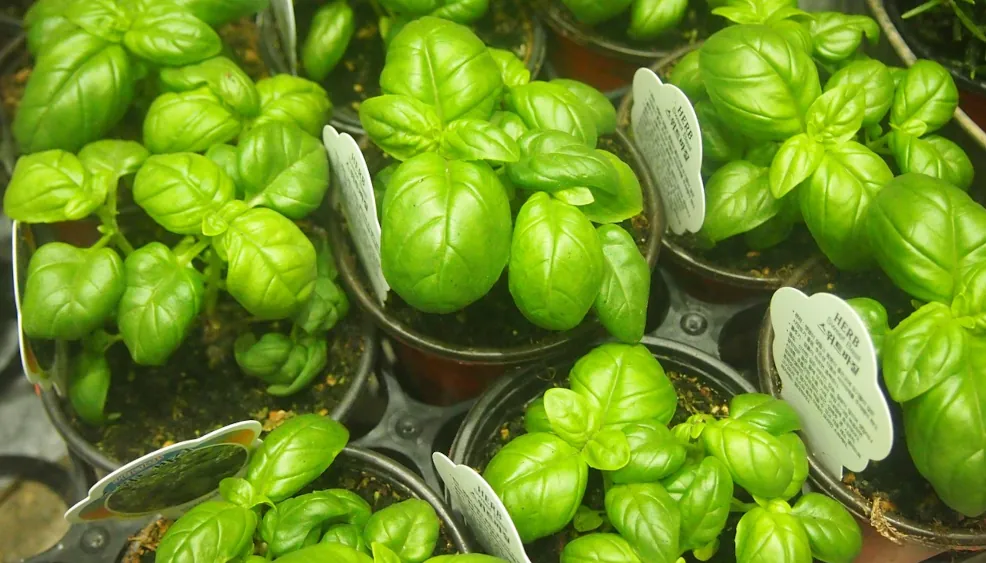
Store-bought herb pots can work, but grocery basil is often crowded with many seedlings in one small pot. Split it into 3–4 clumps, repot gently, and expect a brief recovery dip. Seeds are cheaper and cleaner, but slower. If you want fast kitchen harvests, starter plants are more satisfying.
Indoor Herb Garden Kits: Worth It?
Indoor herb garden kits are worth considering if your windows are gloomy, you travel often, or you want fewer decisions. They are not magic, but a good kit solves two common problems at once: light and watering consistency.
Passive wick kits are simple and quiet. They work well for herbs that like steady moisture, such as parsley, chives, and mint. Compact hydroponic kits with built-in LEDs cost more, but they can produce faster growth because the light and water are built into the system. The tradeoff is that you need to keep the reservoir clean and follow the nutrient instructions carefully.
- Passive wick planters: low tech, low cost, and useful for steady moisture.
- Self-watering kits with LEDs: convenient for low-light kitchens and busy schedules.
- Hydroponic countertop kits: faster growth potential, higher cost, and more reservoir maintenance.
- DIY setup: pots, tray, LED bar, and timer; cheaper and easier to customize.
Planting and Routine Care: Week 1 to Week 4
The first month is about settling the herbs in, not forcing a huge harvest. Roots need time to explore the pot. Leaves need time to adjust to your light. A little patience here gives you better harvests later.
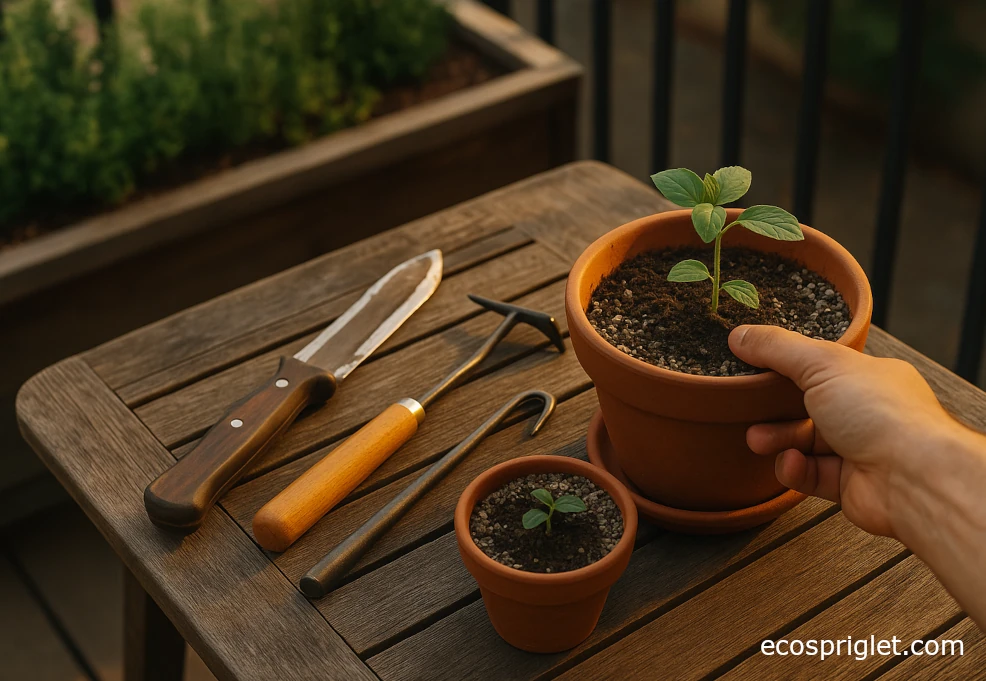
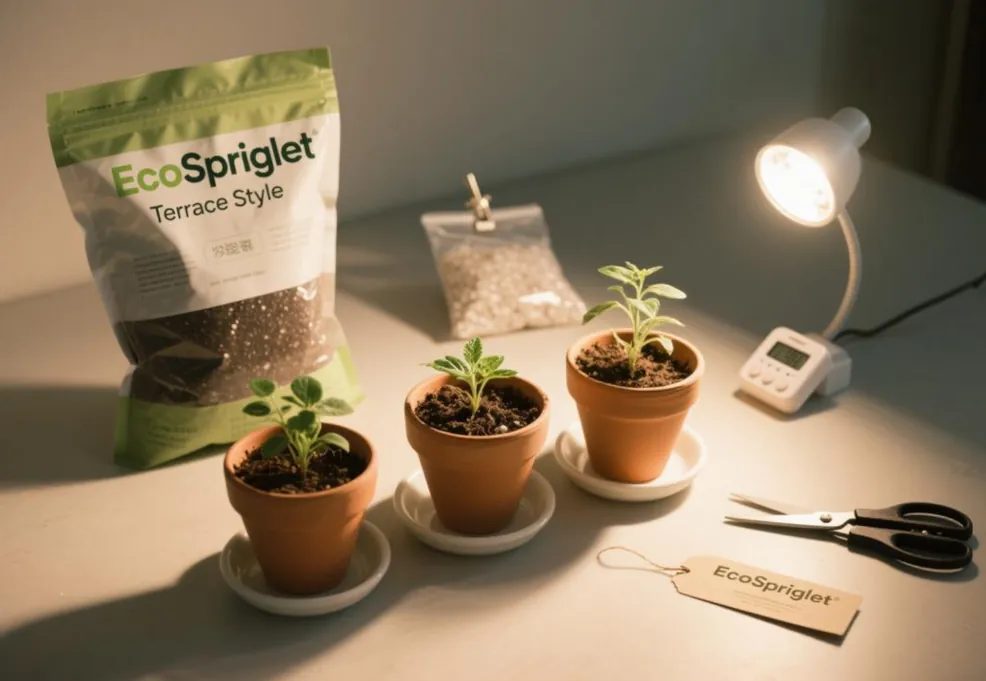
Week 0: Planting
Pre-moisten the potting mix before planting. Fill the pot, set the herb at the same depth it was growing before, and firm the mix gently without packing it tight. Water until a little drains out, then empty the saucer.
Week 1–2: Let Them Adjust
Give the herbs bright light or 12–14 hours under LEDs. Rotate pots every few days so stems do not lean in one direction. Keep leaves away from cold glass in winter and hot glass in summer.
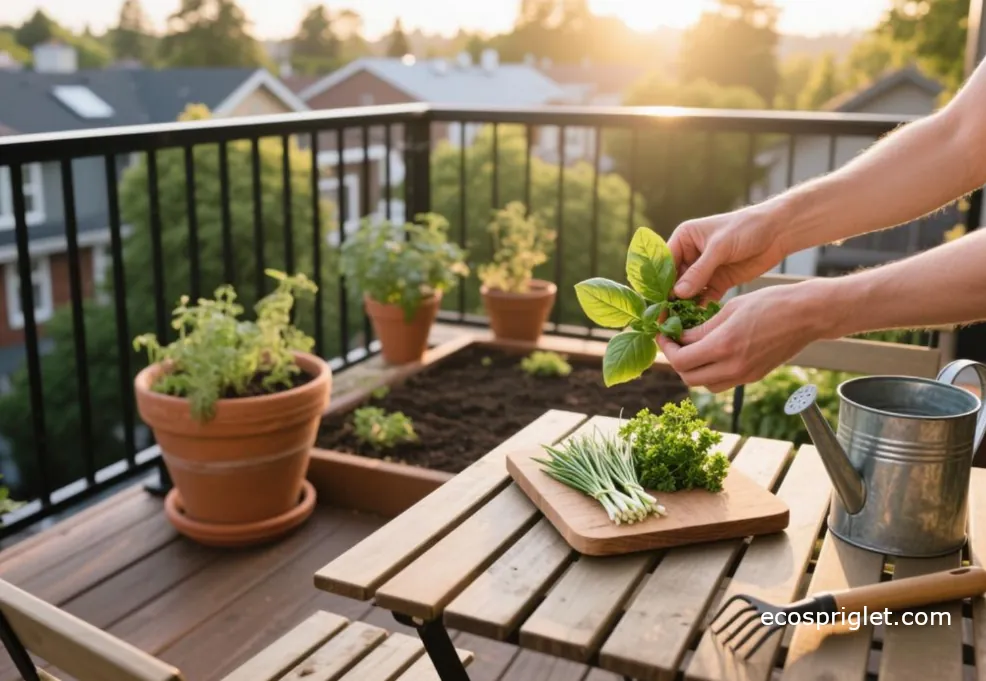
Week 3–4: Start Light Harvests
Begin small harvests once the plant is actively growing. Snip chives about 1 inch above the soil. For parsley, take outer stems at the base and leave the center to keep growing. For basil, pinch above a leaf pair so two new shoots can form.
Daniel’s note: A small fan on low for an hour or two a day can improve airflow around dense herbs. I started doing this after one damp winter shelf got a little mildew-prone, and it made the whole setup feel less stale.
Troubleshooting Fast Fixes
Indoor herbs usually tell you what is wrong, but the symptoms can overlap. Pale leaves may be low light, overwatering, or hungry growth. Droop may be thirst, root stress, or heat. Start with the basics before adding fertilizer or repotting everything.
- Leggy, pale growth: move closer to the light, lower the LED, or increase the timer to 12–14 hours.
- Yellowing and soggy soil: pause watering, check drainage, and move the plant to brighter light.
- Mold on the soil surface: improve airflow, let the top layer dry more, and avoid overwatering.
- Fungus gnats: let the surface dry between waterings, use yellow sticky traps, and avoid raw compost or scraps in pots.
- Basil crashing after harvest: cut above a leaf pair and never remove more than about one-third of the plant at once.
If a herb keeps failing in the same location, assume the location is the problem. A new plant in the same dim, wet corner will usually repeat the same story.
Harvesting and Kitchen Use
Frequent, gentle harvesting keeps herbs compact and useful. The goal is not to wait until the plant is huge and then strip it. Small cuts encourage branching and give you better flavor over time.
- Basil: pinch or snip above a leaf pair. Take soft tops, not random single leaves.
- Parsley: cut outer stems at the base and leave the center growing point intact.
- Chives: snip bunches about 1 inch above the soil.
- Mint: cut tips often to keep it bushy and prevent long, floppy stems.
- Thyme and oregano: harvest small sprigs and avoid cutting into old woody sections too hard.
For short-term storage, parsley and chives can go in the fridge wrapped lightly or standing in a jar with a little water. Basil is happier at room temperature for short storage because cold fridge temperatures can darken the leaves. For longer storage, chop herbs and freeze them in olive-oil cubes.
Space-Saving and Design Ideas
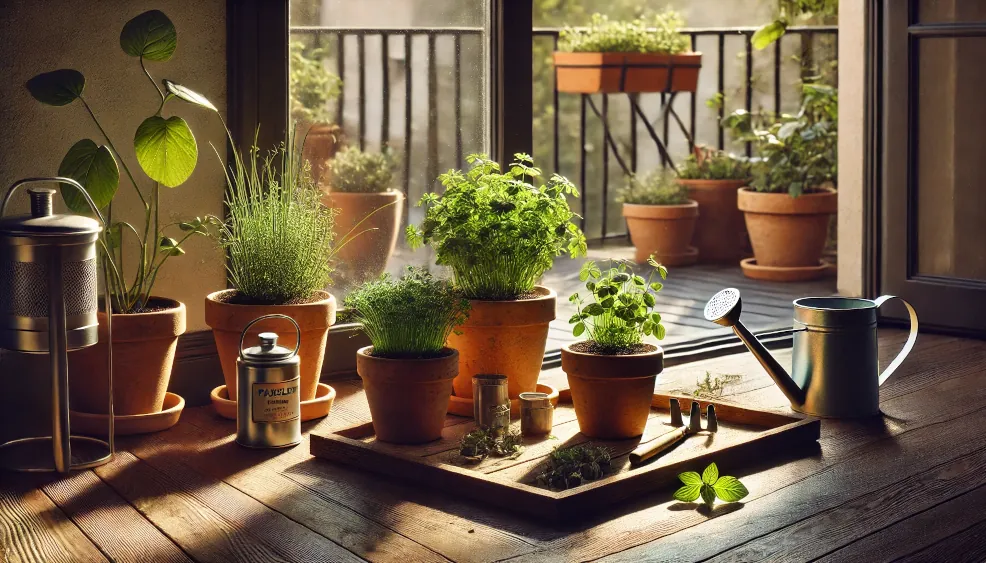
A good indoor herb garden does not need much space. It needs access. If the herbs are buried behind appliances or too awkward to water, you will use them less and notice problems later.
A narrow shelf with a bar light is often better than a crowded windowsill. You can set the light height, keep the pots together, and protect the counter with one tray. Wall rails and vertical planters can work too, but protect the wall from moisture and make sure each pot still drains properly.
- Two-tier shelf: grows several small pots under one or two LED bars.
- Window tray: simplest setup if the window is genuinely bright.
- Wall rail: good for tiny kitchens, but use removable saucers or liners.
- Rolling cart: easy to move for cleaning, watering, or seasonal light changes.
If you have pets, keep the setup out of reach. Many culinary herbs are commonly grown around homes, but curious cats and dogs can still chew too much, knock pots over, or dig in the mix. Check individual plants if pet safety matters in your home.
Budgets and Shopping Lists
Spend first on light and potting mix. Those two choices prevent more problems than decorative pots do. A cheap setup can work beautifully if the herbs get enough light and the roots can breathe.
- Bare-minimum setup: three 4–5 inch pots with drainage, saucers, potting mix, perlite, labels, and three starter herbs.
- Budget grow-light setup: LED clamp or 12–18 inch bar light, plug-in timer, simple shelf, and drip tray.
- Cleaner kitchen setup: matching nursery pots inside cachepots, one waterproof tray, and a small watering can.
- Kit route: compact hydroponic or self-watering kit with built-in LED for low-light rooms.
Daniel’s note: I’d rather buy a modest LED and plain nursery pots than beautiful containers and weak light. Pretty pots do not fix leggy basil.
Seasonal and Apartment Considerations
Indoor herb care changes with the season, even if the plants never leave your kitchen. Winter light is weaker, rooms can be drier, and cold glass can stress tender leaves. Summer brings stronger sun, hotter windows, and faster drying pots.
- Winter: add a grow light if herbs stretch, keep leaves off cold glass, and reduce fertilizer if growth slows.
- Summer: move pots 8–12 inches back from very hot glass or use a sheer curtain during harsh midday sun.
- Dry apartments: group pots on a tray, but do not let them sit in water.
- Travel: use self-watering pots for thirsty herbs or test a cotton wick system before you leave.
A humidity tray can help a little with local humidity, but it should not turn into a swamp. Keep the pot above the waterline on pebbles or a riser. If the pot base sits in water, you are back to root problems.
FAQs
Do herbs need direct sun indoors?
Direct sun helps, especially for basil, thyme, oregano, and rosemary. If your window is not strong enough, a simple LED grow light for 12–14 hours a day can give better results.
Can I regrow supermarket herbs?
Yes, but expect recovery time. Grocery basil is often overcrowded, so split it into several clumps and repot gently. Keep it warm, bright, and evenly moist while it settles in.
How many hours should grow lights run for herbs?
For most indoor culinary herbs, 12–14 hours a day is a practical target. Use a timer so the schedule stays consistent and plants still get a dark period.
Why does basil keep dying indoors?
The usual causes are low light, cold windows, overwatering, and harvesting too hard. Give basil stronger light, warmer conditions, drainage, and small cuts above leaf pairs.
Which herbs are easiest indoors?
Parsley, chives, and mint are good first choices. Basil is easy when light is strong, but frustrating in dim windows.
Are indoor herbs safe for pets?
It depends on the herb and the pet. Many culinary herbs are common in kitchens, but always verify specific plants if your cat or dog chews leaves, and keep pots out of reach where possible.
7-Step Starter Plan
- Pick three herbs: parsley, chives, and mint; choose basil if you have strong light.
- Use separate 4–5 inch pots with drainage holes and saucers.
- Fill with quality potting mix plus perlite for better aeration.
- Place herbs in your brightest window or use an LED light for 12–14 hours daily.
- Water when the top inch of mix feels dry, then drain fully.
- Start light harvests around Week 3 once plants are actively growing.
- Troubleshoot quickly: pale and leggy means more light; soggy soil means pause and improve drainage.
Conclusion: Light First, Then Watering, Then Everything Else
An indoor herb garden becomes much easier when you stop treating all herbs the same. Parsley, chives, and mint are forgiving starters. Basil rewards stronger light. Rosemary, thyme, and oregano want brighter conditions and a drier rhythm. Give each herb its own pot, use a mix that drains, and water based on the top inch of soil instead of a calendar.
If you only upgrade one thing, upgrade the light. A simple LED bar on a timer can turn weak, leggy herbs into compact plants you can actually harvest. After that, focus on drainage, gentle feeding, and small regular cuts that keep growth fresh.
Start with three pots and one tray. Learn how they behave in your apartment for a month. Then expand with basil, thyme, oregano, or a compact kit if your windows are gloomy. Fresh herbs indoors are not about having a perfect setup; they are about building a small routine that fits your kitchen and gives you something useful to snip when dinner needs a little lift.