Dull pruners make balcony gardening harder than it needs to be. Instead of slicing cleanly through basil stems, rose canes, or the woody tips on a potted lavender, they crush, tear, and leave ragged cuts behind. The good news is that learning how to sharpen pruning shears is a small-space-friendly maintenance job. You do not need a garage, a bench grinder, or a wall full of tools.
For most home gardeners, a diamond file, an old towel, rubbing alcohol, a little oil, and 10 focused minutes are enough. The key is to sharpen the beveled cutting edge, avoid grinding the flat side, and clean sap before you try to restore the edge. University of Minnesota Extension recommends removing rust before sharpening and disassembling tools that are designed to come apart for easier maintenance, while the RHS notes that sharp tools make pruning easier and help create cleaner plant cuts.
I keep a small sharpening kit in a shoebox under my potting shelf here in Portland. It is not fancy, but it saves my hands every spring when balcony herbs and container shrubs start growing fast.
Start With a Clean, Safe Work Setup
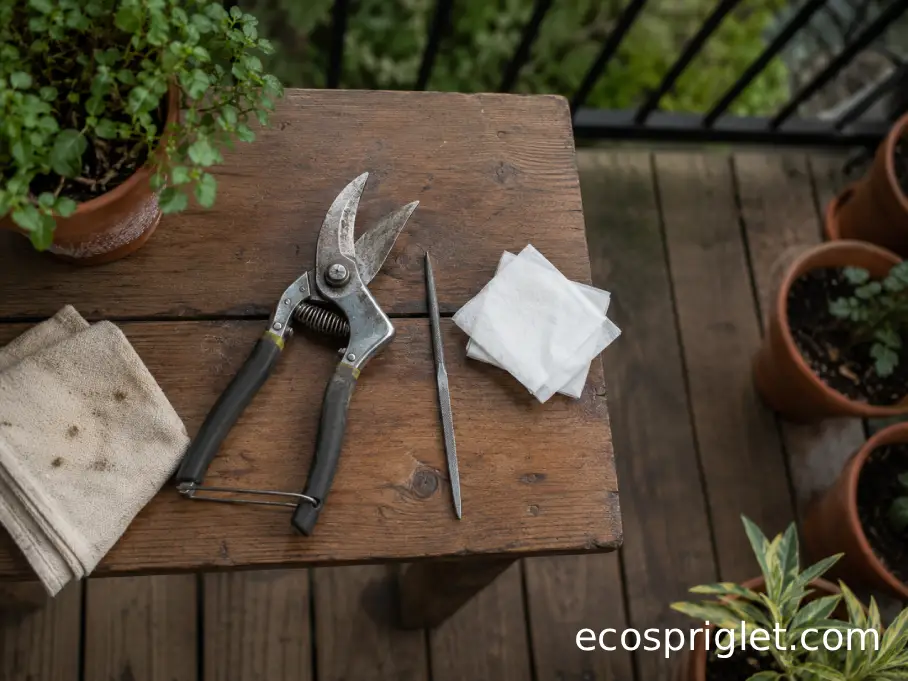
Before any sharpening begins, make the tool safe and still. Apartment gardeners often do this job on a kitchen counter, balcony table, or folding tray, so slipping is the main thing to prevent. Lay down an old towel or rubber mat, lock the shears open if your model allows it, and keep the cutting edge facing away from your fingers.
Clean the pruners before you sharpen. Dried sap can make a blade feel dull even when the edge is only lightly worn. Wipe the blade with warm soapy water, then use rubbing alcohol on sticky areas. If you have been cutting diseased stems, University of Maryland Extension recommends disinfecting pruning tools when there is a risk of spreading infection; it lists 70 percent alcohol as one option and a 1-to-9 bleach-water dilution as another, with bleach rinsed off afterward because it can corrode metal.
For a tidy apartment setup, keep supplies simple:
- A diamond file or sharpening stone small enough to follow the curved blade
- An old towel to stop sliding and catch metal dust
- 70 percent rubbing alcohol for disinfecting clean metal
- Steel wool or a nylon scrub pad for light rust and sap
- A few drops of light machine oil or tool oil for the pivot
Do not sharpen over a planter, food-prep board, or carpet. Tiny metal filings are annoying to clean up, and they are not something you want in potting mix, pet areas, or kitchen surfaces.
Find the Beveled Edge Before You File
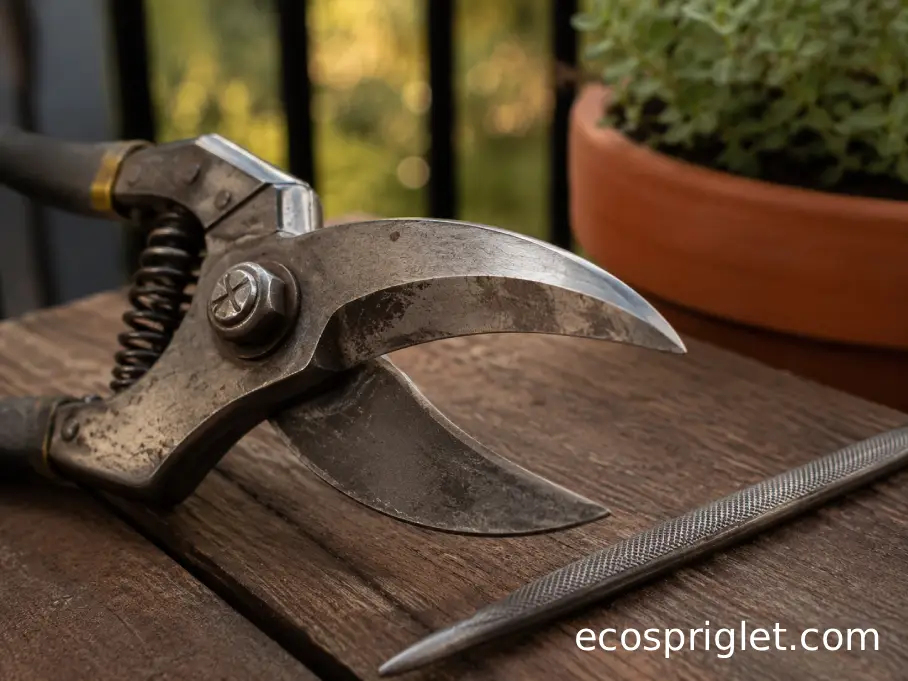
The most important step is noticing which part of the blade is actually meant to be sharpened. On most bypass pruning shears, the cutting blade has one obvious angled face, called the bevel. The opposite side is flatter and slides past the hook or counter-blade. Sharpen the bevel, then lightly remove the burr from the flat side. Do not grind both sides equally like a kitchen knife.
This matters because bypass pruners cut cleanly when the two parts pass close together. If you round over the flat side or change the angle too much, the tool may start chewing stems even though the blade looks shiny. I learned this the hard way on my first pair of budget pruners. I kept filing both sides because it felt thorough, then wondered why my thyme stems looked mashed instead of sliced.
To find the bevel, hold the open shears under a bright window or lamp. Tilt the blade until the angled cutting face catches the light. That angled surface is your guide. Keep your file flat against that existing angle rather than inventing a steeper one.
Fiskars-style bypass pruners follow the same basic rule: clean the blade first, sharpen along the existing bevel, and avoid forcing the tool through branches larger than it was designed to cut. Fiskars care guidance also points gardeners toward flat files for garden tool blades and recommends matching the blade’s original angle.
How to Sharpen Pruning Shears With a File
A file is the easiest tool for beginners because it gives control without removing metal too aggressively. This is also the method I would use for most apartment gardeners who want to sharpen pruning shears by hand without buying a large sharpening system.
Hold the shears firmly on the towel with the blade open. Place the file against the bevel at the same angle you saw in the light. Push the file away from your body along the curve of the blade, moving from the inner part of the blade toward the tip. Lift the file after each stroke rather than scrubbing back and forth.
- Use 5 to 10 light strokes for a slightly dull blade.
- Use 10 to 20 controlled strokes if the edge has small shiny flats or minor nicks.
- Stop once the edge looks even and catches light less along the cutting line.
- Turn the shears over and make 1 or 2 very light passes on the flat side only to remove the burr.
Heavy pressure is the beginner mistake to avoid. A pruner blade is small, and you are refining an edge, not reshaping an axe. If you see lots of metal dust after only a few strokes, slow down. If the blade has deep chips, a bent tip, or a gap between the blades that will not close, sharpening may not fix it; a replacement blade or professional service may be smarter.
RHS sharpening guidance lists whetstones, diamond tools, and sharpening steels as options for garden cutting tools, and it specifically notes that secateurs become harder to use and more damaging when blunt.
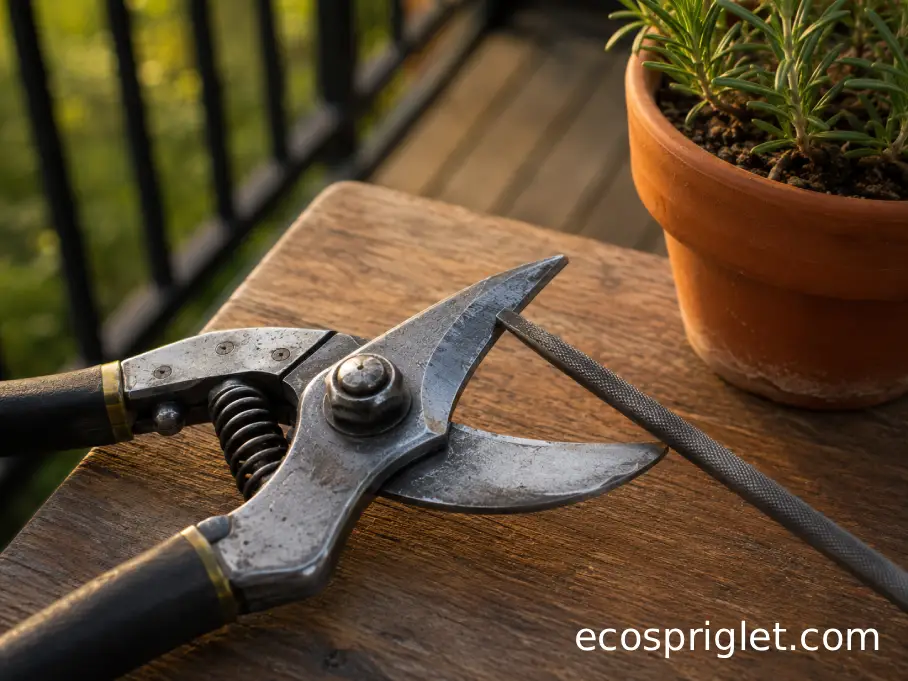
Clean and Sharpen Bypass Pruners Without Taking Them Apart
Many beginner gardeners worry that they must disassemble pruners before sharpening. You can, if the tool is designed for it and you are comfortable putting the spring, washer, nut, and bolt back together. For a quick home tune-up, though, you can usually clean and sharpen bypass pruning shears without taking them apart.
Open the shears as wide as they comfortably go. Scrub sap from the inside curve of the blade and the hook. If the pivot feels gritty, wipe around it with a cotton swab or cloth corner. After sharpening the bevel, add one drop of oil to the pivot, open and close the shears 10 to 15 times, then wipe away the extra oil so it does not attract soil.
This is the routine I use most often in my own balcony kit. Full teardown is useful once or twice a year, especially after winter pruning, but a simple clean-sharpen-oil rhythm keeps tools working between bigger maintenance sessions. University of Minnesota Extension notes that tools designed to be disassembled can be taken apart for regular maintenance because it makes blade access easier.
One small test tells you a lot: after oiling, the handles should spring open smoothly and the blade should pass the counter-blade without rubbing hard. If the shears still feel sticky, the issue may be sap in the pivot, a loose nut, or a bent blade rather than dullness.
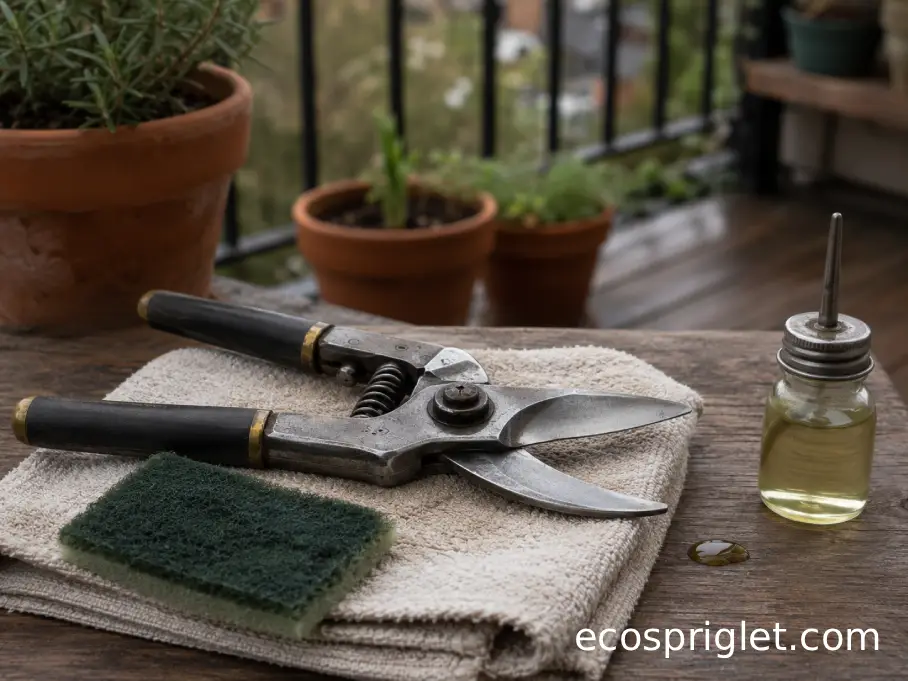
Fiskars Pruners Need the Same Edge Logic
If you came here wondering how to sharpen Fiskars pruning shears specifically, the answer is reassuringly simple: treat them like other bypass or anvil pruners, but respect the blade shape. Many Fiskars hand pruners have curved blades, comfortable handles, and sometimes replaceable parts depending on the model, so check the manual if your tool has an unusual locking or gearing mechanism.
For bypass Fiskars pruners, sharpen the beveled cutting blade only, following the original angle. For anvil-style Fiskars pruners, the single blade closes onto a flat anvil, so you still follow the manufacturer’s blade angle and avoid grinding random new facets into the edge. The goal is not to make the blade look mirror-polished; the goal is to restore a clean, consistent cutting line.
Do not use a powered grinder unless you already know how to control heat and angle. Overheating a small blade can damage the edge, and a grinder can remove too much metal before you realize it. A compact diamond file is slower, but for balcony gardeners that is a feature, not a flaw.
After sharpening, wipe the blade clean and cut a soft green stem or a strip of paper. If the tool slices cleanly near the middle of the blade but struggles near the tip, work the tip with 2 or 3 more careful file strokes. If it cuts poorly along the whole blade, clean the flat side again and check whether a burr is still hanging on.
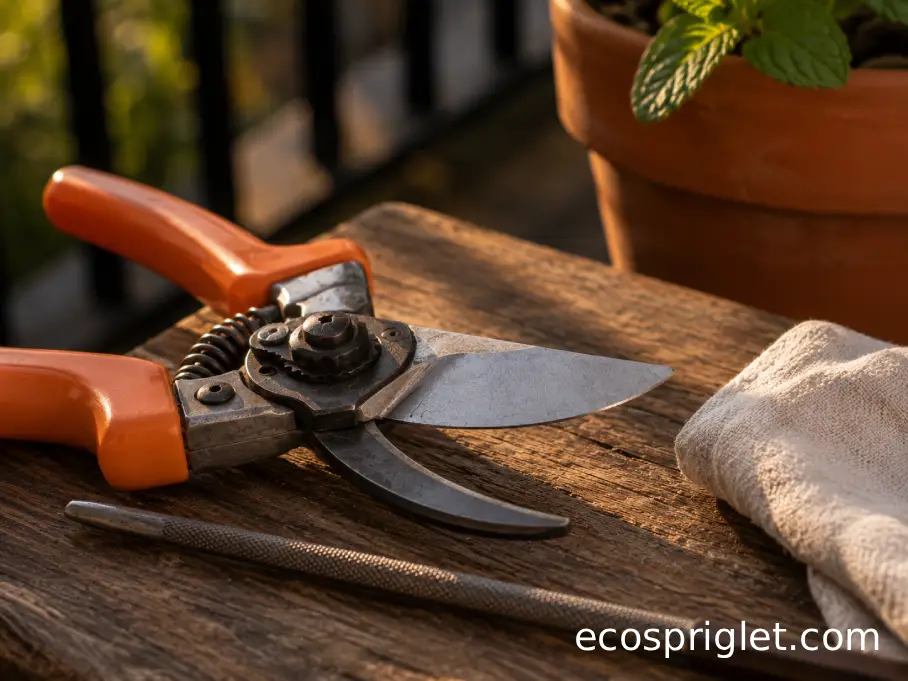
Common Mistakes to Avoid
Most sharpening problems come from trying to do too much. A few patient strokes at the correct angle are better than a dramatic makeover. The mistake I see beginners make is treating pruners like broken tools when they are usually just dirty, dry at the pivot, or lightly dulled.
- Filing both sides aggressively: On bypass pruners, this can ruin the scissor-like action. Sharpen the bevel, then barely deburr the flat side.
- Skipping the cleaning step: Sap and soil can hide the edge and make sharpening uneven. Clean first, file second.
- Using pruners on oversized branches: University of Missouri Extension cautions against using tools on branches larger than they are designed to cut because it can spring the blade and make the tool ineffective.
- Leaving bleach on metal: If you disinfect with diluted bleach, rinse and dry the blade afterward to reduce corrosion risk.
- Storing wet tools: Dry the blade, oil the pivot, and store pruners somewhere dry, not in a damp balcony corner.
For apartment gardeners, storage is half the battle. I like a small open bin or tool roll rather than a sealed plastic bag, because trapped moisture encourages rust. If you garden on a balcony with wind-blown rain, bring pruners indoors after use and keep them away from curious kids and pets.
Test the Edge Before You Put the Shears Away
A sharpened tool should feel noticeably easier, but do not judge it only by how shiny the blade looks. Test the cut. Try a soft herb stem, a thin rose cane, or a narrow twig that is well within the pruner’s cutting capacity. The cut should be clean, not crushed. The handles should close without forcing your wrist, and the blade should not twist sideways.
If the cut is still ragged, look for three likely causes. First, the blade may still have a burr on the flat side. Second, sap may still be stuck near the pivot or hook. Third, the blade and counter-blade may be misaligned, especially if the pruners were dropped or used on branches that were too thick.
Sharp, clean pruners are not only easier on your hands; they are better for the plants you are growing in limited space. RHS pruning advice emphasizes sharp blades because they create cleaner cuts, and University of Maryland Extension gives the same clean, sharp tool advice for pruning roses.
Once your shears pass the test, wipe the blade with a dry cloth, add a light protective film of oil if the metal is prone to rust, close the tool, and lock it. That final 30 seconds is what keeps a small sharpening job from becoming a full rescue project later.
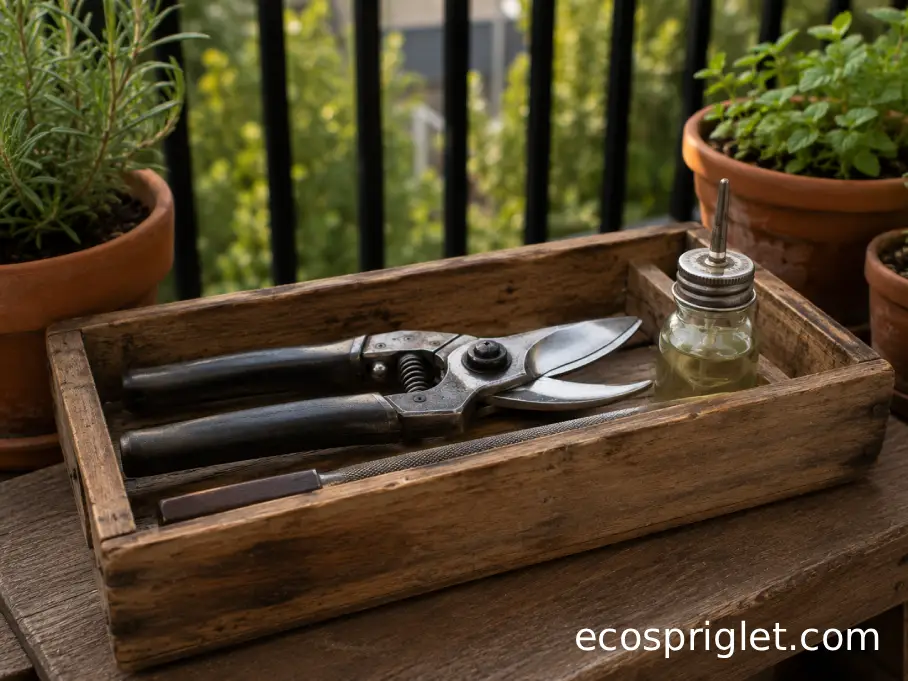
A Simple Maintenance Rhythm for Small-Space Gardeners
You do not need to sharpen every time you prune. For most balcony and container gardeners, sharpening at the start of the main growing season, after a heavy pruning session, and whenever the tool starts crushing stems is enough. Cleaning happens more often. I wipe blades after cutting sticky herbs, roses, tomatoes, or anything that looks diseased.
Here is the simple rhythm I recommend:
- After each use: wipe off sap and soil before storage.
- After diseased cuts: disinfect the clean blade before moving to healthy plants.
- Monthly in active season: check the edge, pivot, spring, and locking catch.
- After heavy pruning: sharpen lightly and oil the pivot.
- Before winter storage: clean thoroughly, remove light rust, sharpen, dry, and oil.
Good maintenance is quiet work, but you notice it every time you cut. The tool opens smoothly, the stem gives way without a fight, and your small-space garden feels a little easier to manage.
Conclusion: Keep the Edge Light, Clean, and Consistent
Sharpening pruning shears at home is less about strength and more about restraint. Clean the blade first, identify the bevel, follow the original angle with a small file, remove only the burr from the flat side, and finish with a dry wipe and a drop of oil at the pivot. That simple routine works for most bypass pruners, including many Fiskars-style hand pruners, and it fits easily into an apartment gardening setup.
The big lesson is not to wait until your shears are chewing stems. A few light maintenance strokes are easier than correcting a badly dulled or rusty blade. Clean cuts also make pruning feel calmer, especially when you are working with a few cherished balcony plants instead of a big backyard full of replacements.
Next time your basil stems bend instead of slice or your rose canes look crushed, take 10 minutes before blaming the plant. A clean, sharp pair of pruners can make a tiny terrace garden feel more manageable almost immediately.