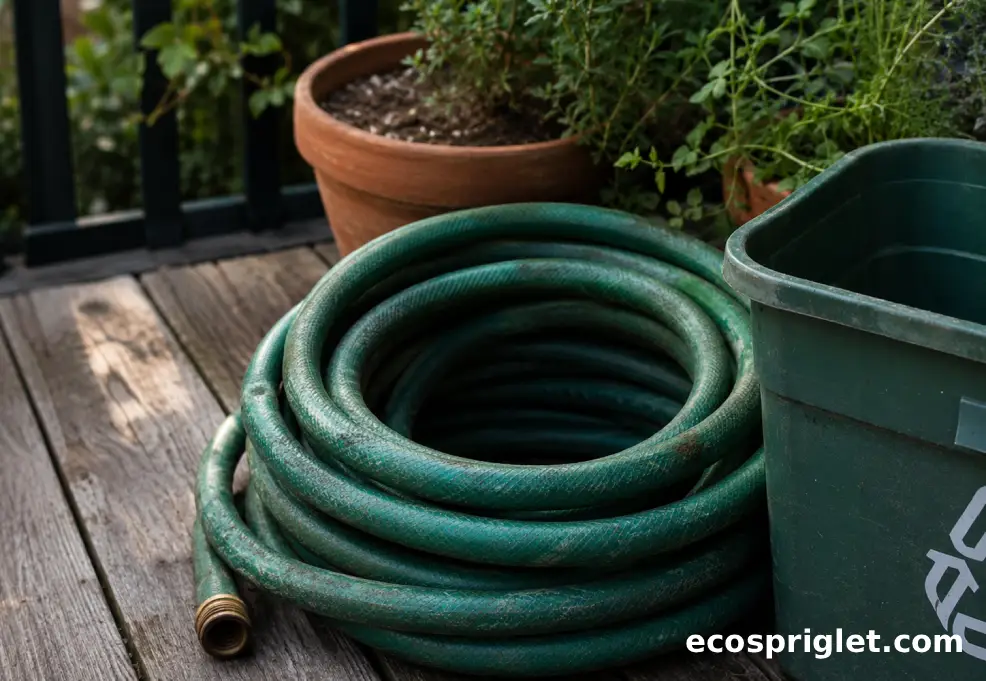
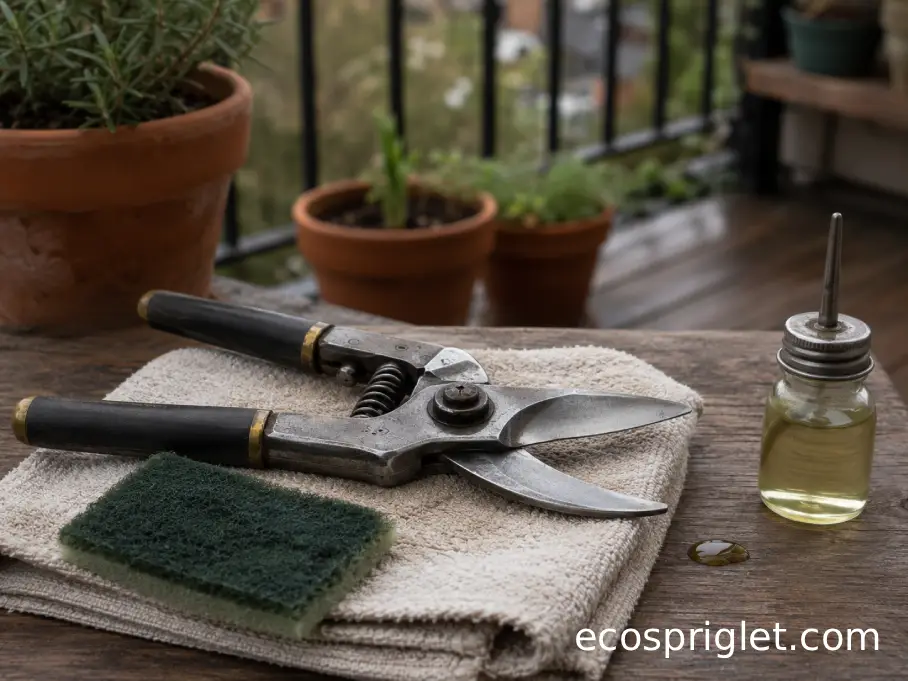
A leaking garden hose can turn a calm balcony watering session into a slippery little mess. One drip at the connector is annoying; a pinhole spray near your herbs can waste water, soak the deck, and make container gardening feel more fiddly than it needs to be. The good news is that learning how to repair a garden hose is usually simpler than people expect, especially if the hose itself is still flexible and not badly cracked along its full length.
For apartment gardeners, the right repair matters because space is tight. You may not have a garage workbench, a full tool wall, or room to store a second hose “just in case.” I usually start with the smallest fix first: a new washer, a tightened coupling, or a clean cut with a repair fitting. EPA WaterSense recommends checking garden hoses for leaks at the spigot connection and replacing rubber or nylon hose washers when needed.
This guide walks you through the common hose problems I see most often on balconies, patios, and shared outdoor spigots: connector drips, tiny holes, split hose ends, and broken couplings.
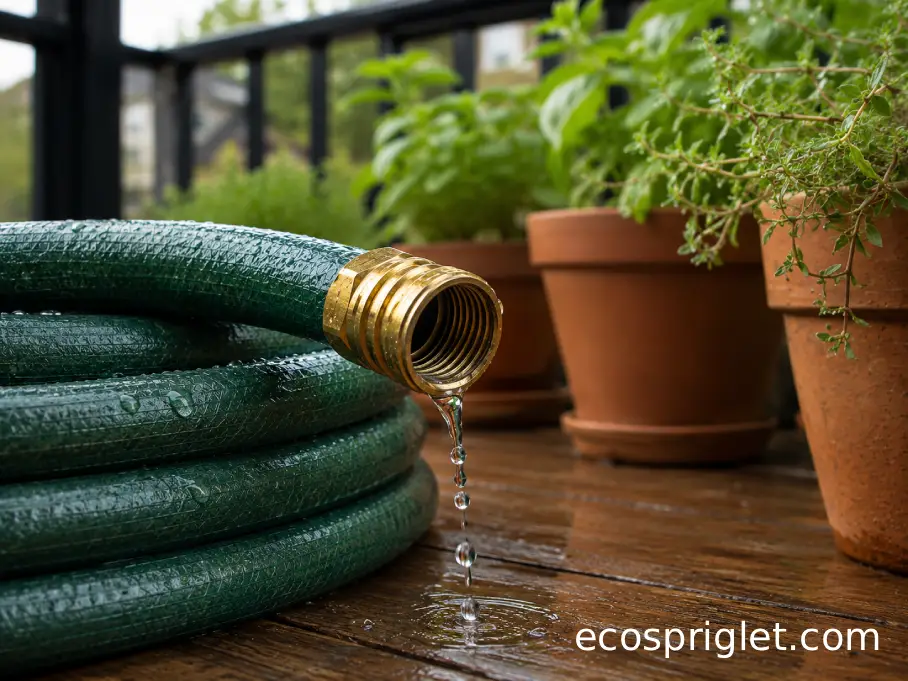
Start by Finding the Exact Leak
Before cutting or buying parts, run the hose for 30 seconds and watch where the water actually appears. A leak at the faucet end usually needs a washer or connector fix. A fine sideways spray from the hose body usually needs a patch or splice. A gushing split near the end usually means the damaged section should be cut off and fitted with a new hose end.
For small-space gardeners, I like doing this test over a planter saucer, bucket, or drain mat so the water does not run across a balcony floor. If you share an outdoor faucet with neighbors, test during a quiet moment and turn the water off between checks. A hose left running can waste a surprising amount of water; EPA WaterSense has noted that an open hose can use about 6 gallons per minute.
- If water drips from the faucet connection, inspect the washer first.
- If water leaks from the hose end, check for crushed threads or a loose coupling.
- If water sprays from the middle, mark the hole with tape before shutting the water off.
- If the hose has several cracks, replacement may be more reliable than repeated patches.
One beginner mistake is tightening everything harder and harder. That can flatten the washer, strip plastic fittings, or crack an old coupling. Snug is enough; if it still leaks, the part probably needs replacing.
Stop Connector Drips With a New Washer
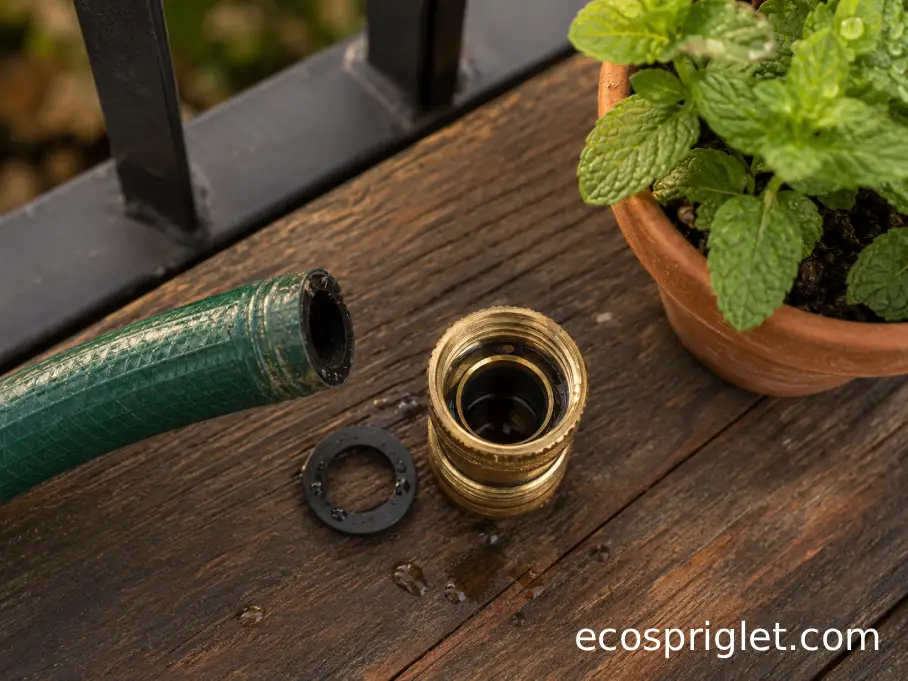
The most apartment-friendly hose repair is also the easiest: replace the washer inside the female end of the hose. That small rubber or nylon ring creates the seal between the hose and faucet, nozzle, or watering wand. When it dries out, falls out, or gets crushed, water escapes even when the threads are tight.
Unscrew the hose, look inside the connector, and remove the old washer with a small flat screwdriver, key tip, or needle-nose pliers. Push in a fresh hose washer so it sits flat at the bottom of the fitting. Reattach the hose by hand, then give it only another small turn if needed. EPA WaterSense specifically recommends replacing the washer when a garden hose leaks at the spigot connection.
I keep a tiny pack of washers in the same bin as my plant labels because they disappear at the worst possible time. On my own balcony, a missing washer has fooled me more than once into thinking the whole hose end was broken.
Use this quick check before moving on:
- The washer should sit flat, not curled or tilted.
- The connector threads should start smoothly without forcing.
- The leak should stop with hand-tight pressure.
- If water still beads around the rim, try a second new washer before replacing the hose end.
Patch a Small Hole in the Hose Body
For a tiny pinhole or short surface crack, a patch can buy you more life from the hose. Turn the water off, drain the hose, and dry the damaged area completely. Wrap self-fusing silicone tape around the hose, starting about 2 inches before the hole and continuing about 2 inches past it. Stretch the tape as you wrap so each layer overlaps the previous one by roughly half its width.
This kind of patch works best on low-stress spots in the middle of the hose, not right beside a connector where the hose bends every time you attach a nozzle. Give the repair 10–15 minutes to settle, then run water through the hose at normal pressure and check for seepage.
A common mistake is wrapping over wet grit. The tape may look secure for a day and then peel loose. Wipe the hose with a damp cloth, dry it with an old towel, and keep the wrap smooth. If the hose bubbles under the tape or the crack keeps lengthening, skip the patch and splice the damaged section out instead.
Cut Out a Bad Section and Add a Hose Mender
When the hose has a split, chew mark, kink damage, or a hole too large for tape, the cleanest repair is to remove the bad section. Measure at least 1 inch beyond the damaged area on both sides, then make two straight cuts with sharp utility scissors or a hose cutter. A square cut matters because the hose mender needs even contact inside the hose.
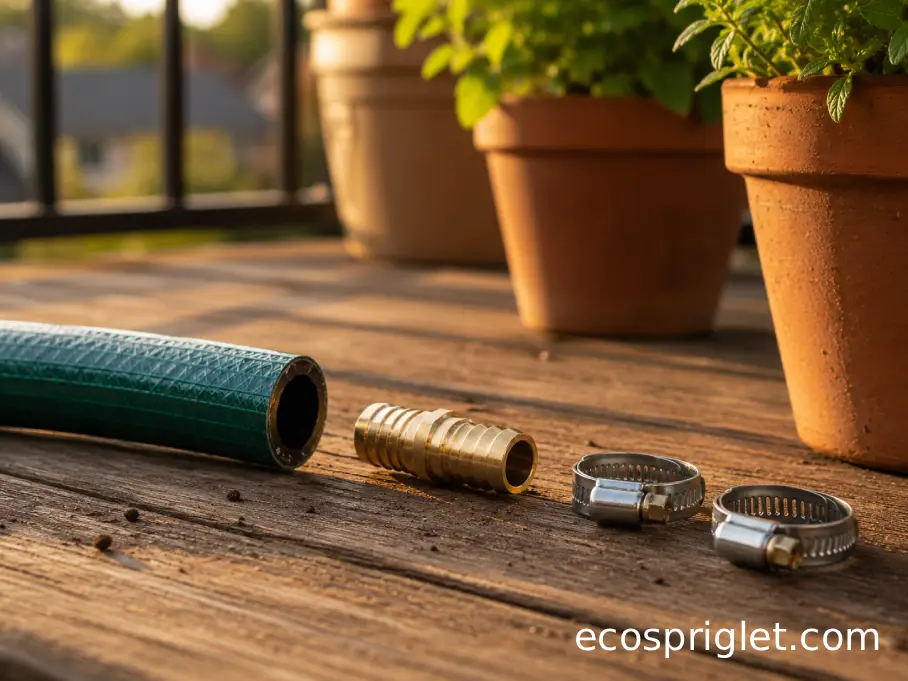
Slide one clamp onto each hose end, push the barbed mender into one side, then push the other hose end onto the opposite barb. Move the clamps about 1/4 inch from the cut edges and tighten them evenly. They should feel firm, not crushing. If the hose wall buckles badly under the clamp, loosen it and retighten with less pressure.
Choose a mender that matches the hose diameter. Most household garden hoses are sold by inside diameter, commonly 1/2 inch, 5/8 inch, or 3/4 inch. If you are unsure, bring the cut-off damaged piece to the hardware store or compare it to the old fitting. For balconies, I prefer brass or sturdy metal menders when the hose is dragged around pots, but plastic can be fine for a light hose that mostly stays coiled.
Test the repair over a bucket or saucer. If you see a slow bead at one side, the cut may be crooked or the clamp may not be centered over the barb.
Replace a Broken Garden Hose End
A crushed, cracked, or missing hose end does not mean the hose is done. Cut off the damaged end with a straight, clean cut. Slide the clamp or collar from the replacement end onto the hose first, then push the new fitting into the hose until it seats fully. Tighten the clamp evenly and reconnect the hose to a faucet, nozzle, or watering wand.
Pay attention to the repair fitting type. A female end connects to the faucet or male nozzle threads. A male end connects into a watering wand, sprinkler, or female hose connector. Mixing them up is an easy mistake, and it usually happens when you are standing in the hardware aisle holding a damp old hose part and trying to remember which side leaked.
For renters and apartment gardeners, this repair is especially useful because short balcony hoses often fail at the end from repeated twisting near the spigot. After installing the new end, avoid using the hose as a handle to pull a heavy watering wand across the deck. Coil it loosely, and leave a gentle curve near the faucet so the fitting does not take all the strain.
Fix a Leaky Nozzle, Wand, or Quick Connector
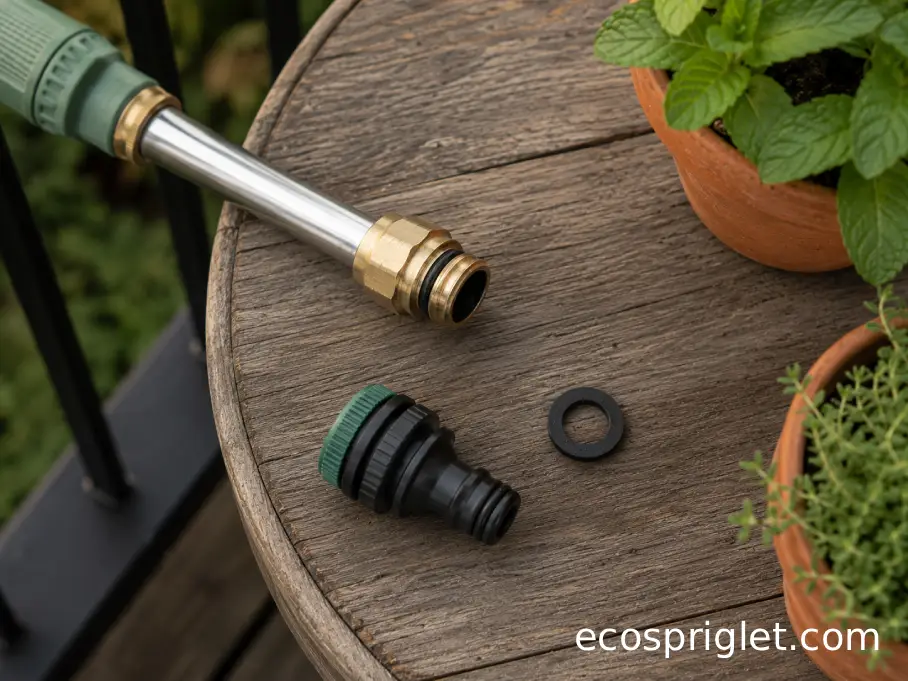
Sometimes the hose is innocent. The leak may come from the nozzle, watering wand, splitter, timer, or quick-connect fitting. Unscrew each accessory one at a time and test the hose directly at the faucet. Then add each part back until the drip returns.
Quick connectors are convenient on a small balcony because they let you swap between a spray nozzle and a watering wand without awkward twisting. But they add extra seals, and every seal can fail. Replace worn O-rings, make sure the connector clicks fully into place, and rinse grit from the fitting before reconnecting. A single grain of sand can keep a small O-ring from seating cleanly.
If a watering wand leaks from its handle or trigger, replacing the hose washer will not fix the internal valve. At that point, compare the cost of a new wand with the value of the old one. I will repair a brass connector almost every time, but I do not spend much energy trying to rescue a cracked plastic spray head that leaks from three seams.
Common Mistakes to Avoid
I learned this the hard way during my second summer growing tomatoes on a narrow Portland balcony: most hose leaks are not dramatic failures. They come from small habits repeated for weeks. A hose gets yanked around a pot leg. A connector is cross-threaded. The hose sits in full afternoon sun, bent sharply against a railing, and one day it sprays sideways.
These are the mistakes I would fix first:
- Overtightening fittings: Tighten by hand first. Use pliers only for a tiny extra turn, and stop if the fitting starts to distort.
- Ignoring a missing washer: A $2 washer pack often solves what looks like a broken hose end.
- Wrapping tape over active spray: Dry the hose fully before patching, or the repair will usually lift.
- Cutting too close to the damage: Remove at least 1 inch of healthy-looking hose beyond each side of a split.
- Leaving the hose kinked in storage: Coil it in loops about 18–24 inches wide to reduce hard bends.
Also be careful with hoses around buckets, fertilizers, or cleaning water. Utah State University Extension notes that backflow or backsiphoning can occur when pressure reverses and a hose is submerged in liquid. For apartment gardeners, the simple rule is: do not leave a connected hose end sitting underwater.
When to Repair and When to Replace
Repair makes sense when the hose is still flexible, has one clear leak, and the fittings are otherwise solid. A washer replacement or hose-end repair can take less than 10 minutes. A splice repair takes a little longer, but it is still cheaper and less wasteful than replacing a decent hose.
Replacement makes more sense when the hose is brittle along much of its length, has several leaks, leaves black residue on your hands, or keeps splitting beside old repairs. If replacement is unavoidable, check whether garden hoses are recyclable and how to dispose of an old hose properly before throwing it away. On a balcony, I would rather own one reliable 25-foot hose than keep fighting a stiff 50-foot hose that tangles around every pot. Shorter hoses are easier to drain, coil, and store in a small outdoor bin.
Before buying a new hose, measure the actual distance from the faucet to your farthest container and add 3–5 feet for comfortable movement. Too much extra length creates more kinks and more storage trouble. If you use a watering wand, choose a hose that remains flexible enough to move without pulling over small pots.
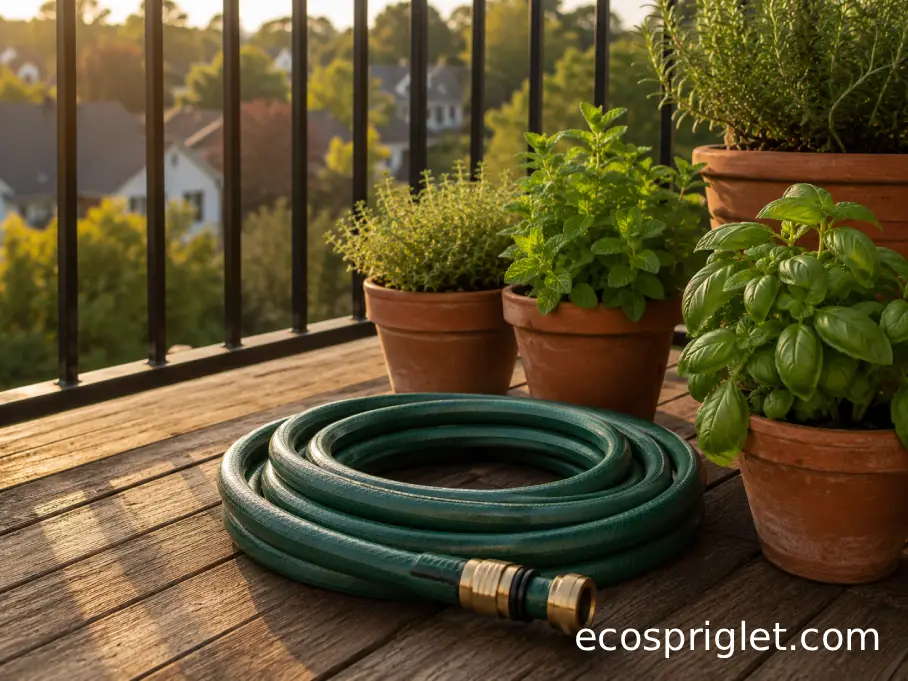
Quick Repair Checklist for Balcony Gardeners
A small repair kit saves a lot of frustration, especially if your only outdoor faucet is shared or tucked behind planters. You do not need much. Keep a few hose washers, one male replacement end, one female replacement end, one straight hose mender, two clamps, and a small screwdriver or multi-tool. Store everything in a labeled container or zip pouch so the tiny washers do not vanish under potting mix bags.
Here is the order I use when someone asks how to fix a garden hose leak:
- Run water for 30 seconds and identify the exact leak point.
- Replace the washer first if the leak is at a connector.
- Patch only tiny pinholes in low-bend areas.
- Cut and splice larger holes, splits, or chew damage.
- Replace the hose end if the coupling is crushed, cracked, or missing.
After any repair, run the hose at normal pressure for 1–2 minutes and inspect the fix from all sides. Then drain the hose before coiling it. That last step keeps your balcony tidier, reduces surprise drips indoors, and makes the hose easier to store between watering days.
Conclusion: A Small Repair Can Save the Whole Hose
Most garden hose leaks are not a reason to replace the entire hose. Start with the connector, because a worn washer is one of the easiest and most common fixes. If the leak is in the hose body, match the repair to the damage: silicone tape for a tiny pinhole, a hose mender for a split section, or a replacement fitting for a broken end. Work slowly, make clean cuts, and test each repair before coiling the hose away. Aspect ratio 4:3
For apartment and balcony gardeners, a dependable hose makes daily plant care calmer. You can water containers without soaking the deck, annoying neighbors below, or wasting water around the spigot. Keep a few washers and one repair fitting in your small-space tool kit, and you will be ready for most leaks before they interrupt a hot afternoon watering session.
Ready to make the rest of your balcony setup easier? Visit our beginner balcony garden setup guide for simple container, watering, and storage ideas that fit real apartment spaces.