I’m going to say the quiet part out loud: most aloe vera plant “problems” in apartments come down to two things—not enough light and too much water. Aloe is a succulent, which means it’s built to store moisture in its leaves and cruise through dry spells. That’s great news for busy schedules, travel weekends, and anyone who’s ever over-loved a houseplant to death.
This guide is for urban apartment dwellers who want practical aloe care: where to place it, how to water it (without guessing), what pot and soil actually work, and how to grow aloe vera from offsets so you can get “baby aloes” for free. I’ll also cover two questions that come up constantly: is aloe vera poisonous to cats (yes, it can be), and what’s realistic when people ask is aloe vera good for your face or hair. Along the way, I’ll flag beginner mistakes I’ve made myself—so you don’t have to repeat them.
Aloe Vera Care at a Glance (The 60-Second Version)
If you want a simple routine that works for most apartments, start here:
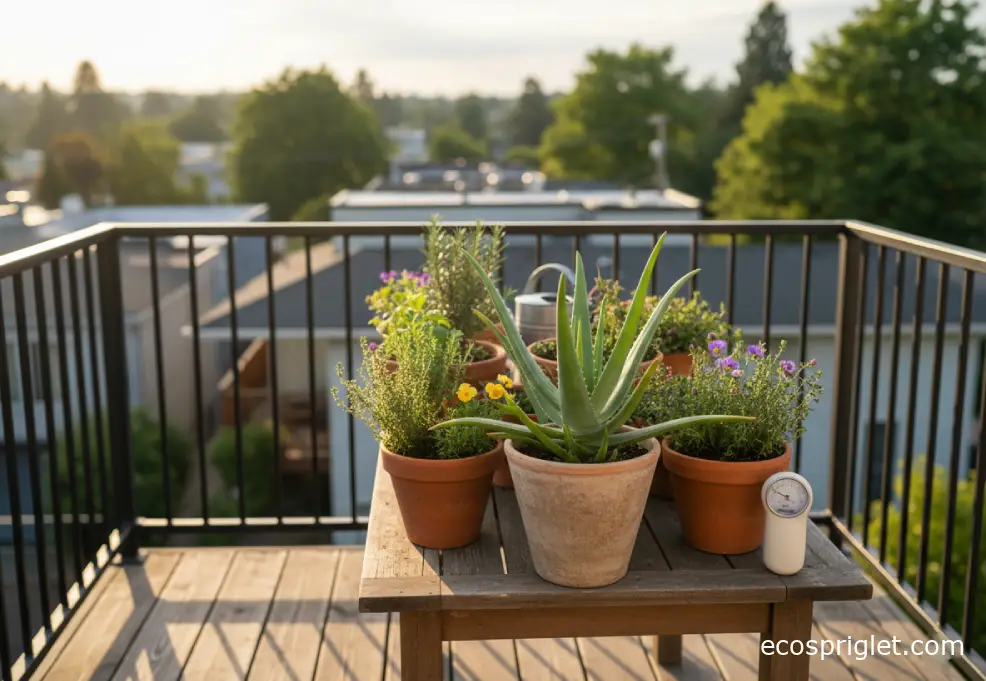
- Light: Bright light is non-negotiable. A sunny window is ideal; rotate the pot weekly so it doesn’t lean.
- Water: Water thoroughly, then wait until the potting mix dries out before watering again. Overwatering is the #1 killer. (Sources: UF/IFAS Extension; SDSU Extension; RHS.)
- Soil: Use a fast-draining cactus/succulent mix, or cut potting mix with gritty material/perlite so water moves through quickly. (Sources: SDSU Extension; RHS.)
- Pot: Drainage holes always. Heavier pots (like terracotta) help prevent toppling.
- Pets: Aloe is listed as toxic to cats and dogs if eaten—keep it out of reach. (Source: ASPCA.)
Choosing an Aloe Vera Plant That’s Set Up to Succeed
If you’re buying an aloe vera plant (or grabbing one from a friend), look for leaves that are firm and plump, not thin and flopping. A little cosmetic scarring is fine; soft, mushy spots are not.
Quick checks I use before I bring one home:
- Check the crown. The center of the rosette should look tight and healthy, not blackened or soggy.
- Peek at the soil. If it’s soaking wet and heavy, plan to let it dry and consider repotting soon—waterlogged nursery mix is a common root-rot setup.
- Look for pups (optional). Small offsets at the base are a bonus, because you can propagate later once they’re big enough. (Sources referenced later: RHS on offsets/pups.)
If you want to buy an aloe vera plant locally, start with nearby nurseries and garden centers, and check farmers markets if you have them. Big-box stores can work too, but look closely for signs of overwatering and avoid plants that may have been exposed to cold near the entrance.
Light Indoors: Where to Put Aloe So It Doesn’t Stretch
In apartments, aloe usually wants more light than we think. When it doesn’t get enough, it “reaches” (stretches), the leaves get longer and thinner, and the plant leans hard toward the window.
What works in real life:
Sunny window placement. A bright windowsill or the brightest spot you have is ideal. If your plant has been in low light, increase light gradually over a week or two so leaves don’t scorch.
Weekly rotation. Turn the pot a quarter turn every 7–10 days. This one habit prevents the classic lopsided aloe that looks like it’s trying to escape the pot.
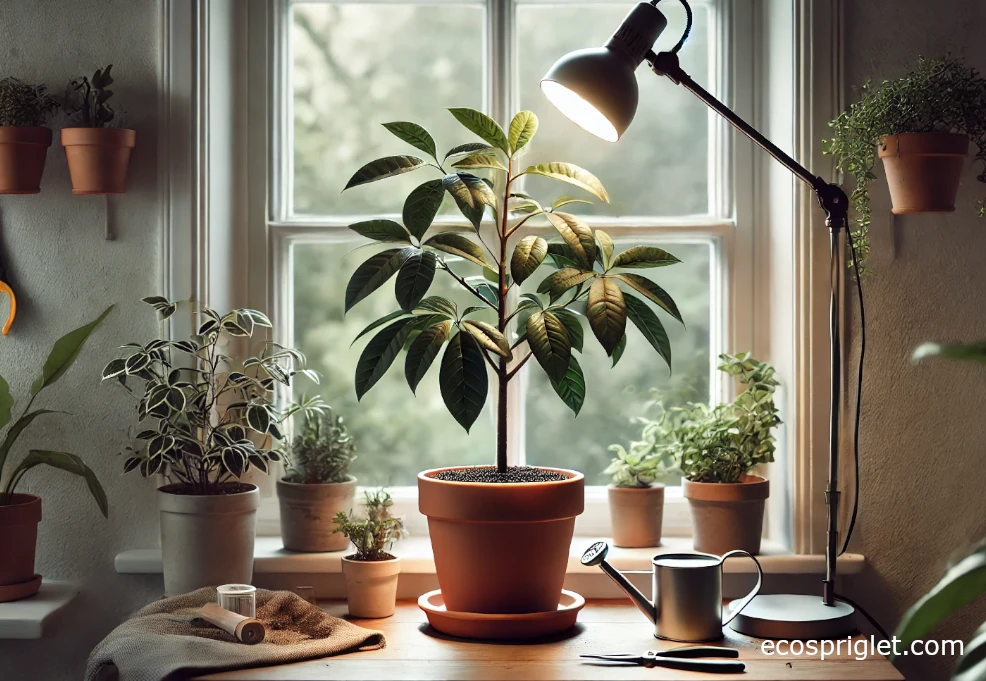
Grow light option. If your apartment is dim or winter light is weak, a grow light can help. Keep it consistent (same daily schedule) and watch leaf color—healthy leaves stay firm, not pale and floppy.
Source notes: RHS and multiple Extension resources emphasize bright light and that overwatering is common when light is low.

Pot and Soil Setup That Prevents Root Rot
For indoor aloe care, the pot-and-soil combo matters more than fancy fertilizer. You want water to move through the container quickly and leave plenty of air around the roots.
Pot rules
Drainage holes are mandatory. Terracotta is helpful because it “breathes” and dries faster than plastic, and it adds weight so a top-heavy aloe doesn’t tip. If you love decorative cachepots, keep the aloe in a draining inner pot and empty any standing water.
Soil rules
Use a cactus/succulent mix, or lighten a standard potting mix with gritty material so it drains fast. RHS guidance for aloe and other succulents commonly recommends a gritty mix approach (for example, blending compost with grit) rather than straight rich potting soil. SDSU Extension also recommends sandy soil or a pre-mixed cactus medium.
Beginner mistake to avoid: adding a “drainage layer” of rocks in the bottom. It doesn’t fix poor soil—what helps is a fast-draining mix and a pot that can actually drain.
Watering: The Easiest Way to Stop Killing Aloe
If you’ve ever googled “how to care for an aloe vera plant” at midnight because yours suddenly looked sad, I get it. Here’s the rule that keeps aloes alive:
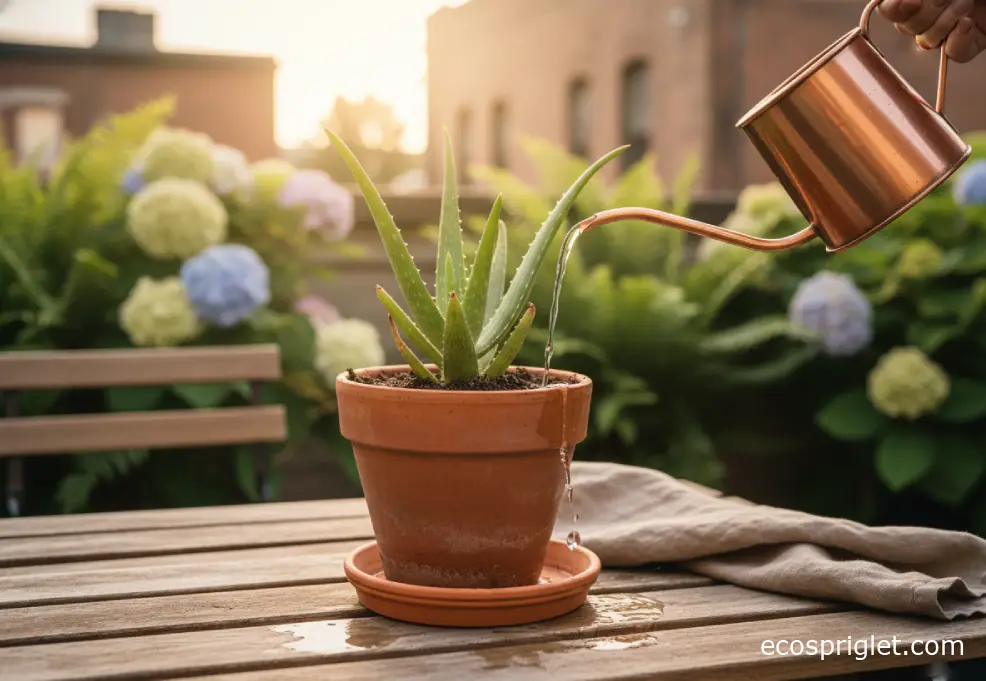
Water thoroughly, then wait until the mix dries out before watering again.
UF/IFAS Extension suggests watering when the top inch is dry, watering well, and never letting the plant sit in water. SDSU Extension and RHS both stress letting the soil dry between waterings and reducing watering in winter.
Two practical triggers that beat a calendar:
- Finger test: if the top 1 inch feels dry, you’re closer. If it still feels cool/damp, wait.
- Pot weight: lift the pot right after watering, then again a week later—dry pots feel surprisingly light.
Common overwatering signs: leaves get translucent, mushy, or the base feels soft. Common underwatering signs: leaves wrinkle and feel thinner (but still firm). If you’re unsure, err on the dry side—aloe recovers from drought faster than rot.
Temperature and Seasonal Moves (Window Drafts Matter)
Aloe likes typical indoor comfort. The sneaky issue in apartments isn’t “cold weather” so much as cold drafts and wet soil in winter.
What I do in my own place:
Keep it away from icy glass. In winter, I pull my aloe a few inches back from the window at night if the pane is cold to the touch. Cold + damp soil is a rough combo for succulents.
Reduce winter watering. Many aloes slow down in winter indoors, so they drink less. RHS specifically notes reducing watering to a minimum in winter as the plant enters dormancy.
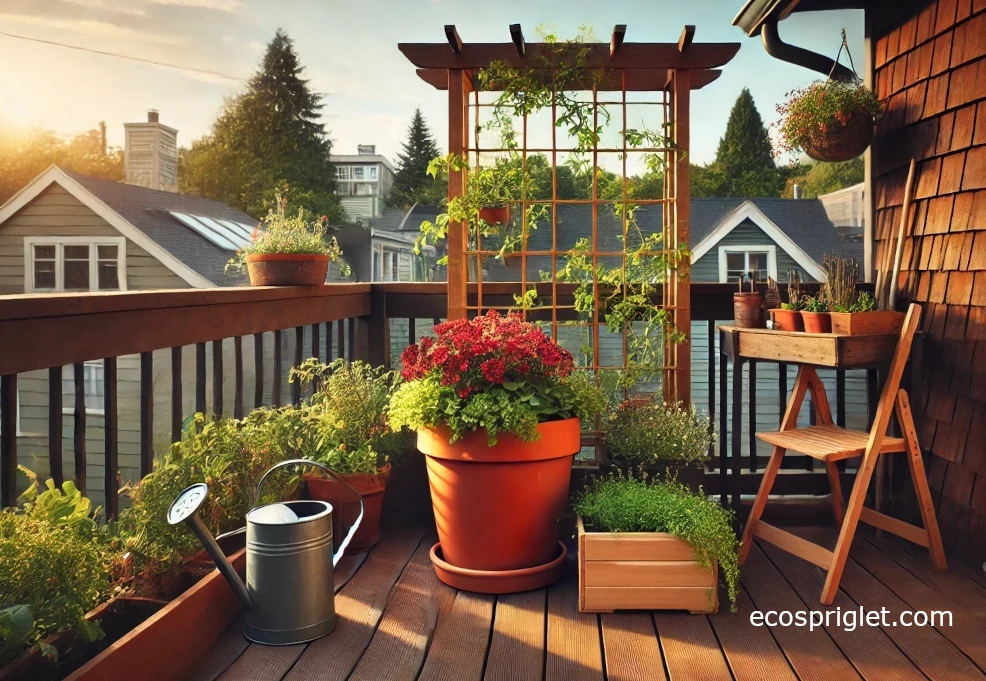
If you summer your aloe outdoors on a balcony, ease it into stronger sun gradually. Sudden full sun can scorch leaves that were grown behind glass.
Repotting and Pruning: When (and How) to Tidy Things Up
Aloe doesn’t need constant repotting, but it does appreciate fresh, fast-draining mix once in a while—especially if the current soil stays wet for days.
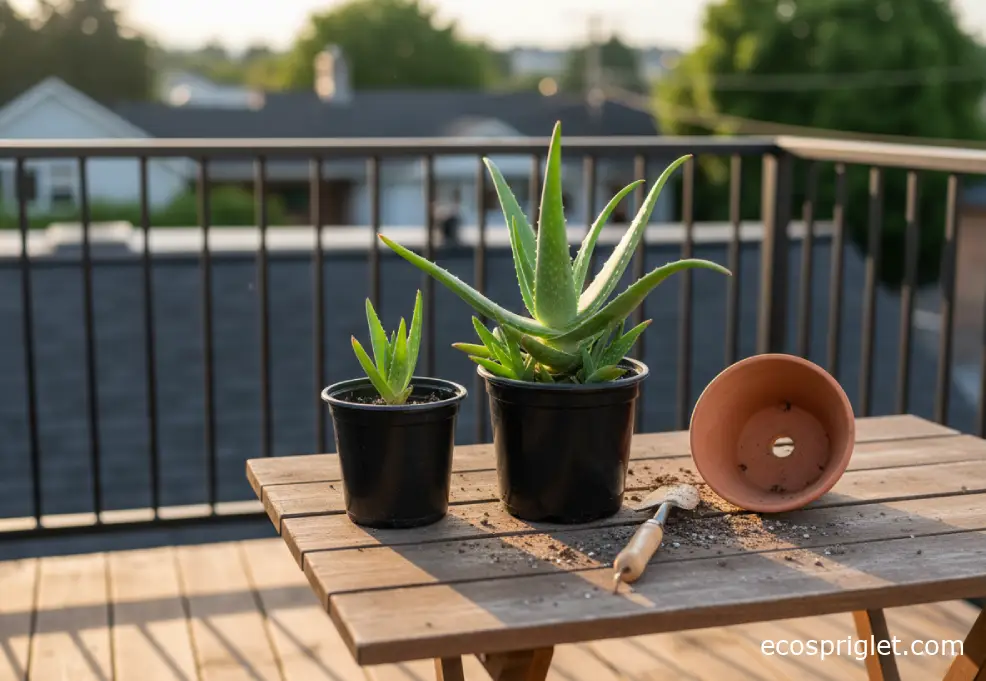
Repot when: the plant feels unstable, roots are circling tightly, pups are crowding the pot, or watering seems “off” (staying wet too long or running straight through because the mix has broken down).
How to repot without drama: choose a pot only a little bigger than the rootball, refresh the soil with a gritty mix, and keep the crown (where leaves meet) above the soil line. After repotting, water lightly (or wait a few days if the roots were disturbed) so any small root tears can callus.
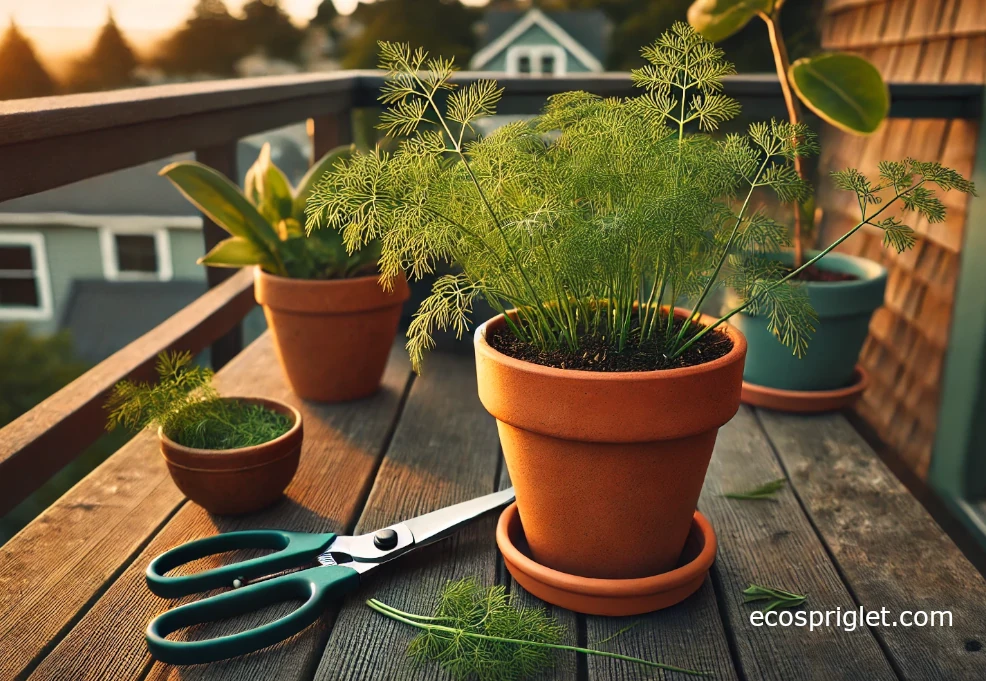
Pruning: remove dead lower leaves by gently pulling or cutting close to the base with clean snips. Don’t peel off healthy green leaves “for looks”—that’s your plant’s pantry.
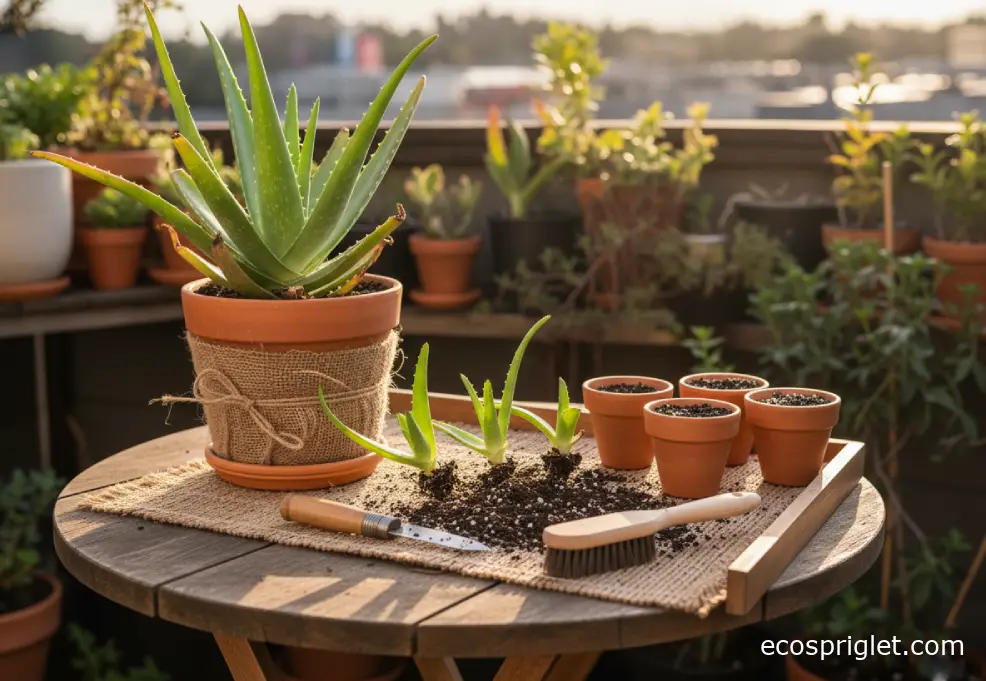
How to Grow Aloe Vera From Plant Offsets (Pups)
This is the fun part. When aloe is happy, it often makes offsets—little clones at the base. The most reliable way to grow aloe vera from an existing plant is by separating these pups (RHS also highlights offsets as a propagation method).
I remember the first time I separated pups, I treated them like fragile seedlings and watered them constantly. Bad move. They want the same thing the parent wants: drainage and restraint.
Here’s a simple, low-risk method:
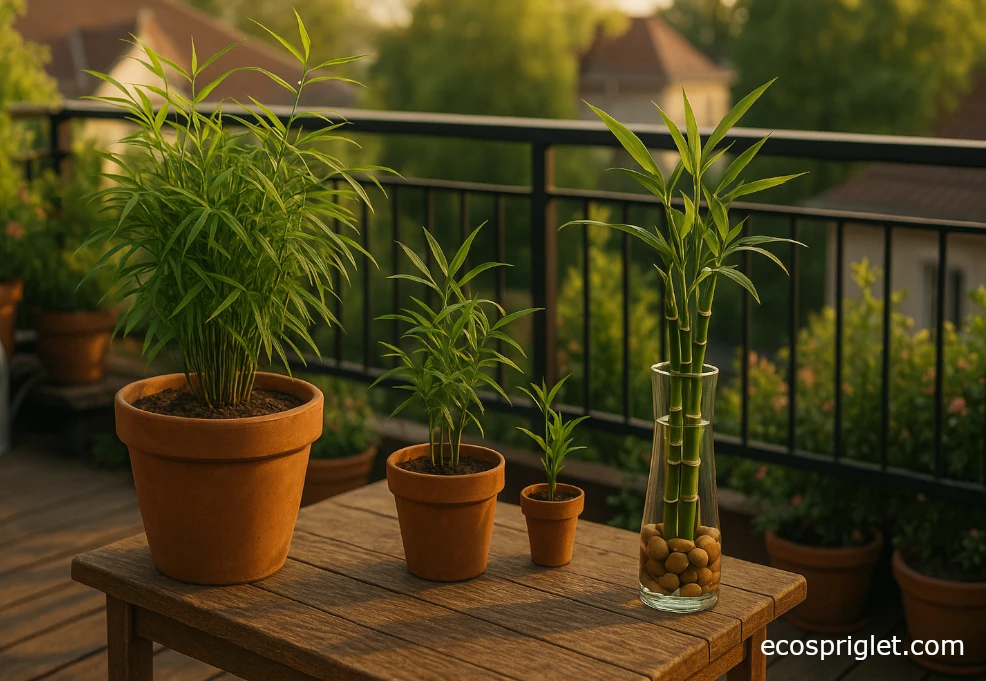
- Wait for size: let pups get a few inches tall and develop some roots if possible.
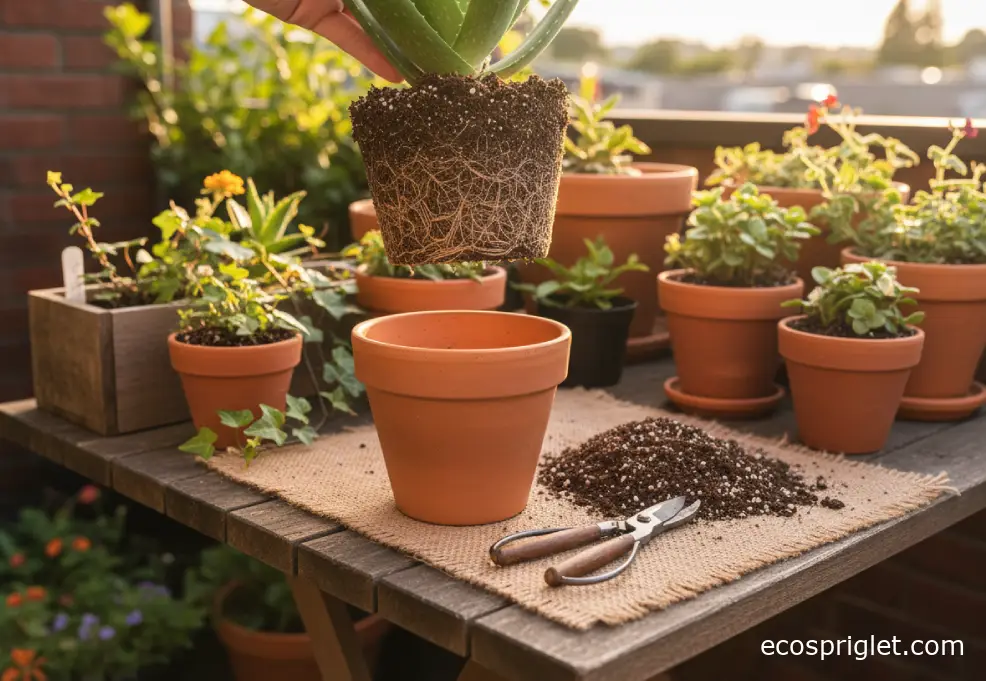
- Separate cleanly: slide the plant out, brush away soil, and gently tease pups apart. Use a clean knife if you need to cut where they connect.
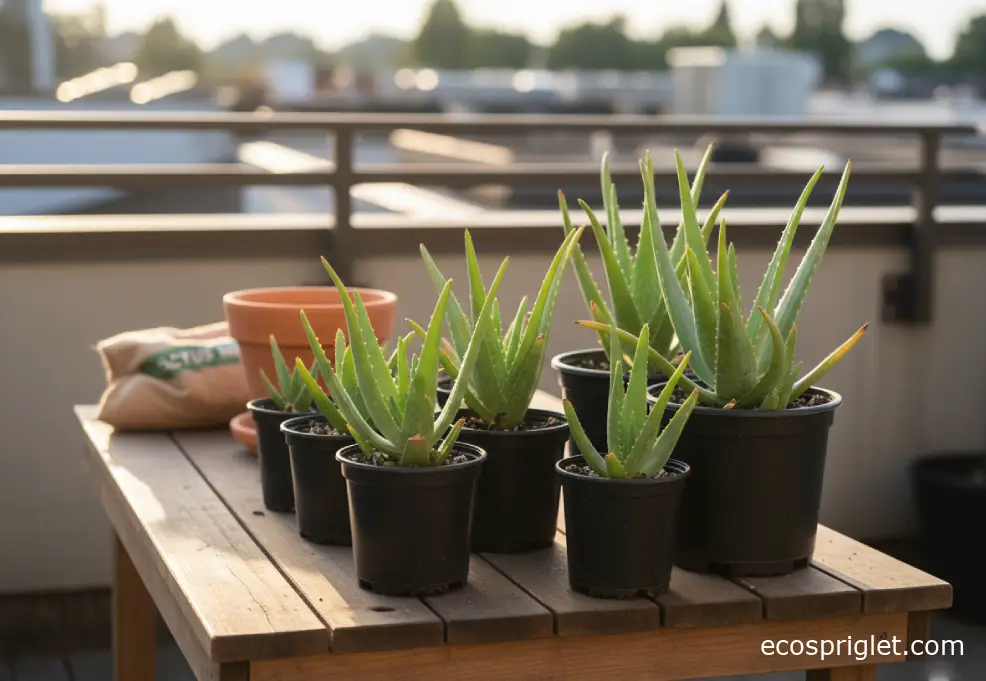
- Pot into gritty mix: small pot with drainage holes; don’t bury the crown.
- Go easy on water: after potting, water lightly to settle soil, then wait until the mix dries before watering again.
About growing aloe vera from a leaf or cutting: results vary by species and conditions, but for typical houseplant aloe vera, leaf cuttings are unreliable compared with pups. If you want a sure thing, use offsets.
Troubleshooting Aloe Vera Plant Care (What the Leaves Are Telling You)
Aloe is pretty honest. If something’s off, it usually shows up in the leaves first.
Leaning or stretching: almost always low light. Move it brighter, rotate weekly, and don’t overwater while it adjusts.
Wrinkled leaves: often underwatering (especially if the pot is very light). Water thoroughly and let excess drain away. SDSU Extension notes that too little water can lead to yellow, shriveled, puckered leaves, and plants often recover once watered.
Mushy base or translucent leaves: overwatering and early rot risk. Stop watering, increase light/airflow, and consider repotting into drier, grittier mix if the soil stays wet.
Brown tips: can be inconsistent watering, low humidity isn’t usually the culprit for aloe. Focus on a consistent dry-down cycle and stable placement.
Common Mistakes New Balcony Gardeners Make
I learned a couple of these the hard way—mostly because aloe looks so sturdy that you assume it can “handle anything.” It can’t handle wet feet.
- Watering on a schedule: don’t. Use the dry-soil trigger instead. (Sources: UF/IFAS Extension; RHS; SDSU Extension.)
- Leaving water in the saucer: always empty it. Sitting in water invites root rot.
- Using heavy, moisture-holding soil: aloe wants fast drainage; gritty mix wins.
- Low light + “just in case” watering: this combo is the silent killer in winter.
- Not rotating the pot: one-sided light creates a one-sided plant.
Is the Aloe Vera Plant Good for Your Face and Hair?
Aloe gel has a long history of topical use, and lots of people like it for a simple, cooling feel on skin or scalp. That said, houseplant advice isn’t medical advice—so I keep this section practical and cautious.
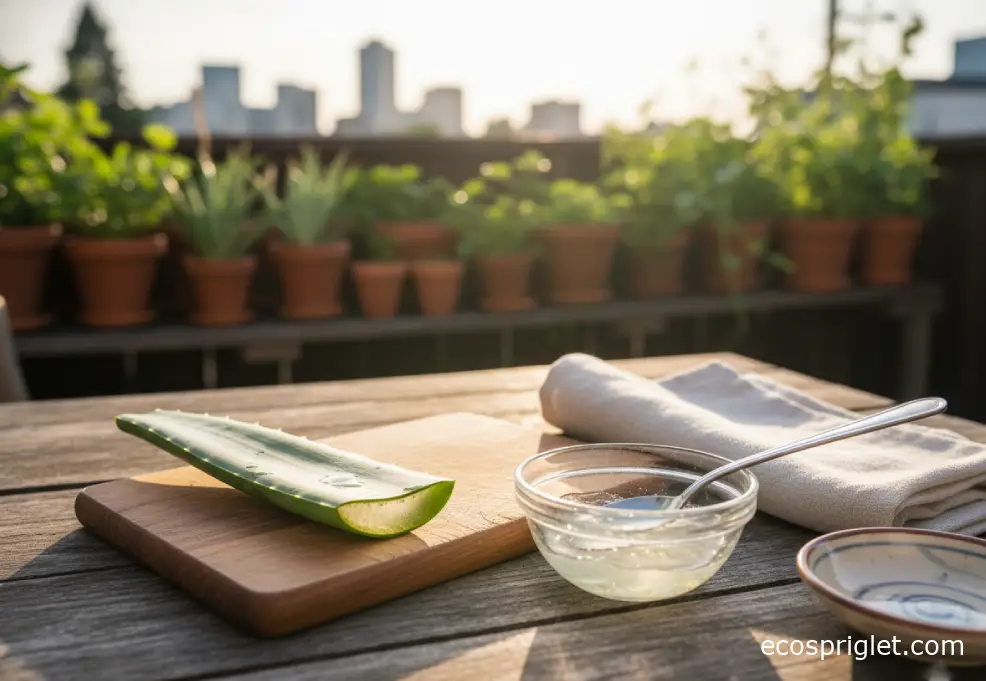
If you want to try aloe vera for face or hair use:
- Patch test first: try a small spot on your inner arm and wait 24 hours for irritation.
- Use clean gel: wash the leaf, use a clean knife, and scoop clear gel from inside. Avoid the yellow latex near the rind, which can be irritating for some people.
- Keep it simple: a thin layer, short contact time (think minutes, not hours) the first few tries.
If you have sensitive skin, eczema, or you’re using prescription skincare, it’s worth checking with a dermatologist before making aloe a routine.
Is the Aloe Vera Plant Poisonous to Cats?
Yes—aloe is listed as toxic to cats (and dogs) if ingested. The ASPCA database lists Aloe vera (often shown as “Aloe” or “True Aloe”) as toxic to cats, with possible signs like vomiting, lethargy, and diarrhea.
If you have pets that nibble plants, treat aloe like a “display-only” plant:
Place it high (a shelf, tall plant stand, or a room the cat doesn’t access), and consider adding pet-safe decoy greens (like cat grass) elsewhere so your pet has a better option.
If you suspect your cat chewed aloe and is showing symptoms, contact your veterinarian promptly. The ASPCA also provides poison control guidance for suspected ingestion.
Where to Find an Aloe Vera Plant Near You (Without Getting a Sad One)
If you’ve been searching for aloe vera plants nearby, here’s my apartment-friendly shopping approach:
Local nurseries first. Staff usually know how often they’re watering succulents (and you can ask). Pick a plant that feels firm and isn’t sitting in soggy mix.
Avoid cold-stressed plants. In cooler months, don’t buy an aloe that’s been displayed right by an open door. Cold + wet soil can start problems you won’t notice until later.
Quarantine at home. Keep new plants separate from others for a week or two, just to watch for pests like mealybugs.
Conclusion: A Calm, Simple Routine Beats Perfect Technique
Aloe care can feel oddly confusing online because you’ll see everything from “water weekly” to “never water.” In an apartment, the reality is simpler: give aloe bright light, use a fast-draining mix, and water deeply only after the pot dries out. If you nail those three, most of the other details—fertilizer, fancy additives, complicated schedules—barely matter.
If your aloe is stretching, don’t panic; it’s asking for more light. If it’s mushy, slow down and let it dry. And if you’re lucky enough to get pups, you’ve got a built-in propagation project that’s genuinely satisfying (and a great gift plant for neighbors). Just keep pet safety in mind—ASPCA lists aloe as toxic to cats and dogs if ingested—so placement is part of “care,” too.