Growing sweet potatoes looks almost too easy once the vines get moving. A few small plants can turn into a curtain of heart-shaped leaves, and somewhere beneath the soil those roots are quietly thickening into the crop you actually want. The catch is that sweet potatoes love warmth, need a fairly long season, and appreciate more root room than their decorative vines suggest.
For an apartment gardener, that does not rule them out. A sunny balcony, patio, rooftop, or other warm outdoor space can work surprisingly well if you start with sweet potato slips rather than planting a whole grocery-store root. Give the plants at least 6 hours of direct sun, wait until the growing medium is genuinely warm, and use a roomy container with excellent drainage. University of Maryland Extension classifies sweet potato as a very tender warm-season crop, recommends planting once soil reaches about 65°F, and notes that many cultivars mature in roughly 85 to 120 days.
This guide covers the full process, including making your own slips, planting them correctly, controlling roaming vines on a balcony, watering containers through summer, and curing the roots after harvest.
What Sweet Potato Slips Actually Are
A sweet potato plant is not normally started the way an Irish potato is. What we eat is a swollen storage root, and growers usually propagate the crop from shoots called slips. These shoots emerge from a mature sweet potato and can be separated to form new plants. University of Maryland Extension and Illinois Extension both recommend slips as the standard starting material for a home crop.
That distinction matters if you have wondered how a sweet potato grows. Planting a whole sprouted sweet potato may produce plenty of vines, but it gives you less control over spacing, disease, and root development. For the most dependable edible crop, I would buy healthy slips from a reputable supplier or make several slips from one disease-free root instead.
Once established, each slip produces a spreading sweet potato vine plant above the soil while new storage roots develop around its base. The vines can root where nodes touch moist soil, which is useful in a garden bed but less important in a container where your main goal is to give the original plant a generous, loose root zone. Illinois Extension also notes that shorter-vined bush types are available when space is limited.
If your climate has a short summer, cultivar choice can buy you useful time. Beauregard sweet potato plants are one familiar orange-fleshed option; current Penn State and Illinois Extension guidance describes Beauregard as relatively early maturing.
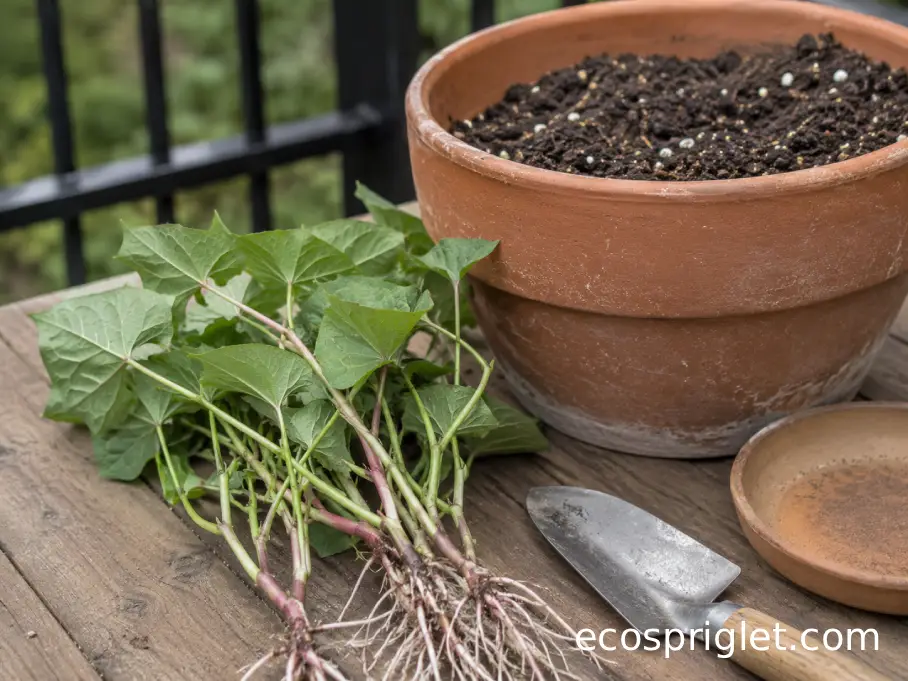
Start Your Own Slips From a Sweet Potato
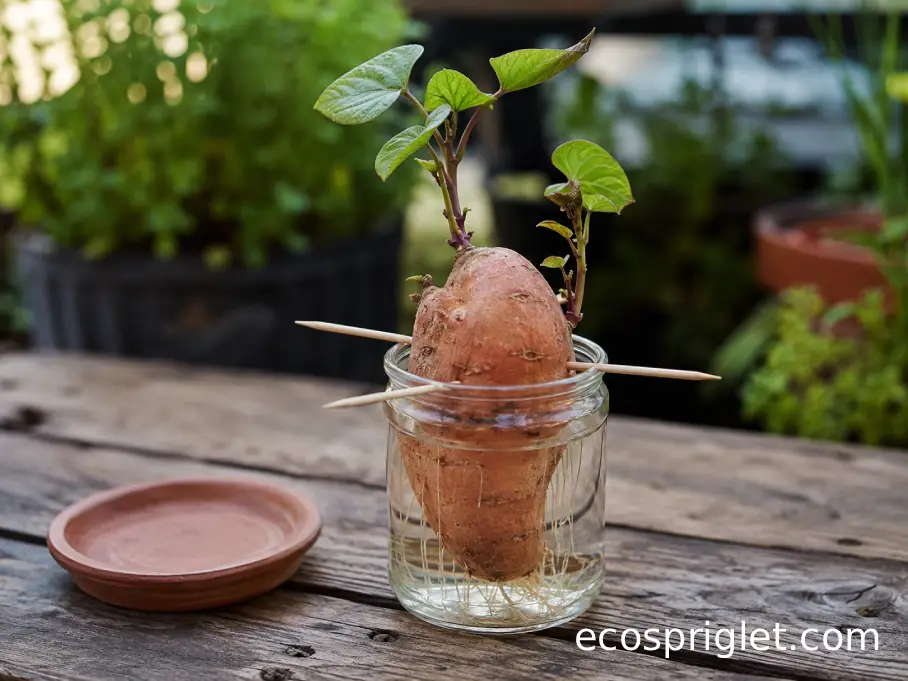
If you want to learn how to grow a sweet potato from a sweet potato, this is the fun part. Start early enough that the shoots have time to develop before outdoor planting weather arrives. University of Maryland Extension says the process from bedding a root to planting slips takes about six weeks and recommends keeping the starting root warm, around 75°F to 85°F. Illinois Extension gives a similar 70°F to 80°F range.
I remember starting my first batch in a glass on a windowsill and checking it every morning as if something dramatic were going to happen overnight. Nothing did for a while. Then several shoots appeared almost at once. That slow start is normal enough that I now begin more than one root whenever I have room.
- For a soil-based method, place a disease-free sweet potato partly into moist sand or soilless potting mix and keep it warm but never waterlogged.
- For the familiar water method, suspend part of the root in water and refresh the water regularly; University of Georgia Extension describes separating shoots when they reach roughly 6 to 12 inches.
- After removing a shoot, place its lower stem in water if it needs additional roots before planting.
- Keep developing slips in bright light so they grow sturdy rather than pale and stretched.
University of Maryland Extension recommends 14 to 16 hours beneath fluorescent or LED grow lights when slips are being produced indoors. It also recommends certified planting stock where possible, particularly because healthy starting material reduces the chance of carrying problems into the new crop.
A grocery-store sweet potato can sprout, so you can certainly experiment with one. For a crop you intend to depend on, though, certified disease-free stock or professionally grown slips are the safer starting point. If the root becomes soft, foul-smelling, or moldy while you are trying to sprout it, discard it rather than trying to rescue the shoots.
Choose a Container That Gives Roots Room
Sweet potatoes can grow in containers, but they are not the crop I would squeeze into the smallest pot that technically holds a plant. University of Maryland Extension specifically lists sweet potatoes among the more challenging container vegetables, while also showing successful container-grown plants and harvests. The lesson is simple: root volume matters.
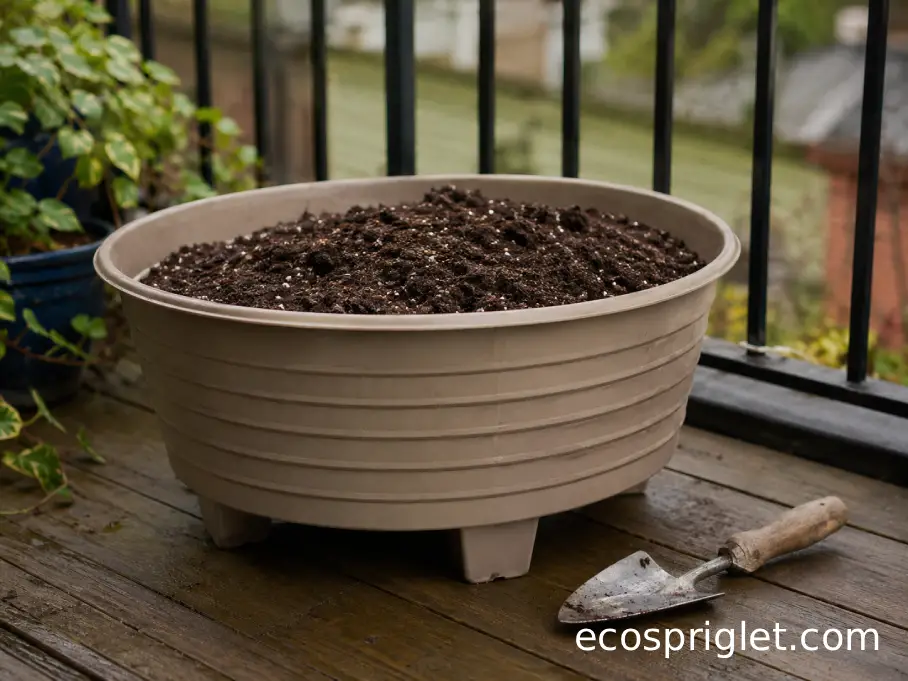
For one slip on my own balcony, I would choose a genuinely large grow bag, tub, or broad planter rather than a narrow flowerpot (Container Size Calculator is a useful tool). Think of 15 gallons or more as a practical small-space starting point rather than a magic horticultural number. Extra width is especially useful because the developing storage roots need room to spread without hitting a hard wall immediately.
Use fresh container potting mix rather than dense garden soil. Sweet potatoes perform best in a loose, well-drained root zone, and containers already dry and heat differently from garden beds. If you are new to edible container gardening, our container gardening guide explains the basic setup in more detail.
Drainage holes are essential. Do not add a thick gravel layer beneath the potting mix in an attempt to improve drainage. University of Maryland Extension and Illinois Extension both explain that gravel at the bottom can leave water perched in the soil above it instead of fixing the drainage problem. Raise the planter slightly if necessary so excess water can leave the holes freely.
Balcony gardeners also need to think about weight. University of Maryland Extension notes that even a 20-inch container filled with moist potting mix and plants can weigh around 100 pounds. Check your building rules and balcony load limits before clustering several large, wet planters in one corner. A wheeled plant caddy can also make seasonal repositioning much easier.
Plant Slips Only After Warm Weather Arrives
Cold soil is one of the easiest ways to make a healthy slip sit still instead of growing. Do not plant merely because the daytime air suddenly feels summery. University of Maryland Extension recommends waiting until the soil has warmed to about 65°F, after frost danger has passed. Sweet potatoes also want at least 6 hours of direct sunlight, with 8 to 10 hours preferred when the site can provide it.
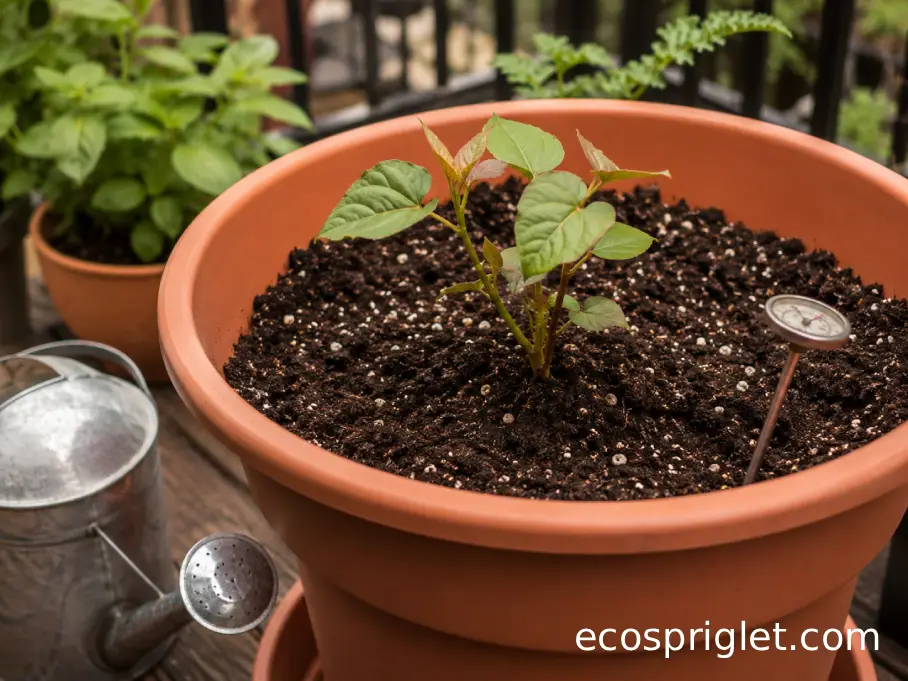
On a balcony, a simple soil thermometer is more useful than guessing. Test the container in the morning for several days. If it remains comfortably near that 65°F mark and nights are reliably mild, your slips have a much better chance of establishing quickly.
- Pre-moisten dry potting mix before planting so water does not race down cracks and leave the root zone dry.
- Set the roots and lower stem into the mix while keeping healthy leaves above the surface.
- Firm the mix gently around each slip rather than compacting it hard.
- Water thoroughly after planting and make sure excess water exits the container.
In garden beds, Extension recommendations commonly place slips about 12 inches apart; Illinois Extension gives a range of 12 to 18 inches. In containers, giving one plant its own generous root space is usually simpler than crowding several slips into a small planter.
New slips can look limp for a few days. Keep the root zone evenly moist while they establish, but do not drown them. University of Maryland Extension notes that sweet potato plants are particularly sensitive to drought during roughly the first 50 to 60 days after planting.
Manage Vines, Water, and Feeding Through Summer
Once the plant settles in, growth can change quickly. A slip that barely moved for a week may soon send stems several directions at once. Illinois Extension describes sweet potatoes as trailing vines that can rapidly cover the soil, and that vigor is one reason they can make such an attractive edible balcony plant.
The roots still need steadier attention than the leaves suggest. University of Maryland Extension recommends uniform moisture, especially early in development, while warning that saturated soil can encourage root rot and splitting. Containers dry faster than garden soil because the entire root system is above ground and exposed to larger temperature swings.
On hot or windy balcony days, check the pot every morning. Push a finger about 1 inch into the mix. If that upper layer is dry and the planter feels noticeably lighter, water deeply enough to moisten the root zone and allow some excess to drain. If the mix is still cool and damp, give it more time. This simple check is safer than watering automatically every day.
Saucers are useful when you live above another apartment, but do not let the planter stand in collected water. University of Maryland Extension advises emptying saucers so stagnant water does not contribute to root problems or mosquito breeding.
Sweet potatoes have moderate nutrient needs rather than an endless appetite for fertilizer. Start with a quality potting mix and use a vegetable fertilizer according to its container directions rather than repeatedly feeding whenever the vines look hungry. University of Maryland Extension recommends supplying nutrients according to plant needs and notes that sweet potatoes have a medium fertilizer requirement.
If your balcony gets intensely hot, dark containers can become another stress point. University of Maryland Extension notes that dark-colored pots can raise root-zone temperatures. Moving the container a few inches away from a heat-reflecting wall or shading the pot itself while leaving the foliage in sun can help moderate the root zone.
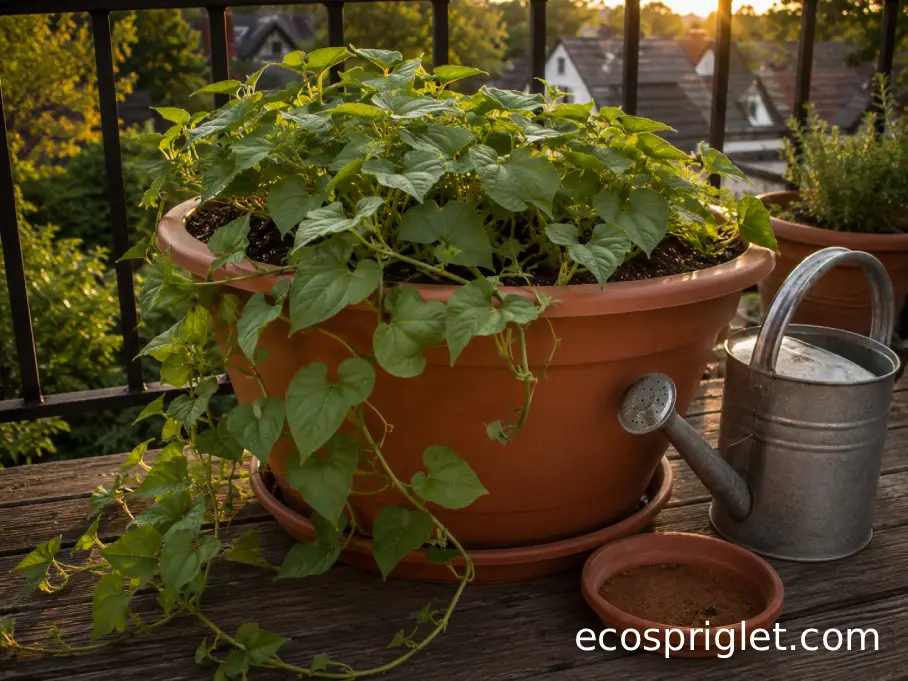
Keep a Sweet Potato Vine Under Control on a Balcony
The amount of foliage surprises many first-time growers. A productive sweet potato vine does not need to be allowed to crawl across your neighbor’s balcony or block the doorway. Redirect stems every few days while they are still flexible. Let them trail inward, circle loosely around the container, or rest on a stable freestanding support.
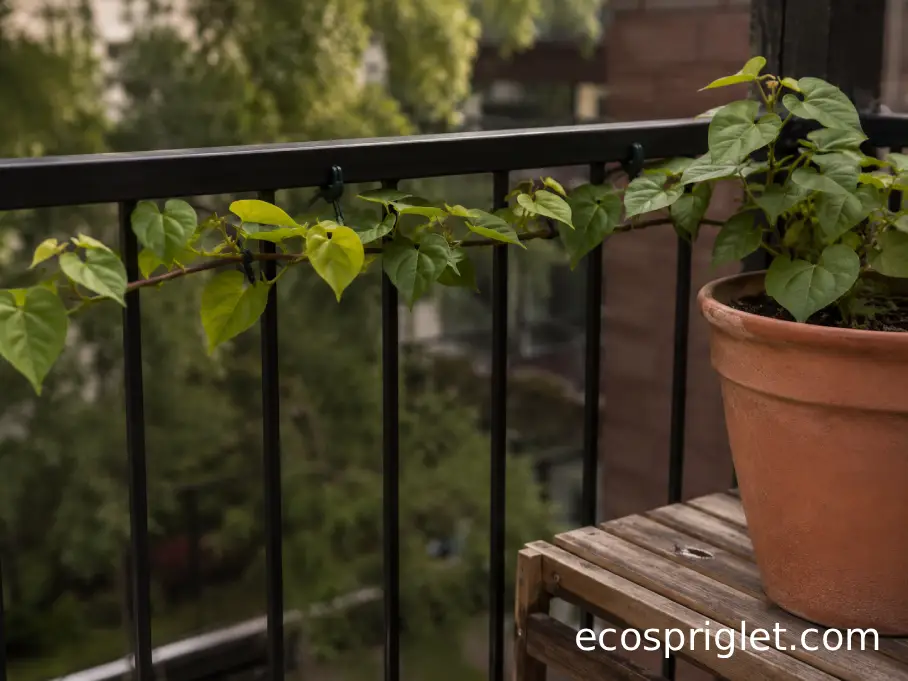
I avoid tying edible vines permanently to balcony railings. Anything attached to a railing has to cope with wind, and renters may also have building rules about objects extending outward. Keep all vines, supports, and containers inside the balcony boundary unless your building explicitly allows something else.
Do not panic if a long stem needs to be shortened. The plant can tolerate some vine management, although repeated heavy pruning removes leaves that are powering root growth. My approach is to redirect first and trim only the stems that genuinely create a trip, wind, or access problem.
If pets use the balcony, the ASPCA lists sweet potato vine, Ipomoea batatas, as non-toxic to dogs and cats. It is still sensible to discourage pets from chewing garden plants, especially in quantity, and to keep fertilizers and other gardening products out of reach.
One more distinction is worth making: ornamental sweet potato cultivars and edible sweet potato crops can belong to the same species, but I would not harvest a decorative nursery plant for food unless you know it was produced and treated as an edible crop. Starting with slips sold for vegetable production keeps that question simple.
Common Mistakes to Avoid
The mistakes that hurt sweet potatoes are usually ordinary ones: starting too cold, crowding the roots, keeping the pot wet, or assuming a spectacular vine guarantees an equally spectacular crop underneath. I learned the container lesson the hard way with a plant that produced enough foliage to look impressive from the street but had very little root room left by harvest.
- Planting too early: Wait for frost danger to pass and for the growing medium to reach about 65°F rather than trusting one warm afternoon.
- Using a cramped pot: Sweet potatoes are considered a more challenging container vegetable, so give one plant generous space instead of packing several slips into a decorative planter.
- Adding gravel for drainage: Use actual drainage holes and free-flowing potting mix. A gravel layer does not solve a saturated root zone.
- Keeping the soil constantly soaked: Water thoroughly when needed, then let excess drain. Prolonged saturation can contribute to root rot and malformed or split storage roots.
- Damaging roots during harvest: Fresh sweet potato skin is delicate. A cut from a trowel or rough scrubbing can reduce storage quality, so loosen the whole root mass before pulling.
Another common disappointment is simply running out of warm weather. If your frost-free season is marginal, start slips in advance, put the container in your sunniest warm location, and favor an earlier cultivar. Sweet potatoes are tropical in temperament; no amount of fertilizer compensates for a cool, shaded summer.
And if the vines are green but you find disappointing roots, review the basics before buying another product: Was the container roomy? Did it get 6 or more hours of direct sun? Was the potting mix loose rather than waterlogged? Was the season long enough? Those answers are usually more useful than adding another fertilizer.
Harvest, Cure, and Store Without Damaging the Roots
Most sweet potato cultivars need a substantial stretch of warm weather. University of Maryland Extension gives a general maturity range of about 85 to 120 days and suggests checking root size beginning around 80 to 85 days rather than assuming every plant follows the calendar exactly. Harvest before damaging cold arrives.
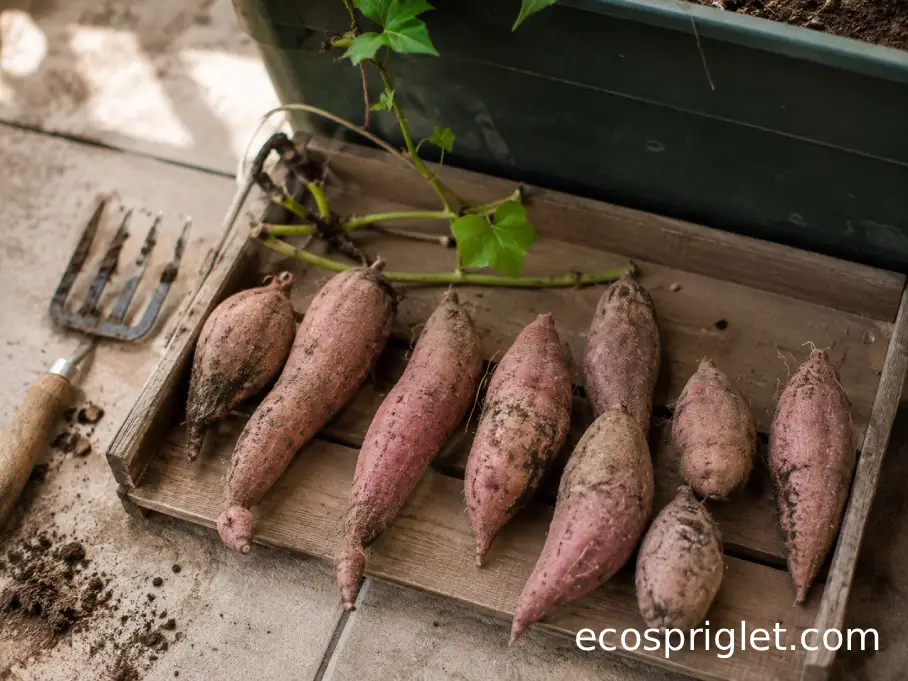
With a container, harvesting is easier than digging through a garden ridge, but it can also tempt you to yank the plant out by its vines. Resist that. Cut back the vines, loosen the potting mix around the perimeter, and tip or excavate the container gradually. Freshly dug skins scuff easily, so handle each root as if it were a ripe peach.
Do not scrub or wash sweet potatoes before you intend to store them. University of Maryland Extension specifically recommends gently removing loose soil while avoiding rubbing and washing before storage. If frost kills the vines, harvest promptly because decay can move from damaged top growth toward the roots. Soil temperatures below about 50°F can also cause chilling injury.
Curing is what turns a freshly dug root into a better storage crop. Commercial conditions are difficult to reproduce in an apartment, but the target gives you something to work toward. University of Maryland Extension describes commercial curing at about 85°F and 80% to 90% relative humidity for 5 to 10 days, followed by storage around 55°F to 60°F. Illinois Extension gives a similar warm-curing approach.
At home, spread the roots in a single layer somewhere warm, protected from rain, and well ventilated for about a week if conditions allow. Do not seal damp roots in a plastic tote. University of Maryland Extension notes that even home gardeners who cannot reproduce commercial curing conditions can partially cure roots in a warm covered location such as a porch or garage.
Once cured, move them to a cool, dry, ventilated location rather than refrigerating them. Check occasionally and remove any root that develops soft, wet, or decaying areas before it affects neighboring roots.
A Small-Space Crop Worth the Wait
If you have strong summer sun and enough room for one large container, sweet potatoes are a satisfying experiment for a balcony garden. The plant gives you months of attractive foliage before the real reveal at harvest, and starting your own sweet potato slips turns one storage root into several potential plants.
The important part is not making the process complicated. Start healthy slips several weeks before planting time. Wait until the root zone is around 65°F and frost danger is behind you. Give the plant at least 6 hours of direct sun, plenty of loose growing medium, reliable drainage, and steady moisture while it establishes. Then let warmth and time do most of the work. Those basics line up closely with current recommendations from University of Maryland Extension and Illinois Extension.
For apartment gardeners, I would rather grow one well-supported plant in a roomy container than crowd three slips into a pot that looks tidier in May but leaves no root space by September. Keep the vines inside your usable balcony area, watch watering more closely during hot weather, and remember that the crop beneath the soil matters more than producing the longest vine.
When harvest day arrives, handle the roots gently and give them time to cure before judging the flavor. That first container may not produce supermarket-perfect shapes, but tipping out the soil and finding sweet potatoes you grew several floors above the street is still one of the more enjoyable small-space harvests you can have.