Terracotta pots are lovely, practical, and a little unforgiving. Their porous clay breathes well, which is one reason balcony gardeners like me keep reaching for them, but that same texture also holds onto old potting mix, fertilizer salts, algae, and plant disease debris. Learning how to clean terracotta pots properly helps them look better, last longer, and become safer homes for your next round of herbs, flowers, or houseplants.
The good news is that you do not need fancy cleaners or a backyard hose setup. A stiff brush, a bucket, warm water, mild dish soap, and, when needed, a carefully diluted bleach soak will handle most used pots. For apartment gardeners, the trick is controlling the mess: work in a sink, bathtub, utility basin, or plastic storage tote, and protect drains with a mesh strainer so old soil does not clog the plumbing.
Below is the simple method I use on my Portland terrace when I’m cleaning a stack of clay pots at the end of the season.
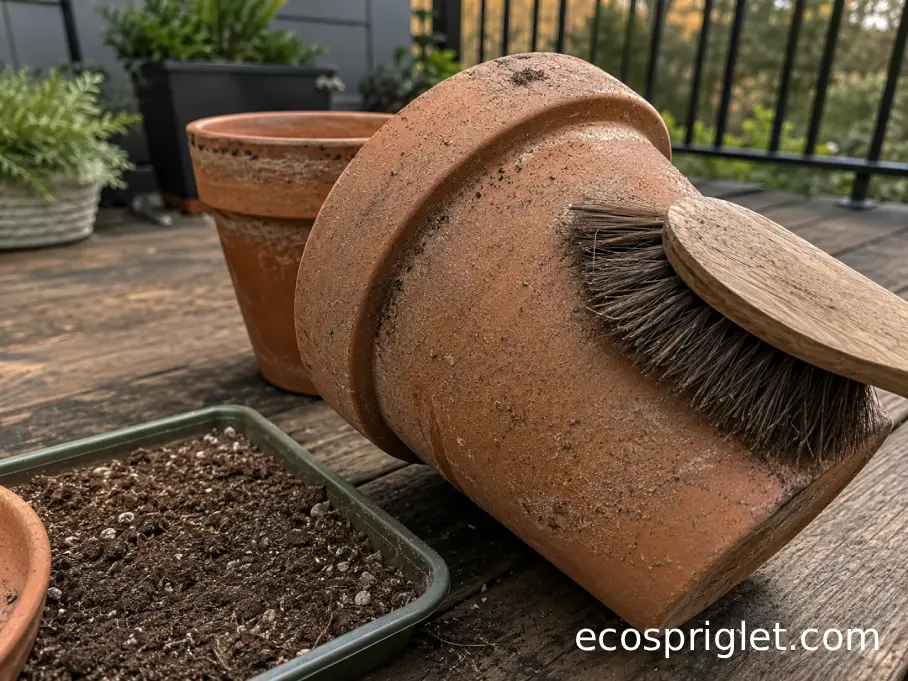
Start With Dry Brushing and Soil Removal
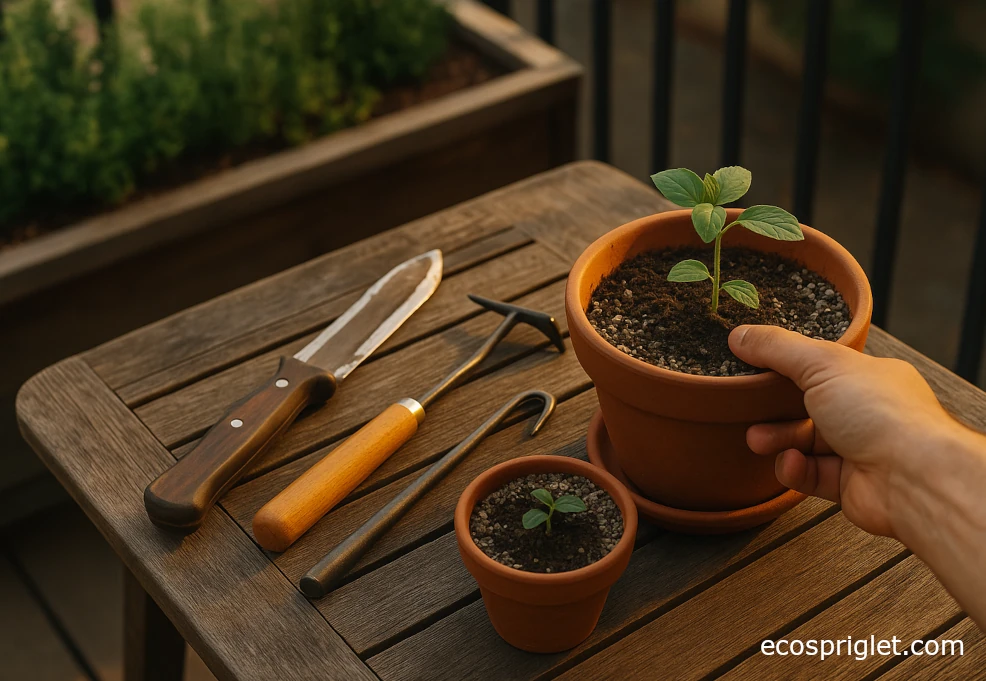
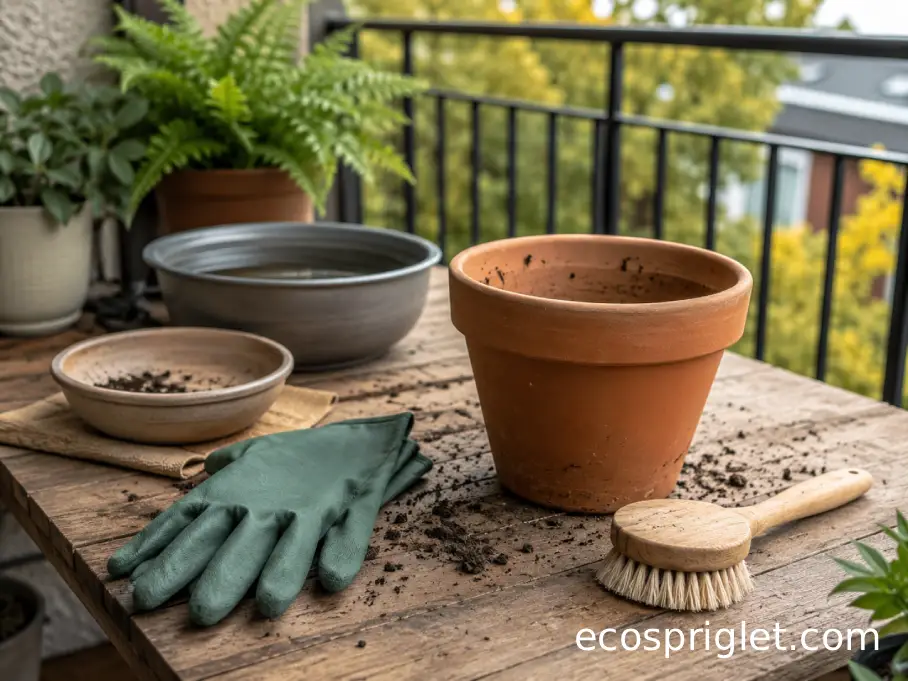
Begin with the pot completely empty and as dry as possible. Dry potting mix flakes away more easily than wet sludge, and it is much less likely to smear into the clay pores. Tap the pot gently over a trash bag or bucket, then scrape out stuck soil with a plastic plant label, an old spoon, or a dull butter knife. Avoid metal tools with sharp edges because they can gouge the clay.
For apartment cleanup, I like to do this step outdoors on a balcony or inside a large tote lined with newspaper. Keep the old soil out of your sink where possible. If the previous plant was healthy, the spent mix can go into municipal green waste where accepted. If the plant had root rot, fungus gnats, suspicious mold, or disease symptoms, bag the old mix and discard it instead of reusing it.
Once the loose soil is gone, brush the inside, outside, rim, and drainage hole. The drainage hole matters more than beginners expect; one hardened plug of old mix can leave the next plant sitting too wet.
Wash Terracotta With Warm, Soapy Water
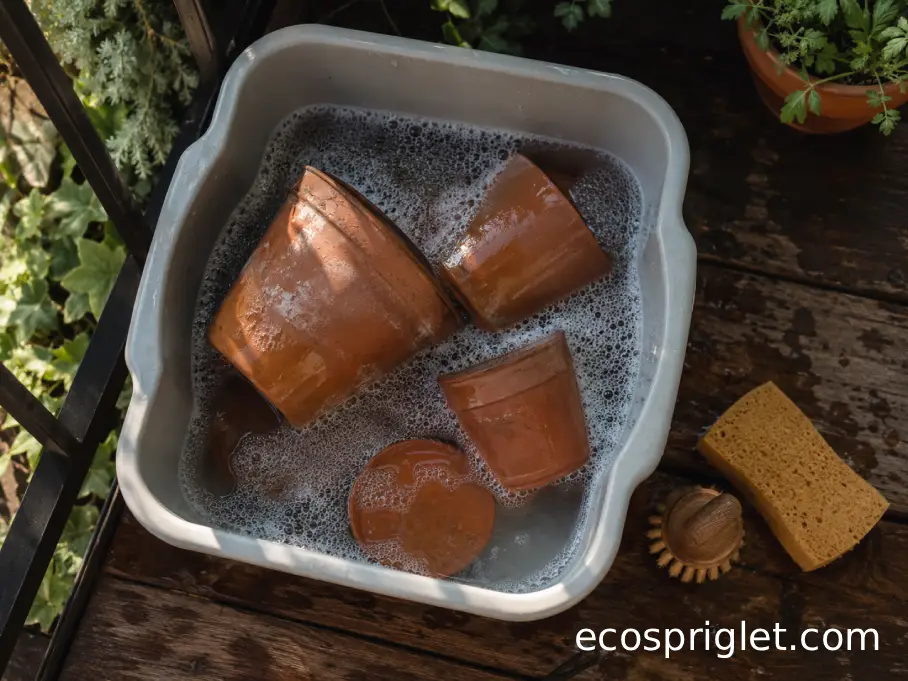
After dry brushing, fill a bucket, sink, bathtub, or plastic storage tote with warm water and a small squeeze of mild dish soap. Soak the pots for 10 to 20 minutes if they are only lightly dirty. For crusty old pots, give them 30 minutes before scrubbing. Warm, soapy water loosens old organic matter, and cleaning before disinfecting is important because dirt and debris can make disinfectants less effective. The CDC makes this same point for household surfaces: clean first, then disinfect if needed.
Use a stiff nylon brush rather than a wire brush. Scrub the pot inside and out, paying attention to the rim, the lower outside wall, and the drainage hole. These are the places where fertilizer crust, algae, and old roots tend to cling.
If your pot has a saucer, clean it too. Saucers often hold more algae and mineral buildup than the pot itself because water sits there after every watering. On a small balcony, I try to wash saucers at the same time as the pots so I do not accidentally put a clean pot back onto a dirty tray.
How to Sterilize a Plant Pot Before Reusing It
You do not need to sterilize every pot every time. If the last plant was healthy, a good wash is often enough. Sterilizing is worth doing when a pot held a diseased plant, damping-off seedlings, root rot, recurring fungus gnats, or any plant you are not sure about. It is also smart before seed starting, because young seedlings are less forgiving than mature herbs or flowers.
University of New Hampshire Extension recommends soaking used pots in one part bleach to nine parts water for 10 minutes, then rinsing with clear water and drying before reuse. University of Maine Extension gives the same one-part chlorine bleach to nine-parts water guidance for previously used seed-starting containers.
- Wash first: bleach works better on a clean surface than on dirt-caked clay.
- Mix safely: use cool water and plain, unscented household bleach.
- Soak for about 10 minutes: keep the whole pot submerged if possible.
- Rinse thoroughly: flush the inside, outside, rim, and drainage hole.
- Dry completely: let pots air-dry for at least several hours, preferably overnight.
Never mix bleach with vinegar, ammonia, rubbing alcohol, or other cleaners. The CDC warns that mixing household bleach with other cleaners or disinfectants can release dangerous vapors. Work with ventilation, wear gloves, and keep the bucket away from children and pets.
Remove Algae, Moss, and White Mineral Crust
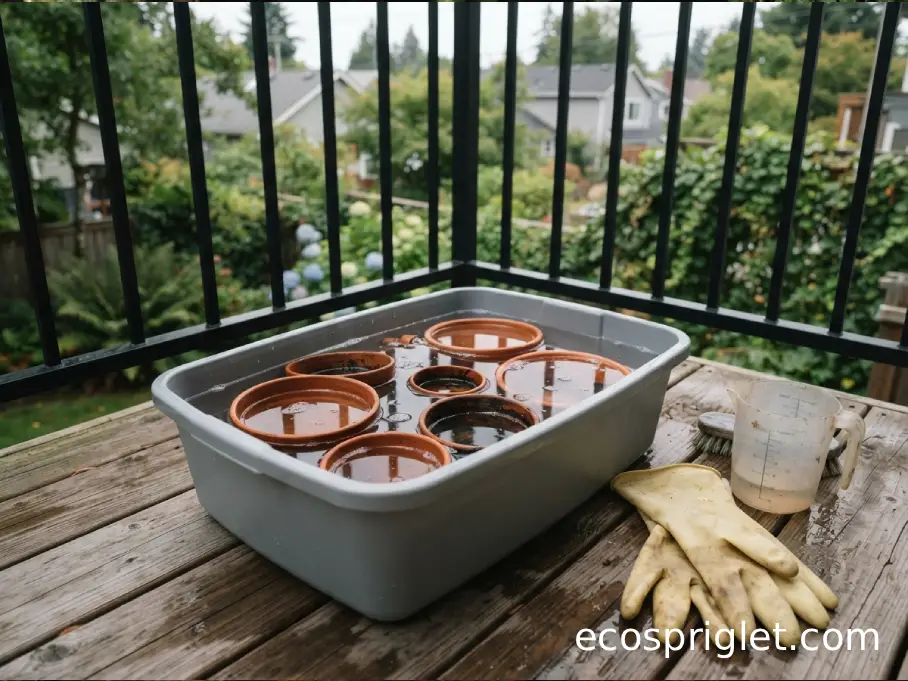
Green algae on terracotta usually means the pot stayed damp for long stretches. It is common on shaded balconies, north-facing patios, and saucers that never quite dry. It is not always a plant emergency, but it can make pots slippery, stain surfaces, and signal that your setup may be holding too much moisture.
For algae, start with the simplest fix: scrub with warm water and a stiff nylon brush. If the pot is empty, let it dry in bright indirect light afterward. Dry clay releases algae more easily than constantly damp clay. If the same pot greens up again within a few weeks, check whether the saucer is staying full, the plant is being watered too often, or the pot is tucked into a low-airflow corner.
White crust is usually mineral and fertilizer residue. Scrubbing removes some of it, but heavy deposits may need a separate wipe with a diluted vinegar solution. Keep this step separate from bleach cleaning: rinse the pot very well and do not combine vinegar with bleach in the same bucket, sink, or session.
I do not chase every stain from old terracotta. A little patina looks good on a balcony. What I remove is anything fuzzy, slimy, crusted thick enough to flake into the potting mix, or sitting around the drainage hole.
Clean Pots That Still Have Plants in Them
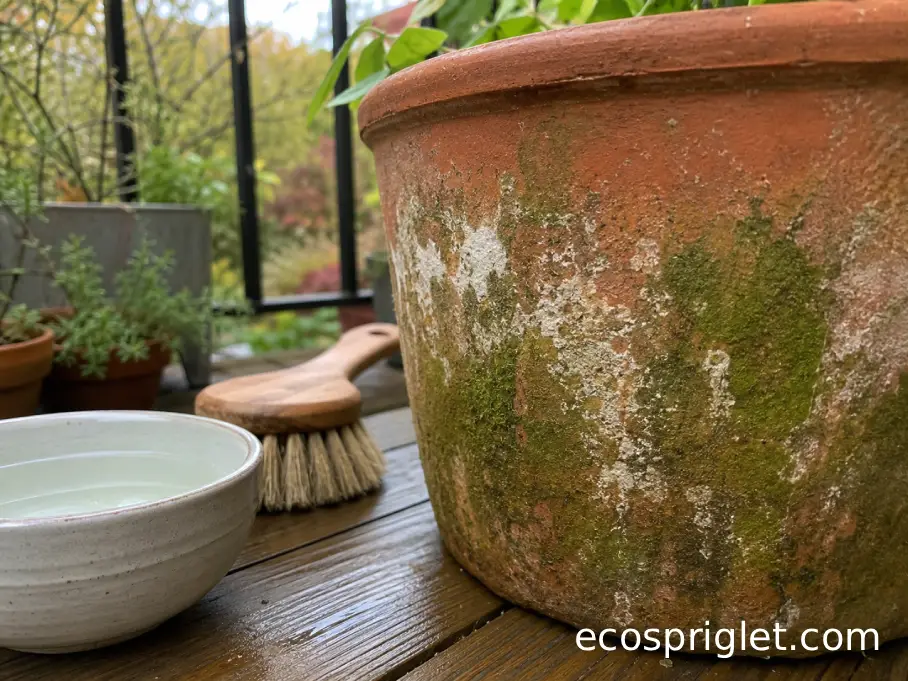
Cleaning terracotta pots with plants in them is more about surface care than true sterilizing. Do not soak a planted pot in bleach, vinegar, or soapy water. Those solutions can move through porous clay, contact roots, and stress or damage the plant.
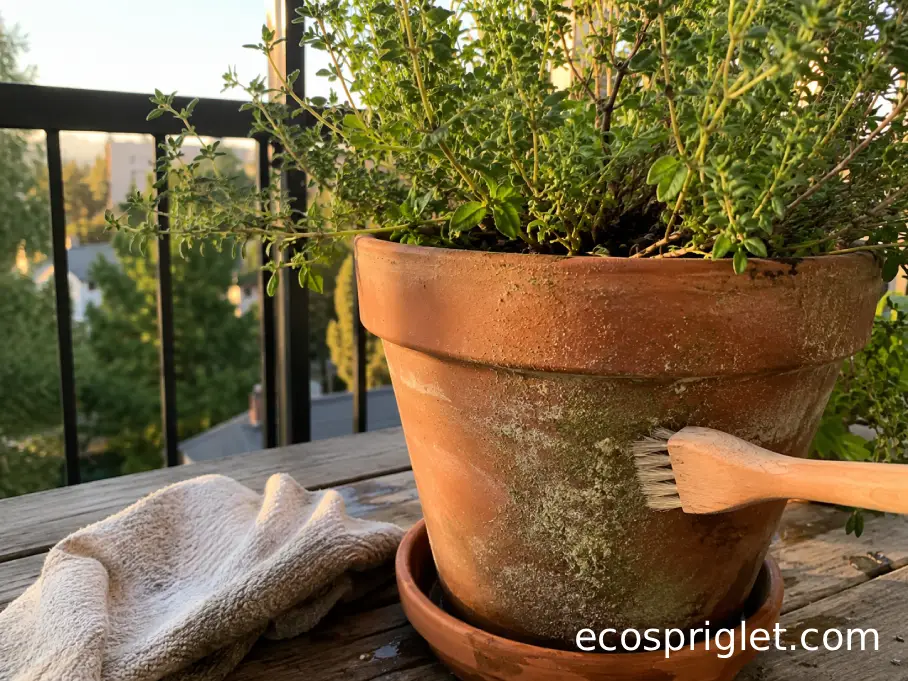
Instead, wipe or brush only the outside of the pot. Use a dry brush first, then a damp cloth if needed. Keep the pot tilted slightly away from the plant so loosened algae or crust falls onto a towel rather than into the potting mix. If algae is growing near the soil line, remove only what you can reach without disturbing roots.
Here is the safer approach for a planted pot:
- Set the pot on an old towel or tray to catch debris.
- Brush the outside wall with a dry nylon brush.
- Wipe stubborn spots with plain water and a cloth.
- Empty the saucer and scrub it separately.
- Let the pot dry before returning it to a tight corner or shelf.
If the pot smells sour, the plant is wilting despite wet soil, or fungus gnats keep returning, cleaning the outside will not solve the root problem. Plan to repot into fresh potting mix and a fully cleaned container. Our fungus gnat prevention guide is a helpful next step if tiny flies are part of the issue.
Common Mistakes to Avoid
The biggest mistake is trying to disinfect a dirty pot. I learned this the hard way years ago after rushing through a batch of seed pots in February. The seedlings were fine at first, then a few collapsed at the soil line. Now I treat washing and disinfecting as two separate jobs: first remove the grime, then sanitize only if the pot needs it.
- Using bleach on a planted pot: remove the plant first or stick to plain-water surface cleaning.
- Skipping the drainage hole: poke out old roots and mineral plugs before replanting.
- Using wire brushes: they can scratch, chip, or weaken older clay.
- Mixing cleaners: never combine bleach with vinegar or other household cleaners.
- Putting pots away damp: dry them fully so they do not grow fresh algae in storage.
Another beginner mistake is cleaning the pot but reusing old, compacted potting mix. If a plant failed because of root rot, pests, or disease, fresh mix matters as much as the clean container. Penn State Extension also recommends using a clean pot sanitized with a one-to-nine bleach-to-water solution when repotting houseplants.
For small apartments, I’d rather clean three pots properly than rush through twelve and leave them stacked wet in a closet. Terracotta stores best when it is dry, loosely stacked, and not sealed in a plastic bag.
When to Clean, Sterilize, or Replace a Terracotta Pot
Not every old pot deserves the same treatment. A lightly dusty pot from a healthy basil plant probably needs only dry brushing and a wash. A pot from diseased seedlings deserves washing, disinfecting, rinsing, and drying. A cracked pot with flaking clay around the drainage hole may be better used as a decorative cachepot or broken into pieces for craft projects.
| Pot Condition | Best Action | Why It Helps |
|---|---|---|
| Dusty with loose soil | Brush, wash, rinse, and dry | Removes ordinary debris before replanting |
| Green algae on the outside | Scrub with warm water and improve airflow | Reduces slippery buildup and slows regrowth |
| White mineral crust | Scrub, then use a separate diluted vinegar wipe if needed | Helps loosen residue from hard water or fertilizer |
| Previous plant had disease or rot | Wash, then disinfect with one part bleach to nine parts water | Reduces the chance of carrying problems to the next plant |
| Cracked, crumbling, or sharp-edged | Replace or repurpose | Prevents leaks, root stress, and balcony mess |
For balcony growers, timing helps too. Clean pots at the end of the growing season, before seed-starting season, and whenever you bring outdoor containers inside. If you are refreshing several containers at once, pair the job with a repotting day and keep fresh mix ready. You can also use our apartment repotting guide to keep the whole process cleaner and less stressful.
Conclusion: Keep Terracotta Clean, Dry, and Ready to Replant
Cleaning terracotta pots is one of those quiet gardening chores that pays off later. Your next plant gets a fresher start, old algae and mineral crust do not keep building up, and you are less likely to carry disease problems from one season into the next. The basic routine is simple: dry brush, wash with warm soapy water, rinse well, and let the pot dry. When the previous plant was diseased or the pot will hold seedlings, add a careful disinfecting soak with one part bleach to nine parts water, then rinse and dry thoroughly.
For planted pots, keep it gentler. Brush and wipe the outside only, clean the saucer, and save true sterilizing for empty containers. On a small balcony or in an apartment, a tidy setup matters just as much as the cleaning solution: use a tub, catch loose soil, protect your drain, and work in small batches.
A clean terracotta pot does not have to look brand-new. It just needs to be free of old soil, slime, thick crust, and anything that could make the next plant struggle.