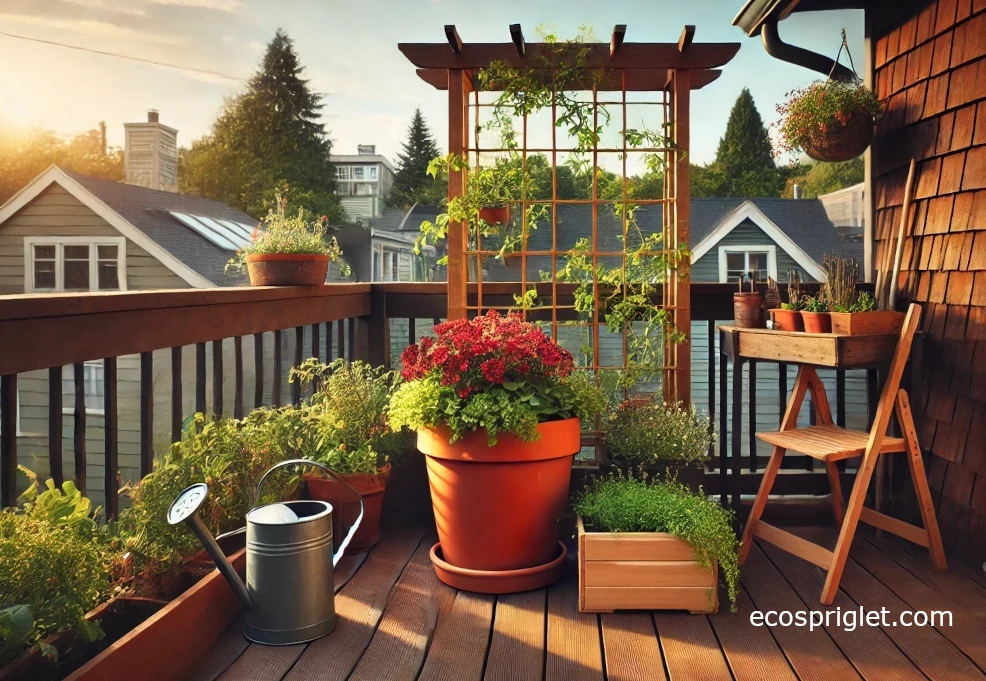
Growing raspberries in containers is completely possible, but it asks for a slightly different mindset than tucking a cane into a garden row. A raspberry is not a tiny herb or a seasonal patio flower. It is a bramble with long-lived roots, two-year canes, real water needs, and a habit of making new shoots wherever it has room. On a balcony or small patio, that means your best results come from choosing a compact variety, giving it a serious container, and pruning before the plant turns into a thorny tangle.
I like raspberries for apartment gardeners because they make a small space feel generous. Even a modest harvest feels special when you pick it warm from a pot beside your chair. The tradeoff is that the container must be deep, stable, and easy to water. A cute little decorative pot will frustrate both you and the plant. This guide walks through how to choose the pot, plant the cane, manage watering, prune correctly, and harvest safely, with container-specific advice for balconies, renters, pets, wind, and summer heat.
Can You Really Grow Raspberries on a Balcony?
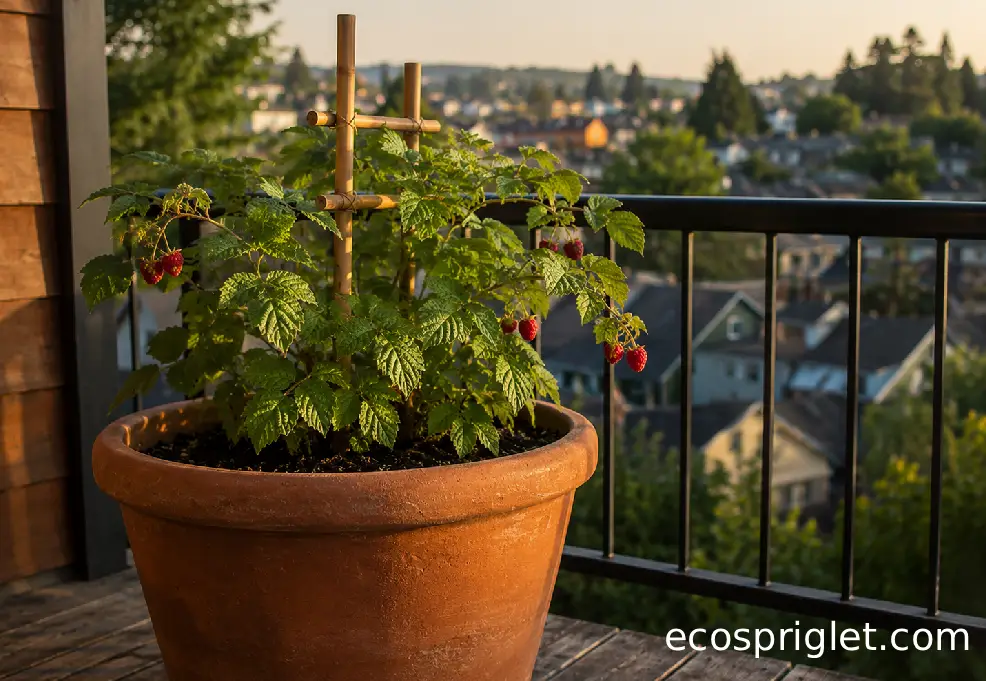
Yes, you can grow a raspberry plant in a pot, but the best container-grown raspberries are usually compact or carefully pruned plants. The Royal Horticultural Society notes that raspberries are usually grown in the ground, while compact varieties can suit containers; Oregon State University Extension gives a much larger container recommendation for vigorous raspberry plants because the roots are relatively deep.
The honest balcony answer is this: raspberries in pots are less forgiving than strawberries, mint, or lettuce, but they are very satisfying if you set them up generously from the start. Full sun matters, too. University of Minnesota Extension lists full sun as a quick-fact requirement for the most fruit, and RHS adds that raspberries may fruit in light shade but tend to crop less and be less robust.
- Choose the sunniest safe spot you have, ideally 6 or more hours of direct light.
- Keep the pot where bees and other pollinators can reach the flowers, not behind a closed window or screen.
- Use one raspberry plant per container unless you are using a large trough or half-barrel.
- Check your balcony rules before adding very large containers, especially on older buildings.
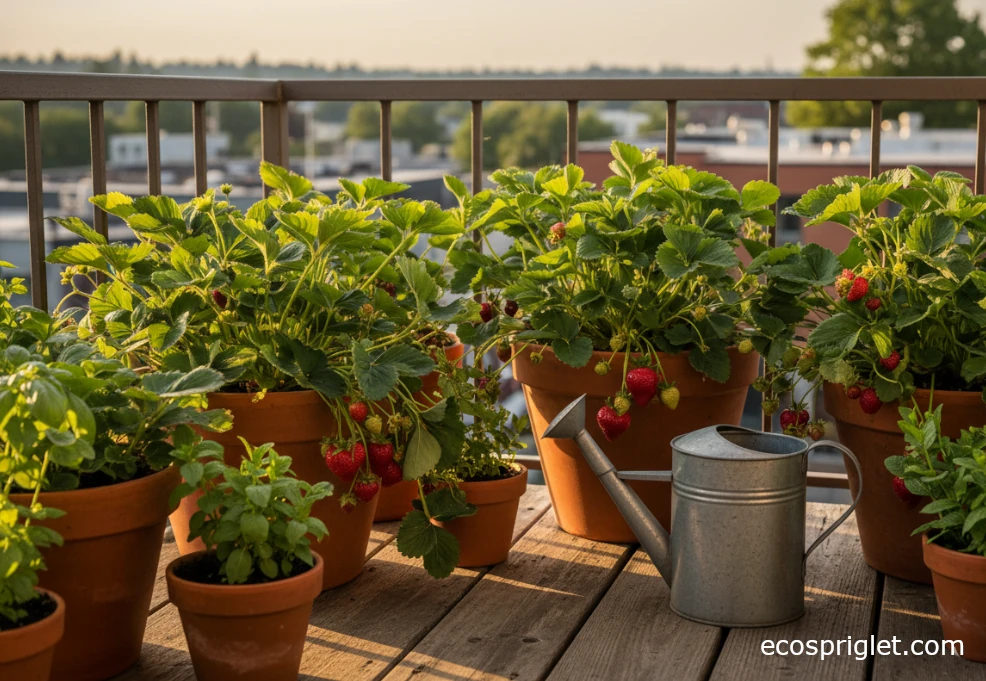
For a small-space fruit setup, raspberries pair well with strawberries, dwarf blueberries, and herbs.
Choose a Pot That Gives Roots Room to Work
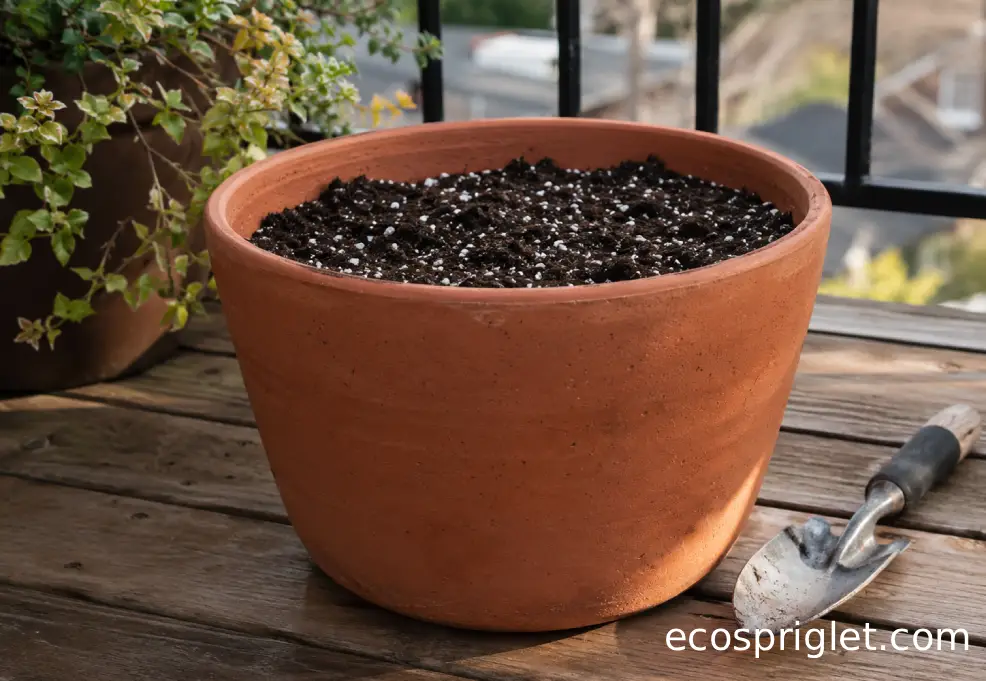
The pot is where most balcony raspberry success is won or lost. For compact patio types, RHS recommends a pot at least 16 inches wide and 12 inches deep. For more vigorous plants, Oregon State University Extension recommends a container or raised bed at least 2 feet deep, with a 20- to 30-gallon container working well when pruning keeps the plant in bounds.
| Plant Type | Container Target | Best Use |
|---|---|---|
| Compact patio raspberry | At least 16 inches wide and 12 inches deep | Small balconies, first-time growers, easier pruning |
| Standard red or yellow raspberry | 20 to 30 gallons and about 24 inches deep | Patios, larger balconies, long-term container growing |
| Large trough or half-barrel | Deep, stable, and free-draining | Two or more canes only if there is real root space |
Drainage holes are non-negotiable. A raspberry wants steady moisture, not a wet bucket. Oregon State University Extension recommends container mixes with perlite or vermiculite for drainage, while compost or bark helps hold moisture. Illinois Extension also cautions against putting gravel inside the bottom of a pot because water can perch in the soil above the gravel instead of draining the way gardeners expect.
For apartment growers, I prefer a wide, heavy pot over a tall, narrow one. A top-heavy raspberry can whip around in wind, and a mature cane with fruit is not something you want tipping toward a railing. Set the pot on a rolling plant caddy only if the caddy locks securely and the surface is level. Large containers become heavy when watered, so check your lease, building guidance, or balcony load limits before committing to a half-barrel.
Pick the Right Raspberry Type for Small Spaces
When beginners ask me whether raspberries can grow in pots, I usually answer with another practical point: the variety matters as much as the container. Look for compact, patio-suitable, disease-free plants from a reputable nursery. University of Minnesota Extension recommends buying disease-free raspberry plants because viruses can enter a planting through infected stock and cannot be cured once established.
For containers, red and yellow raspberries are usually the simplest place to start. Fall-bearing types are especially friendly for small spaces because you can manage them for one late-season crop by cutting all canes to the base before spring growth begins. That single-crop method is clean, easy to remember, and helpful when you do not want a confusing mix of old and new canes on a balcony.
Summer-bearing raspberries can work, but they need more careful pruning because they fruit on second-year canes. Black and purple raspberries are beautiful, but I would not choose them as a first balcony raspberry unless you have a roomy container and enjoy pruning. They often need tip pruning and more deliberate support, which can be awkward in a tight apartment setup.
My own small-space bias is simple: start with one compact fall-bearing raspberry in the biggest pot you can safely manage. Learn its growth rhythm for a year. If it behaves well, add a second container later instead of overcrowding the first one.
Plant the Cane Without Burying the Crown
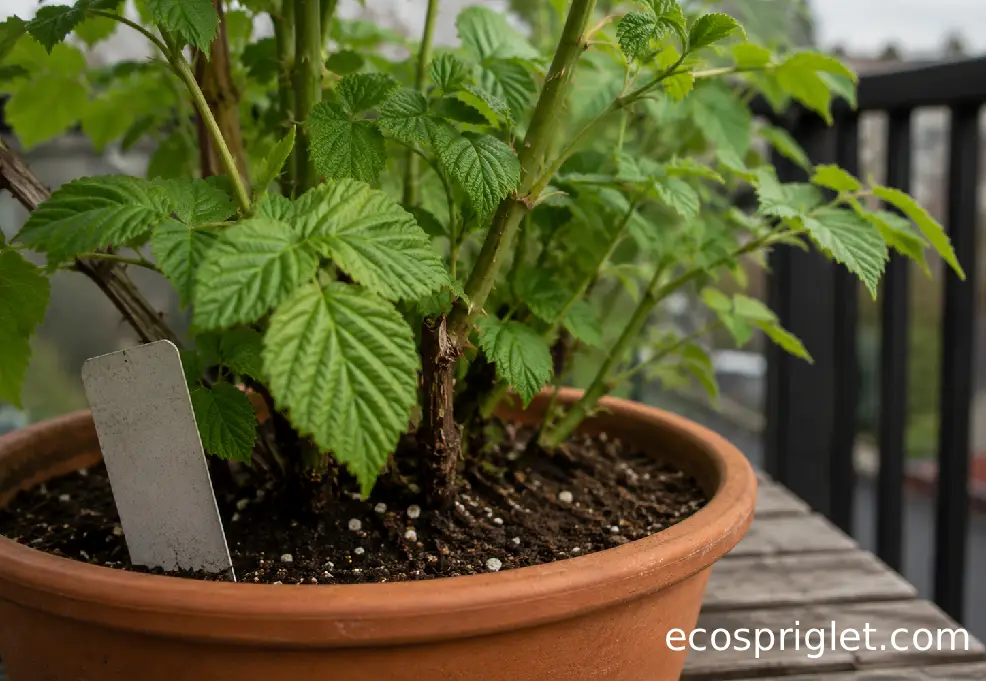
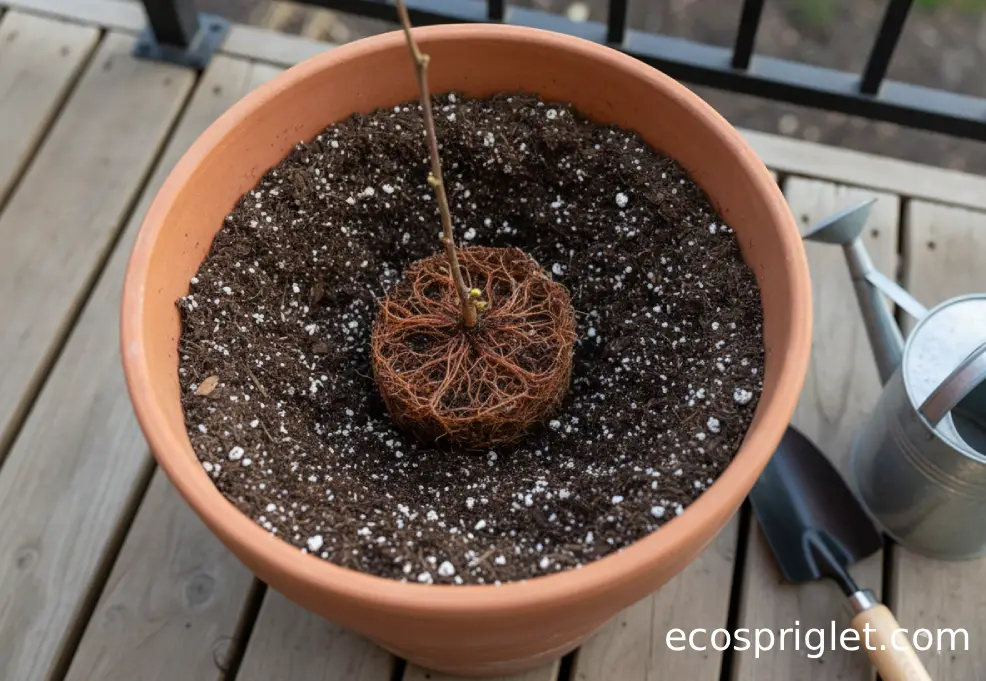
Planting raspberries in containers is not complicated, but depth matters. Oregon State University Extension advises setting bare-root raspberry plants so the highest point where roots attach to the cane is 1 to 2 inches below the soil. For potted raspberry plants, set the existing potting mix level with the new soil surface, then firm and water thoroughly.
- Pre-moisten the potting mix so it feels evenly damp, not muddy.
- Fill the container to about 1 inch below the rim so water does not immediately spill over the sides.
- Spread bare roots gently across a shallow mound of mix instead of curling them tightly.
- Water deeply after planting until water drains from the bottom, then empty any saucer.
- Add a thin mulch layer, but keep mulch away from the crown so it does not stay wet and rot.
Do not bury the cane deeply to “make it sturdier.” That is a common beginner mistake, especially when the plant looks floppy after shipping. Support comes from a stake or small trellis, not from covering the crown. If the cane arrived tall and bare-root, follow the nursery instructions; some bare-root canes are cut back after planting, while summer-fruiting long canes may be handled differently if they were sold to fruit that season. RHS notes that most raspberries are pruned after planting, but summer-fruiting long canes should not be cut back if you want that season’s crop.
After planting, give the raspberry a quiet week. Avoid fertilizer shock, constant moving, or daily poking around the roots. A steady start beats an overmanaged one.
Keep Moisture Steady Without Waterlogging the Pot
Raspberries are thirsty during active growth and fruiting, but container roots also resent standing water. Oregon State University Extension says established raspberries typically need about 1 to 1.5 inches of water per week during the growing season, with irrigation adjusted for weather, soil, and plant vigor. In containers, that translates into checking the pot itself rather than watering by the calendar.
Use your finger as the first tool. When the top 1 to 2 inches of mix feel dry, water slowly until moisture reaches the deeper root zone and excess drains from the bottom. In a windy balcony corner or a hot spell above 85°F, that may mean watering every day. In cool spring weather, it may be every few days. If the leaves droop in afternoon heat but recover by evening, the plant may simply be responding to sun. If they stay limp the next morning, check the root zone.
Empty saucers after watering. OSU’s container guidance recommends keeping roots from sitting in excessive water, and Illinois Extension makes the same point for double-potted plants and decorative containers.
On my west-facing Portland balcony, raspberries dry out fastest when warm wind arrives before the soil surface looks dry. I learned to lift one side of the pot gently after watering so I knew what “heavy enough” felt like. A week later, that same lift test told me more than the topsoil did.
For renters without an outdoor faucet, a 1- to 2-gallon watering can is easier to control than dragging a hose through the apartment.
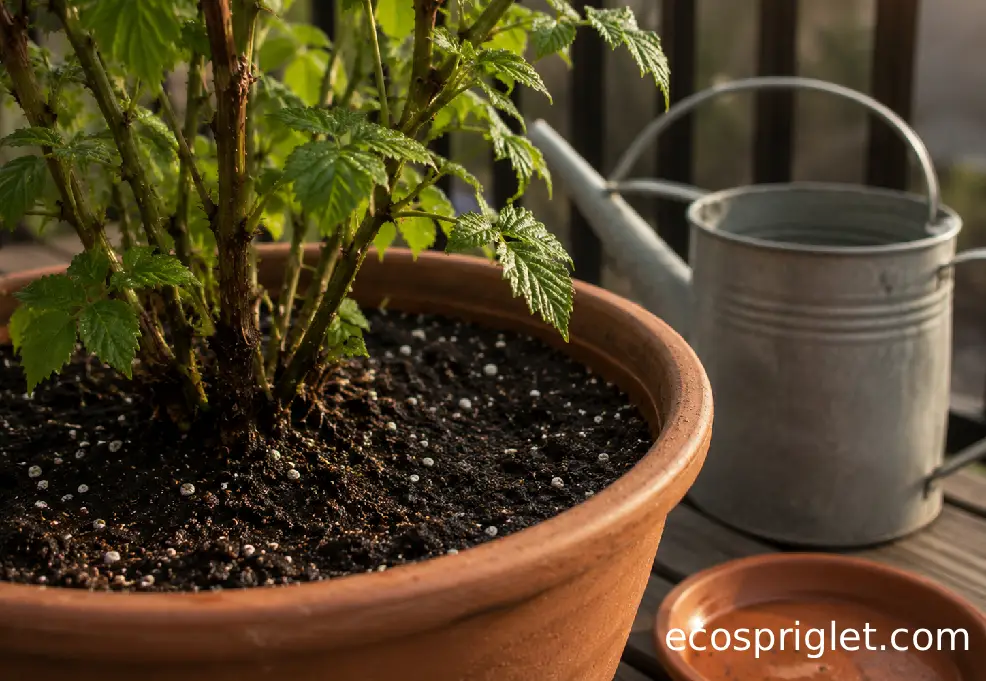
Feed, Mulch, and Support Canes in a Tight Space
A raspberry bush in a pot has less soil to draw from than one in the ground, so feeding and support need to be simple and consistent. University of Minnesota Extension describes raspberries as heavy feeders and recommends mulch to conserve moisture and reduce weeds in home plantings. In containers, I scale that down: use a berry-friendly slow-release fertilizer at label rate in spring, then refresh the top inch or two of potting mix with compost if the container has settled.
Keep mulch modest. A 1- to 2-inch layer of fine bark or leaf mold helps reduce moisture swings, but do not mound it against the crown. Oregon State University Extension warns that burying the crown with organic mulch can promote rot.
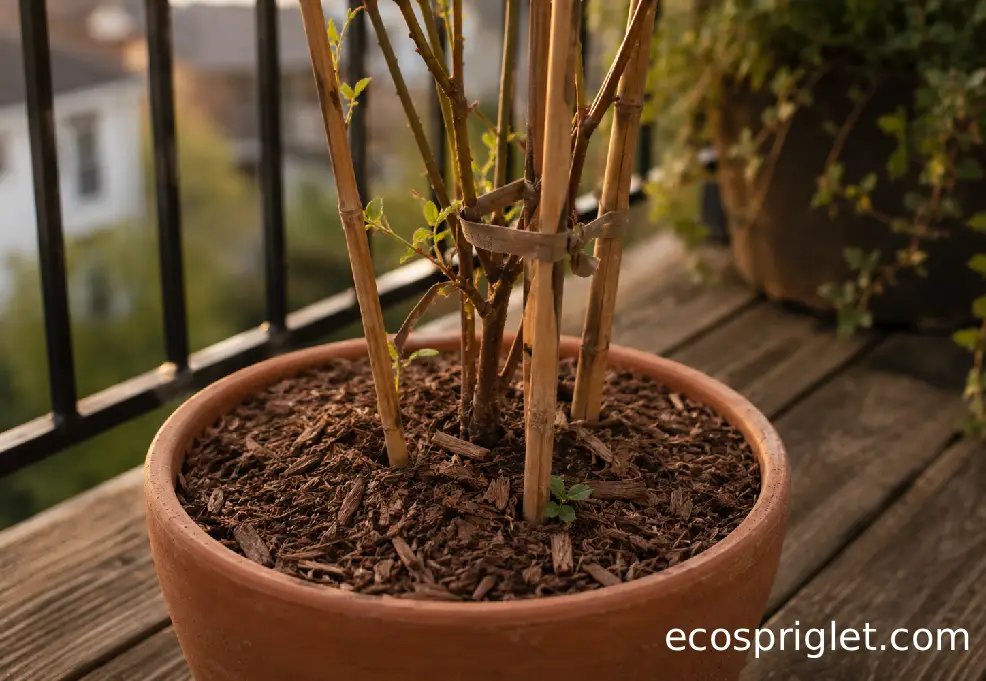
- Use bamboo stakes, a narrow fan trellis, or two vertical posts with soft ties.
- Place supports before the cane gets tall and brittle.
- Tie loosely in a figure-eight loop so the cane can move without rubbing.
- Keep canes inside the footprint of the pot, especially near railings and walkways.
Daniel note: the first container raspberry I grew looked tidy in April and chaotic by July. I had waited too long to add support, so every tie felt like a rescue mission. Now I stake at planting time, even when the cane looks too small to need it. It is easier, cleaner, and kinder to the plant.
Prune by Cane Type, Not by Guesswork
Raspberry pruning makes more sense once you know the two cane stages. University of Minnesota Extension explains that primocanes are first-year green canes, while floricanes are second-year woody canes that fruit and then die on many varieties.
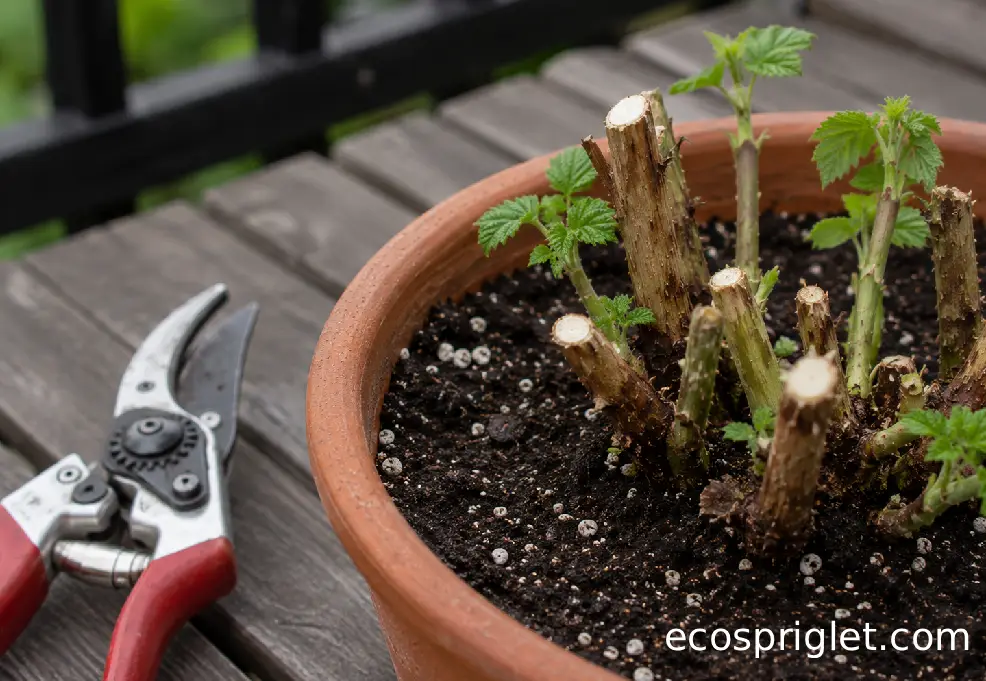
If you are growing a fall-bearing raspberry for one crop, the easiest container method is to cut all canes to the base before new growth begins in spring. UMN Extension confirms that this produces fruit on primocanes in late summer or fall. This is the method I recommend most often for beginners because it avoids the “which cane is which?” panic.
Summer-bearing raspberries need a different rhythm. After the last harvest, cut the canes that fruited down to ground level and remove them. Keep the strong new primocanes because those are next year’s fruiting canes. UMN Extension also recommends annual pruning because it improves appearance, productivity, and disease prevention.
- Dead, brittle, gray-brown cane after fruiting: cut it out at the base.
- Fresh green cane that has not fruited yet: usually keep it.
- Thin, weak, crossing, or damaged cane: remove it to improve airflow.
- Suckers outside the pot or drainage holes: cut them promptly before they root elsewhere.
Use clean, sharp pruners and remove cut canes from the balcony instead of leaving thorny stems around pets, children, or bare feet. A raspberry is generous, but it is still a bramble.
Common Mistakes to Avoid
Most problems with raspberries in containers come from trying to treat them like small ornamental plants. They are not fussy, but they are vigorous. Give them too little root room, too much water, or no pruning plan, and they tell you quickly.
- Using a tiny pot. A small container dries fast, tips easily, and restricts roots. Start with at least the RHS compact-container minimum, or use the larger OSU-style container for a standard plant.
- Adding gravel inside the pot. Gravel does not solve poor drainage. Use drainage holes and a free-draining mix instead.
- Letting the saucer stay full. Empty it after watering so roots can breathe.
- Planting too deeply. Keep potted plants at their previous soil level, and do not bury the crown under mulch.
- Skipping pruning. Old canes create a crowded, disease-prone plant and reduce airflow.
- Ignoring wind. A balcony corner can snap or dry canes faster than a ground-level garden. Use support and rotate the pot only when needed.
Another easy mistake is expecting a large harvest right away. UMN Extension notes that raspberries start producing fruit a year after planting. In a container, I would treat the first season as establishment time. A few berries are a bonus; strong roots and healthy canes are the real win.
Harvest, Wash, and Use Your Balcony Raspberries
Raspberries are ready when they color fully and slip off the plant with almost no tug. If you have to pull hard, wait another day. Pick in the morning if you can, especially during hot weather, and use a shallow bowl so the bottom berries do not get crushed.
Do not wash raspberries before storing unless you plan to dry them very carefully and use them soon. For food safety, the FDA recommends washing produce under running water before preparing or eating it, including homegrown produce, and not using soap, detergent, or commercial produce wash. FoodSafety.gov gives the same running-water guidance and recommends drying produce with a clean towel or paper towel.
For a small balcony harvest, keep it simple:
- Eat a handful fresh within an hour of picking.
- Scatter berries over yogurt, oatmeal, pancakes, or salad.
- Freeze a single layer on a tray, then transfer to a freezer container.
- Refrigerate delicate berries at 40°F or below if you are not using them right away.
Raspberry leaves and canes are not what I want pets chewing, mostly because of thorns and stomach upset from too much plant material. ASPCA lists a related Rubus raspberry, strawberryleaf raspberry, as non-toxic to dogs, cats, and horses, but practical balcony safety still means keeping thorny canes away from curious noses and toddlers.
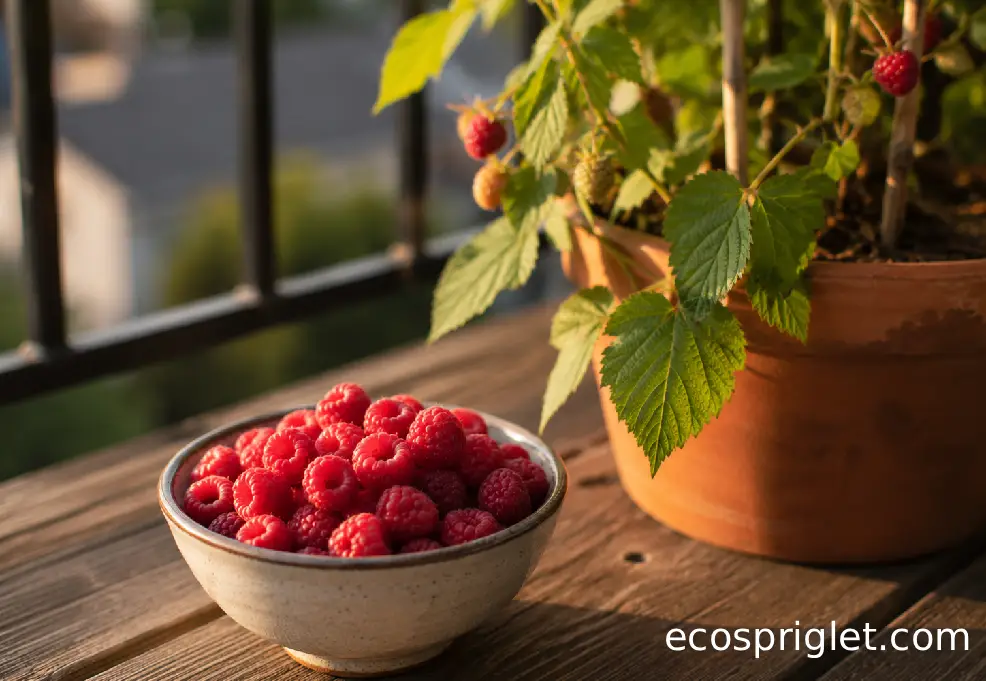
A Small Balcony Can Still Grow Good Berries
Growing raspberries in pots is not the lowest-effort fruit project, but it is one of the most rewarding when you give the plant enough room. Start with one compact, disease-free raspberry, choose a deep container with real drainage, and place it where sun, pollinators, and your watering can can reach it easily. From there, your job is steady rather than complicated: keep the mix evenly moist, feed lightly, support the canes early, and prune according to whether your plant fruits on primocanes, floricanes, or both.
What I love about container raspberries is that they make a balcony feel less like a workaround and more like a real garden. You will notice the first new cane, the first flower, the first berry that lets go into your hand. That is the kind of small-space gardening that keeps people going. Ready to build out the rest of your edible balcony? Start with a stable pot, then add one practical improvement at a time.