Vermiculite is one of those tan, sparkly ingredients that shows up in seed-starting mixes, potting blends, and sometimes in older attic insulation, which is exactly why it can feel confusing at first. For apartment gardeners, the garden-grade version is mainly useful because it helps potting mix hold moisture, stay lighter, and keep nutrients available near tender roots. That can be a real help when you are starting basil on a windowsill, rooting cuttings on a balcony shelf, or trying to keep moisture-loving houseplants from drying out too quickly.
The catch is that vermiculite is not the same as perlite, and it is definitely not something to casually disturb if you find it as loose-fill insulation in an older building. I use it in small amounts on my Portland terrace, especially for seed trays, but I treat it as a specific tool rather than an all-purpose fix. By the end of this guide, you will know what it is made of, what it does in soil, when to choose it over perlite, and how to handle the asbestos question with the right level of caution.
What Vermiculite Is Made of and Why It Expands
Garden vermiculite starts as a naturally occurring mineral. The U.S. Geological Survey describes vermiculite as a hydrated magnesium-aluminum-iron silicate that looks somewhat mica-like before processing. When flakes are heated rapidly to about 1,600°F, water trapped inside the mineral turns to steam and expands the flakes into lightweight, accordion-like particles. That expansion process is why the finished product feels airy, spongy, and much lighter than ordinary sand or garden soil.
In a bag of horticultural vermiculite, the particles usually look gold, bronze, or light brown. They are not fertilizer in the way compost or a balanced plant food is fertilizer, but they do influence how water and nutrients behave around roots. Think of them as tiny moisture-holding flakes that help a mix stay evenly damp rather than swinging from soggy to bone dry.
That matters in containers because apartment pots dry from all sides: top, drainage holes, sun-warmed pot walls, and wind across the balcony. A teaspoon-sized pinch of dry mix can tell you a lot. If your seed-starting blend falls apart instantly and feels dusty, a modest amount of vermiculite can help it hold moisture more evenly. If it already feels heavy, cold, or sticky, adding more vermiculite will usually make the problem worse.
What Vermiculite Does in Potting Mix
The main function of vermiculite in soil is moisture management. University of New Hampshire Extension notes that vermiculite increases water retention in potting mixes and helps hold nutrients so they stay available to plant roots longer. Colorado State University Extension also lists it as a common inorganic amendment with high water-holding capacity.
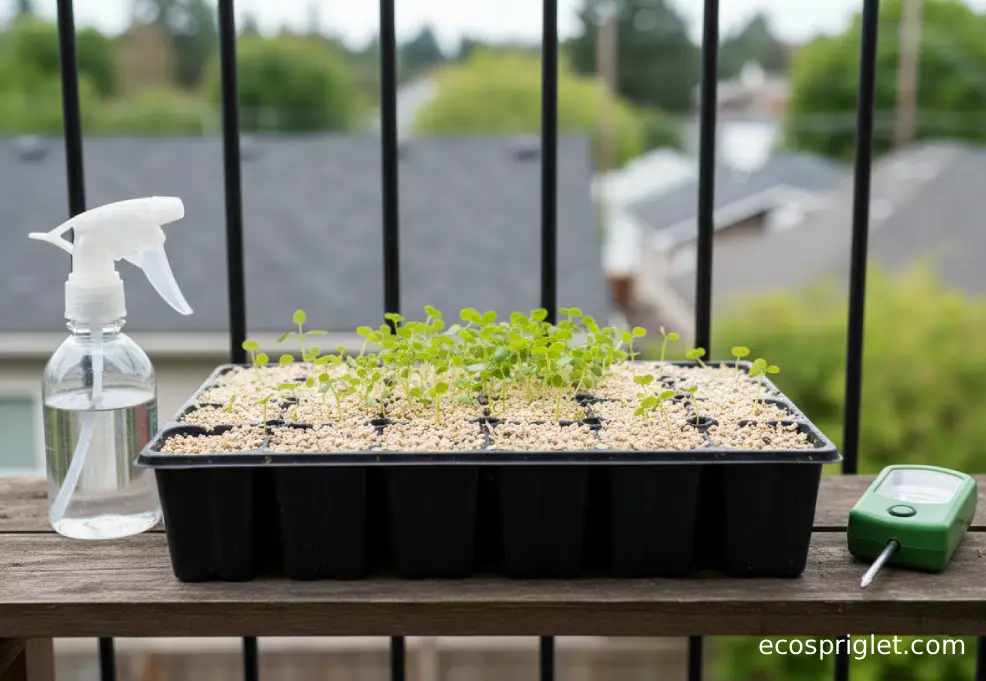
For small-space gardeners, that makes vermiculite especially handy in shallow seed trays, small herb pots, and propagation cups where the root zone can dry out quickly. I like it most in mixes for seedlings that need steady moisture during germination. Illinois Extension recommends seed-starting mix rather than garden soil because a sterile, fine-textured blend of ingredients such as milled peat moss, perlite, coconut coir, and vermiculite creates a better medium for young seedlings than dense outdoor soil.
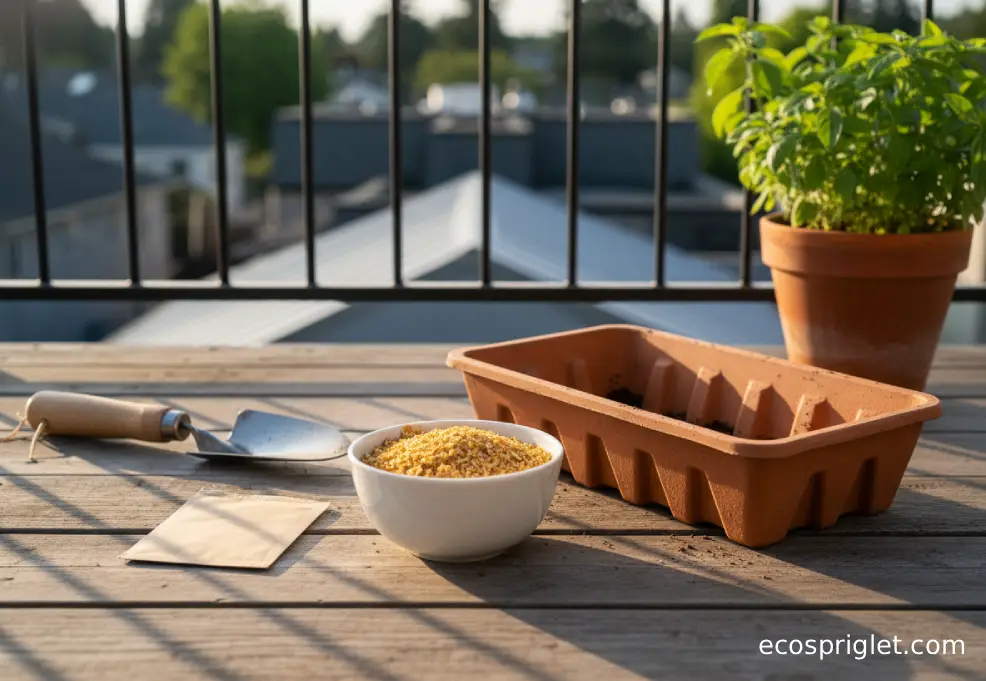
A practical range for a homemade seed-starting blend is about 10% to 25% vermiculite by volume, depending on how thirsty the rest of the mix is. For a 1-gallon batch, that means roughly 1.5 to 4 cups. Use the lower end if your base mix already contains coir or peat. Use the higher end only for seed trays, cuttings, or plants that dislike drying out.
- Use fine or medium-grade vermiculite for seed starting because it settles neatly around small roots.
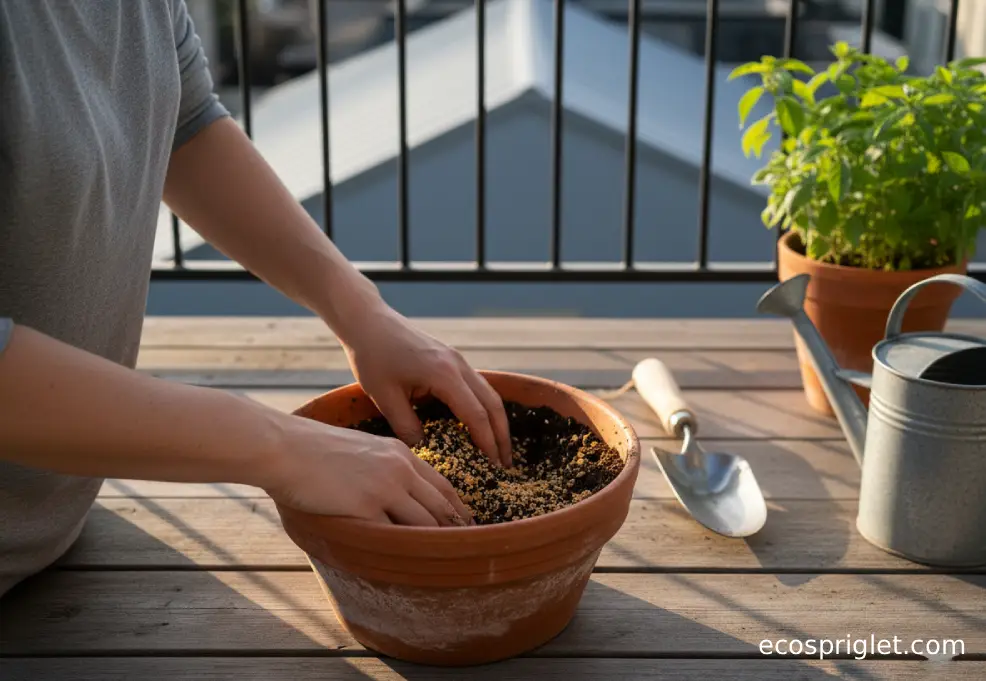
- Pre-moisten the mix until a handful holds together but does not drip.
- Water again only when the surface begins to lighten in color or the top 1/4 inch feels barely damp.
- For larger containers, blend it through the potting mix rather than leaving a separate layer.
One beginner mistake is treating vermiculite like compost. It improves moisture behavior, but it does not replace fertilizer or fresh potting mix. If your lettuce or basil seedlings are pale after their first true leaves appear, moisture is probably not the only issue; they may need gentle feeding according to the seed-starting mix label.
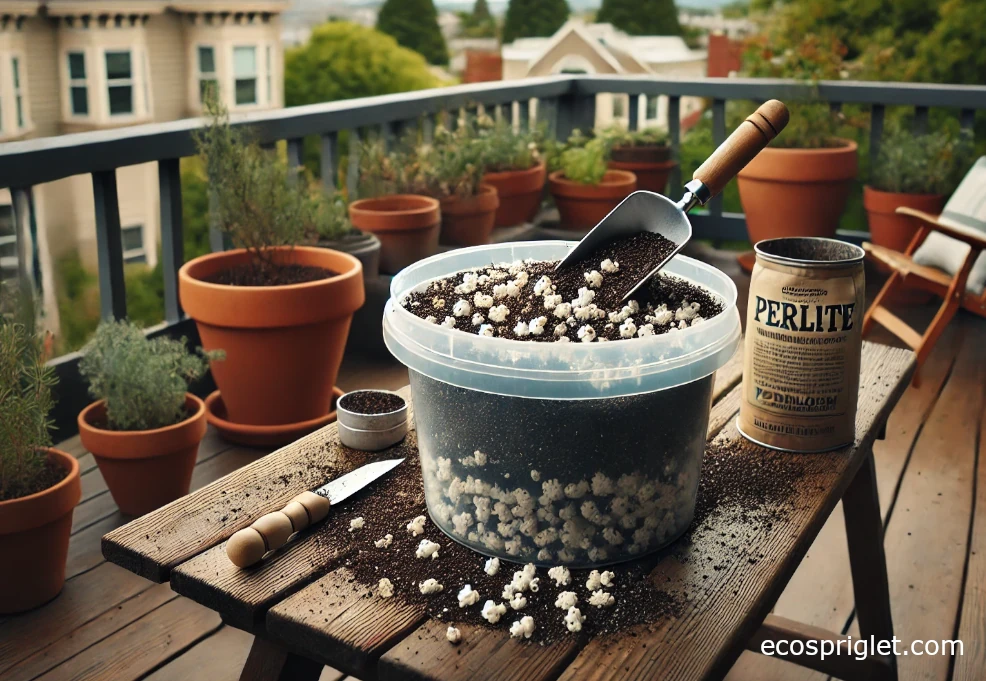
Vermiculite Versus Perlite: Which One Belongs in Your Pot?
Perlite and vermiculite often sit next to each other at the garden center, but they solve different problems. Vermiculite is the moisture holder. Perlite is the drainage and aeration helper. UNH Extension describes perlite as lightweight, porous volcanic rock used to improve drainage and aeration, while RHS describes vermiculite as a lightweight hydrated mineral that absorbs moisture and can be used for seeds, cuttings, and potting compost.
| Question | Choose Vermiculite | Choose Perlite |
|---|---|---|
| Main Goal | Hold more moisture near roots | Improve drainage and air space |
| Best For | Seed starting, cuttings, moisture-loving houseplants | Succulents, herbs that dislike wet roots, general potting mix |
| Texture | Soft, flaky, sponge-like granules | White, rigid, popcorn-like granules |
| Apartment Garden Risk | Can keep small pots too wet if overused | Can dry small pots faster in hot wind |
The easiest way to remember the difference is this: reach for vermiculite when the mix dries too fast, and reach for perlite when the mix stays wet too long. On my balcony, I use perlite more often for Mediterranean herbs like rosemary and thyme because they need sharper drainage. I use vermiculite more often for basil seedlings, parsley starts, and propagation experiments that need steady moisture.
For a general herb container, start with a quality potting mix and adjust lightly. If the mix seems dense, add 1 part perlite to 4 parts potting mix. If the mix dries within a few hours and seedlings are wilting before evening, add 1 part vermiculite to 5 or 6 parts mix the next time you pot up. Avoid adding both heavily at once, because you can end up with a blend that is oddly fluffy yet still moisture-retentive.
Where Vermiculite Works Best in an Apartment Garden
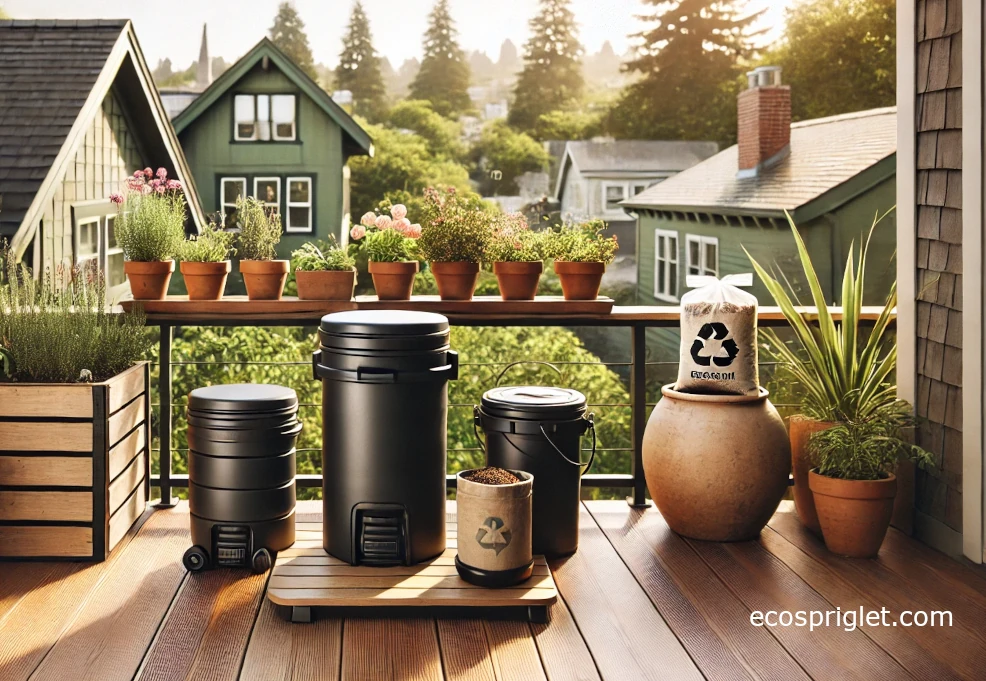
Vermiculite earns its shelf space when the goal is gentle, even moisture. I would not add it to every container, but I do keep a small resealable bag around because it solves several apartment-garden problems without requiring a big bin of supplies.
- Seed trays: Sprinkle a thin 1/8-inch layer over medium to large seeds that need light coverage and consistent surface moisture.
- Cuttings: Blend 1 part vermiculite with 1 part perlite or seed-starting mix for soft-stem cuttings that need moisture and oxygen.
- Microgreens: Use a light dusting over broadcast seed to reduce drying on the surface without burying seed too deeply.
- Moisture-loving houseplants: Add a small amount to mixes for plants that prefer evenly damp media, then monitor carefully for sogginess.
- Balcony herb starts: Use it in the seedling stage, then shift to a better-draining mix as herbs mature.
The key is matching the amendment to the stage of growth. A parsley seedling in a 2-inch cell wants a different root environment than a mature rosemary plant in a 12-inch pot. Tiny roots benefit from close contact with evenly damp media. Woody herbs and succulents need more air movement through the mix, so perlite, bark, or grit usually makes more sense.
Vermiculite Insulation and Asbestos: The Safe Distinction
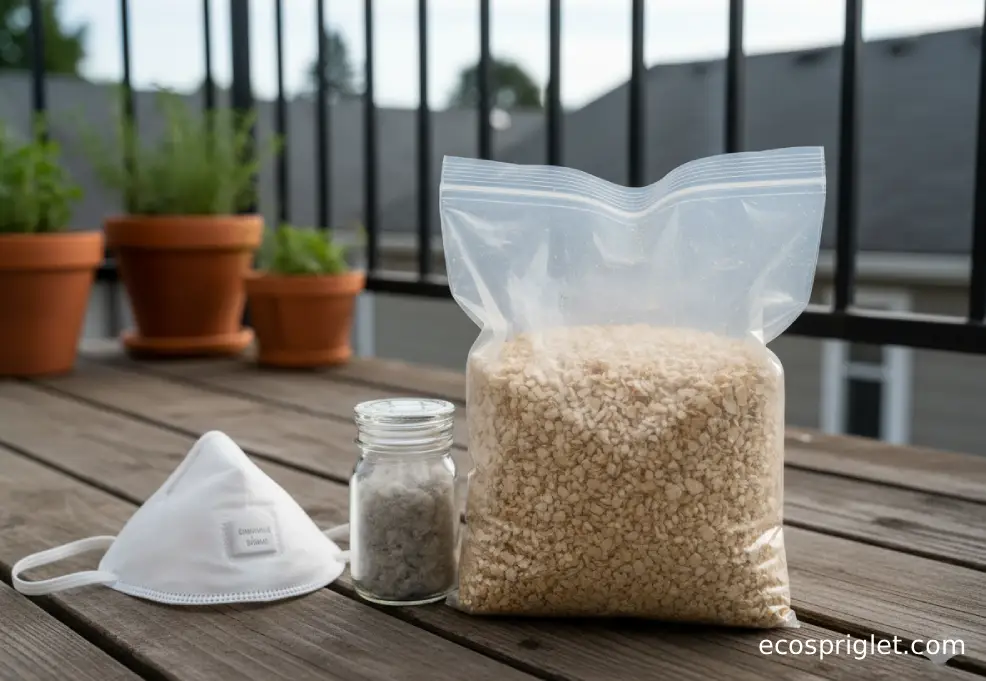
Here is the important safety point: vermiculite is not a type of asbestos. They are different minerals. The concern is contamination. Some vermiculite ore, especially material historically mined near Libby, Montana, contained asbestos minerals. EPA says the Libby mine was estimated to be the source of more than 70% of all vermiculite sold in the United States from 1919 to 1990, and EPA advises homeowners with vermiculite insulation to assume it may contain asbestos and not disturb it.
That advice is mainly about loose-fill vermiculite insulation in attics and walls, not a new bag of horticultural vermiculite from a garden center. If you rent or own an older apartment, duplex, or house and see loose, pebble-like insulation in an attic space, do not scoop it, bag it, vacuum it, or move boxes through it. Keep children and pets away from the area and use a trained asbestos professional if work must disturb it. EPA specifically recommends leaving vermiculite insulation undisturbed and not attempting removal yourself.
For garden use, EPA’s consumer guidance says its investigation found only minimal health risk from using vermiculite products at home or in gardens, while still recommending simple dust-reduction habits: use it outdoors or in a well-ventilated area, keep it damp during use, and avoid tracking dust indoors on clothing.
My practical rule is simple. A sealed, garden-grade bag used carefully for seed trays is one thing. Unknown loose-fill insulation in an old building is another thing entirely. Treat those as separate categories, and when insulation is involved, choose caution over curiosity.
Common Mistakes to Avoid
I learned my vermiculite lesson with a tray of basil starts years ago. I added too much because I liked how evenly damp the mix felt on day one. By day six, the surface still looked wet, the seedlings leaned, and the tray had that swampy smell that tells you roots are short on air. The fix was not more attention; it was a lighter hand.
- Using it in every pot: Save vermiculite for seed starting, propagation, and moisture-hungry plants. Skip it for cactus, succulents, rosemary, lavender, and thyme unless your mix is extremely fast-draining.
- Adding too much: Start around 10% by volume in general experiments. Increase only if the mix dries too quickly and the plant actually wants more moisture.
- Ignoring drainage holes: A moisture-holding amendment cannot rescue a pot with no drainage. Illinois Extension emphasizes that containers need drainage holes so excess water can leave and air can remain available to roots.
- Putting gravel under the mix: A gravel layer inside the bottom of an individual pot does not improve drainage; Illinois Extension explains that water can perch in the soil above the gravel instead.
- Using dry scoops indoors: Dampen vermiculite before mixing, especially in a small apartment kitchen or studio, to keep dust down.
If a container already feels heavy 24 hours after watering, do not add vermiculite. Improve drainage first. That may mean repotting with a fresher mix, adding perlite, choosing a pot with more drainage holes, or emptying the saucer 10 to 15 minutes after watering.
Healthy container roots need both water and air, and the balance matters more than any single ingredient.
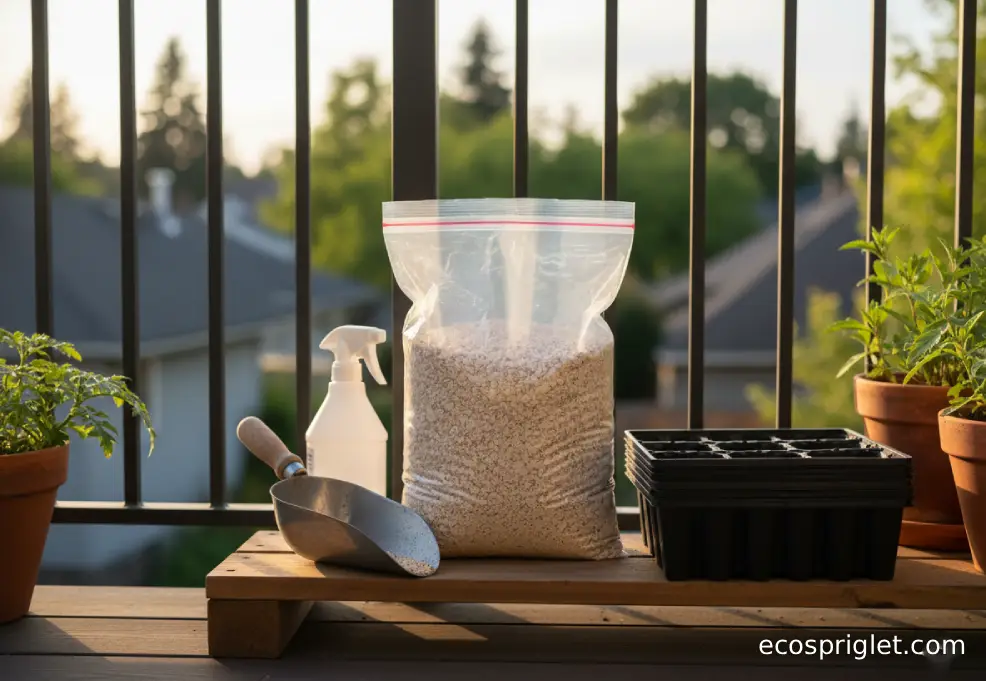
How to Buy, Store, and Use It Without Making a Mess
Buy horticultural-grade vermiculite from a garden center, nursery, or reputable seed-starting supplier. The bag should be meant for gardening, seed starting, potting mix, or propagation. Do not substitute old insulation, packing material, or unknown loose granules from a basement or attic. If the bag is dusty, open it outdoors, mist the top lightly, and scoop slowly.
For apartment storage, decanting is worth the extra two minutes. I keep mine in a labeled, zip-top container inside a small lidded bin with seed trays and plant tags. Choose a dry shelf, keep the bag sealed, and avoid storing it under the sink where leaks or humidity can clump the material. A 4-quart bag can last a long time if you are only starting herbs and greens in small trays.
A simple use pattern works well:
- For a seed tray, blend 1 cup vermiculite into 4 to 6 cups seed-starting mix.
- For topping seeds, sprinkle only enough to barely cover the surface, usually about 1/8 inch.
- For cuttings, try equal parts vermiculite and perlite, then keep the medium damp but never puddled.
- For repotting houseplants, add it only when the plant prefers evenly moist soil and the pot drains freely.
If you are comparing bags at a local shop, medium grade is the safest all-around choice for beginners. Fine grade is useful for tiny seeds but can compact more easily if overwatered. Coarse grade creates more open texture, though it is less tidy for small seed cells. And if a premixed potting soil already lists vermiculite, do not automatically add more; test how the mix behaves through one watering cycle first.
Conclusion: Use Vermiculite Like a Moisture Tool, Not a Magic Ingredient
Vermiculite is useful because it does one job very well: it helps a growing medium hold moisture more evenly. For apartment gardeners, that can mean better seed germination, less frantic watering in tiny trays, and a gentler root zone for cuttings and young seedlings. It is also easy to overuse, especially in pots that already drain slowly, so start small and watch how the mix behaves after watering.
The simplest choice is this: use vermiculite when you need moisture retention, use perlite when you need sharper drainage, and use both only when the plant and container truly call for that balance. Keep horticultural vermiculite damp while mixing to reduce dust, and never confuse a garden-grade bag with old vermiculite insulation. If insulation is involved, leave it alone and bring in a qualified professional.
Start with one small seed tray or propagation cup before changing every pot on your balcony. That slow, observant approach is how small-space gardening gets easier. For your next project, pair this with a reliable potting mix and a simple watering routine, then let the seedlings tell you whether the balance is right.