Spinach is one of the most useful vegetables for a small balcony because it grows quickly, stays compact, and does not demand the huge containers that tomatoes or squash need. Give it cool weather, steady moisture, and enough room for its leaves, and you can harvest surprisingly useful amounts from a window box or modest pot.
If you are learning how to grow spinach, timing matters more than fancy equipment. Spinach is a cool-season crop. Seeds germinate best in cool soil, and established plants produce their nicest leaves before warm weather pushes them toward flowering, or bolting. Utah State University Extension reports that spinach seed germinates best around 55–65°F, while temperatures above 80°F can reduce germination. University of Maryland Extension also notes that spinach tolerates partial shade, which is handy on apartment balconies.
For container gardeners, the basic formula is simple: use a pot with drainage, sow seeds about 1/2 inch deep, thin the seedlings instead of crowding them, and keep the potting mix consistently moist rather than soggy. The sections below walk through the process from seed to harvest.
Start With Cool Weather and the Right Location
Spinach grows best when the weather is cool. Utah State University Extension advises that seeds can be sown once soil reaches about 40°F and reports the strongest germination around 55–65°F. Established plants also perform best before temperatures regularly climb above roughly 75°F. Hot weather and lengthening days encourage spinach plants to bolt, sending up a flower stalk while leaf quality declines.
For a balcony gardener, that usually makes early spring and fall the easiest growing windows. In mild climates you may also get a winter crop. If your balcony becomes a heat trap in summer, forcing spinach through July is usually less rewarding than waiting for cooler weather.
- Start spring seed while conditions are still cool rather than waiting for tomato-planting weather.
- For fall spinach, check your area’s usual first-frost date and the maturity range printed on your seed packet, then work backward to choose a sowing date.
- Aim for about 4–6 hours of direct light if full sun is unavailable. Spinach is more tolerant of partial shade than fruiting vegetables.
- On a hot south- or west-facing balcony, move containers away from heat-reflecting walls when daytime temperatures rise.
One thing I like about spinach on a balcony is that the sunniest position is not always the best position. During a warm spell, a pot that gets bright morning sun and afternoon protection can stay productive longer than one baking beside a glass door.
Give Spinach Loose Soil Without Chasing a pH of 5.5
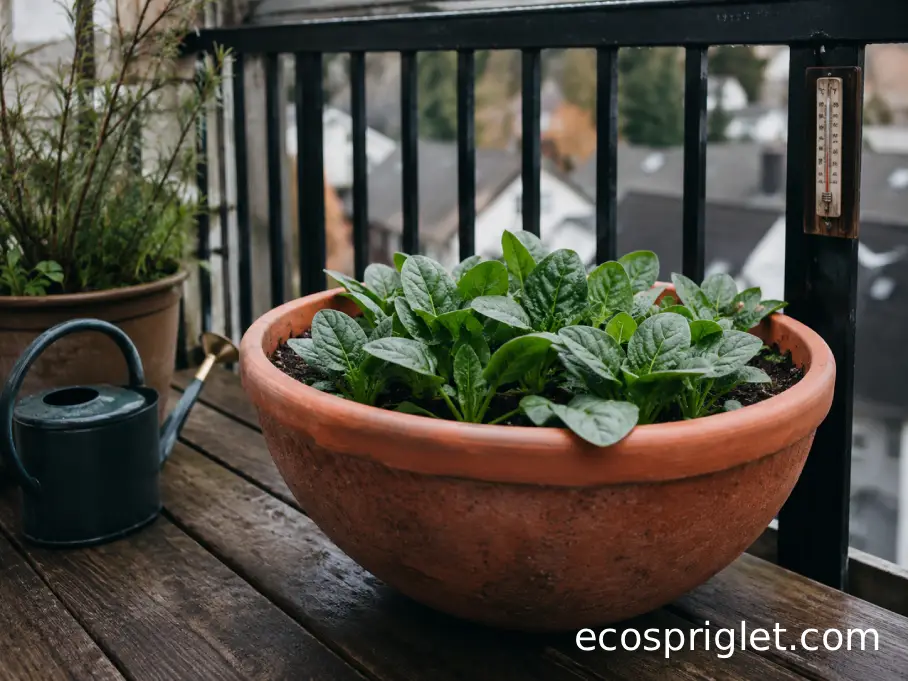
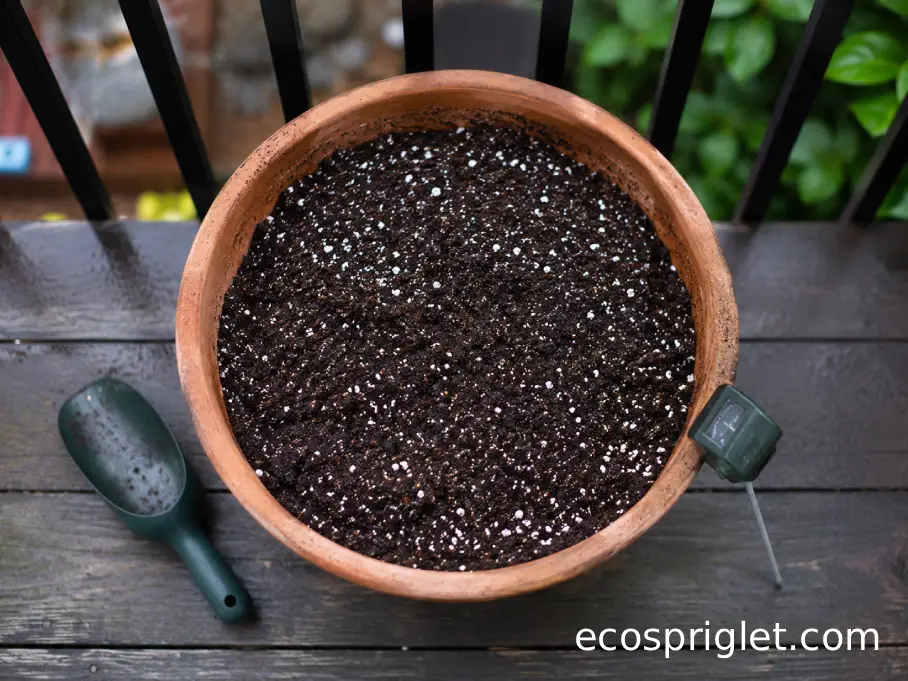
Spinach wants fertile soil that drains well but does not dry out abruptly. In a container, use packaged potting mix rather than digging soil from a yard or filling a pot with dense garden soil. Container mix holds both moisture and air around the shallow root system and is much less likely to compact into a heavy block.
The commonly repeated idea that spinach has an optimal soil pH of 5.5 deserves some caution. University of Illinois Extension gives spinach a preferred soil pH of 6.0–7.0, while Utah State University places it among vegetables adapted to roughly 6.5–7.5. In other words, mildly acidic to near-neutral conditions are a safer target than deliberately pushing a container down to pH 5.5.
If a pH test reads around 5.5, do not automatically start adding amendments. One reading is not a reason to keep dosing a small container. Start with fresh commercial potting mix, follow the product instructions, and only make significant pH corrections when a reliable test shows they are needed.
Drainage matters just as much. Use a container with open drainage holes and place a saucer underneath when runoff could drip onto a downstairs neighbor. University of Maryland Extension specifically recommends drainage holes or gaps for ordinary vegetable containers.
Skip a gravel layer at the bottom and use the entire pot for growing medium. More usable potting mix gives shallow spinach roots a larger reservoir of water and nutrients without sacrificing drainage through the holes.
How to Plant Spinach Seeds for Reliable Germination
Growing spinach from seed is usually the simplest route. Direct sowing avoids transplant disturbance and lets you fit plants efficiently into a window box or broad pot.
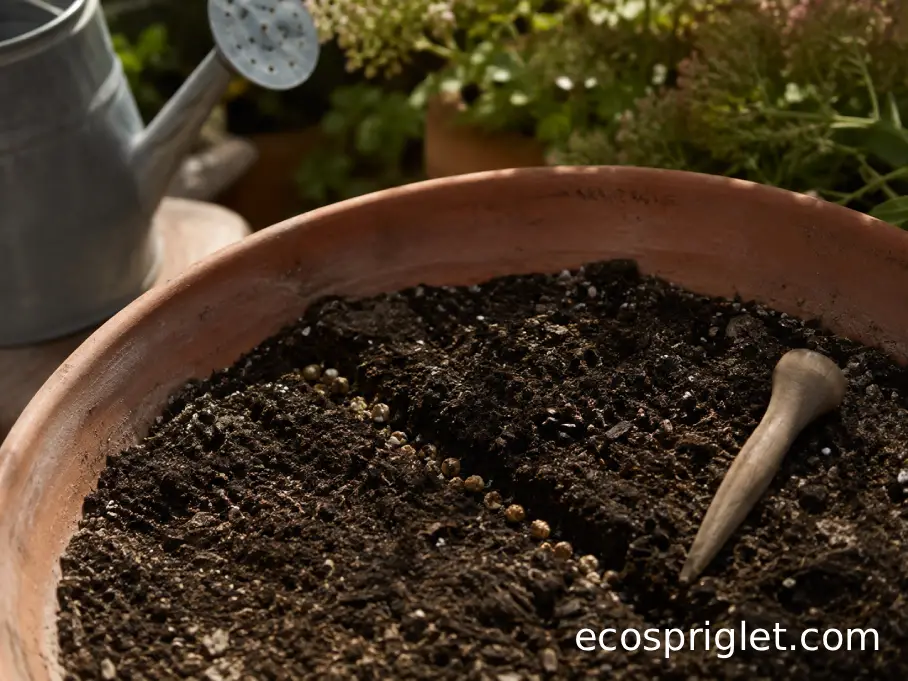
Plant the seeds about 1/2 inch deep. Utah State University Extension recommends that depth and reports emergence in roughly 7–10 days when temperatures are favorable. UC Integrated Pest Management gives a similar planting range of about 1/2–3/4 inch.
I usually moisten the potting mix before sowing. Dry mix can float and shift when you water it for the first time, which occasionally sends tiny seeds into unexpected corners of the pot.
- Fill the container to about 1 inch below the rim so watering does not wash soil over the edge.
- Sow spinach seeds about 1/2 inch deep and cover them lightly.
- Keep the upper layer of mix evenly moist during germination rather than allowing it to dry hard between waterings.
- Once seedlings develop several true leaves, thin them to roughly 3–4 inches apart for ordinary full-size plants.
University of Maryland Extension recommends approximately 3-inch spacing, while its container guidance lists spinach at about 4 inches between plants. Either gives you a useful starting point for compact container production.
Planting Spinach Seedlings
If you already have spinach seedlings, transplant them without burying the crown. Utah State University suggests transplants with about 4–6 mature leaves and a developed root system. Space them roughly 3–4 inches apart in a container and water immediately after planting so the root ball and surrounding mix settle together.
Avoid buying old, stretched seedlings with a flower stalk beginning to form. Spinach has a relatively short productive season, so a stressed or nearly bolting transplant gives you very little time to recover your investment.
Choose a Wide Container Rather Than an Oversized Deep Pot
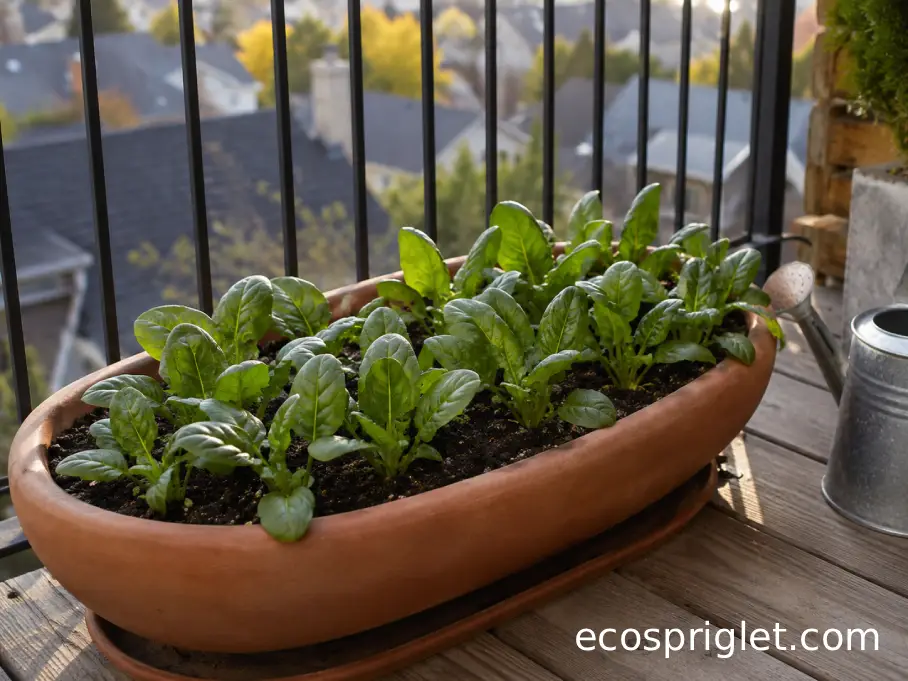
Growing spinach in containers works well because the plant has a relatively shallow root system. You get more value from surface area than from an extremely deep pot.
University of Maryland Extension’s container guidance lists an 8-inch-deep container with about 4 inches between spinach plants. NC State Extension notes that spinach can even be grown in containers as shallow as 4–6 inches, although a deeper pot gives you a larger moisture reserve and is more forgiving when wind dries the soil quickly.
For most apartment growers, I would choose a container around 8 inches deep rather than deliberately using the absolute minimum. A window box or rectangular planter 8–10 inches deep can hold several plants without taking much floor space.
Think about the balcony beneath the pot, too. Wet potting mix is much heavier than an empty planter. Keep large containers on a sound surface, avoid hanging improvised heavy planters from railings, and follow your building’s rules for anything mounted overhead or outside the railing.
Terracotta looks great and suits the EcoSpriglet balcony style, but porous clay dries faster than plastic. University of Maryland Extension specifically notes that clay, ceramic, concrete, and wood containers generally lose moisture faster than plastic or metal. On a windy balcony, that difference becomes noticeable quickly.
If container setup is new to you, see our container gardening guide for beginners for drainage, saucers, and small-space placement basics.
Keep Leaves Tender With Consistent Water and Moderate Feeding
Spinach grows quickly, and those soft leaves reflect whatever is happening around the roots. Repeated cycles of bone-dry soil followed by flooding tend to produce poorer growth than steady moisture.
For garden soil, Utah State University recommends roughly 1–2 inches of water per week while emphasizing that actual requirements depend on soil and temperature. A container cannot be managed reliably by converting that figure into a rigid watering schedule, because pot size, sun, wind, and container material change drying speed dramatically.
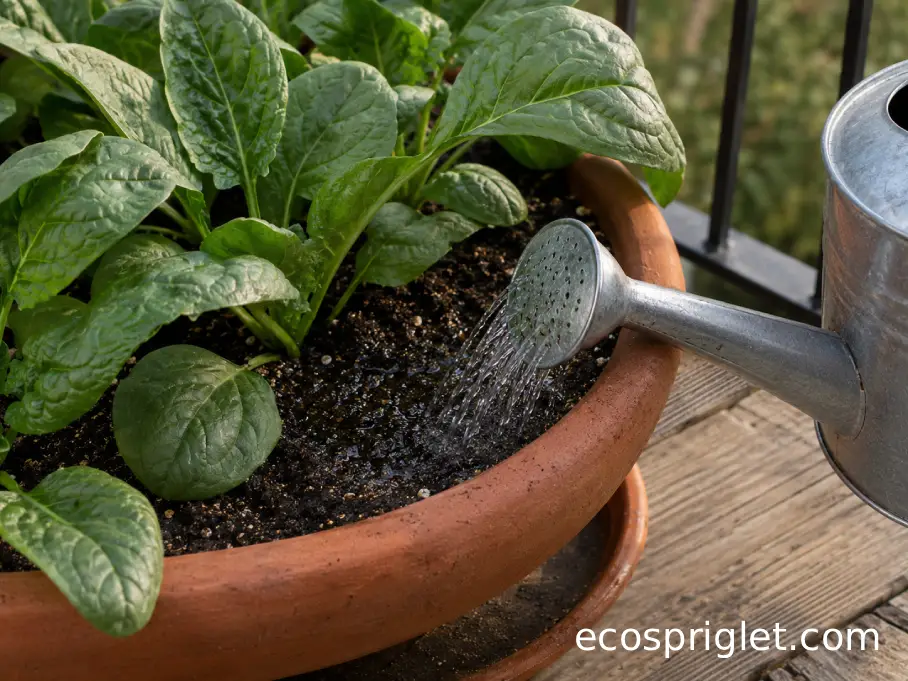
Instead, check the potting mix with a finger. If the upper 1 inch is beginning to feel dry, water thoroughly enough that the whole root zone becomes moist and a little excess can escape through the drainage holes. If the surface still feels damp and cool, check again later rather than watering automatically.
During cool spring weather that might mean relatively infrequent watering. The same container sitting in dry wind can need attention much sooner. I have learned not to trust a calendar on a balcony; the pot itself gives a much better answer.
Spinach also benefits from fertile growing conditions, but more fertilizer is not automatically better. Start with a quality potting mix formulated for edible container plants. If growth becomes pale or sluggish after several weeks, use an appropriate vegetable fertilizer according to its container directions rather than guessing at a stronger dose. Utah State University and Maryland Extension both describe spinach as a crop that performs best with adequate fertility and uninterrupted growth.
How Long Spinach Takes to Grow and When to Harvest
You do not need to wait for a spinach plant to reach one perfect size. Leaves are edible while young, so harvesting can start as soon as they are large enough to be useful.
University of Maryland Extension lists approximately 28–55 days from seed to maturity, while Virginia Cooperative Extension gives a broader 40–70-day range. The difference is a good reminder that variety, temperature, light, and whether you want baby or mature leaves all influence how long spinach takes to grow.
| Stage | What to Look For | What to Do |
|---|---|---|
| Seedling | Several true leaves forming | Thin crowded plants to roughly 3–4 inches apart |
| Baby leaf | Leaves are large enough for salads | Take a few outer leaves and leave the center growing |
| Full harvest | Rosette is well filled but no flower stalk is forming | Harvest outer leaves or cut the plant just above the crown |
| Bolting | Center stretches upward and a flower stalk develops | Harvest promptly; leaf quality will soon decline |
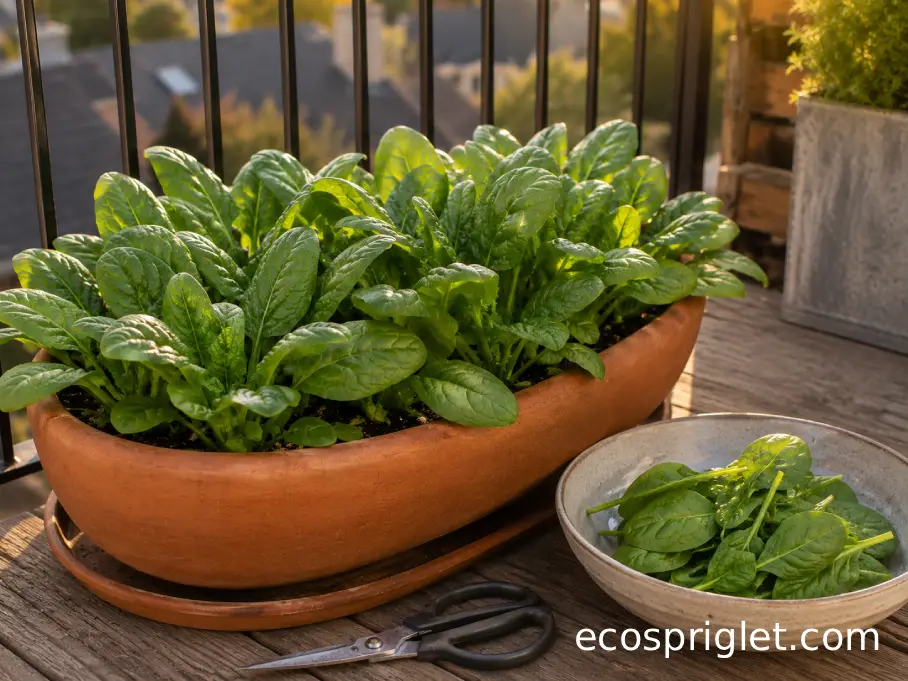
For repeated picking, take the older outside leaves and leave the center of the plant intact. Utah State University notes that spinach can also be cut close to the soil while preserving the growing point for possible regrowth.
On a tiny balcony, harvesting a handful at a time makes more sense to me than waiting for one enormous harvest. You get fresher leaves, and the container stays useful longer.
Stretch the Harvest With Succession Sowing
Spinach is naturally short-lived compared with many container vegetables. Rather than trying to keep one planting productive indefinitely, sow another small batch before the first one finishes.
NC State Extension recommends planting spinach every 1–2 weeks for an extended harvest, while UC IPM suggests roughly 2–3-week intervals in areas with a long enough cool season. Either approach works; the tighter schedule simply gives you more overlapping growth.
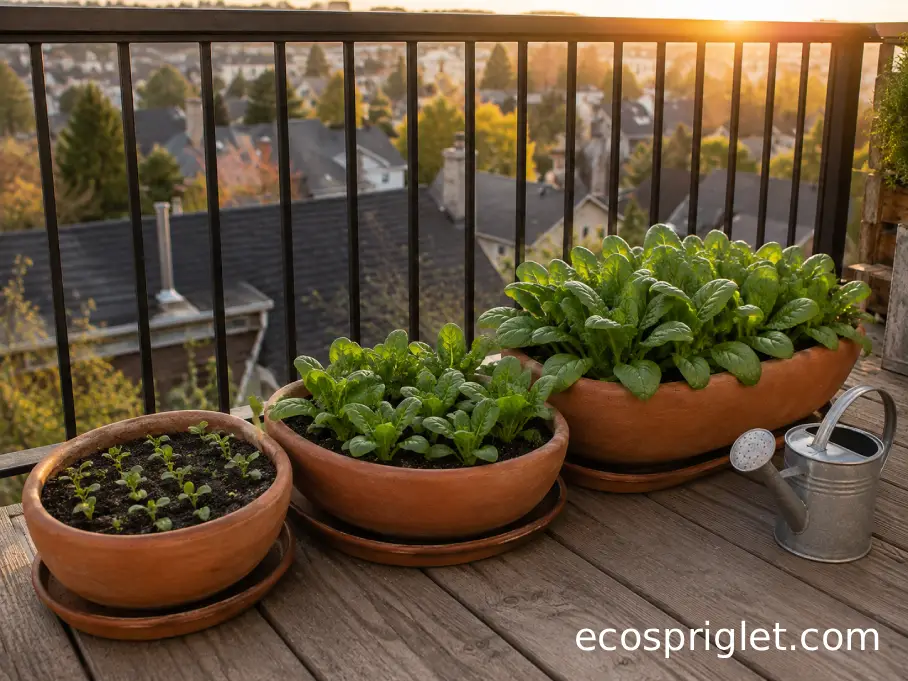
- Use two or three smaller planters instead of one container if you want clearly staggered crops.
- Sow the next batch about 1–2 weeks after the first when cool weather is expected to continue.
- Stop sowing when upcoming heat is likely to push seedlings into warm conditions before they mature.
- Restart in late summer or fall as temperatures return to spinach-friendly levels.
This is one of my favorite small-space tricks because it makes the balcony feel more productive without actually adding much space. One container can be ready to harvest, another can be halfway there, and a third can hold newly germinated seedlings.
If your warm season arrives abruptly, do not view bolting as a failure. Spinach is behaving exactly as a cool-season annual is designed to behave. Harvest what remains and use the pot for a summer crop until conditions suit spinach again.
Fix Common Problems Before They Cost You the Crop
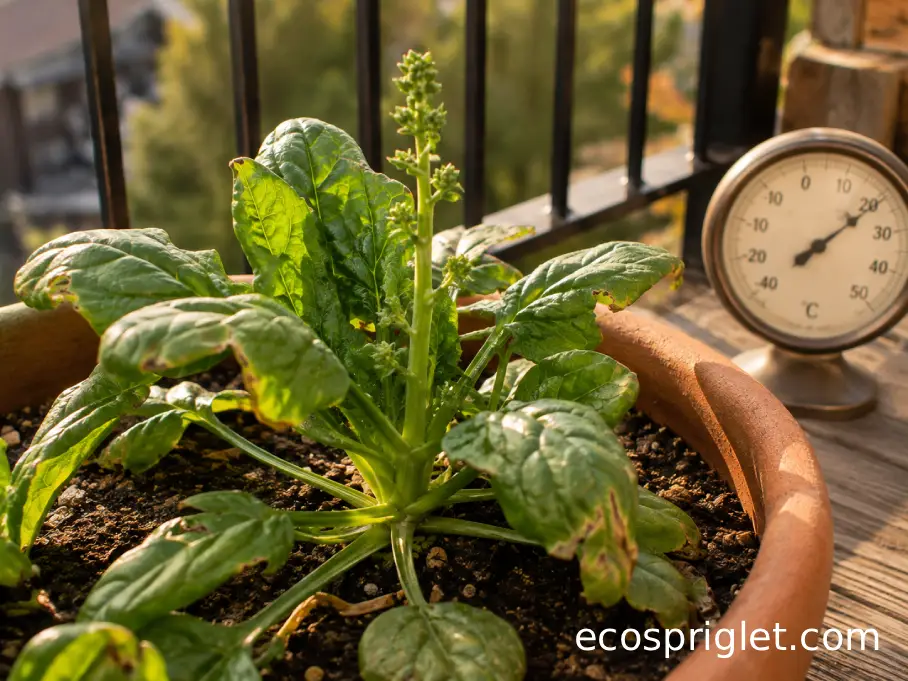
A struggling spinach pot usually gives you visible clues. An upright central stalk points toward bolting. Persistent wilting with dry mix suggests the root zone is losing water too quickly. Yellowing accompanied by constantly wet soil is more reason to investigate drainage than to reach immediately for fertilizer.
Heat is the problem I would check first when otherwise healthy spring spinach suddenly stretches upward. Utah State University notes that temperatures above about 75°F reduce quality and encourage flowering, while seed germination can decline once soil temperatures rise above 80°F.
If the plant has already committed to a flower stalk, you cannot reliably turn it back into a compact leafy rosette. Harvest usable leaves and plan the next sowing for cooler conditions.
Holes or trails inside leaves may point to leafminers, while clusters of small soft-bodied insects can indicate aphids. Spinach can also develop diseases such as downy mildew. Virginia Cooperative Extension lists aphids and leafminers among common insect problems and downy mildew among the diseases that affect spinach.
For an apartment container, start with the least disruptive response: remove badly damaged leaves, improve airflow between crowded plants, avoid leaving foliage constantly wet, and inspect leaf undersides regularly. If you decide a pesticide is necessary, use only a product labeled for the pest and edible spinach, and follow its label exactly.
Common Mistakes to Avoid With Spinach Plants
Most spinach failures I see in containers come from trying to make the plant tolerate conditions it does not especially like. The crop is fast, but it is not a hot-weather vegetable, and squeezing twice as many seedlings into a pot does not usually create twice as much useful spinach.
I learned the crowding lesson the hard way with one of my early balcony boxes. I hated thinning healthy-looking seedlings, so I left almost all of them. For a couple of weeks the planter looked impressively green. Then the leaves stayed small, watering became awkward, and airflow through the dense little canopy disappeared. A properly thinned box nearby produced much more usable growth.
- Sowing too deeply: keep seeds around 1/2 inch below the surface instead of burying them an inch or two down.
- Skipping thinning: aim for roughly 3–4 inches between plants when you want useful mature leaves.
- Planting during hot weather: wait for cooler conditions when soil temperatures are pushing toward 80°F and germination becomes unreliable.
- Using a pot without drainage: choose containers with open drainage holes and control runoff with a saucer rather than trapping water around the roots.
- Letting the pot swing between soaked and bone dry: check the upper inch of mix and water according to what you feel, not merely according to the day of the week.
One more mistake is treating a pH of 5.5 as the special target for spinach. Extension guidance generally puts spinach closer to mildly acidic or near-neutral conditions, commonly around pH 6.0–7.0 or somewhat higher depending on the reference. Start there rather than acidifying a healthy container for the sake of an exact number.
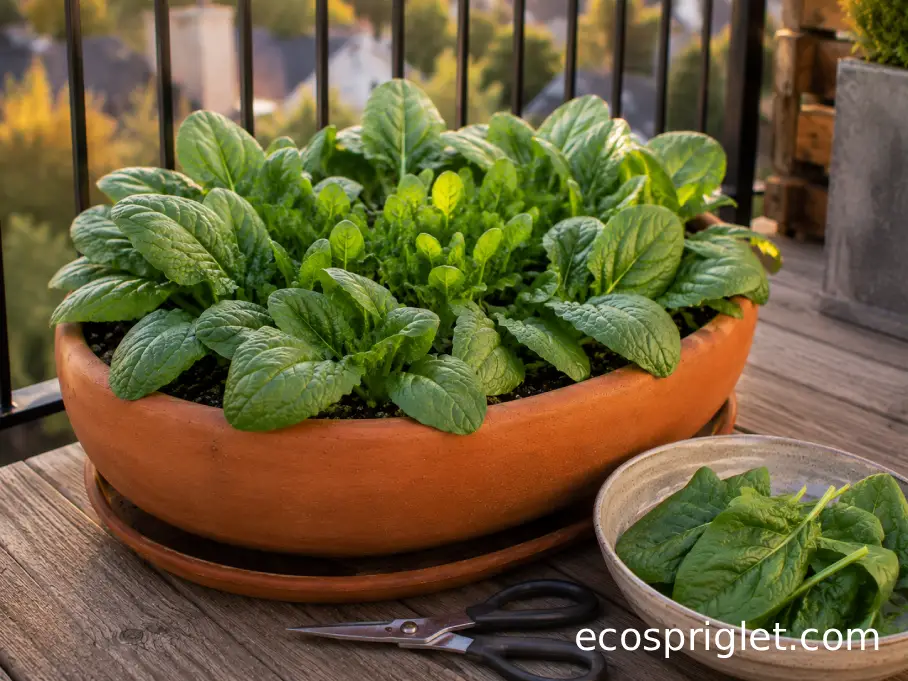
Turn One Pot Into a Steady Supply of Fresh Leaves
The most efficient way to grow spinach in a small apartment space is not to chase enormous plants. Give several properly spaced plants a broad container, harvest outer leaves while they are tender, and sow another small batch before the first planting reaches the end of its cool-weather window.
A practical setup can be surprisingly modest: an 8-inch-deep planter with drainage, plants roughly 3–4 inches apart, 4–6 hours of useful light, and regular checks for drying soil. Sow seeds about 1/2 inch deep when temperatures are cool, expect germination in roughly a week or a little longer under favorable conditions, and begin harvesting whenever the leaves reach a useful size.
Pay more attention to temperature and moisture than to complicated tricks. When a container gets hot, move it to a cooler exposure. Crowded seedlings should be thinned to give them more room. And once a flower stalk starts stretching upward, harvest rather than fighting the plant’s seasonal cycle.
That simple rhythm is what makes spinach such a satisfying balcony crop: sow, thin, keep evenly moist, pick, and repeat while the weather stays cool.
Sources: Utah State University Extension, University of Maryland Extension, University of Illinois Extension, NC State Extension, UC Integrated Pest Management, Virginia Cooperative Extension, and Iowa State University Extension.