Growing vegetables indoors is one of the easiest ways to keep fresh food close when you do not have a yard, patio, or even much spare room. It also happens to be one of the fastest ways to learn how plants actually behave, because you notice everything indoors: the dry air, the weak winter light, the way a pot dries out faster near a radiator, and the moment a seedling starts leaning toward the window. That kind of close-up gardening can teach you a lot.
The good news is that indoor vegetable growing really can work in apartments, especially if you choose compact crops and match them to your light. Leafy greens, herbs, radishes, and a few compact peppers or tomatoes are much more realistic than trying to raise huge, sprawling summer plants in a dark corner. University of Minnesota Extension notes that light is usually the limiting factor indoors, while Penn State Extension and RHS both emphasize that many edible plants need several hours of direct sun or supplemental grow lights for healthy growth.
I still remember my first indoor food-growing attempt on a gloomy Portland windowsill. I planted lettuce, basil, and a tomato all at once and assumed enthusiasm would make up for the lack of light. The basil sulked, the tomato stretched, and the lettuce was the only one that looked halfway impressed. Once I stopped fighting my space and started picking crops that fit it, everything got easier. That is the approach I recommend here.
Can You Really Grow Vegetables Indoors?
Yes, but the honest answer is that some vegetables are much better suited to indoor life than others. Indoors, you are usually working with lower light, less airflow, and less root space than an outdoor garden. That means the best vegetables to grow in containers indoors are usually the ones that stay compact, crop quickly, or tolerate cooler conditions.
For most apartments, indoor success starts with three questions.
- First, do you have a bright south- or west-facing window, or will you use grow lights?
- Second, can you give each plant the container depth it needs?
- Third, are you willing to harvest often?
University of Minnesota Extension advises checking how many hours of real light a space receives before choosing crops, and UNH Extension notes that containerized vegetables need at least 6 to 8 hours of direct sun when grown in bright light locations.
That is why I usually tell beginners to think in categories rather than dream plants. Indoor greens and herbs are the low-stress category. Fruiting crops like peppers and tomatoes are possible, but they need stronger light, larger containers, and more patience. Root crops sit somewhere in the middle: radishes can work beautifully, while full-size carrots are more trouble unless you choose short varieties and a deep container.
If your apartment gets modest light, start with salad greens, scallions, basil, parsley, or microgreens. If you have a strong grow-light setup, then you can step up to compact peppers, dwarf tomatoes, and cut-and-come-again greens. That keeps indoor vegetable growing practical instead of frustrating.
Best Vegetables to Grow in Containers Indoors
If you are wondering which vegetables that grow well in containers also make sense indoors, these are the ones I would put at the top of the list:
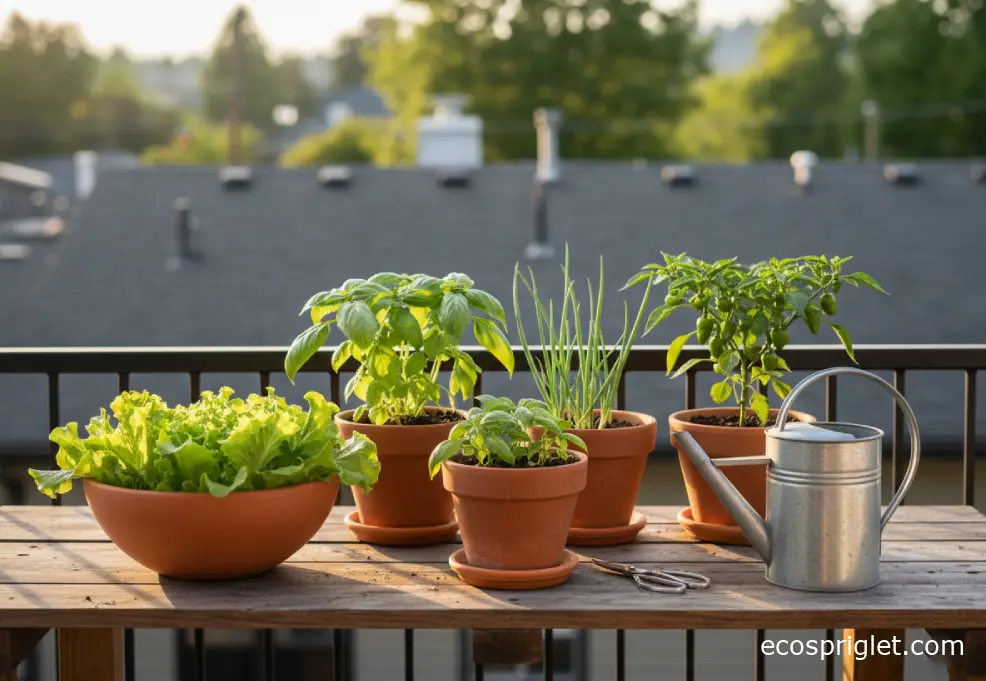
- Lettuce and baby greens: fast, forgiving, and happy in containers that are only about 4 to 6 inches deep.
- Radishes: quick to harvest and satisfying for beginners, usually needing around 6 inches of depth.
- Scallions: very space-efficient and easy to keep harvesting.
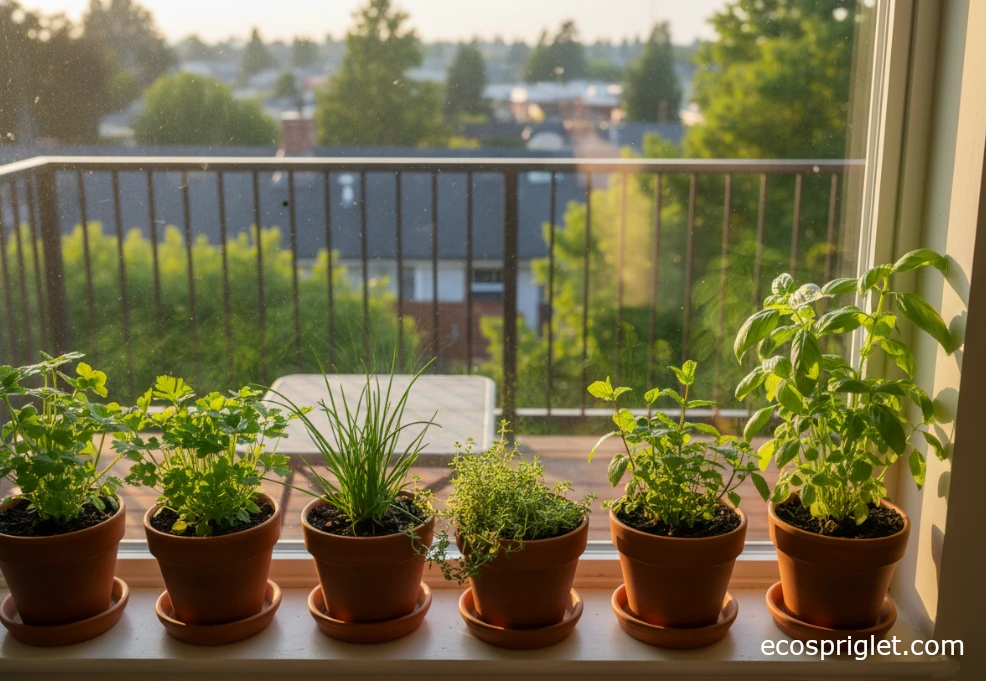
- Basil, cilantro, chives, and parsley: technically herbs, but often the most productive edible plants indoors.
- Compact peppers and dwarf tomatoes: best for brighter homes or growing vegetables indoors with lights.
University of Maryland Extension lists salad greens, peppers, tomatoes, basil, parsley, cilantro, radish, beets, beans, and chard among popular container crops, while Maryland teaching materials note that lettuce, spinach, and herbs can do well in shallower containers and larger crops like tomatoes, peppers, eggplant, and cucumbers need much deeper space.
For beginners, I would skip anything that becomes huge or needs a long, hot season to produce heavily. Full-size eggplants, sprawling cucumbers, and standard tomatoes can be done, but they are not where I would start in a small apartment. You will learn faster with crops that give you visible progress in 25 to 45 days, not 90 days of hoping.
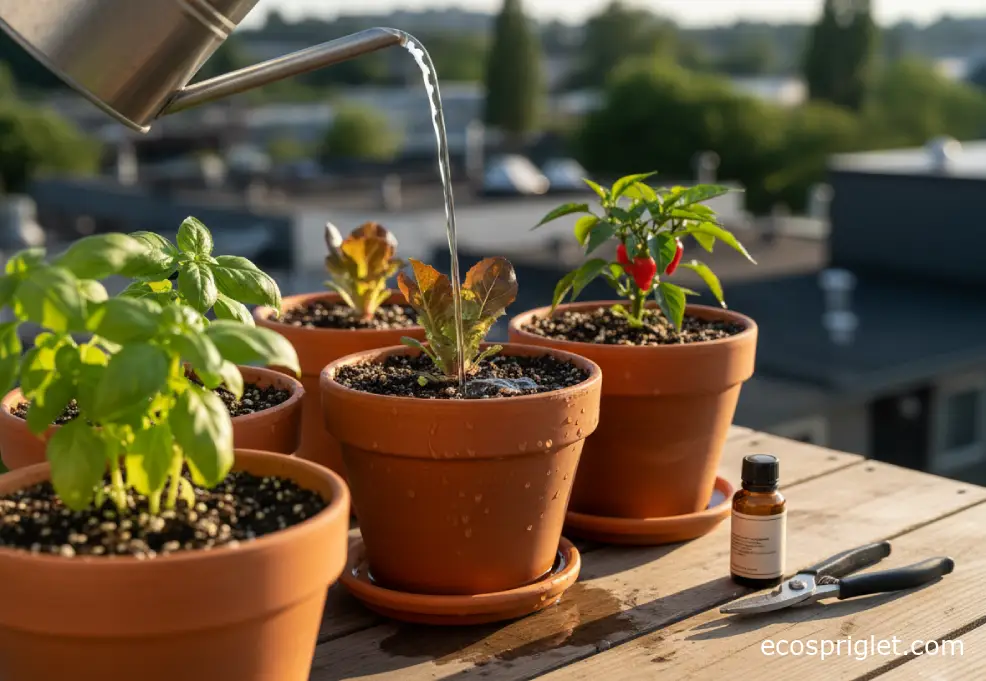
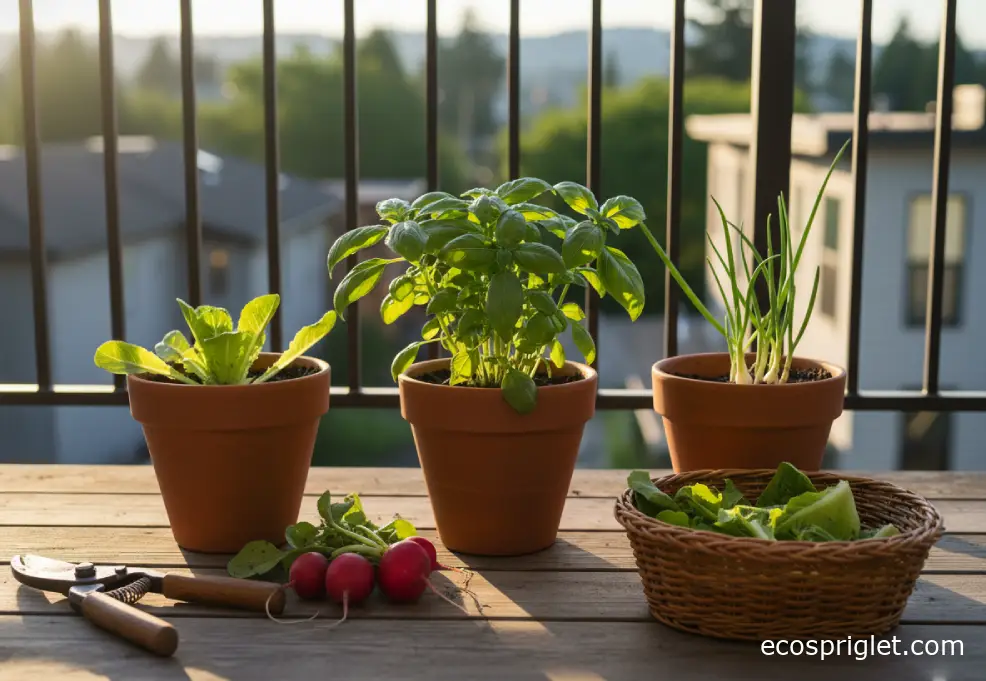
A simple starter mix that works in real apartments is one wide bowl of loose-leaf lettuce, one 6-inch pot of basil, one medium pot of scallions, and one deeper pot of radishes. That setup gives you quick wins, repeated harvests, and a good feel for how containers to grow vegetables in behave indoors.
Once you have that rhythm, you can branch out into dwarf peppers or a compact tomato.
Light, Temperature, and the Setup That Makes Plants Actually Produce
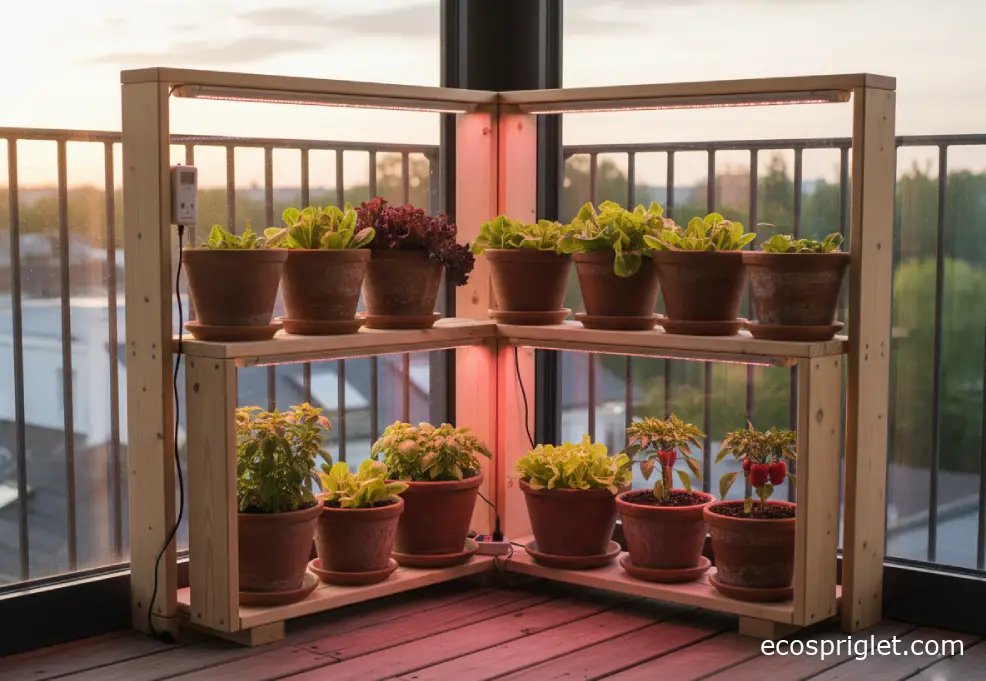
Light is where most indoor vegetable plans either come together or fall apart. A bright window can support some crops, but indoor vegetables usually do best when you treat light like a tool instead of a bonus. University of Minnesota Extension says seedlings need 12 to 16 hours of light per day and that lights should sit close to plant tops, while Penn State Extension notes that most herbs need around 6 hours of direct sun or supplemental lighting indoors.
For leafy greens and herbs, aim for 12 to 14 hours under grow lights each day. For compact fruiting crops like peppers and dwarf tomatoes, 14 to 16 hours is usually more realistic indoors. Keep most LED grow lights roughly 6 to 12 inches above the canopy unless the manufacturer specifies otherwise, and raise the fixture as plants grow. If seedlings start stretching and leaning, the light is either too weak, too far away, or on for too short a period.
Temperature matters more than many beginners expect. Cool-season crops such as lettuce, greens, and radishes usually handle normal indoor temperatures well. Warm-season crops need steadier warmth. University of Minnesota Extension notes cool room temperatures of about 60 to 70°F can suit some indoor-started cool-season vegetables, while tender herbs and fruiting crops generally perform better when kept away from cold drafts and chilly glass.
I learned this the hard way with basil near a winter window. It had light, technically, but the leaves kept getting soft and unhappy because the glass turned cold every night. Moving the pot just a foot inward and adding a small grow light changed everything. Indoors, one foot can be the difference between surviving and thriving.
- Use a timer so lights run consistently every day.
- Keep plants away from radiator blasts and cold window drafts.
- Rotate window-grown pots every few days if they lean toward the light.
If you want a more productive setup for grow indoor vegetables year-round, a narrow shelf with lights is usually better than crowding everything onto one windowsill. It is easier to water, easier to clean, and much easier to keep evenly lit.
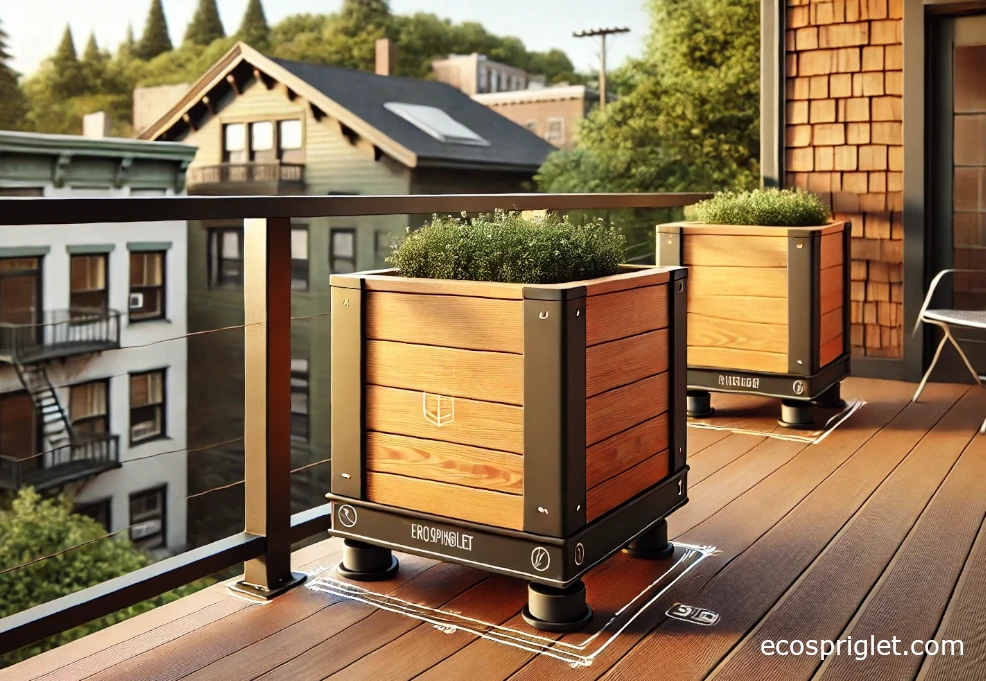
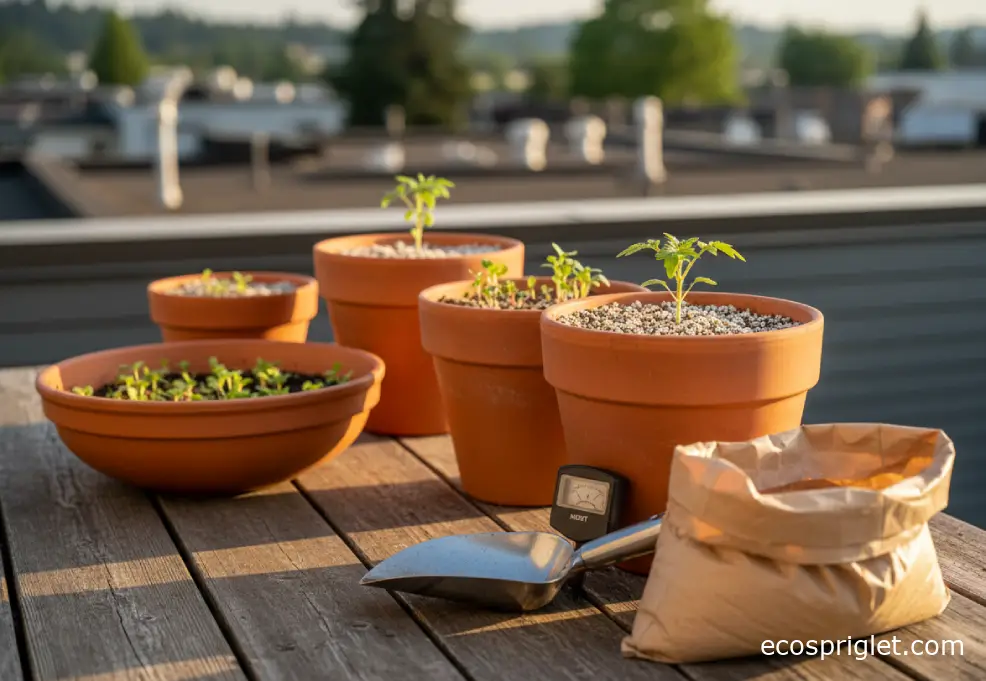
Choosing Containers and Potting Mix Without Guesswork
The container is not just a place to hold soil. It controls root space, drying speed, and how stable the whole plant feels indoors. Penn State Extension recommends using containers that hold at least about two gallons for many vegetable crops and says most plants need at least 6 to 8 inches of rooting depth, while Maryland materials note lettuce, spinach, and herbs can manage in shallower containers but tomatoes, peppers, eggplant, and cucumbers need much deeper pots.
Here is a practical rule set I use for growing vegetables in containers indoors:
| Crop | Suggested Container | Notes |
|---|---|---|
| Lettuce and baby greens | 4–6 in deep, wide surface | Wide bowls or window boxes work better than deep narrow pots. |
| Radishes and scallions | 6–8 in deep | Good for medium pots with even moisture. |
| Parsley and basil | 8–10 in wide pot | One plant per pot stays tidier and is easier to water correctly. |
| Compact peppers | At least 10–12 in wide | Better with grow lights and steady feeding. |
| Dwarf tomatoes | About 5 gal with drainage | Penn State container tomato guidance and commercial trials commonly use 5-gallon containers as a workable minimum. |
Use a high-quality soilless potting mix, not garden soil dug from outdoors. Penn State Extension and University of Minnesota Extension both note that container media should be light enough to drain well and commonly include ingredients such as peat, composted bark, coir, perlite, and vermiculite.
One mistake I still see all the time is adding gravel to the bottom of pots “for drainage.” Illinois Extension and Washington State University explain that this does not improve drainage in the way gardeners expect; instead, water can perch above the coarse layer and keep the root zone wetter. The better move is simple: use a pot with drainage holes and a proper container mix from top to bottom.
Watering, Feeding, and Pollination Indoors
Indoor gardeners tend to make one of two mistakes: they either water too often because the plants are nearby, or they forget for three days because the plants blend into the room. A better rhythm is to check the mix with your finger and water based on dryness, not the calendar. Illinois Extension advises watering when the top inch of soil becomes dry and continuing until water flows out the drainage holes. That is solid guidance for many indoor containers too.
For greens and herbs, check moisture every day or two. Water when the top 1 inch feels dry. For larger fruiting plants in warm rooms under lights, you may need to check daily. Give the pot a full soak, then let excess water drain away. Do not leave roots sitting in a full saucer for hours.
Feeding matters because every thorough watering slowly leaches nutrients from a container. University of Minnesota Extension recommends regular fertilizer applications beginning about two to six weeks after planting, depending on the potting media and watering pattern. Indoors, I usually start half-strength liquid feed once the plant is established and actively growing, then continue every 1 to 2 weeks for hungry crops like peppers and tomatoes.
Pollination is the other indoor issue people rarely think about until flowers drop. Lettuce and herbs do not need hand-pollination for the parts you harvest, but indoor peppers and tomatoes often benefit from a little help because there is no wind and no visiting insects. Tap the stems or lightly shake the flowering plant every day or two when blossoms are open. It feels a bit silly the first time, but it works.
If you use self-watering containers, University of Maryland Extension notes they can be a useful option because the growing medium sits above a water reservoir and moisture moves upward by wicking. For apartment growers who travel or who have hot, dry rooms, that can make indoor vegetable growing much more forgiving.
Common Mistakes to Avoid
The fastest way to improve your results is to catch the usual mistakes early. Most of them look different on the surface, but they come down to mismatched expectations: a fruiting plant in weak light, a thirsty plant in a tiny pot, or a cool-season crop pushed into a hot room.
- Starting with the wrong crop: full-size summer vegetables often disappoint indoors unless you have strong lights and space.
- Using decorative pots without drainage: they look nice right up until roots stay soggy.
- Crowding plants: tight spacing reduces airflow and makes harvesting awkward.
- Under-lighting seedlings: stretched stems are a light problem first, not a fertilizer problem.
- Treating every plant the same: lettuce, basil, peppers, and tomatoes do not want identical care.
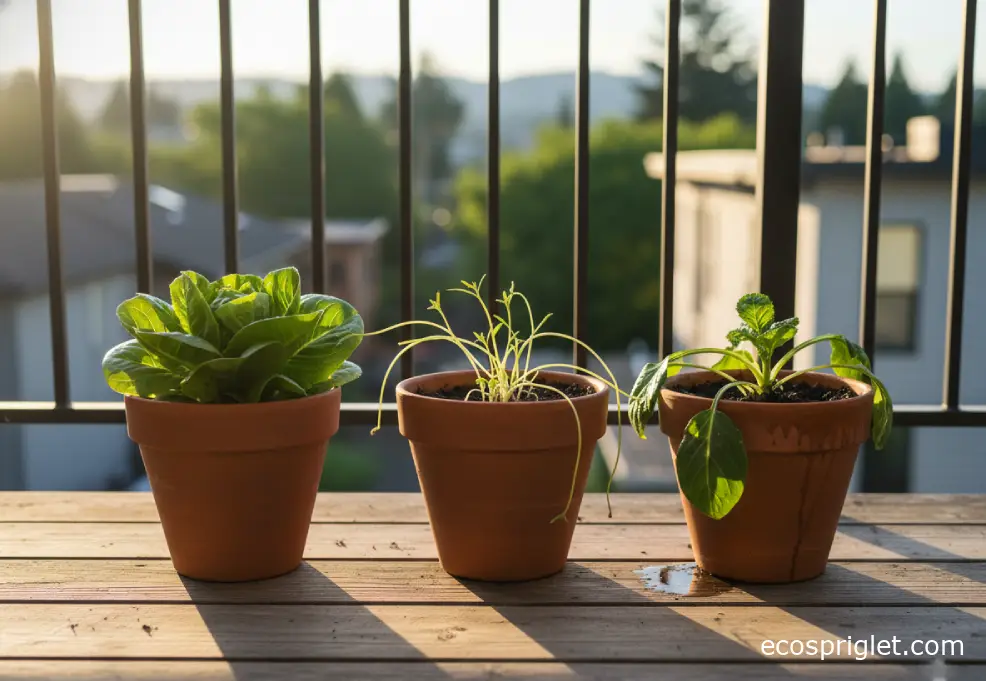
I learned one of these the hard way when I tried to grow a standard tomato in an undersized pot beside a window and kept blaming the fertilizer. The real problem was simpler: the plant wanted far more root room and light than I was giving it. Once I switched to compact varieties and stopped overestimating my windowsill, growing vegetables indoors felt a lot less like troubleshooting and a lot more like gardening.
There is also a pet-safety angle worth mentioning. ASPCA lists basil as non-toxic to dogs and cats, but tomato plants and unripe tomatoes can be problematic for pets. If you share your apartment with a curious cat or dog, keep fruiting nightshade crops out of chewing range and lean toward safer edibles like basil in easy-access spots.
Creative Ways to Harvest More From a Small Indoor Garden
Small-space growers usually get the best returns by harvesting little and often. Instead of waiting for one big crop, build your indoor garden around repeated trims, thinnings, and staggered sowings. That is where apartment gardening starts to feel abundant.
Loose-leaf lettuce is perfect for this. Snip the outer leaves when they are 3 to 4 inches long and let the center keep growing. Scallions can be harvested young and often. Basil gets bushier when you pinch above a leaf pair instead of stripping random leaves. Radishes can be sown every 10 to 14 days in a second pot so you are not waiting on a single batch.
I also like to mix crop speeds. Pair one quick crop, one steady crop, and one stretch crop. For example: microgreens for the first fast harvest, lettuce for regular picking, and a compact pepper for the long game. That keeps the setup interesting and stops beginners from feeling like nothing is happening.
When your confidence grows, try rotating seasonal containers. A lettuce bowl in late winter can become basil in late spring, then cilantro again when the room cools down. RHS and extension guidance on container growing both support this kind of crop-matching approach, where the plant is chosen to fit the season, light, and container instead of forcing one crop year-round.
That is also why the best vegetables for growing in containers are not always the flashiest ones. They are the crops you will actually harvest, use, and replant.
Growing vegetables indoors works best when you keep the whole system realistic: enough light, the right container, a fast-draining potting mix, and crops that match your space. That may sound simple, but it is exactly why beginners do better when they start with greens, herbs, scallions, or radishes instead of trying to build a full summer garden on one windowsill. Once you get those basics right, indoor vegetable growing becomes surprisingly steady and satisfying.
The biggest shift is learning to garden with your apartment instead of against it. Notice where the strongest light lands. Notice which pots dry quickly. Notice which crops give you repeat harvests without drama. Those patterns matter more than expensive gear. A bright shelf, a timer, and a few well-chosen containers will usually outperform a crowded collection of random plants every time.
If I were helping a friend start today, I would set up one container of loose-leaf lettuce, one pot of basil, one pot of scallions, and one tray of radishes under a simple light. That is enough to teach watering, harvesting, sowing, and timing without becoming overwhelming.