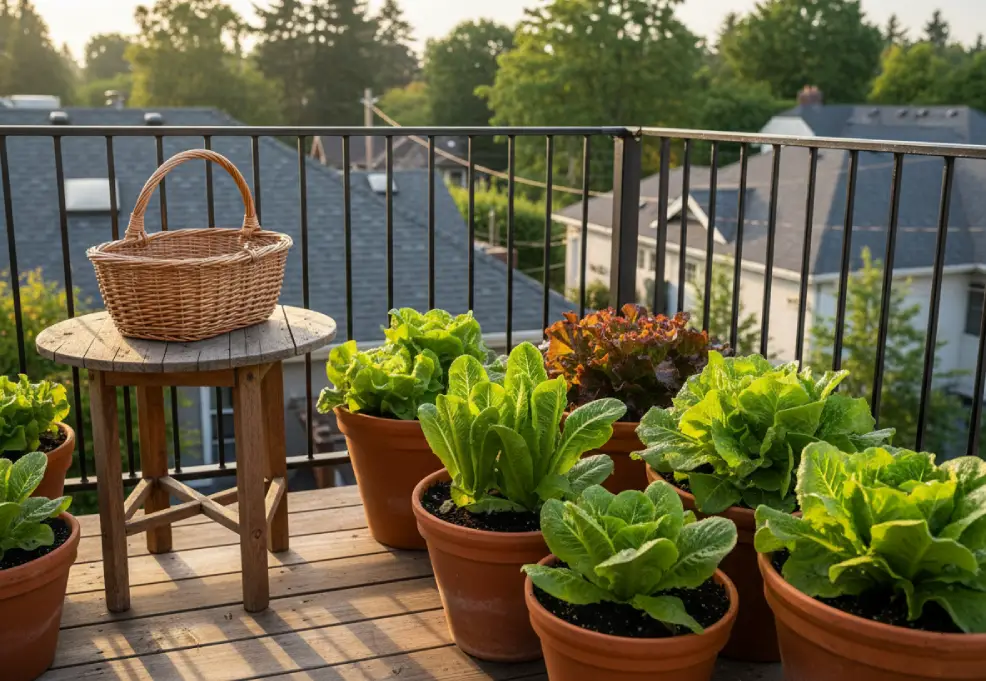
Harvesting kale is straightforward once you know which leaves to take and which ones to leave alone. For most home growers, especially anyone raising kale in a balcony container, the goal is not to cut down the whole plant. Pick the older outer leaves, protect the small leaves in the center, and the same plant can keep giving you fresh greens through repeated harvests.
You do not have to wait for kale to reach one perfect size. Young leaves can be picked for salads, while larger leaves work well for sautéing, soups, chips, and other cooked dishes. The main quality cue is texture: harvest while leaves are still firm, fresh, and tender rather than waiting until every leaf becomes oversized and coarse. Oregon State University Extension specifically recommends removing outer leaves while they are tender, and both Oregon State and the RHS describe kale as a cut-and-come-again crop.
If your plants are growing on a patio or balcony, our guide to growing kale in containers can help you keep them productive between pickings.
When Is Kale Ready to Harvest?
Kale gives you a useful amount of flexibility. For young salad leaves, the RHS says cut-and-come-again kale can be harvested once plants are roughly 4–6 inches tall. If you want larger cooking leaves, wait until individual leaves have filled out but are still tender. Oregon State University Extension recommends picking outer leaves before they become much longer than about 8 inches when tenderness is the priority.
I tend to judge container-grown kale by the leaf rather than the calendar. A palm-sized outer leaf that bends without feeling leathery is usually more useful in the kitchen than a giant leaf that has been left on the plant simply because it could grow bigger. Iowa State University Extension likewise advises harvesting the outside leaves first and notes that overly mature leaves can become tough or stringy.
Do not wait for the plant to form a cabbage-like head. Kale is grown for its individual leaves. Once several healthy outer leaves have reached a useful size, you can begin picking and return regularly as the center produces new growth.
How to Harvest Kale So It Keeps Growing
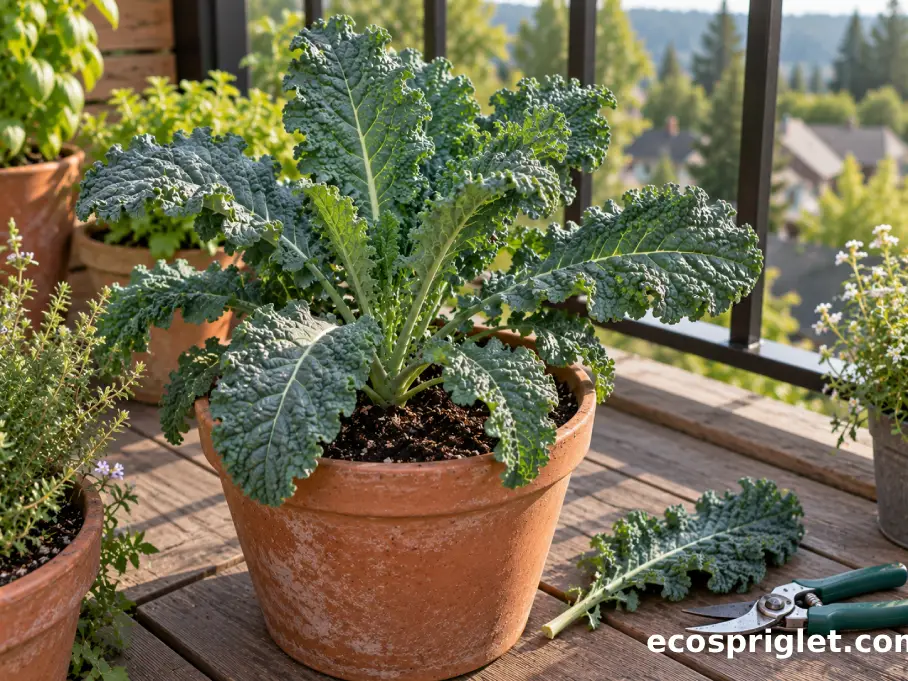
The trick is to treat kale like a renewable crop rather than a one-time harvest. Start at the bottom or outside of the plant, where the oldest usable leaves are located. Clip each leaf where its stalk joins the main stem, or gently twist it away without damaging the stem. Oregon State University Extension recommends clipping or twisting leaves close to the stalk, while the RHS advises taking only a few lower leaves at each picking.
A simple small-space routine works well:
- Take about 2–3 mature lower leaves from a plant during a normal picking.
- Cut or snap each leaf cleanly where its leaf stalk meets the main stem.
- Leave the small central leaves and growing point completely untouched.
- Keep several large healthy leaves on the plant so it can continue supporting new growth.
NC State Extension offers a particularly useful beginner rule: leave at least five larger leaves on the plant and never remove the small centermost leaves where new growth emerges.
I learned the value of that restraint with one of my first balcony kale plants. I stripped off nearly every usable leaf because dinner needed a lot of greens. The plant survived, but it sat there looking miserable while the neighboring plant I had picked lightly kept producing. Since then, I would rather harvest a few leaves from several plants than completely bare one.
Curly, Lacinato, and Dinosaur Kale: Same Method, Different Feel
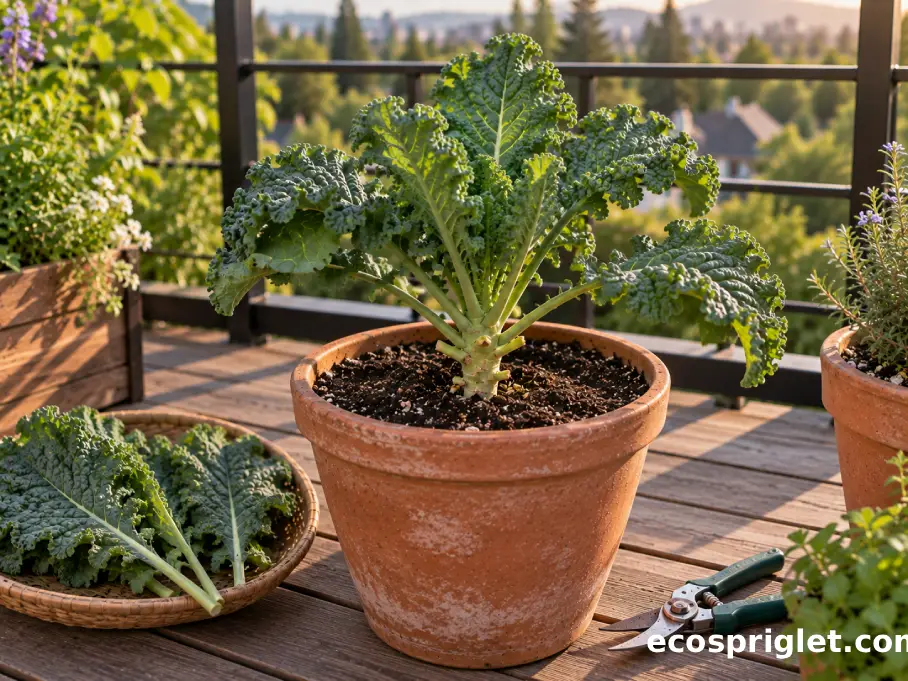
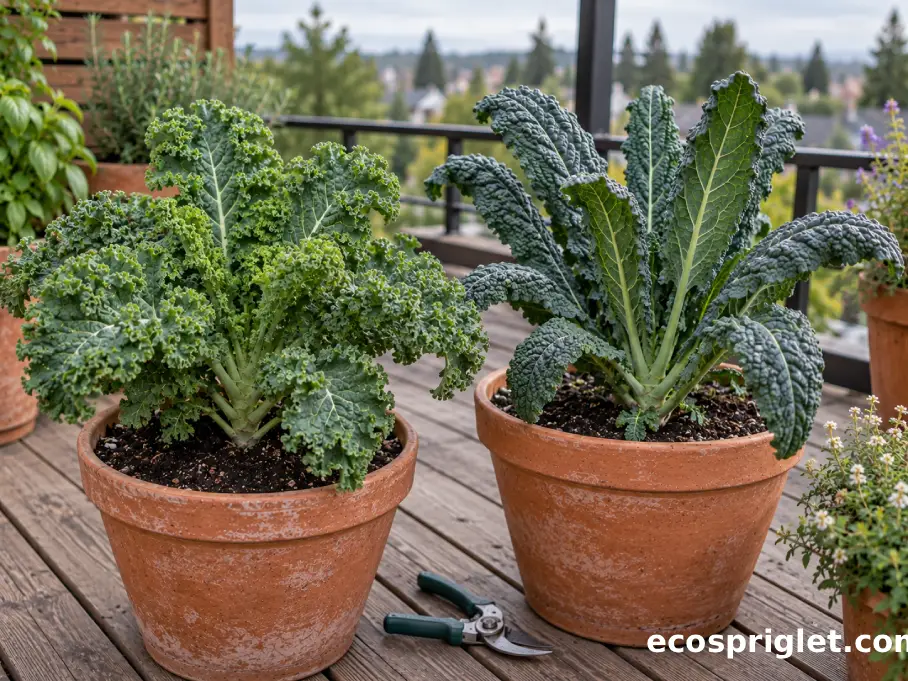
You can harvest curly kale, lacinato kale, and so-called dinosaur kale with the same basic outer-leaf method. Dinosaur kale is a common name used for lacinato-type kale, which has long, narrow, heavily textured leaves rather than the ruffled edges of curly forms. NC State Extension identifies Toscano-type kale as a dinosaur or laciniata type.
With curly kale, I pay extra attention to the folds near the midrib before carrying leaves into the kitchen. The deep ruffles can make small insects and bits of balcony debris less obvious at first glance. Pick healthy outer leaves and check both surfaces before putting them into your harvest bowl.
Lacinato leaves make the cutting point especially easy to see because the long leaf stalk joins a fairly exposed central stem. Snip close to that attachment without nicking the main stalk. Again, resist the temptation to take the young upright leaves at the top simply because they look especially tender.
Leaf shape changes how the harvest feels in your hand, but not the underlying rule: older outside leaves come off first, while younger central growth stays on the plant. The RHS recommends this continuous outer-leaf approach for kale generally, allowing the top to continue growing.
Time Your Picking for Better Flavor and Texture
If you have a choice, pick kale early in the day. Oregon State University Extension recommends early-morning harvesting for good flavor, and the RHS similarly notes that leafy crops are freshest when harvested in the morning. On a hot balcony, that timing is especially practical because the leaves have not spent hours warming in direct sun.
Cold weather can improve kale’s flavor as well. Oregon State, NC State, Utah State, and USDA resources all note that kale often tastes sweeter after frost or cold conditions. That does not mean you need to postpone a perfectly good harvest until freezing weather arrives. It simply explains why a fall crop can taste noticeably different from leaves picked during warm weather.
For an apartment grower, freshness usually matters more than squeezing every possible leaf from a plant at once. Pick what you expect to cook or eat soon. If dinner needs six leaves, harvesting six good leaves is usually better than stripping twenty and trying to keep the extras crisp for a week.
Common Mistakes to Avoid
Most kale harvesting problems come from taking either the wrong leaves or too many leaves at once. These are the mistakes I would watch for first:
- Removing the center growth. Those small central leaves are where the plant is producing its next harvest, so leave them intact.
- Stripping the plant bare. Take a few mature leaves at a time and keep several healthy large leaves attached; NC State recommends leaving at least five larger leaves for continued growth.
- Waiting for every leaf to become enormous. Large, overly mature leaves can become tougher, so harvest outer leaves while they still have good texture.
- Yanking leaves downward. A clean clip or controlled twist at the leaf base is less likely to damage the main stalk than tearing at it. Oregon State Extension specifically recommends clipping or twisting close to the stalk.
- Keeping yellow, badly damaged, or heavily insect-chewed leaves as part of the food harvest. Remove poor-quality foliage separately and choose sound leaves for the kitchen.
On a narrow balcony, there is one additional practical issue: steady the container before pulling or twisting a leaf. A tall kale plant can give you more leverage than you expect, particularly in a lightweight pot. I usually use pruning snips once plants become large because the cut is predictable and I am less likely to rock the pot against the railing.
Store Fresh Kale Without Losing Quality
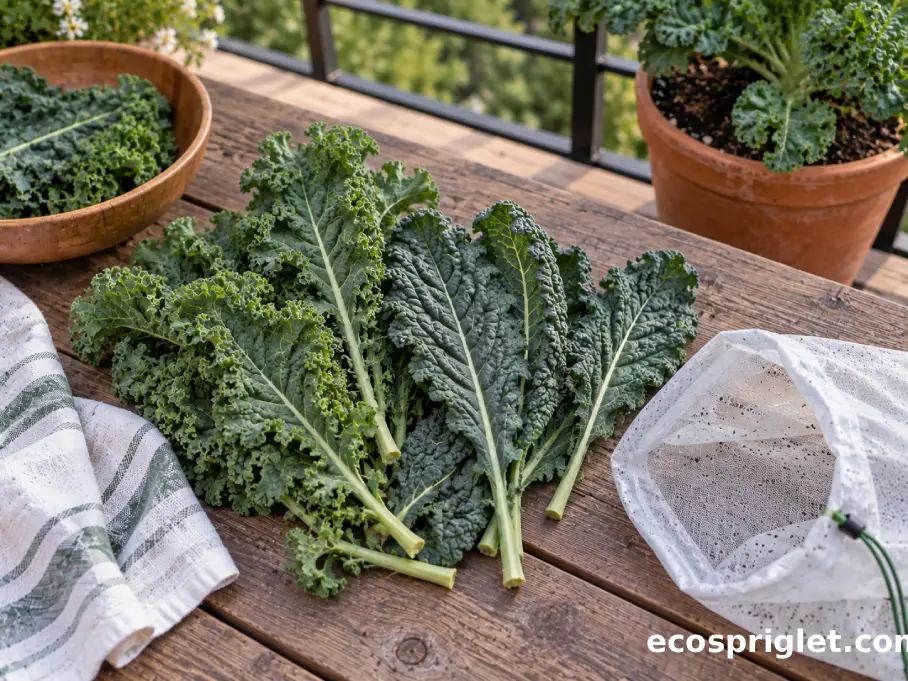
Once kale leaves are cut, get them out of hot balcony conditions and into the refrigerator promptly. The FDA recommends keeping perishable produce in a clean refrigerator at 40°F or below. USDA’s kale guidance recommends storing kale unwashed in the refrigerator and using it within about five days for good quality, while Oregon State Extension recommends an open or perforated bag.
- Inspect the harvest and remove leaves that are badly bruised, yellowed, or damaged.
- If you are storing the kale rather than eating it immediately, keep it unwashed and refrigerate it promptly.
- Use an open or perforated produce bag rather than sealing wet leaves tightly inside a container.
- Before eating, rinse the leaves under plain running water; the FDA says soap and commercial produce wash are unnecessary.
If you prefer washing kale as soon as you bring it inside, dry it thoroughly before refrigeration. A salad spinner or clean towel works well; Iowa State Extension recommends removing excess water after washing greens.
I usually leave balcony kale unwashed until cooking time. It reduces one extra chore after harvesting and avoids putting dripping leaves into the refrigerator. More importantly, it makes small, frequent harvests convenient enough that I actually keep doing them.
Saving Kale Seed at the End of the Season
Harvesting kale seed is a different project from picking leaves. Most garden kale is biennial, meaning the plant normally produces its seed stalk after surviving into a second growing season rather than during its first. Oregon State Extension lists cabbage-family vegetables among the biennials that must be carried into a second season for seed production.
Once the plant flowers and develops seed pods, leave those pods on the plant until they have fully ripened and dried. UGA Cooperative Extension recommends harvesting kale seed when the dry pods are mature; ready seeds may rattle inside and pods may begin releasing seed. Collect the pods before you lose too many seeds, then let them finish drying indoors if necessary.
There is one important complication for balcony seed savers. Kale can cross-pollinate with closely related Brassica oleracea crops, including broccoli, cabbage, cauliflower, collards, kohlrabi, and Brussels sprouts. Hybrid varieties also may not produce offspring identical to the parent. If preserving a variety accurately matters to you, seed saving requires more pollination planning than simply collecting whatever pods appear.
For a very small balcony, I would only dedicate a plant to seed production if you genuinely enjoy the experiment. Keeping one kale plant through flowering and seed formation occupies valuable container space much longer than harvesting it for leaves.
A Simple Harvest Rhythm for Small Spaces
A good kale harvest rarely needs to be dramatic. Once the plant has several useful mature leaves, pick two or three from the outside, leave the center alone, and come back when more leaves have filled out. That simple routine fits a balcony garden particularly well because you can harvest dinner-sized portions without needing refrigerator space for a huge crop.
Use leaf size and texture as your main cues rather than waiting for an exact date. Young leaves can be taken when the plant is only several inches tall, while mature outer leaves are best gathered before they become unnecessarily coarse. Pick in the morning when convenient, and enjoy the sweeter flavor that cool fall weather may bring. Most importantly, keep enough foliage on the plant to support another round of growth.
That is the habit I would build first: inspect the plant, take the oldest good leaves, and stop before the kale looks stripped. It turns one container into a steady source of greens instead of a one-night harvest. If you want to expand beyond kale, explore our container gardening guide for more small-space crops that work well with frequent harvesting.