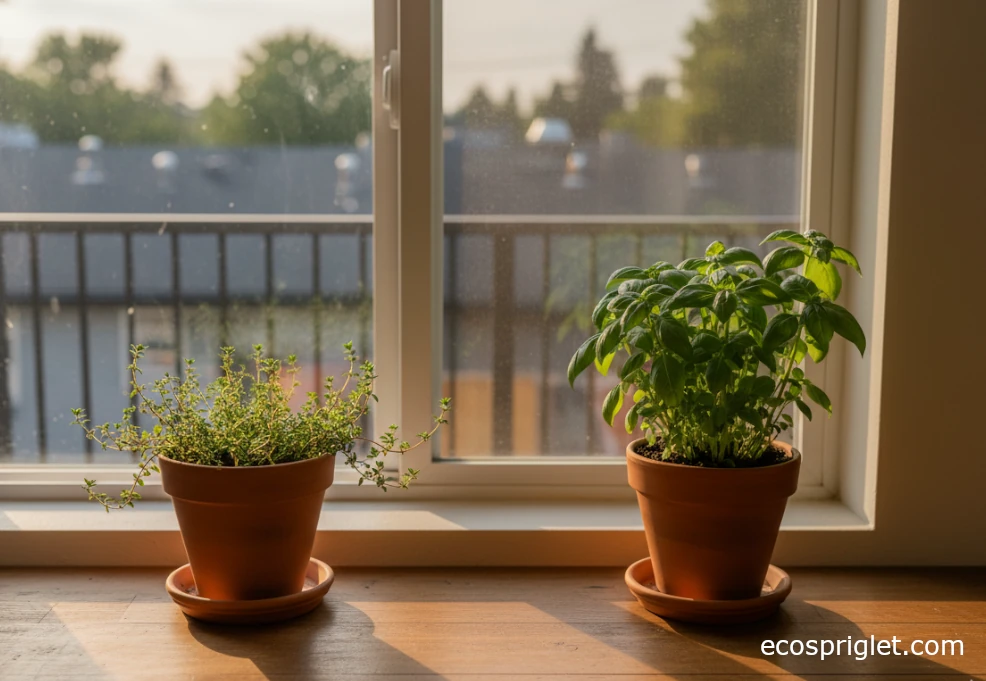
If you love cooking but hate watching bundles of store-bought herbs wilt in the fridge, turning your space into a tiny kitchen herb garden is one of the easiest upgrades you can make. Even in a small apartment, you can keep kitchen herb plants right on the counter, in a bright herb window, or hanging neatly from a rail above the sink. With the right light, pots, and a simple routine, growing herbs in the kitchen is way easier than it looks.
In my own Portland apartment, I started with a single pot of basil by the stove and quickly realized that a handful of well-placed kitchen plants—herbs like basil, parsley, chives, and mint—could easily cover most everyday cooking. This guide walks you through choosing herbs, setting up windowsill and hanging herbs in the kitchen, and keeping everything alive with a simple care routine.
What Makes a Good Kitchen Herb Plant?
Not every plant that tastes good outdoors makes sense as a kitchen herb. Inside a small apartment, you want compact plants that forgive the occasional missed watering, bounce back from regular harvests, and stay reasonably tidy on a sill or kitchen counter. Classic kitchen herbs like basil, parsley, chives, mint, thyme, and cilantro fit the bill because they stay small, grow well in containers, and can be harvested a handful of stems at a time.
Most of these herbs are used to bright, warm conditions, so they do best in the warmest, sunniest parts of your home. Extension groups such as Penn State Extension note that indoor herbs are happiest around 65–70°F during the day and not cooler than the mid-50s at night, which is exactly where a typical heated kitchen sits. That means your kitchen herbs are already halfway to the right climate before you even pick a pot.
When you’re choosing a “kitchen herb” specifically, think about how often you actually grab it while cooking. If you toss parsley into almost everything, give it a prime spot in the herb window. If mint only comes out for weekend drinks, tuck it into a slightly shadier area.
I like to choose 3–5 herbs I’ll use every week, then add one “fun” plant—like lemon thyme or purple basil—just for color and scent.
Choosing Herbs for Your Kitchen Window
Your herbs for the kitchen window should match both your cooking style and your light. Most indoor herb guides suggest choosing sun-loving herbs for bright south- or west-facing windows, and slightly more shade-tolerant ones for east-facing or lightly filtered spots. Start by asking: where will “prime real estate” be in your kitchen—on the sill, right by the stove, or on a nearby shelf that gets strong light?
- Basil: Loves warmth and plenty of sun; ideal in a hot, bright herb window kitchen where you cook often.
- Flat-leaf parsley: Handles slightly cooler or less intense light and adds fresh flavor to almost everything.
- Chives: Compact, easy, and perfect for snipping directly over eggs, potatoes, and soups.
- Mint: Great for drinks and desserts; prefers bright but not scorching light and stays happier if kept slightly moister.
- Thyme or rosemary: More tolerant of drier soil and strong sun; good candidates for the brightest spot on the sill.
If you share your apartment with pets, most culinary herbs—like basil—are considered non-toxic to cats and dogs according to the ASPCA, but it’s still wise to double-check any plant you bring in. I keep my most tempting kitchen plants (herbs included) where curious paws can’t easily reach them, and I always look up new plants in a trusted toxicity database before they come home.
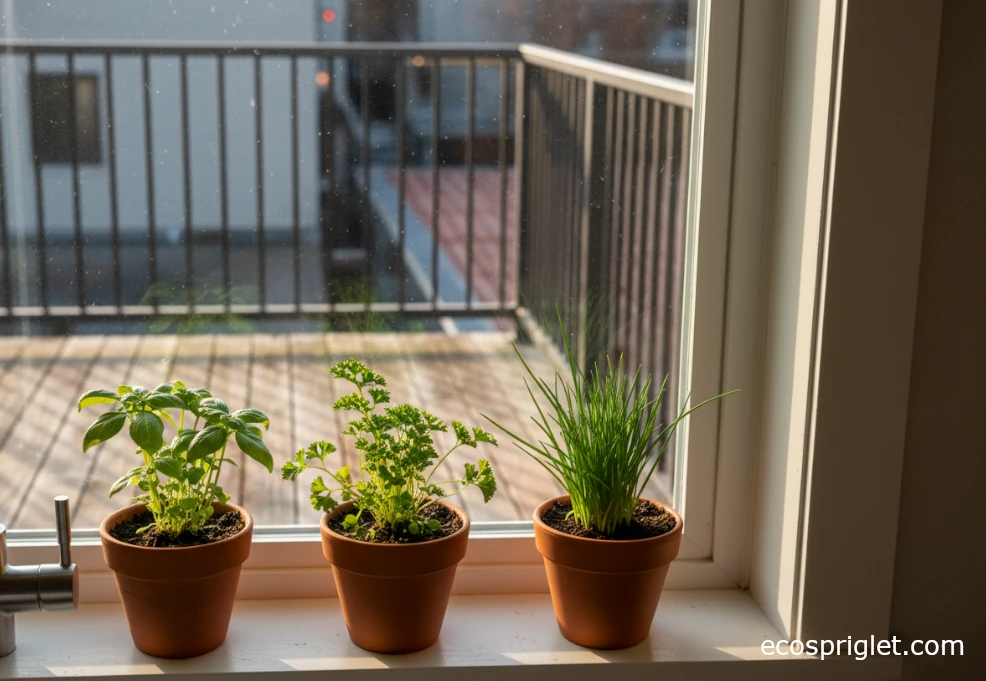
For beginners, I usually suggest starting with three countertop herbs (basil, parsley, chives) plus one pot of mint a bit farther from direct heat. Once you’ve kept those alive for a couple of months, it’s easy to add a trailing oregano or a compact hanging thyme to round out your collection. If you want a deeper dive into which herbs stay small and happy in pots, check out the broader balcony herbs guide too.
Light and Temperature: The Real Secret to Growing Herbs in the Kitchen
Light is the make-or-break factor for herb plants in the kitchen. University and Master Gardener resources point out that most herbs grown indoors need roughly 6–8 hours of direct or very bright light each day to stay bushy and flavorful, with south-facing windows usually performing best and west or bright east windows as solid backups. If your herbs get less than that, they tend to stretch, lean toward the glass, and lose some punch in their flavor.
Here’s how I like to test a spot before loading it with herb plants in the kitchen: place an empty pot where you’re planning your herb window and check it every couple of hours on a day off. If you see clear, sharp shadows on the sill for a good chunk of the day, you’ve probably got enough light. If the light is soft and dim most of the time, expect to supplement with a small LED grow light hung about 12 inches above the foliage for 12–14 hours a day.
Temperature is the quiet partner in this story. Many herbs are comfortable in typical room temperatures, but tender ones like basil are fussy about cold. Garden references and extension-style guides suggest keeping basil above about 50°F at night; below that, the leaves can blacken and growth stalls. Most indoor herbs feel good in a kitchen that stays around 65–70°F by day and above 55°F at night, similar to what Penn State Extension recommends for herbs indoors.
If your kitchen window gets winter drafts, slide pots a few inches back from the glass or place them on a small wooden board or tray to buffer the cold. On the flip side, if they’re up under a hot range hood light, move them just far enough away that the leaves don’t feel hot when you’re cooking.
Pots, Soil, and Drainage for Kitchen Counter Herbs
Once you’ve found a good spot, the next step is giving your kitchen herb plants a home that drains well and doesn’t swamp the roots. I like simple terracotta pots because they’re breathable and match the cozy kitchen-plus-terrace vibe, but you can use any container with at least one clear drainage hole in the bottom. For most herbs, a pot about 6 inches wide works for a single plant; heavy feeders like basil and parsley appreciate 8 inches or so, especially if you plan to harvest often.
Skip the garden soil and choose a high-quality indoor or container potting mix instead. University extension resources emphasize that containers do best in a soilless mix that drains freely, rather than heavy yard soil that compacts and holds too much water. If your mix feels dense, it’s fine to blend in about 20–30% perlite to increase drainage for herbs like thyme and rosemary that hate wet feet.
One myth I still see is adding a thick layer of gravel to the bottom of the pot for drainage. Research on container physics shows that this doesn’t actually improve things; instead, it can keep water sitting higher in the pot. It’s better to rely on a well-draining mix and clear drainage holes, then set the pot on a saucer or tray you can empty a few minutes after watering.
If you want a cleaner look on your kitchen counter herbs, you can tuck plastic nursery pots inside prettier outer containers with no holes. Just remember that the inner pot must still drain freely; take it to the sink for watering, let the excess drain away, and only then put it back into the decorative cachepot.
Daily Care: Watering, Feeding, and Harvesting Kitchen Herbs
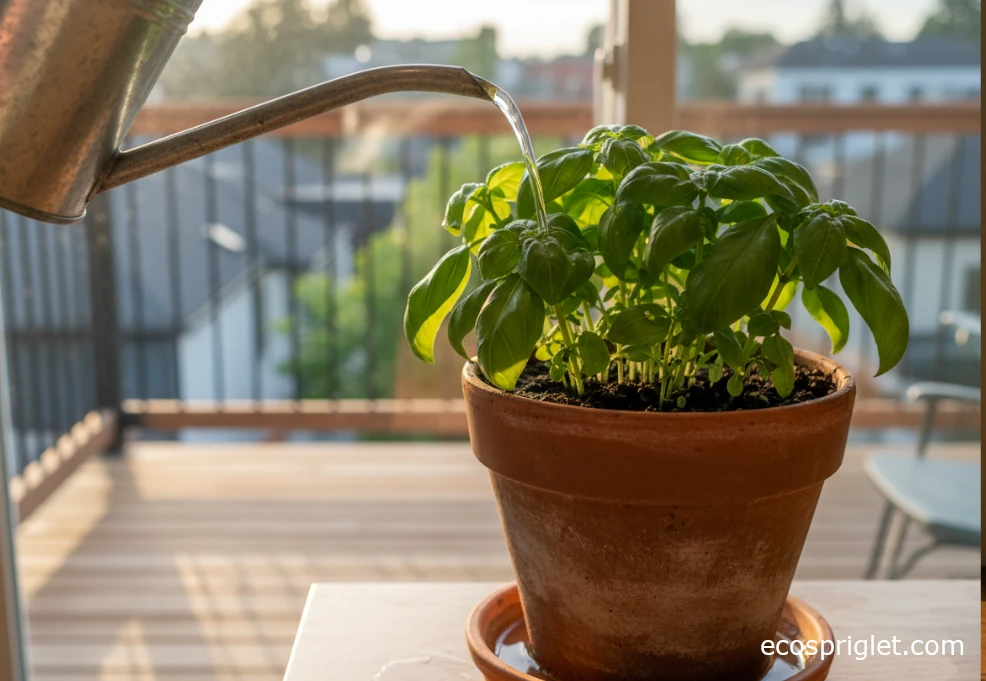
Most people worry they’ll forget to water, but in a warm kitchen the more common problem is actually overdoing it. Extension guidance for container plants generally suggests checking the top inch of soil with your finger; if that top 1–2 inches feels dry, water thoroughly until excess runs from the drainage holes. Herbs like consistent moisture but hate sitting in soggy soil, so always empty any water that collects in the saucer after a few minutes.
As a rough baseline, expect to check your kitchen plants—herbs especially—every day in warm weather and every few days in cooler months. I like to tie watering to an existing habit: every morning while coffee’s brewing, I touch the soil in each pot. If it’s cool and slightly damp, I leave it alone; if it’s dry and crumbly down to the first knuckle, it’s a watering day.
Herbs in containers eventually use up the nutrients in their potting mix. To keep growth steady, many university and extension guides recommend feeding container plants lightly every few weeks during active growth. A gentle liquid fertilizer diluted to about half strength every 3–4 weeks is usually enough for kitchen herb plants. Skip feeding during the darkest part of winter when growth naturally slows.
Harvesting is the fun part. Most herbs can be clipped once they reach around 6–8 inches tall, and many sources advise taking no more than about one-third of the plant at a time so it can quickly regrow. I remember one of my first kitchen basil plants looking sad and leggy; once I started pinching stems just above a pair of leaves instead of grabbing single leaves, it bounced back into a tidy, bushy plant that gave me pesto for weeks.
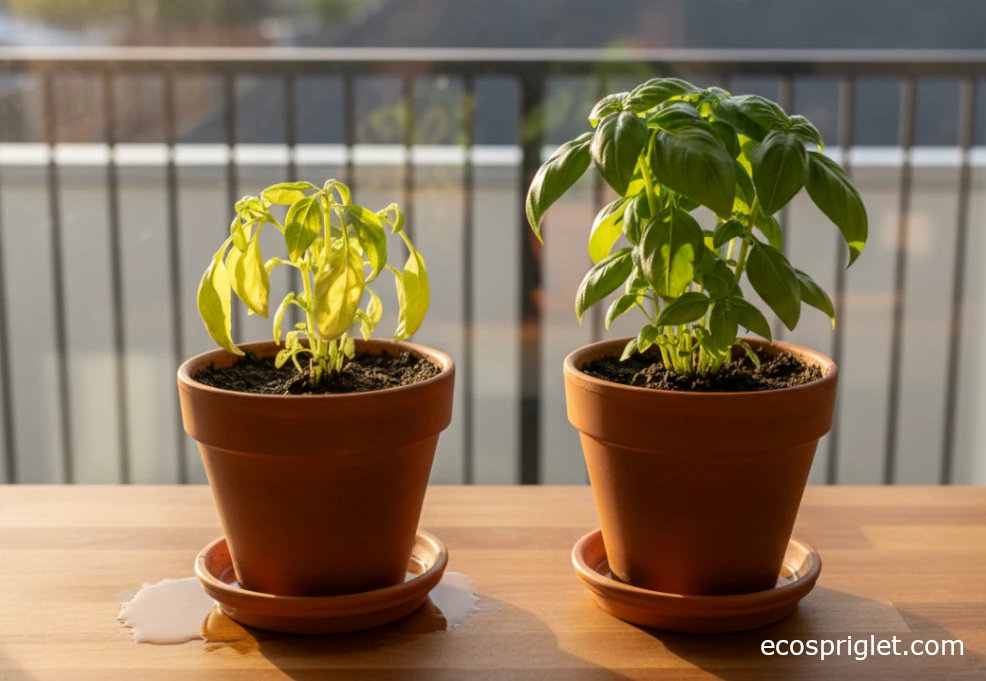
Signs you’re overdoing things: yellowing leaves (often from waterlogged soil), herbs that flop after every watering (pot may not be draining well), or plants that look pale and stretched (not enough light). When in doubt, adjust one thing at a time—light, water, or feeding—so you can see what actually helped.
Creative Ways to Arrange Hanging and Countertop Herbs in the Kitchen
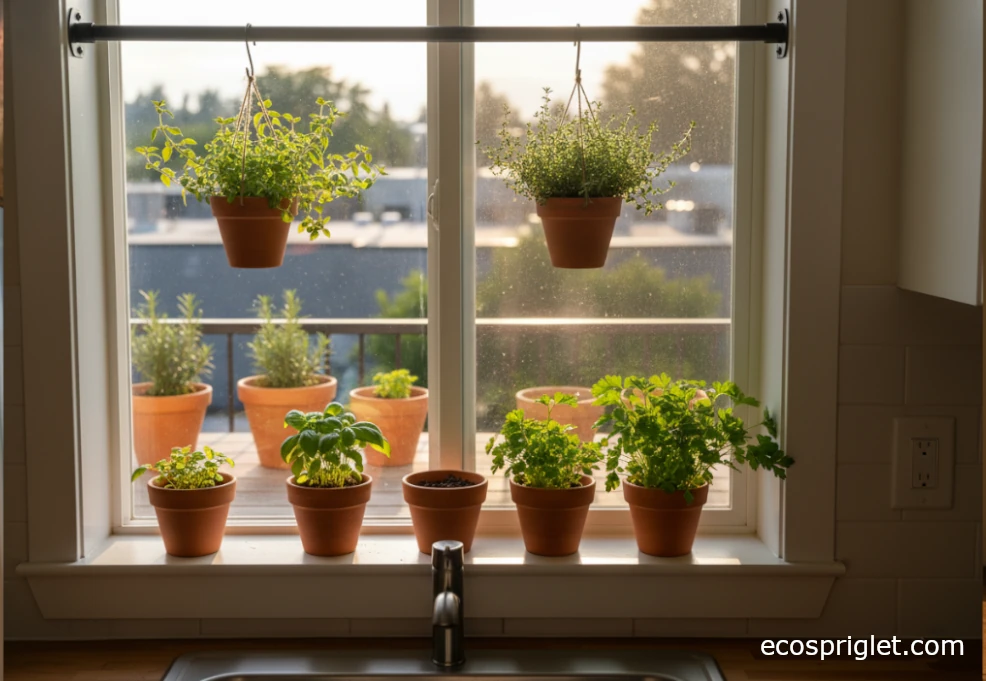
Once your plants are happy, you can have fun with layout. Growing herbs inside the kitchen doesn’t have to mean cluttered counters and pots scattered everywhere. With a bit of planning, you can mix hanging herbs in the kitchen, compact countertop herbs, and even a few plants on the adjoining terrace into one clean, easy-to-use setup.
One of my favorite small-kitchen tricks was converting a spare curtain rod into a mini hanging herb system. I mounted it across the top of the window and used S-hooks to hang lightweight terracotta or metal pots. The herbs that needed the strongest light lived in the hanging row, and the ones that preferred slightly softer light sat on the counter a few inches back.
- Use a rail or curtain rod for hanging herbs kitchen style: keep pots small (about 4–5 inches) and lightweight.
- Reserve the exact windowsill for sun-hungry herbs like basil and thyme; tuck mint or parsley slightly off to the side.
- Create a “harvest station” near the stove with scissors, a small compost bin, and your most-used kitchen counter herbs.
- If you have a terrace outside the kitchen, let larger pots live out there and rotate smaller cuttings inside.
Just make sure any hanging system is securely attached and that dripping water won’t land on appliances or outlets. For renters, tension rods, removable adhesive hooks, and small freestanding shelves can all double as herb supports without making permanent holes. If you’re planning a bigger layout with tiers and indoor lights, pairing this article with an indoor grow light setup guide can help you scale up safely.
Common Mistakes to Avoid With Kitchen Herb Plants
I learned most of these the hard way—usually right before a dinner party when my herbs decided to collapse. Here are the big pitfalls to watch for when you’re growing herbs in the kitchen:
- Too little light: Herbs stretching toward the window, with long gaps between leaves, almost always need a sunnier herb window kitchen setup or a small grow light.
- Constantly wet soil: If the surface never dries and the pot feels heavy, roots can suffocate. Extension resources for container gardening stress watering only when the top inch or so is dry and letting excess drain away.
- Tiny, root-bound pots: Herb plants in kitchen spaces often stay in their original small nursery pots too long. If roots circle the bottom or water runs straight through, step up to the next size pot.
- Harvesting the wrong way: Snipping random leaves from the bottom can leave plants weak and spindly. Clipping stems just above a leaf pair encourages bushier growth and more harvest.
- Ignoring temperature swings: Herbs directly against icy winter glass or under a scorching overhead light can struggle even if you’re watering perfectly.
Whenever I lose a plant, I try to treat it as a quick post-mortem: was light, water, or pot size the main issue? Once you connect the dots a couple of times, you’ll catch problems much earlier—and your replacement herbs will live a lot longer.
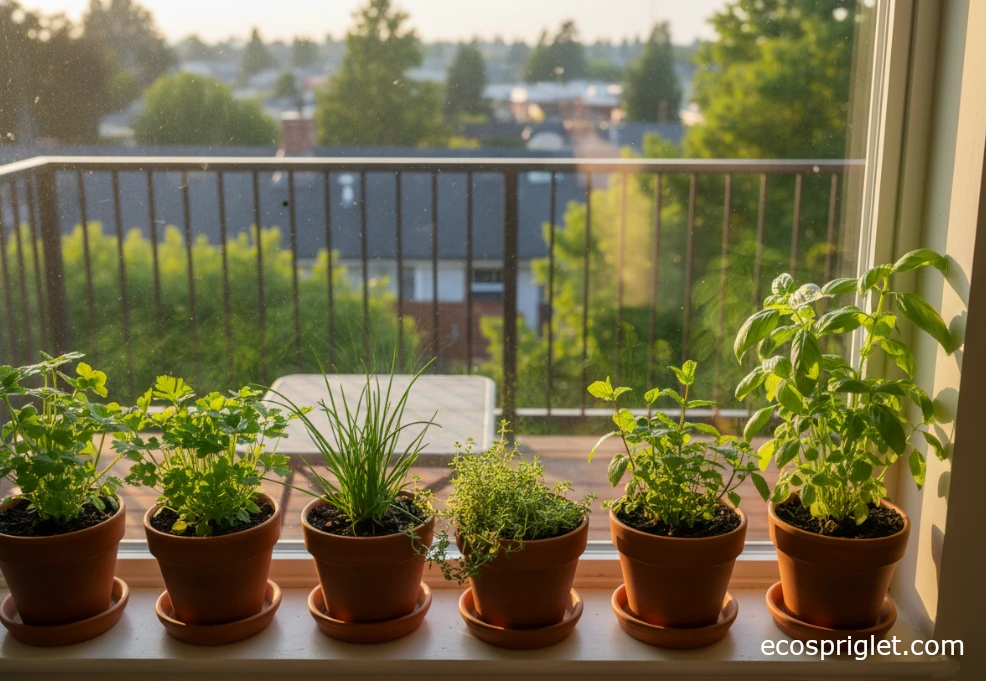
At this point, you’ve got everything you need to turn a normal apartment kitchen into a small, efficient herb garden. Start by choosing three to five herbs you actually cook with, then match them to the light you have—basil and thyme in the sunniest herb window, parsley and mint where the light is bright but softer. Give each plant a draining pot with a loose potting mix, keep temperatures in that comfortable mid-60s to low-70s °F range, and water only when the top 1–2 inches of soil dry out.
From there, it’s about arranging your space so it feels calm instead of cluttered. Use a mix of kitchen counter herbs, a compact hanging rail, and maybe even a few bigger pots on the terrace right outside the kitchen door. Harvest often, but gently, and don’t be afraid to replace a struggling plant; even experienced gardeners lose herbs from time to time. I still do.
If you’re ready to go one step further, you can scale this setup into a full balcony herb corner using the same basics: light first, then pots and drainage, then a simple watering and feeding routine.