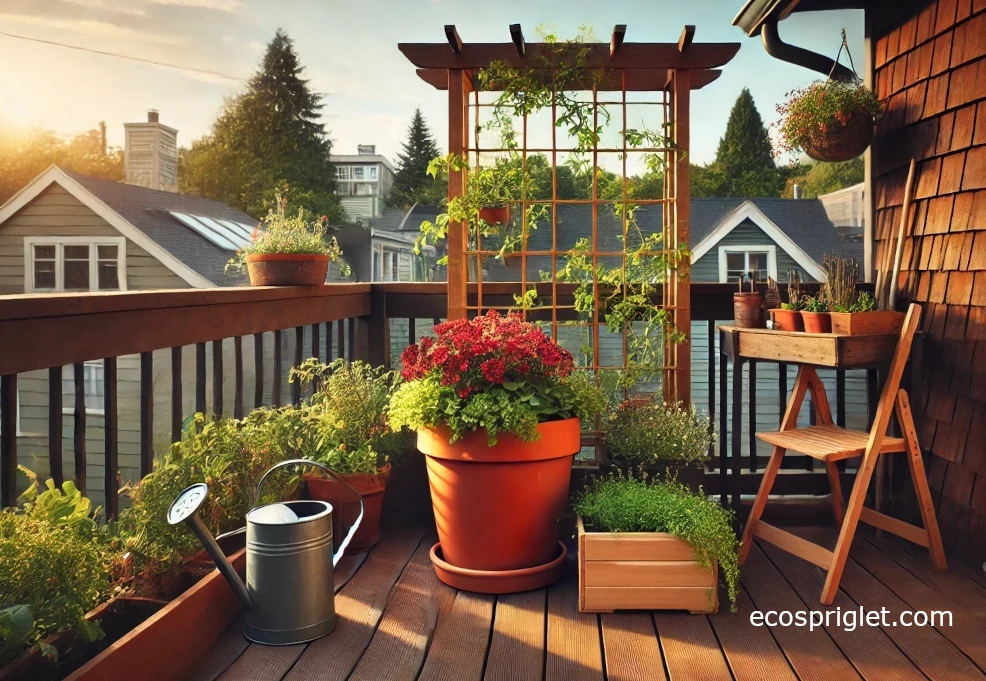
Growing carrots in containers is absolutely doable, even if your “garden” is a sunny balcony, narrow patio, or a few sturdy pots near an apartment door. The main thing to understand is that carrots are not like tomatoes or basil. They do not appreciate being started in little cells and moved later. Their taproot begins shaping early, so the best approach is to sow seed directly into the final pot and give that root a clear, loose path downward.
For apartment gardeners, carrots are a satisfying crop because they stay compact, do not need a trellis, and can be grown in repeated small batches. The catch is that they are a little fussy at the beginning. Seeds are tiny, germination can be slow, and uneven watering often shows up later as forked, cracked, or stubby roots. Once you dial in pot depth, seed spacing, and moisture, though, carrots become one of the tidiest edible crops you can grow in a small space. University Extension sources consistently point to direct seeding, loose well-drained soil, and steady moisture as key parts of good carrot growth.
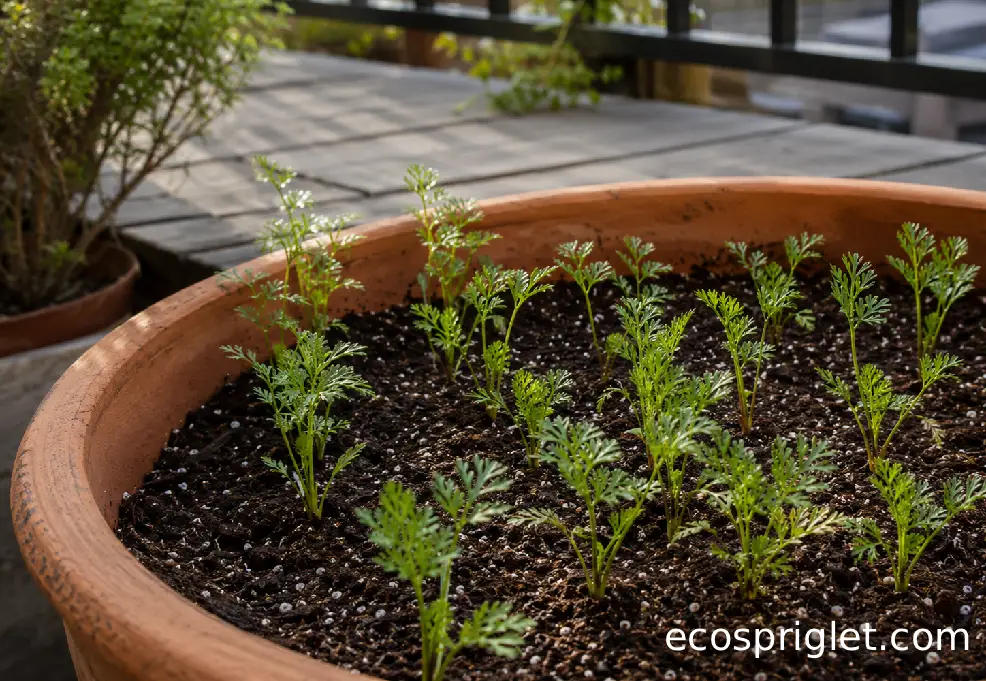
Yes, You Can Grow Carrots in a Pot
Can you grow carrots in a pot? Yes, as long as the pot is deep enough, drains well, and is filled with a light mix that lets the root grow straight. In my own balcony setup in Portland, I’ve had better luck with wide, modestly deep containers than with narrow decorative pots. A carrot patch does not need much above-ground space, but below the soil line, every inch matters.
Think of the pot as a miniature raised bed. Short, round, and stump-rooted carrots are the easiest choices for beginners because they are more forgiving in containers than long tapered types. University of Maryland Extension specifically notes that miniature and round carrot types are suitable for container gardening, while longer carrot types need deeper, looser growing space.
A sunny outdoor location is still important. Aim for at least 6 hours of direct light, with 8 hours being better if your balcony gets it. Carrots are cool-season vegetables, so spring and fall plantings are usually easier than midsummer sowings on hot balconies. If your railing area bakes above 85°F in July, use that space for peppers or basil and save carrots for a cooler window.
Pick a Pot Deep Enough for Straight Roots
The safest beginner choice is a container at least 10 to 12 inches deep for short or round carrots. For Nantes, Danvers, or other medium-length types, I would go closer to 12 to 16 inches deep so the roots are not forced to bend when they hit the bottom. A wide pot, window box, crate-style planter, or fabric grow bag works better than a tall skinny pot because it gives you more planting surface.
| Container Choice | Best For | Daniel’s Practical Note |
|---|---|---|
| 10- to 12-inch-deep pot | Round, mini, and short carrots | Good for beginners and small patios |
| 12- to 16-inch-deep box | Nantes and medium-length carrots | Best balance of depth and usable planting space |
| Fabric grow bag | Balconies where weight matters | Dries faster, so check moisture more often |
| Milk crate lined with breathable fabric | Budget root-crop setup | Works well if it has drainage and enough depth |
Do not forget weight. University of Maryland Extension notes that a 20-inch container filled with moist potting mix and plants can weigh about 100 pounds, which matters on balconies and rooftop spaces. Keep heavier containers close to building walls rather than hanging them from railings, and check your lease or building rules before adding several large planters.
Wind is the other small-space issue people underestimate. Straight-sided boxes and low, broad pots are less likely to tip than narrow tapered containers. On an exposed balcony, I prefer a long planter sitting on the deck over a railing planter full of wet soil. The Royal Horticultural Society also cautions that balconies and roof gardens need special attention to wind and weight limits.
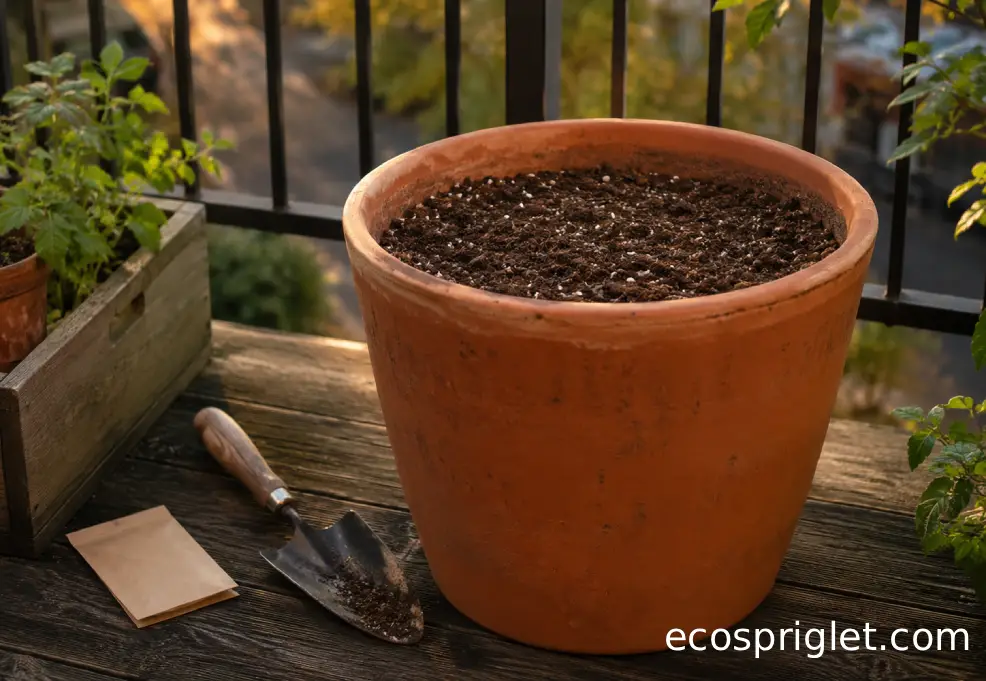
Build a Loose Mix That Drains Without Drying Out
Carrots want a mix that feels loose, fine, and evenly moist. Big bark chunks, rocks, compacted soil, and hard clumps can all redirect the root, which is how you end up with forked or twisted carrots. For containers, skip heavy garden soil and use a fresh soilless potting mix or container mix. University of Maryland Extension explains that true soil is too dense for container roots and that soilless media provide better air and water movement.
Before filling the pot, moisten the mix in a tub until it feels like a wrung-out sponge. Dry peat- or coir-based mixes can repel water at first, and tiny carrot seeds do not handle dry pockets well. I like to rub the top inch between my hands and remove any large sticks or clumps. It feels a little fussy, but that fine seedbed pays you back later.
Use containers with real drainage holes. A detachable saucer is fine for protecting balcony decking, but empty it after watering so the pot is not sitting in runoff. Do not add gravel, stones, or broken pot pieces inside the bottom of the carrot pot. Illinois Extension and University of Maryland Extension both explain that gravel layers do not improve drainage and can contribute to waterlogged potting mix.
If your balcony runs hot and windy, a self-watering container can help keep moisture more consistent. Choose one with an overflow hole, and still check the top inch of mix during germination because the surface can dry before roots reach the reservoir. For more setup ideas, see our container gardening soil mix guide.
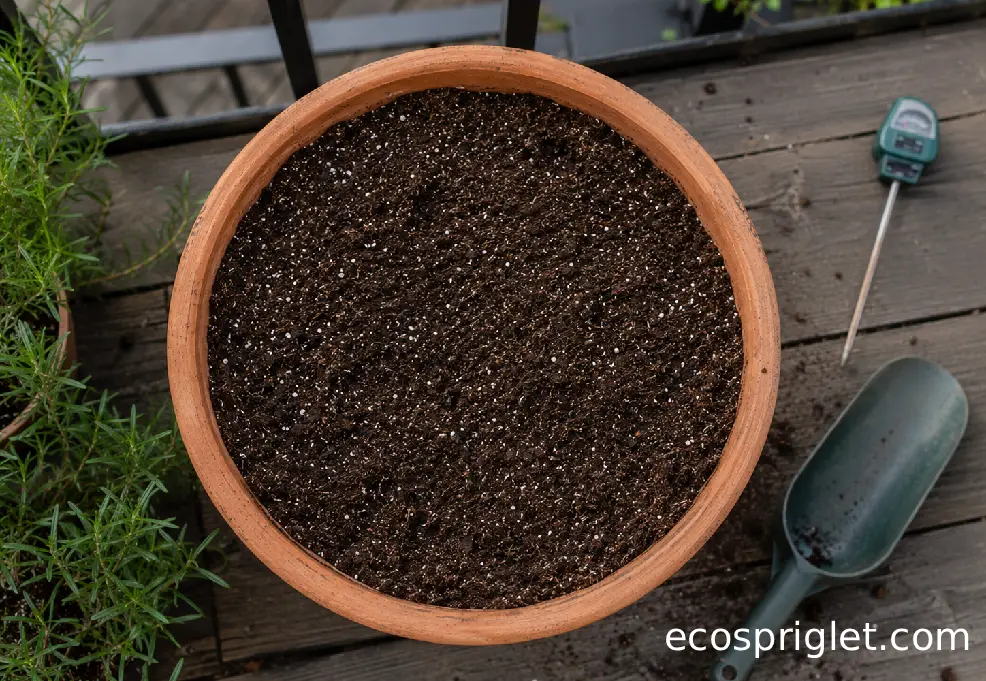
How to Plant Carrot Seeds in Containers
Planting carrots in containers is simple, but it rewards patience. Sow directly into the final pot when the potting mix is cool rather than hot. University of Maryland Extension recommends planting when soil has reached at least 45°F, while Utah State University Extension notes that carrot seed germinates best around 55°F to 65°F and that temperatures above 80°F reduce germination.
- Fill the pot to within about 1 inch of the rim, then water the mix gently before sowing.
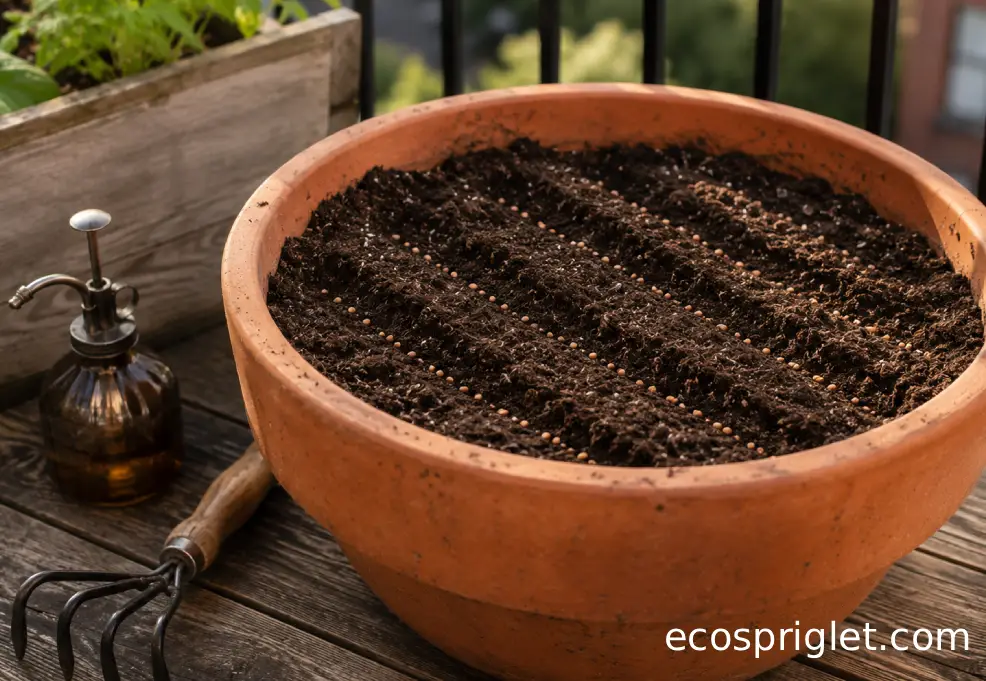
- Make shallow furrows about 1/4 inch deep, or follow your seed packet if it gives a different depth.
- Sow seeds thinly, aiming for about 1/2 to 1 inch between seeds so thinning is less painful later.
- Cover with fine potting mix, compost, or vermiculite, then press lightly for seed-to-mix contact.
- Mist or water with a gentle rose so seeds do not wash into one corner.
I remember my first balcony carrot attempt: I scattered seed like I was salting soup, then spent a month trying to untangle a green carpet. Pelleted seed or seed tape costs a little more, but it makes spacing easier if your hands are cold or your balcony is breezy. University of Minnesota Extension notes that pelleted seed and seed tape can help gardeners place carrot seed more precisely and reduce thinning work.
During germination, keep the surface consistently damp. A scrap of burlap, a board raised slightly above the soil, or a thin layer of vermiculite can help reduce crusting and drying, but remove any cover as soon as seedlings appear. Most importantly, do not let the top layer bake dry for a day and then flood it the next morning.
Keep Moisture Steady From Sprout to Harvest
Carrots are not heavy feeders, but they are demanding about moisture. Dry spells can lead to bitter, tough, undersized, or misshapen roots, while sudden wet periods after dryness can encourage cracking. University of Minnesota Extension recommends good soil moisture for best carrot quality, and Utah State University Extension warns that moisture fluctuations contribute to root problems and bitterness.
In containers, I use a finger test rather than a calendar. During germination, the surface should stay lightly moist. Once seedlings are established, water when the top 1 inch feels dry, then water until excess begins to drain. On a mild spring balcony, that may mean every 2 to 3 days. In a windy heat spell, a terracotta or fabric container may need checking daily.
Two small tricks help a lot. First, water in the morning so foliage dries before evening and the pot has a full day to absorb moisture. Second, add a thin 1/4- to 1/2-inch layer of fine compost, shredded leaf mold, or clean straw after seedlings are established. Keep it light; a thick mulch can smother tiny carrot tops.
Ease up slightly as carrots near harvest size. The mix should not go bone-dry, but constantly soggy conditions are not your friend either. If you see roots splitting, review your watering pattern before blaming the seed variety. Big swings from dry to soaked are usually the real culprit.
Thin, Feed, and Protect Small-Space Carrots
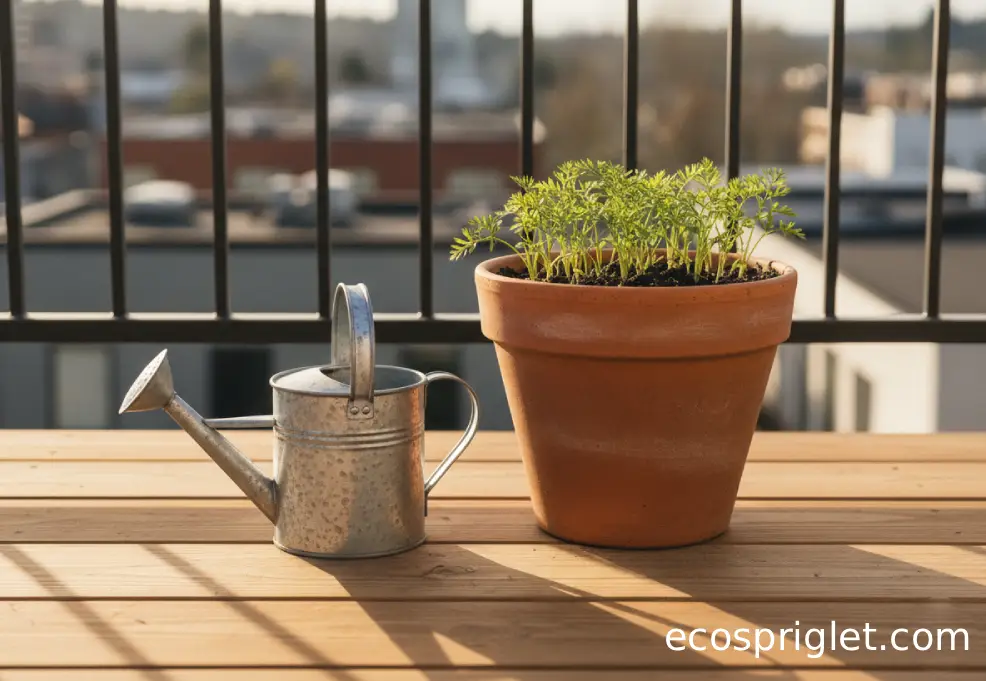
Thinning is the step beginners hate, and I get it. You finally have seedlings, and now someone tells you to remove half of them. But crowded carrots compete underground, which leaves you with skinny roots and tangled tops. When seedlings are about 2 to 4 inches tall, thin them so the remaining plants have room to size up.
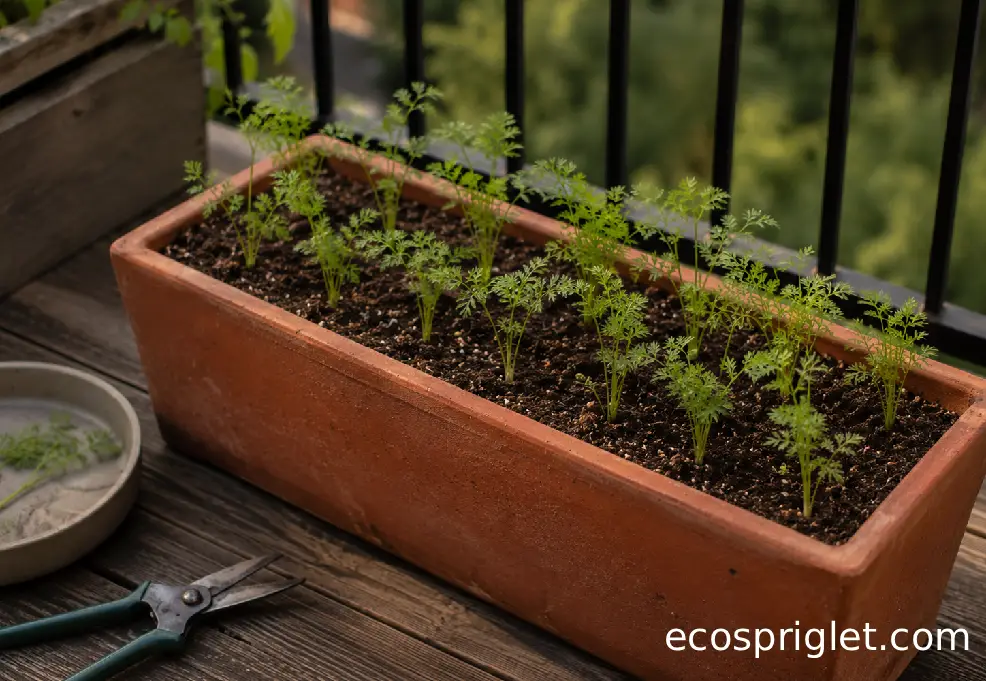
For small containers, I like 2 inches between most carrots and up to 3 inches for larger types. University of Minnesota Extension recommends thinning when seedlings are 3 to 4 inches tall so remaining plants are about 2 to 4 inches apart, while University of Maryland Extension gives a 1- to 4-inch thinning range depending on the carrot type and growing method.
- Use small scissors to snip extras at soil level if seedlings are crowded; pulling can disturb nearby roots.
- Keep the surface weed-free because tiny carrots do not compete well while they are getting established.
- Avoid high-nitrogen feeding; too much leafy growth can come at the expense of root quality.
- If carrot shoulders push above the mix, cover them lightly so they do not turn green.
Container carrots usually do fine with the mild starter fertilizer already in a fresh potting mix. If growth looks pale after 4 to 6 weeks, use a balanced liquid vegetable fertilizer at half label strength, then watch the response. I would rather underfeed carrots slightly than push them hard and get lots of ferny tops with disappointing roots.
Pets and kids are worth considering, too. The ASPCA lists garden carrot as non-toxic to dogs and cats, though the plant contains psoralens that may irritate skin in some cases. Keep tools, fertilizer, and damp potting mix out of reach, and cut any harvested carrot pieces small if sharing plain carrot as a pet snack.
Common Mistakes to Avoid
Most container carrot problems start early, then only become obvious at harvest. I learned this the hard way with a pretty blue ceramic pot that had one tiny drainage hole and a mix full of bark chips. The tops looked charming. The roots looked like they had tried to dodge traffic.
- Using a shallow pot: Match carrot type to container depth. Short carrots are better for 10- to 12-inch pots; longer types need more depth.
- Starting seeds indoors: Sow directly in the final container. Transplanting can damage or redirect the taproot.
- Letting the seedbed dry out: Keep the top layer evenly moist until seedlings are established.
- Skipping thinning: Crowded carrots rarely size up well. Snip extras rather than yanking clumps.
- Adding gravel to the pot bottom: Use drainage holes instead. Gravel layers do not fix soggy potting mix.
Another quiet mistake is choosing the hottest corner of the balcony because it looks sunny. Carrots like light, but they do not love hot root zones. Dark plastic pots against a south-facing wall can heat up fast. If your container feels hot to the touch in the afternoon, move it back from the wall, place it where it gets morning sun and light afternoon shade, or switch to a lighter-colored container for your next sowing.
Finally, do not expect every carrot to look grocery-store perfect. A few odd shapes are normal in real container gardening. The goal is crisp, edible roots and a setup you can repeat, not a flawless harvest photo.
Harvest, Wash, and Store Your Balcony Carrots
You can harvest carrots whenever they reach a usable size. For many common garden types, that is roughly 65 to 75 days from seed, but the seed packet is your best guide because variety and weather matter. University of Maryland Extension suggests harvesting fresh-use carrots before they exceed about 1 inch in diameter, while University of Minnesota Extension notes that carrots can be harvested any time they are big enough to use.
Check size by brushing mix away from the shoulder of one carrot. If it looks ready, water the container lightly first, wait a few minutes, then pull with a gentle twist. In a deep planter, I sometimes slide a narrow trowel alongside the root to loosen the mix before pulling. That reduces snapped roots, especially with Nantes types.
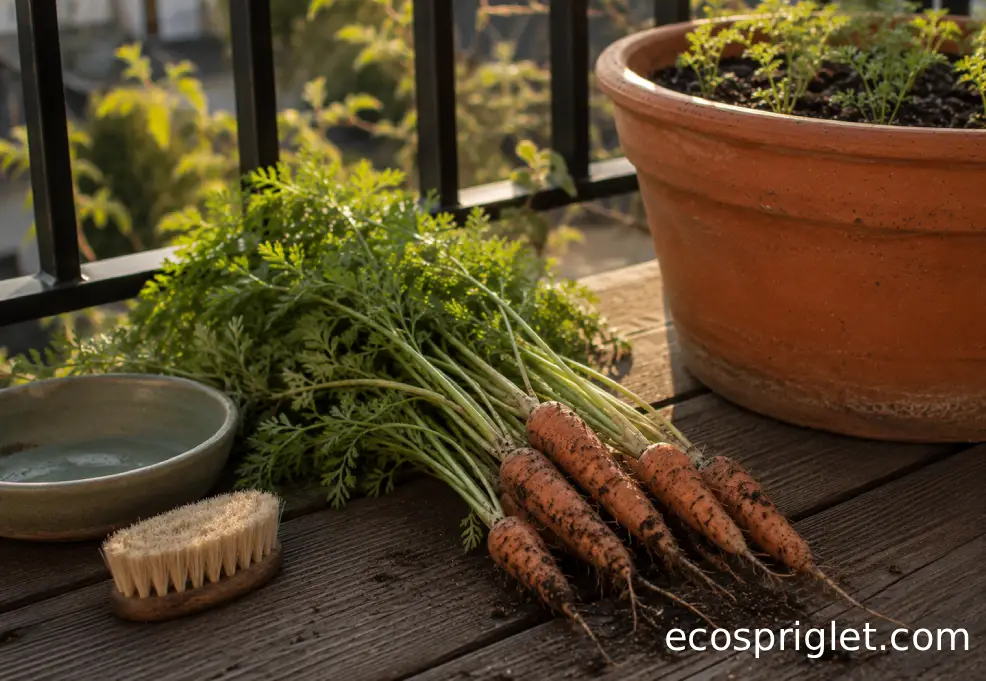
After harvest, cut off the leafy tops if you are storing the roots. Tops continue pulling moisture from carrots, so removing them keeps the roots crisper. Rinse carrots under running water before eating or cooking, and do not use soap, detergent, or produce wash. The FDA recommends washing produce thoroughly under running water, scrubbing firm produce with a clean brush when needed, drying it with a clean towel, and storing perishable produce at 40°F or below.
For apartment storage, dry the washed carrots well, tuck them into a container or bag in the refrigerator, and use them while they are still firm and sweet. Small homegrown carrots disappear fast in my kitchen, usually roasted whole or sliced into a quick lunch salad.
Try These Compact Carrot Setups for Tiny Spaces
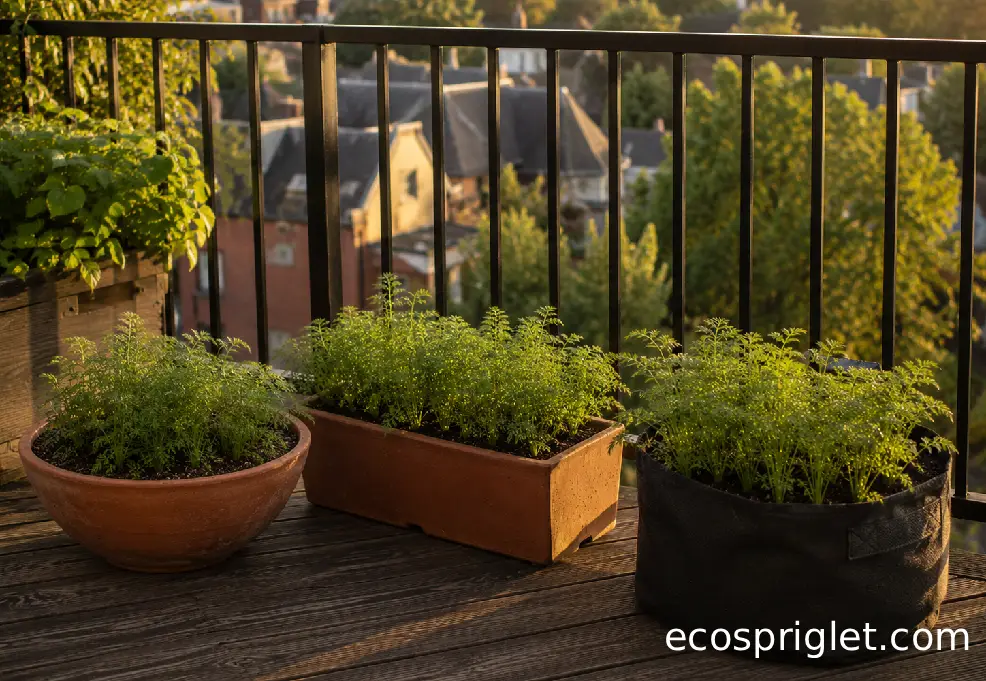
Once you know how to grow carrots in a pot, it becomes easy to fit them into a broader balcony vegetable plan. The trick is to plant small, repeatable batches instead of one oversized container that becomes heavy and awkward. A 24-inch rectangular planter can give you several short rows, while two medium fabric bags can be moved apart when the sun angle changes.
For a windowsill or narrow ledge, choose round or mini carrots in a stable trough and sow a small patch every 3 to 4 weeks during cool weather. For a balcony floor, try a 12- to 16-inch-deep rectangular box and plant in short rows across the width, not one long row down the middle. If you have a sunny patio corner, a larger self-watering planter can keep moisture steadier during spring warm-ups. University of Maryland Extension notes that self-watering containers can reduce maintenance by conserving water and nutrients, which is useful for edible crops in small spaces.
Carrots also pair nicely with quick crops that do not compete for long. A few radish seeds can mark carrot rows because radishes germinate quickly and are harvested before carrots need the space. Keep companion planting practical, though. Avoid crowding carrots with aggressive herbs or leafy greens that shade the soil surface too heavily.
If you are building your first edible balcony, carrots work well alongside lettuce, chives, parsley, and compact bush beans. For layout ideas that fit renters and small patios, visit our balcony vegetable garden guide.
Ready to Pull Your First Container Carrots
Carrots reward the gardener who pays attention early. Give them a deep enough container, a loose mix, cool-season timing, and steady moisture, and they will grow quietly without taking over your balcony. The first few weeks are the fussy part: keeping seed moist, thinning without guilt, and protecting the pot from heat, wind, and soggy saucers. After that, most of the work is simply checking moisture and letting the roots size up.
For beginners, I would start with one 12-inch-deep container and a short or round carrot type. Sow lightly, label the date, and check one shoulder after about two months. Even if the first batch comes out a little crooked, you will learn more from that pot than from reading ten seed packets. Container gardening is wonderfully forgiving when you treat each sowing as a small experiment.
Ready to build out the rest of your edible balcony? Start with carrots, then add leafy greens and herbs that match the same light and watering routine. A small, steady harvest close to the kitchen is often more useful than a large garden you do not have room to maintain.