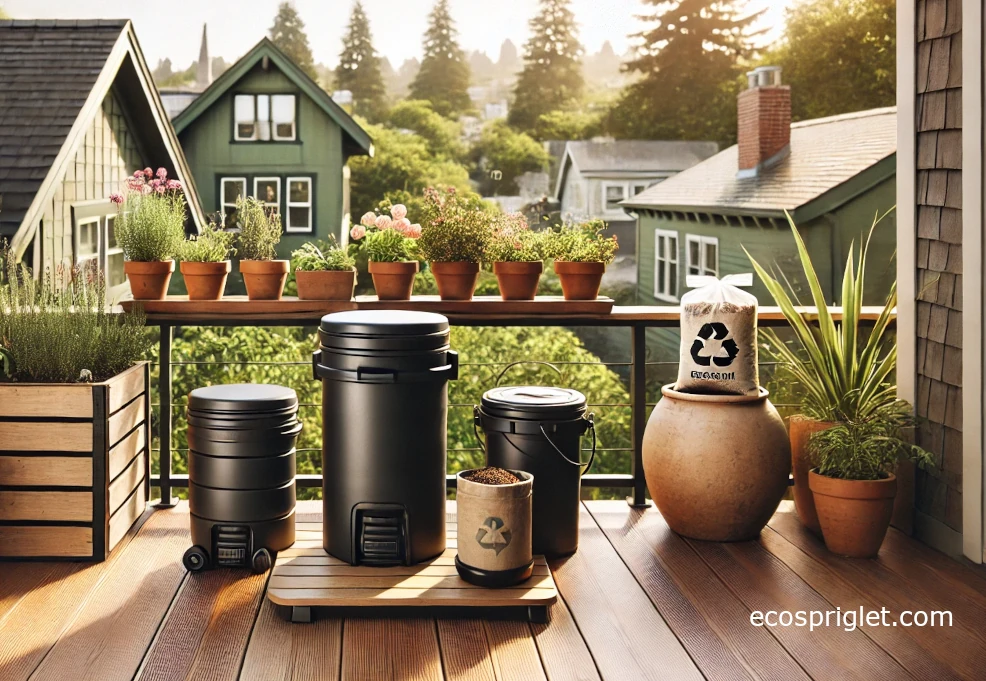
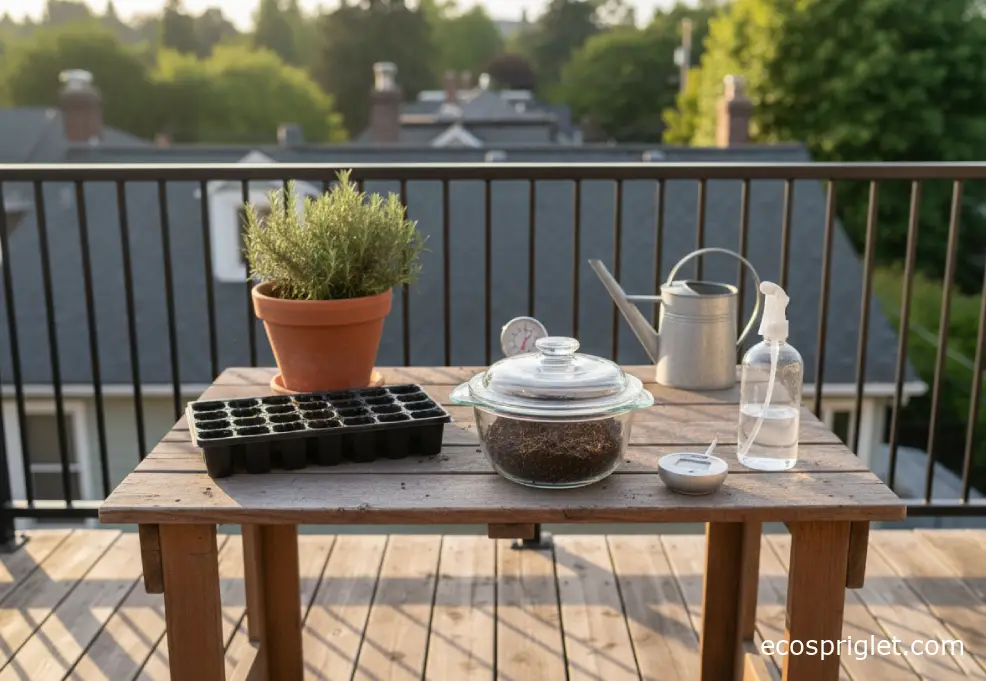
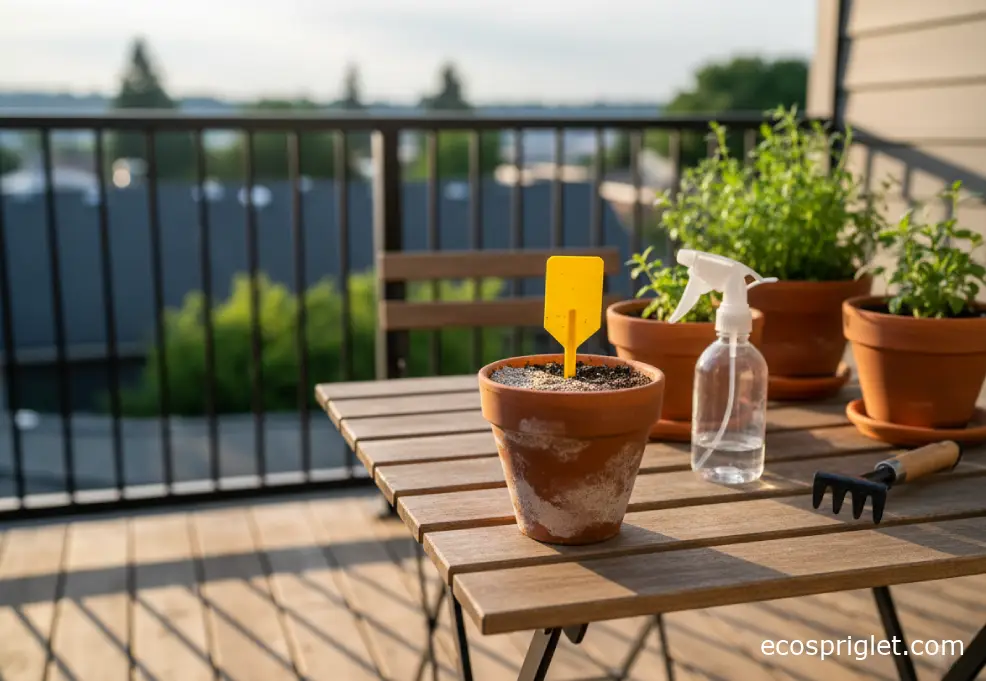
If you’ve ever dumped a thriving basil plant into a fresh pot… only to watch it slump a week later, you’re not alone. In small-space container gardening, soil problems get amplified fast—fungus gnats multiply indoors, “mystery mold” shows up on the surface, and old potting mix can carry over pests or disease from last season.
That’s where learning how to sanitize soil makes a difference. The goal is a gentle reset: reduce fungus gnats, damping-off fungi, weed seeds, and lingering root-rot pathogens without turning your potting mix into a lifeless brick. Most home methods are actually pasteurization (heating to a target temperature for a set time), not hospital-grade sterilization—and that’s a good thing for plants.
Below you’ll find apartment-friendly options for how to sterilize potting soil in the oven, microwave small batches, steam larger amounts, and solarize soil outdoors. I’ll also show you how to sterilize old potting soil so you can reuse it confidently—without accidentally cooking it too hot.
Sanitizing vs. Sterilizing: What You Actually Need
Most gardeners say “sterilize,” but in practice, home methods aim to pasteurize soil—reduce the troublemakers while keeping the mix usable. Penn State Extension and Oklahoma State Extension both describe heating potting media/soil to about 180°F and holding it there for around 30 minutes to knock back many pathogens, insects, and weed seeds without the downsides of extreme overheating (which can create plant-harming compounds and that unmistakable “cooked dirt” smell).
So what should you do?
- Sanitize/pasteurize for seed-starting, fungus gnat issues, reused potting mix, or after a disease problem in a container.
- Skip it if you’re using a fresh, reputable bagged potting mix and you haven’t had problems—your time is valuable.
- Don’t chase “sterile” forever: once the soil is back in the open air, microbes return. The goal is a clean start, not a permanent bubble.
Sources I trust for the temperature-and-time guidance: Penn State Extension, Oklahoma State Extension, and the University of Idaho Extension (especially their warning not to overheat past roughly the 180–200°F range).
Quick Pick: Best Method for Your Space and Amount of Soil
Here’s the simplest way to choose how to sterilize potting soil (or dirt) without overcomplicating it:
| Method | Best For | Typical Target | Apartment Reality Check |
|---|---|---|---|
| Oven | 1–2 gallons of potting mix | Soil reaches 180°F for ~30 min | Works anytime; can smell earthy |
| Microwave | Small batches for seed-starting | Heat thoroughly (use caution) | Fast, but easy to overdo |
| Steam | Medium to larger batches | Media heated near 160–180°F | No “baked soil” odor; needs a pot setup |
| Solarization | Outdoor soil or big volumes | Clear plastic, 4–6+ weeks in hot sun | Season-dependent; great for balconies in summer |
If you’re dealing with how to sterilize large amounts of soil, skip the oven. Steaming or solarization will keep you sane (and keep your smoke detector from becoming emotionally involved).
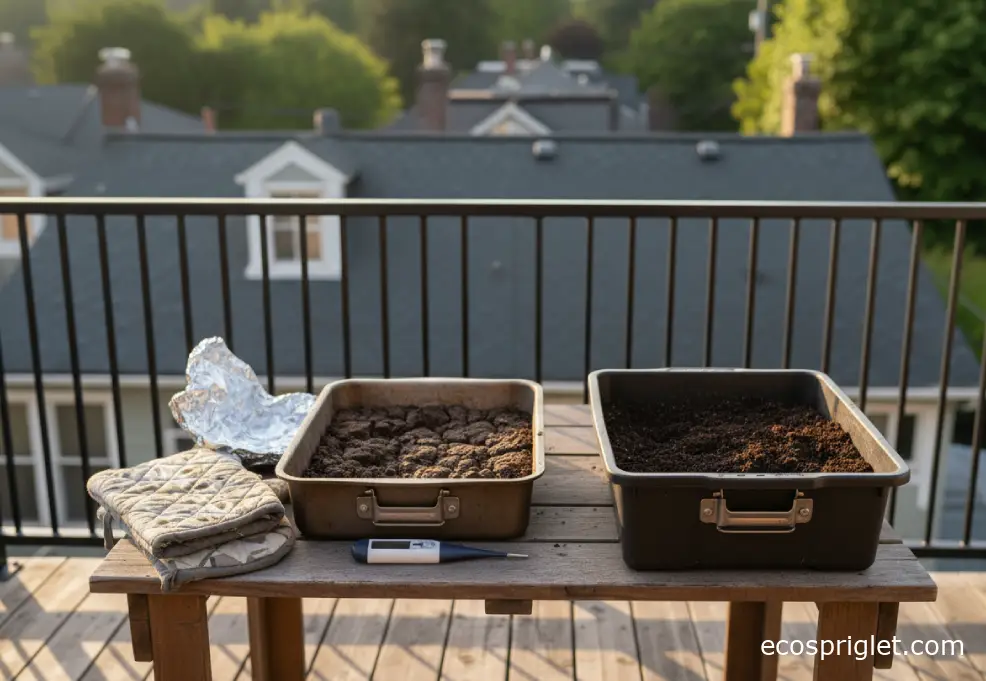
How to Sterilize Potting Soil in the Oven
If you’re sterilizing potting soil in the oven, the key is measuring heat in the middle of the mix rather than relying on the oven’s display. Guidance from Oklahoma State Extension and Penn State Extension recommends bringing the soil to about 180°F and keeping it at that temperature for roughly 30 minutes.
Step-by-step (apartment-friendly):
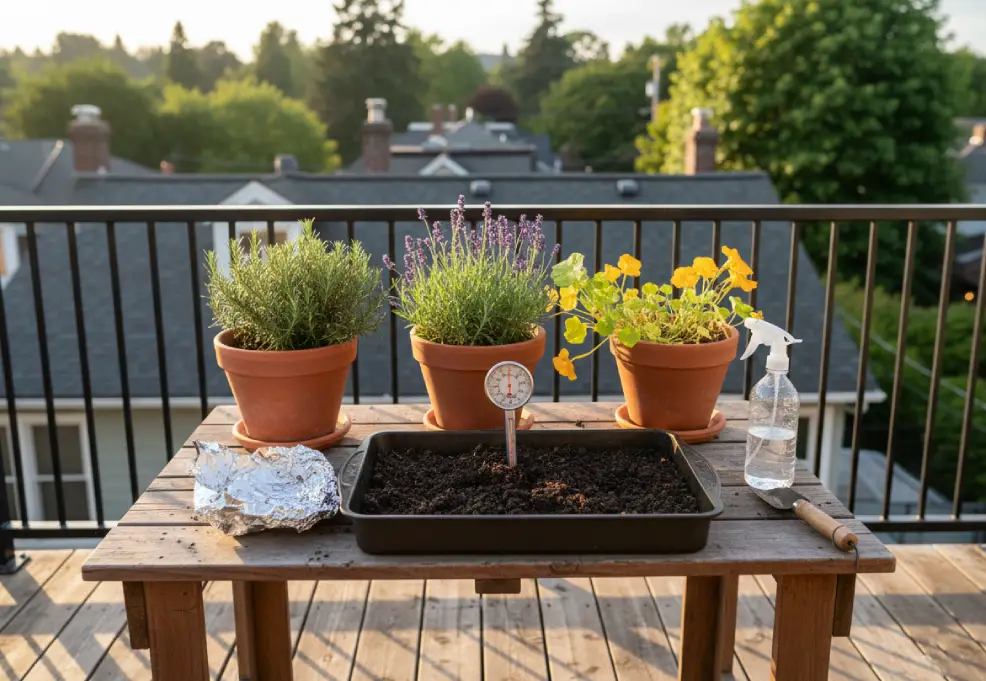
- Pre-moisten the mix until it feels like a wrung-out sponge—damp, not dripping. Dry soil heats unevenly.
- Fill a metal or glass baking pan with soil no deeper than ~4 inches.
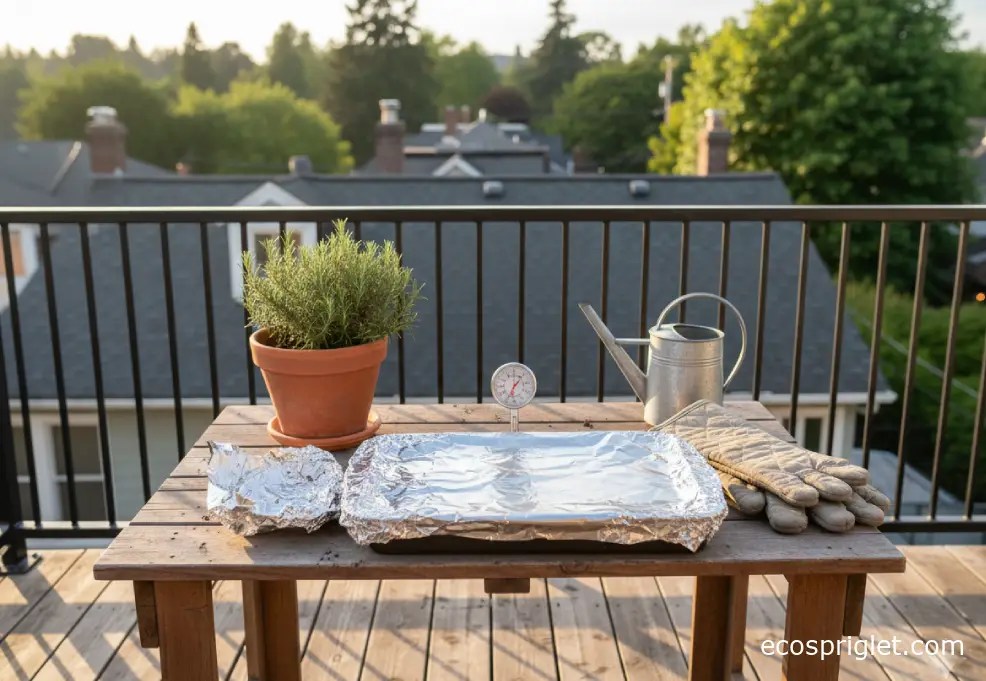
- Cover tightly with foil. This helps heat penetrate and reduces odor.
- Insert a probe thermometer through the foil into the center.
- Set the oven so the soil reaches 180°F. Keep it there for ~30 minutes.
- Turn off the oven and let the pan cool fully before uncovering. Store in a clean lidded bin if you’re not using it right away.
Beginner mistake I see a lot: cranking the oven way up to “get it over with.” The University of Idaho Extension specifically warns against overheating beyond roughly 200°F because it can create conditions that are rough on plants. Slow and steady wins here.
Small-space tip: If odor is a concern, do this when you can open a window and run your range hood. I’ve done it during a rainy Portland weekend with every window cracked—still earthy, but not terrible.
Microwave Method for Small Batches (Seed-Starting Mix)
If you only need enough for a seed tray, the microwave is the fastest way to sanitize potting soil—just treat it with respect. Uneven heating is the main problem, so smaller batches work best.
My practical microwave routine:
- Moisten the mix (wrung-out sponge damp).
- Microwave in a heat-safe container with a loose lid (steam needs somewhere to go).
- Work in short bursts and stir between rounds for even heating.
Two cautions from experience:
First, hot spots are real—always let it rest and cool before handling. Second, a sealed container can build pressure. Keep it vented.
If you’re trying to get a truly clean potting mix for sensitive seedlings, starting with a reputable commercial seed-starting mix is often the simplest move. I’ll sanitize reused mix for a lot of projects, but for finicky seeds, I’ve had better results not overcomplicating it.
Steaming Soil: The Best Option for Larger Batches Indoors
If you’re searching how to sterilize large amounts of soil and you live in an apartment, steaming is the method I recommend first. It’s widely used in greenhouse production, and guidance from sources like Mississippi State Extension describes target soil temperatures often in the 160–180°F range to control many pests and diseases, with time at temperature depending on depth and setup.
A simple “kitchen steamer” approach:
Bring a few inches of water to a gentle simmer in a stockpot. Put damp soil in shallow metal pans or a heat-safe tray, set them above the water on a rack/steamer insert, and cover with a lid. Use a probe thermometer to check the center of the soil. Once it’s heated thoroughly (aiming toward that 160–180°F zone), hold it there long enough to be meaningful—many horticulture references use a ~30-minute hold as a benchmark when targeting the higher end.
Why it works well indoors: you avoid the “baked earth” odor that sometimes comes with the oven, and you can do more volume in one go.
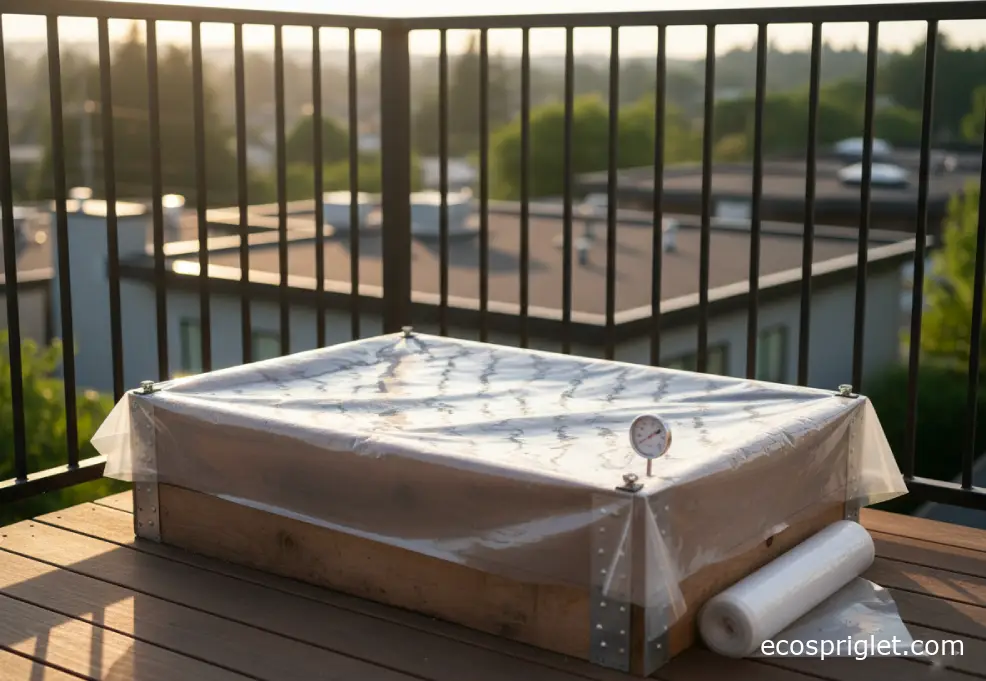
Solarization: How to Sanitize Soil With Sun and Clear Plastic
Solarization is the slow-and-steady, no-appliances method. The UC IPM guidance on soil solarization describes covering moist soil with clear plastic during the hottest, sunniest stretch of the year for about 4–6 weeks (often longer for best results), trapping heat to reduce weeds and many soilborne pests.
Balcony-friendly solarization tips:
- Moisture matters: water the soil first; moisture helps conduct heat.
- Use clear plastic and pull it tight so it hugs the surface (greenhouse effect).
- Time it right: you want the sunniest, hottest window you can get.
- Think shallow: solarization works best near the surface; it’s great for trays, shallow beds, and prepped garden boxes.
If you’re trying to sanitize soil for houseplants in February, this won’t help. But for summer container prep, it’s oddly satisfying—set it up, let the sun do the work, then pot up.
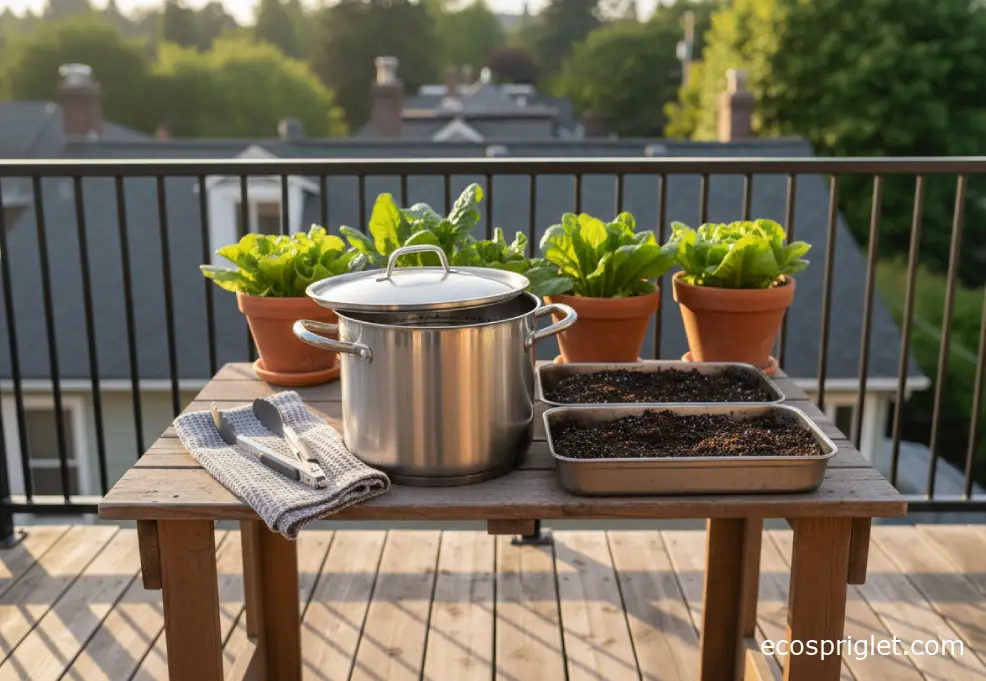
How to Sterilize Old Potting Soil and Reuse It Safely
This is the section I wish I had when I started container gardening. I remember my first attempt at reusing old potting soil: I topped it off, planted, watered… and then wondered why everything stayed soggy and sad. Old mix often collapses over time, holding too much water and not enough air.
Here’s my “refresh + sanitize” flow:
- Remove roots and any chunks of old stems. If the previous plant had disease (wilt, root rot, mildew everywhere), don’t reuse that mix—dump it.
- Sift if you can to break up clumps and pull out debris.
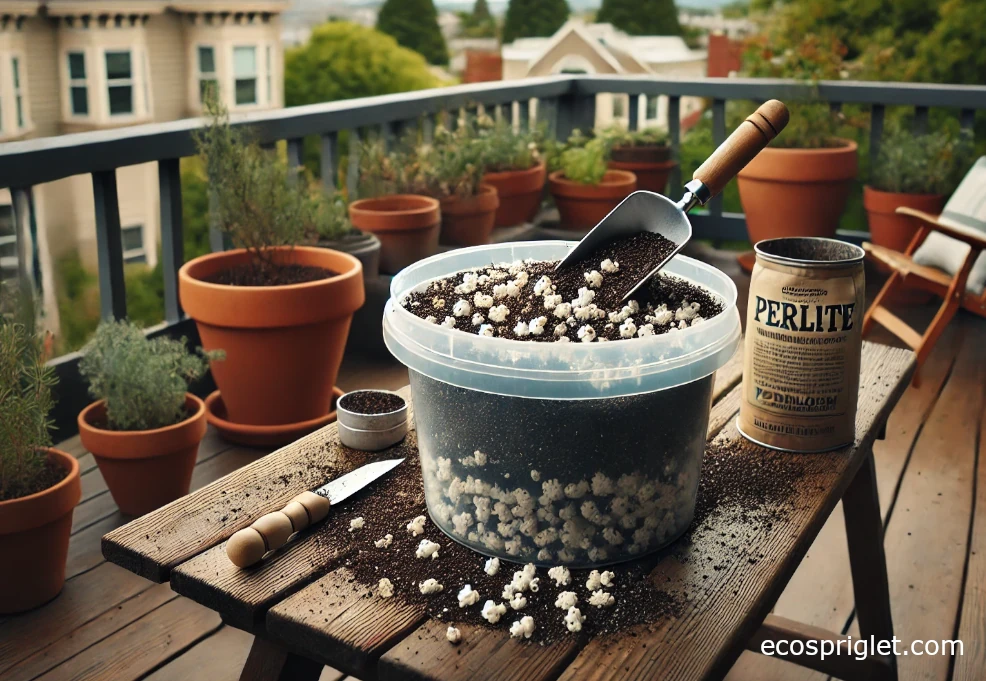
- Re-fluff the structure: mix in fresh potting mix and/or aeration material (many gardeners use perlite to improve air space). The goal is a lighter, springier feel.
- Sanitize with oven or steam if you had fungus gnats, damping-off, or a known pest issue.
Two sanity checks before you reuse it: If it smells sour after drying a bit, or it’s full of persistent gnats, you’ll get better results starting fresh. Also, don’t forget to clean the pot—sanitizing soil doesn’t help much if the container still has crusty residue or pest eggs stuck to the sides.
Common Mistakes to Avoid When Sanitizing Soil
These are the mistakes that cause the “I sanitized my soil and now nothing grows” stories:
- Overheating the mix: Extension guidance commonly warns against pushing soil too hot. Aim for the target temperature and don’t blast past it.
- Heating bone-dry soil: dry mix heats unevenly and can scorch. Start damp.
- Deep piles: more than ~4 inches deep in a pan makes it harder to heat the center evenly.
- Skipping the thermometer: oven dials lie; soil temperature is what matters.
- Recontaminating immediately: dumping cooled soil back into a dirty pot or an unwashed tote defeats the point.
My personal “learned it the hard way” note: I once rushed a batch and didn’t cool it fully before storing it. Condensation built up, and the mix smelled off a week later. Now I cool it completely, then store it dry-ish in a clean lidded bin.
Aftercare: Bringing Sanitized Soil Back to Life
Sanitized soil is a clean slate. It also tends to be a little “flat” biologically, especially if you heated it thoroughly. That doesn’t mean it’s bad—it just means you want to handle it like a fresh mix.
What I do next:
I let it cool completely, then lightly moisten before potting up so it hydrates evenly. For container plants, I’m careful not to overwater the first week—newly refreshed mixes can hold water differently than the old compacted stuff. A simple trigger I use: water when the top layer feels dry to the touch, and make sure excess can drain freely.
If you want to reintroduce beneficial life, you can blend in a small portion of finished compost (only if you trust its quality and it’s fully finished). If you’re seed-starting, keep it simple: clean mix, clean trays, and good airflow beats a complicated add-in routine.
Troubleshooting: Odor, Fungus Gnats, and When to Toss the Soil
If the oven method smells awful: that’s usually from organic material getting too hot. Next time, keep the soil damp, covered, and stick to the target temperature instead of a high oven setting. Ventilate. (Also: don’t do it right before company comes over. Ask me how I know.)
If fungus gnats come back fast: sanitizing helps, but moisture management finishes the job. Let the surface dry between waterings, bottom-water when appropriate, and consider a thin top layer that discourages adults from laying eggs (like coarse sand) for a short stretch. Also check nearby houseplants—gnats rarely stay loyal to one pot.
When to toss the soil: if a plant died from a serious disease, the mix stayed waterlogged for weeks, or it smells rotten even after drying, you’ll save yourself frustration by starting fresh. Compost it if appropriate, or dispose of it—your next plant is worth it.
Knowing how to sanitize soil is one of those behind-the-scenes skills that makes balcony gardening feel less like gambling. Whether you’re figuring out how to sterilize potting soil in the oven, steaming a bigger batch, or solarizing soil in summer sun, the win is the same: fewer pests, fewer seedling wipeouts, and more predictable growth.
If you take only one thing from this guide, make it this: aim for the soil’s internal temperature and don’t overcook it. Extension guidance (like Penn State Extension and Oklahoma State Extension) puts the focus on reaching that effective range and holding it long enough—without blasting the mix into the danger zone.
Ready for the next step after clean soil? Pair it with clean pots, smart watering, and plants that actually match your light.