Figuring out how to harvest onions is mostly about watching the plants rather than counting days on a calendar. For full-size bulb onions, the clearest signal is a crop that has started shutting down naturally: roughly half or more of the tops have fallen over and begun to dry. That is much more useful than judging readiness by bulb size alone, especially when you are growing several varieties or dealing with the uneven temperatures of a balcony garden. University of Minnesota Extension recommends harvesting when about half the tops are falling over and dry, while Iowa State University Extension advises waiting until most tops have fallen and begun drying.
From there, the job is gentle rather than complicated. Loosen the roots, lift the bulbs without bruising them, and cure storage onions before trimming or packing them away. Green onions are different: you can pull them whenever they reach a useful eating size. Below, I’ll walk you through the cues I trust, including what changes for red onions, containers, rainy weather, and small apartments where curing space is limited.
Read the Plant, Not the Calendar
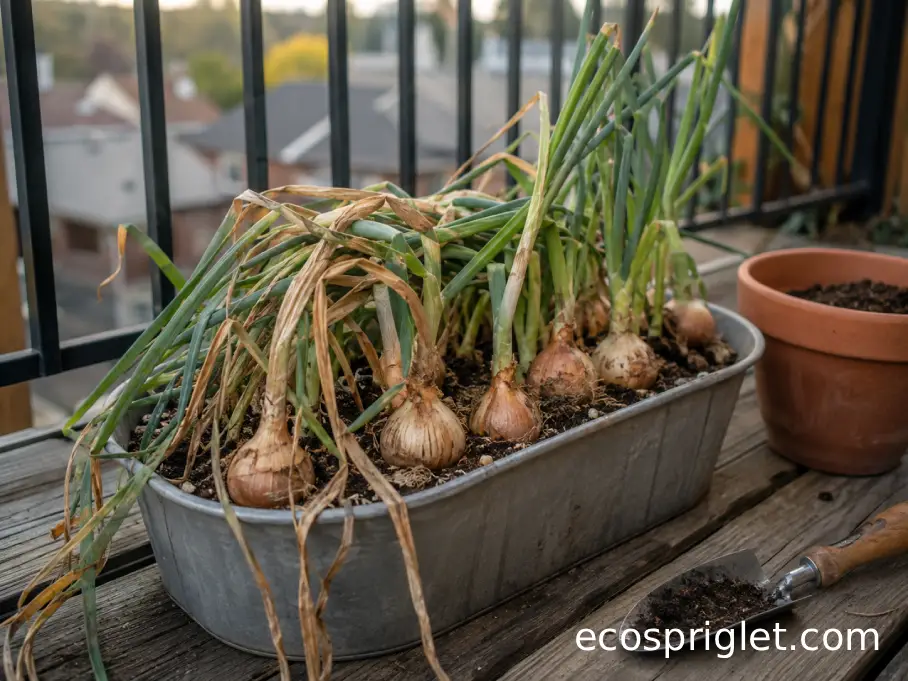
If you are wondering when onions are ready to harvest, start with the foliage. Mature storage onions gradually stop putting energy into green leaves. The tops bend over, lose their fresh green appearance, and begin drying. University of Minnesota Extension uses about 50% fallen and dry tops as its harvest cue; Iowa State suggests harvesting once most tops have fallen and started to dry.
Those guidelines are especially handy on a balcony because container plants rarely mature in perfect unison. One pot may be warmer than another, and a railing planter can dry faster than a container tucked against a wall. You do not need every onion to look identical before beginning the harvest. Once the crop is clearly moving into natural dieback, you can lift mature bulbs and leave obviously greener plants a little longer.
Wind adds one wrinkle. A single leaf that has been knocked sideways on an exposed balcony is not the same as widespread natural maturity. Look for several plants showing both fallen tops and drying foliage rather than treating one bent stem as your signal.
As the plants begin maturing and the tops fall over, stop routine irrigation. Utah State University Extension specifically recommends stopping onion watering at this stage because excess moisture during maturation can slow curing and contribute to storage problems.
Know the Signs That Bulb Onions Are Ready
The bulb does not have to reach some universal diameter before it is mature. Variety, planting date, daylight, growing conditions, and competition all affect final size. That is why foliage gives you a better decision rule than comparing your onions with supermarket bulbs. Onion development is also affected by day length, and cool or cloudy conditions can delay bulb formation.
I remember waiting on one balcony crop because several bulbs still looked disappointingly small. By the time I accepted that the plants themselves had finished growing, I had learned a useful lesson: a small mature onion does not become a large mature onion simply because you leave it sitting in the pot.
- Look for about half or more of the crop showing naturally fallen, drying tops.
- Expect some unevenness; harvest in more than one round if a few plants remain strongly green.
- For red onions, use the same maturity cues as other dry bulb onions rather than waiting for a particular shade or diameter.
- If you take a bulb while the plant is still vigorous and green, plan to use it fresh rather than relying on it for your longest storage.
So how do you know when onions are ready to harvest? Think of it as a combination of signals rather than one dramatic moment: widespread lodging, drying tops, and a crop that has clearly stopped active leafy growth. That simple check works whether your onions are yellow, white, or red.
Lift the Bulbs Without Bruising Them
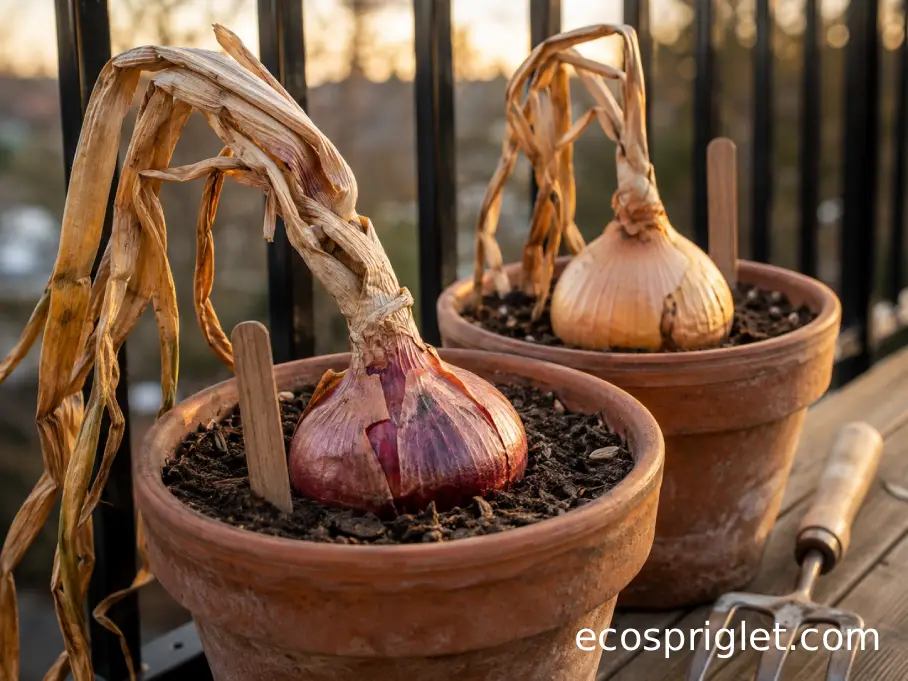
Harvesting onions carefully matters because a cut or badly bruised bulb is a poor candidate for storage. Iowa State University Extension recommends pulling or digging bulbs with the tops still attached, while University of Minnesota Extension suggests undercutting and lifting them with a spading fork.
Containers actually make this part easier. If the potting mix is loose, grasp the plant near the base and lift without squeezing the bulb. If it resists, loosen the mix beside the onion with a hand fork or trowel first. With a small fabric pot, you can sometimes support the container and loosen the root zone from the sides instead of digging directly toward the bulbs.
- Choose a dry harvesting period when possible so the bulbs and surrounding mix are not saturated.
- Loosen compacted soil before pulling rather than yanking hard on the foliage.
- Keep digging tools beside the bulb instead of stabbing underneath blindly; damaged onions should be used first.
- Leave the tops attached during the initial curing period instead of immediately trimming everything back.
Once an onion is out of the pot, handle it more like an apple than a potato. Do not toss bulbs into a bucket or knock them together to shed soil. Storage problems often start with small wounds you barely notice at harvest.
Harvest Green Onions Whenever They Reach a Useful Size
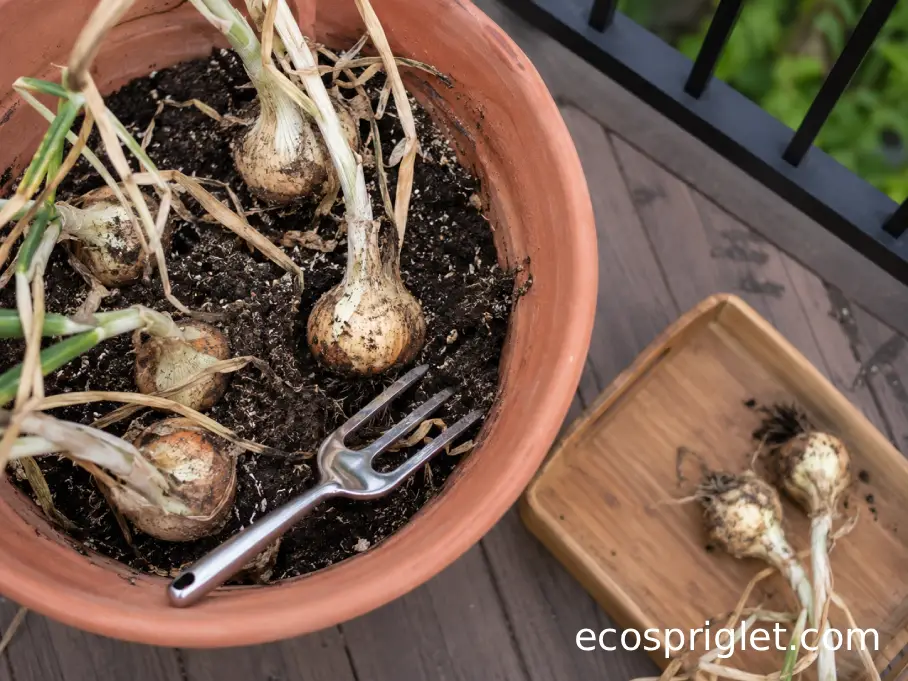
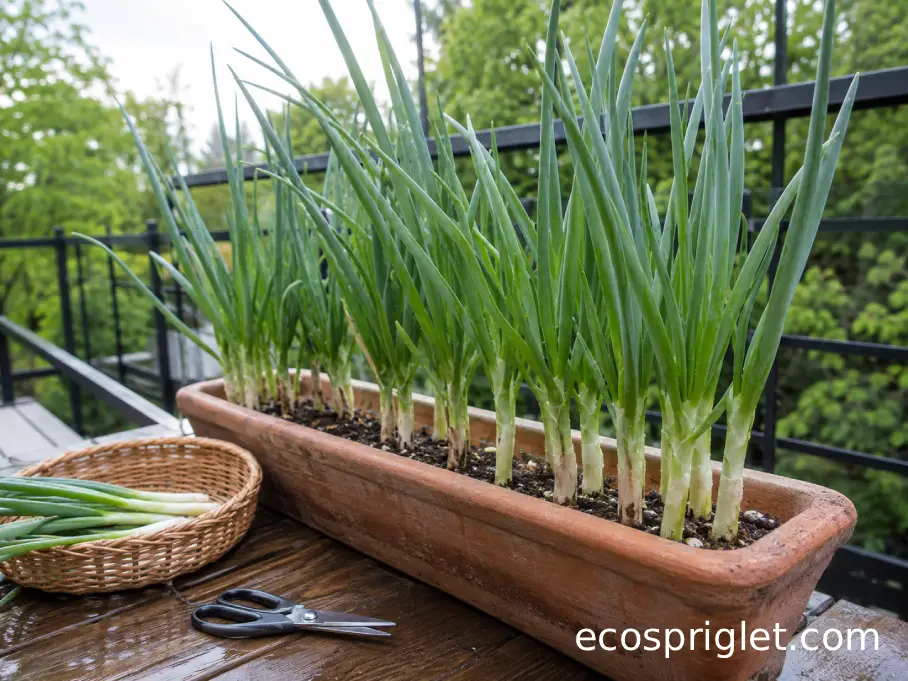
Green onions play by different rules. True scallions or bunching onions are grown for their green and white stalks rather than a mature storage bulb, so there is no reason to wait for the tops to collapse. University of Minnesota Extension recommends pulling scallions once they have reached a usable size.
That flexibility is perfect for apartment gardeners. If six plants are crowding a narrow box, pull one or two for dinner and give the remaining plants more room. I like harvesting the thickest stalks first rather than clearing the whole container at once. It turns a small planter into a useful kitchen crop for longer.
Pull the whole plant gently from loose mix, or loosen around the roots first if the container has become compacted. Rinse green onions when you are ready to prepare them. University of Minnesota food-safety guidance recommends delaying washing produce until preparation or eating when it is not visibly dirty, which helps preserve quality during storage.
If you are growing bulb onions and simply want one early as a fresh green onion, you can harvest it before full bulb maturity. Just remember that doing so ends that plant’s chance to develop into a cured storage onion.
Cure Storage Onions in a Dry, Airy Small Space
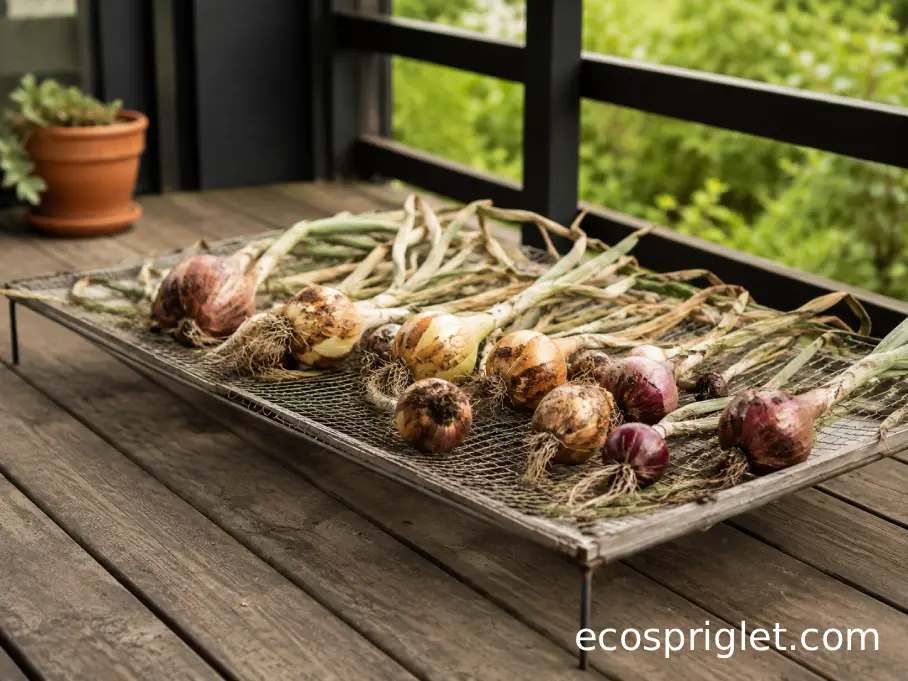
If you want onions to last beyond the next few meals, curing is the part not to skip. University of Minnesota Extension recommends a warm, well-ventilated location around 75–90°F for roughly two to four weeks, until the outside scales are dry and the neck has tightened. Iowa State gives a similar home-garden method, spreading bulbs in a single layer in a warm, dry, ventilated place for about two to three weeks.
You do not need a barn or garden shed. In an apartment, a covered balcony during reliably dry weather can work, as can a warm indoor utility area with strong air circulation. Arrange the bulbs in one layer rather than heaping them in a basket. A mesh shelf, slatted tray, or other open surface gives humid air somewhere to go.
My small-space rule is simple: if two bulbs are pressed tightly together and staying damp where they touch, give them more room. Curing is drying, not storage. Packing the crop away too soon traps exactly the moisture you are trying to remove.
Wait until the tops and necks are thoroughly dry and the outer skins feel papery before trimming. Iowa State recommends cutting cured tops to about 1 inch above the bulbs.
One apartment-specific caution is worth adding: keep both harvested onions and curing trays where pets cannot eat them. The ASPCA lists onion, Allium cepa, as toxic to dogs and cats.
Avoid These Common Onion Harvest Mistakes
Most disappointing onion harvests are not caused by being a day or two late. The bigger problems come from rough handling, poor drying, or expecting an immature bulb to behave like a properly cured storage onion.
- Do not harvest the whole crop simply because one plant fell over. Look for widespread natural lodging and drying across the onions.
- Do not keep watering heavily after the tops have begun falling. Utah State University Extension notes that excess water during maturation can delay curing and create storage problems.
- Do not pile freshly harvested onions into a deep box to cure. Spread them in a single layer with good ventilation.
- Do not put thick-necked, bruised, cut, or decaying onions into long-term storage with your best bulbs. Iowa State advises using thick-necked bulbs promptly and discarding onions showing decay.
I learned the bruising lesson the hard way with an early container harvest. The bulbs looked fine when I carried them inside, but I had stacked them carelessly in a small bucket. The damaged ones softened first. Since then, I use a shallow tray and treat every bulb I want to store as if the skin matters—because it does.
There is also no advantage to scrubbing freshly harvested storage onions clean before curing. Let the outer layers dry, remove loose soil gently later, and wash the onion when you are preparing it for food. General University of Minnesota produce guidance recommends washing before eating, cutting, cooking, or preserving rather than unnecessarily washing clean produce well in advance.
Sort and Store the Cured Crop With Plenty of Airflow
After curing, trim dry tops to about 1 inch unless you plan to braid the foliage. Sort the bulbs at the same time. Firm onions with dry skins and well-dried necks get the best storage spot; anything damaged, softening, thick-necked, or questionable goes into the use-first pile. Iowa State Extension specifically recommends sorting out decay and using thick-necked bulbs promptly.
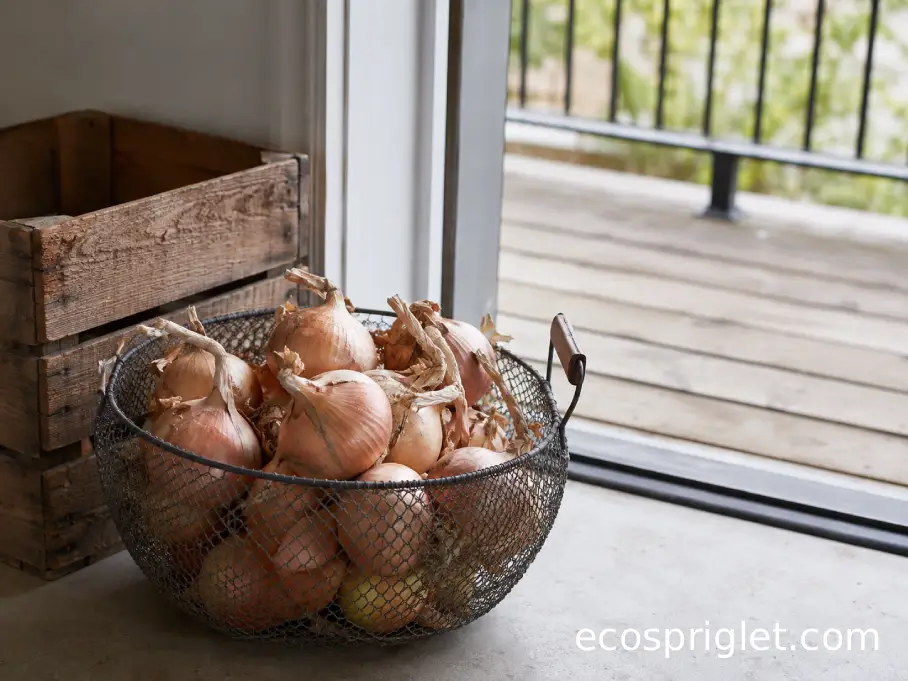
For ideal longer-term storage, Iowa State recommends 32–40°F with moderately dry conditions around 65–70% relative humidity and plenty of ventilation. Mesh bags, wire baskets, and crates are suggested because they allow air to circulate. Do not let stored onions freeze.
Most apartment dwellers will not have a perfect root cellar, so work with the conditions you actually have. Choose your coolest dry, dark, ventilated location rather than sealing onions in a plastic tote. Keep them away from damp areas and inspect the crop regularly. If a bulb begins softening or sprouting, move it to the front of the kitchen queue rather than leaving it buried under the others.
If your harvest started in containers, this is also a good time to make notes for next season. Record which pot gave you the healthiest bulbs, where wind caused trouble, and whether watering was easy to manage. Our guide to growing onions in containers can help you turn those observations into a better setup next time.
Make Harvest Day a Simple Routine
The easiest way to know when to harvest onions is to stop looking for one perfect date. Watch the crop instead. When roughly half or more of your bulb onions have fallen over naturally and the foliage is drying, stop regular watering and prepare to harvest. Lift the bulbs gently with their tops attached, then give storage onions enough warmth, dryness, airflow, and time to cure properly. Those simple cues match the home-garden guidance from University of Minnesota Extension and Iowa State University Extension.
Green onions are even easier: pull them whenever the stalks reach a size you want to eat. Red bulb onions follow the same maturity signals as other storage onions. And if your plants are growing in balcony pots, do not worry if they finish a few days apart. Small-space harvests are easy to handle in batches.
The part I would never rush is curing. A couple of extra weeks on an airy rack can make the difference between a crop that keeps well and one that begins softening shortly after harvest. Once the skins and necks are thoroughly dry, sort carefully and store your best bulbs where they will stay cool, dry, and ventilated.
Ready to plan another compact edible crop? Explore our balcony vegetable garden guide for practical ways to get more from a small outdoor space.