Growing bell peppers in pots is absolutely doable, even if your “garden” is a sunny balcony, a small patio, or one bright corner by a sliding door. The trick is treating peppers like the warm-season, sun-hungry fruiting plants they are. They need a container with real root room, steady moisture, good drainage, and enough light to ripen from green to red, yellow, orange, or whatever color your variety promises.
I like peppers for apartment gardening because one healthy plant can feel surprisingly productive without taking over the whole balcony. It stays tidier than a sprawling tomato, and it pairs well with herbs in nearby pots. Bell peppers are slower and a little fussier than jalapenos or banana peppers, though, so beginners do best when they start with one or two sturdy transplants instead of crowding a railing with too many small pots.
Below, you’ll find a practical container setup, planting steps, watering cues, indoor-light notes, troubleshooting fixes, and harvest guidance based on container gardening guidance from Extension sources and real small-space growing habits.
Start With the Right Pot, Not the Prettiest One
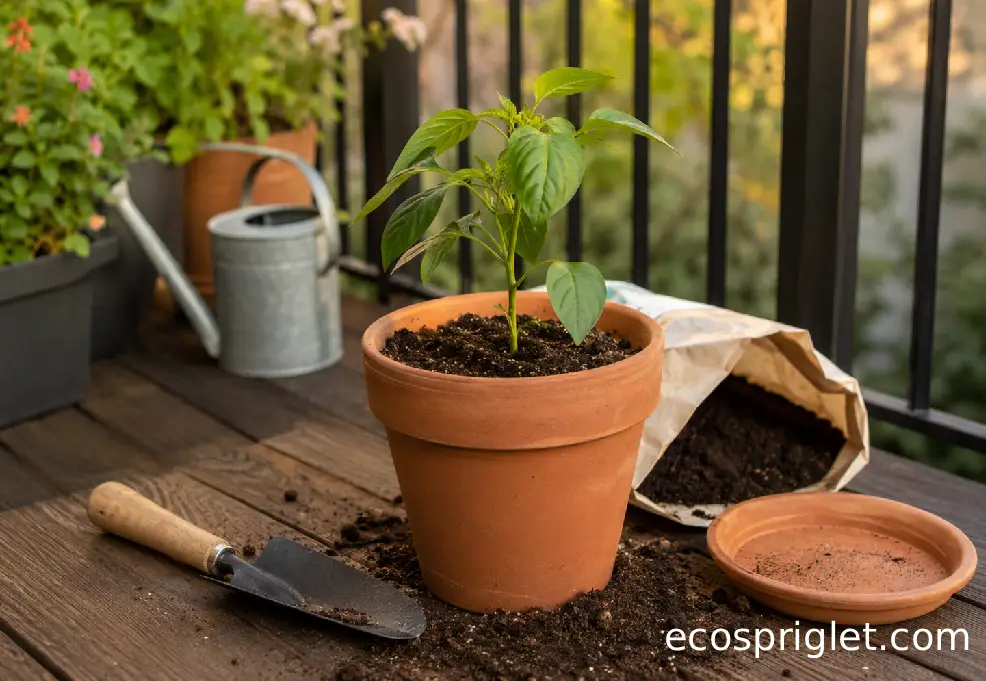
The easiest way to make container peppers harder than they need to be is starting with a pot that is too small. Bell peppers can survive in modest containers, but they grow better and are easier to water in a larger pot. For one bell pepper plant, I’d choose a 5-gallon container as the practical apartment-gardener sweet spot. University of Maryland Extension lists 5 gallons as a minimum for peppers in containers, while Penn State notes that one bell pepper can fit in a 2-gallon container; in real balcony conditions, the larger pot gives you a bigger moisture buffer on hot, windy days.
Look for a pot at least 12 inches deep and wide, with drainage holes. Wider, straight-sided pots are steadier than narrow tapered ones, which matters on balconies where wind can turn a leafy pepper plant into a little sail. Illinois Extension specifically cautions balcony and rooftop gardeners to think about wind, pot stability, and building weight limits before loading up heavy containers.
- Use one pepper plant per 5-gallon pot for the easiest care.
- Choose a container with drainage holes; peppers dislike waterlogged roots.
- Skip gravel in the bottom. Illinois Extension explains that gravel does not improve drainage inside a pot and can leave soil wetter above the gravel layer.
- Place a saucer under the pot indoors or on finished decking, but empty standing water after watering.
For renters, lightweight resin or fabric containers are useful because wet potting mix gets heavy fast. If your balcony has a posted load limit or you’re unsure, keep pots near structural edges rather than clustering several heavy containers in the middle, and check with your building manager before creating a dense container garden.
Choose Bell Pepper Plants That Fit Apartment Growing
Bell peppers are all green at first, then many varieties ripen to red, yellow, orange, purple, or brown if they stay on the plant long enough. That is why planting red peppers in pots is not a separate technique from planting green peppers; it is usually a matter of variety choice and patience. University of Maryland Extension notes that pepper fruits begin green and ripen into a range of colors, shapes, and flavors.
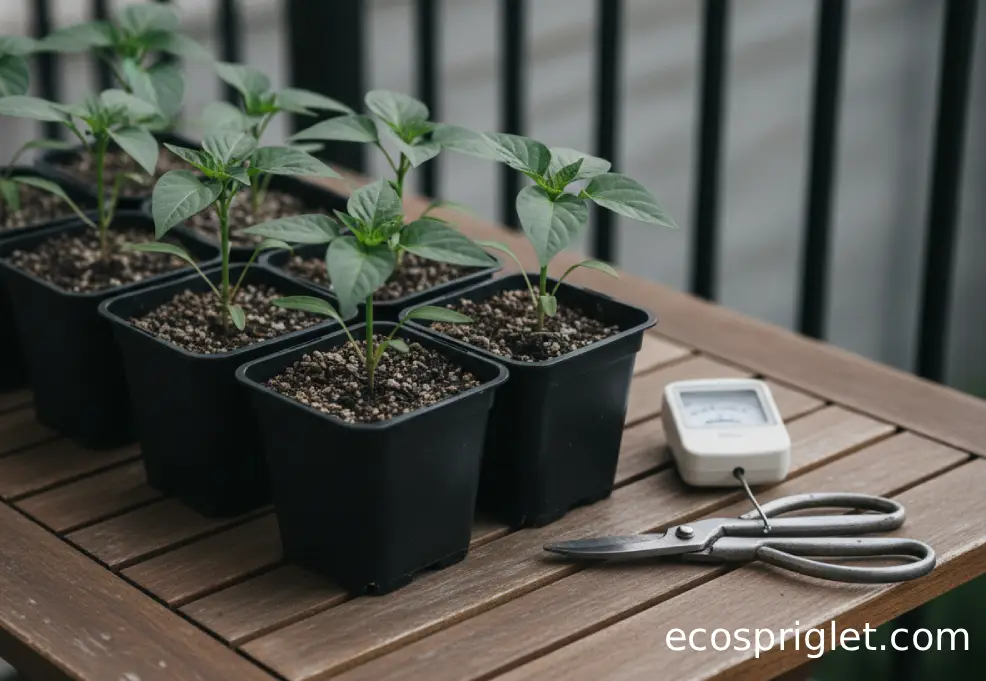
For a beginner balcony, buy a sturdy transplant rather than starting seed unless you enjoy indoor seed-starting. University of Minnesota Extension recommends starting pepper seed indoors about eight weeks before outdoor planting, and UNH Extension gives similar timing for hot peppers. Buying a transplant skips the fussy early stage and gets you closer to flowers.
Pick a plant with a thick stem, deep green leaves, and no flowers if possible. A pepper already covered in blossoms at the nursery can look exciting, but it may be rootbound or stressed. I usually pinch off the first few flowers after transplanting if the plant is under 8 inches tall; it feels harsh, but it gives the roots a few more days to settle before carrying fruit.
Hot peppers, jalapenos, chili peppers, and banana peppers are often a bit more forgiving in pots than big bell peppers because many produce smaller fruit. The planting method is nearly the same: one plant per roomy container, full sun, warm nights, and steady watering. If your balcony gets only six hours of direct sun, jalapenos or banana peppers may reward you sooner than large bells.
Plant Peppers in Pots Without Burying the Stem Too Deep
Planting peppers in pots is simple, but a few small details matter. Fill the container with fresh, lightweight potting mix rather than garden soil. Container mixes are designed to hold moisture while leaving air spaces around roots; heavy garden soil can compact in a pot and drain poorly. Colorado State University Extension notes that soilless mixes are lighter than soil and commonly include ingredients such as peat or bark, vermiculite, and perlite for water-holding and air movement.
Set the transplant at about the same depth it grew in its nursery pot. Unlike tomatoes, peppers do not need to be buried deeply along the stem. Firm the mix gently, then water until moisture runs from the drainage holes. That first deep watering settles the potting mix around the roots and helps you see whether the pot drains freely.
- Fill the pot to about 1 inch below the rim so water does not spill over the sides.
- Loosen circling roots gently if the transplant is rootbound.
- Plant at nursery-pot depth, then firm the mix lightly with your fingers.
- Water thoroughly once, then let the top layer begin to dry before watering again.
If you are planting jalapeno peppers in pots, chili peppers, banana peppers, or other hot peppers, use the same basic method. The main difference is spacing: avoid tucking multiple pepper plants into one small container. Crowded roots dry out quickly, compete for nutrients, and make blossom drop more likely during hot spells.
Give Peppers the Warmth and Sun They Need to Set Fruit
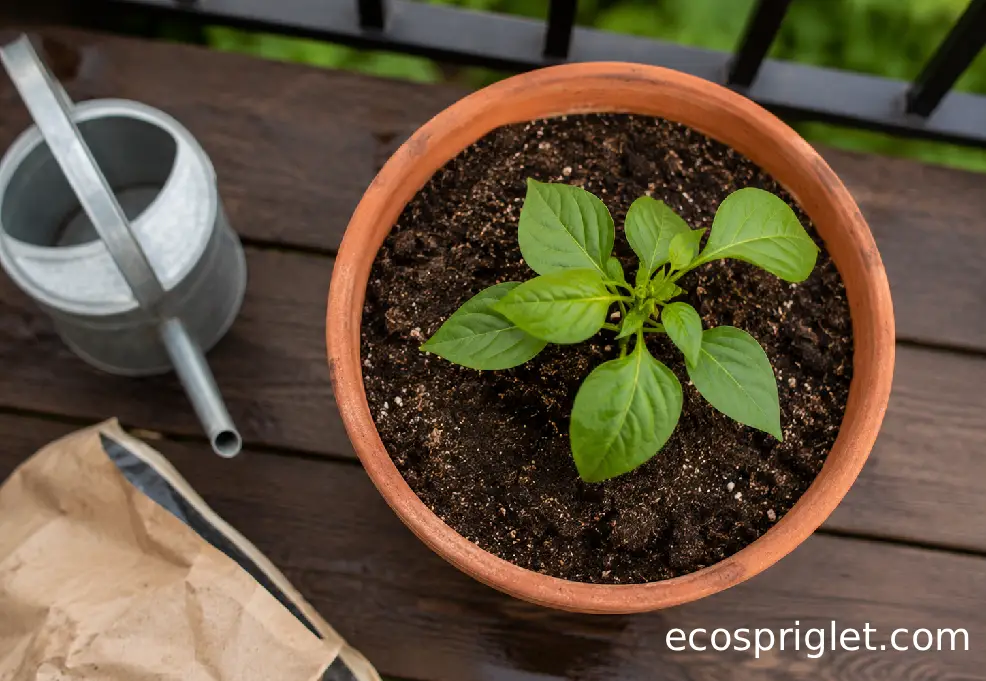
Peppers are warm-weather plants, and containers exaggerate every temperature swing. A black railing can radiate heat in July, while spring nights on a balcony can stay chilly long after the afternoon feels mild. University of Minnesota Extension recommends transplanting peppers outdoors after nighttime lows are above 50°F and notes that dry soil, temperatures above 90°F, or night temperatures below 60°F or above 70°F can weaken growth.
Aim for at least 6–8 hours of direct sun outdoors. UC Master Gardeners note that pepper seedlings should be planted where they receive 6–8 hours of sunlight, and UNH Extension explains that fruiting crops such as tomatoes, peppers, cucumbers, eggplants, and melons need more sun than leafy vegetables.
On my own balcony, I watch the plant’s shadow more than the clock. If the pepper gets strong sun from late morning through midafternoon, it usually behaves well. If it only gets a bright glow but no direct sun, the plant may stay leafy and slow to flower. In that case, I’d grow herbs or greens in that spot and put the pepper in the sunniest corner you have.
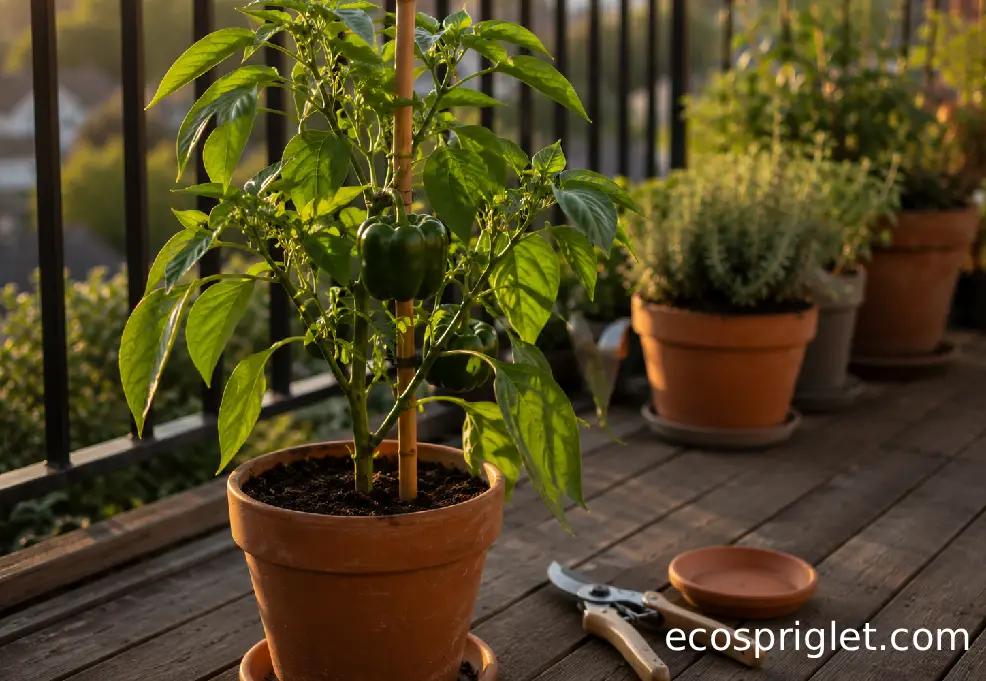
Wind matters too. A pepper plant with developing fruit can snap or tip in a gust. Use a short bamboo stake or small tomato cage at planting time, before the roots fill the pot. Fasten the support inside the pot, not to a shared railing, unless your building rules allow it.
Water and Feed for Steady Growth, Not Sudden Surges
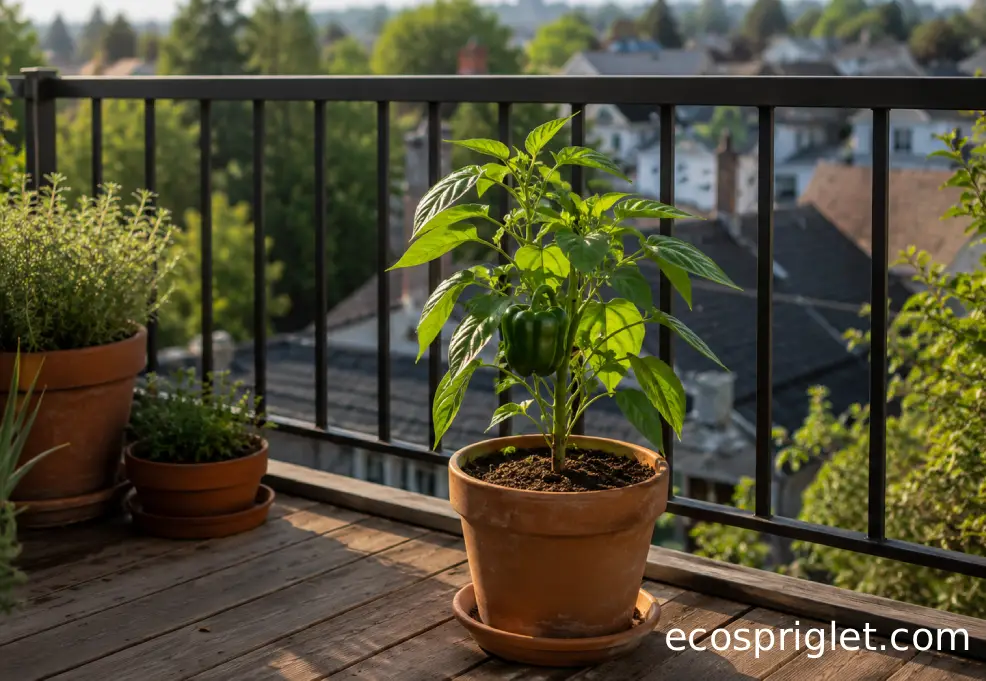
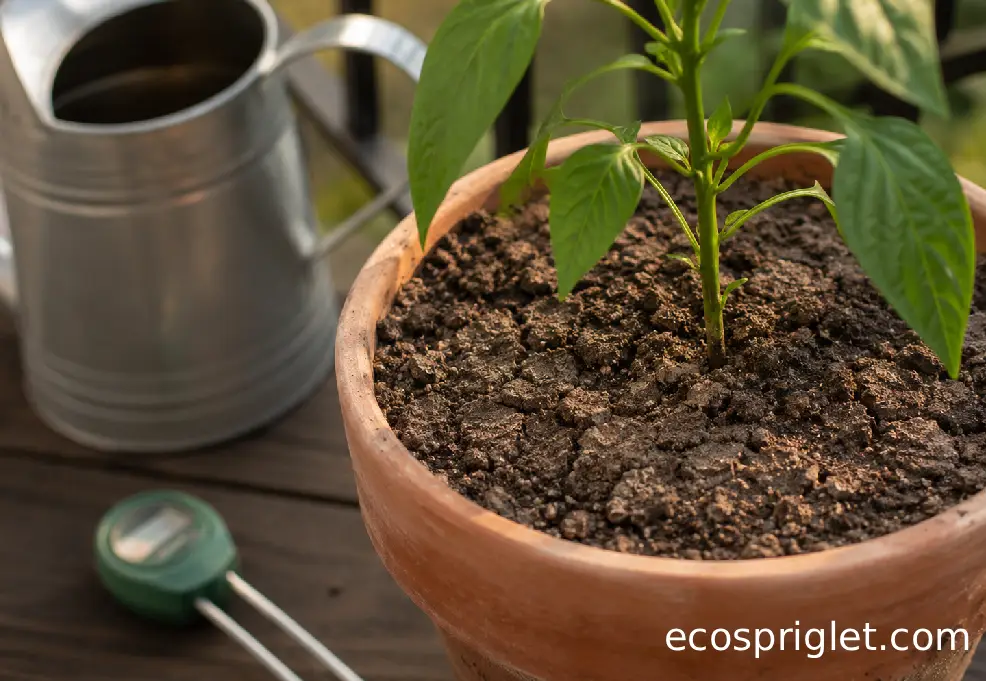
Water is where most container pepper problems begin. Too little water causes wilting, blossom drop, and small fruit. Too much water pushes air out of the potting mix and can rot roots. UNH Extension recommends watering container vegetables thoroughly when the soil dries near the surface, and University of Minnesota Extension notes that consistent moisture gives peppers the best fruit quality.
For a 5-gallon pot, check the top 1 inch of mix daily in hot weather. If it feels dry and the pot feels light, water slowly until a little drains from the bottom. On cool cloudy days, you may not need to water. On a windy balcony above 85°F, you may water every day, especially once fruit starts sizing up.
Feeding should be steady, not heavy. Too much nitrogen can give you a lush green plant with fewer peppers, and uneven watering can make nutrient problems show up faster in containers. UNH Extension suggests that container vegetables can be fed with a dilute liquid or water-soluble fertilizer after plants have been growing for 3–4 weeks.
My simple routine is this: water first, then fertilize lightly on damp mix every 10–14 days once the plant is actively growing. I avoid fertilizing a wilted pepper in dry soil because that can stress the roots. A tomato or vegetable fertilizer with a balanced, moderate label rate is plenty. If leaves are dark green and the plant is flowering, do not keep adding more just because you want fruit faster.
Handle Flowers, Fruit, and Common Pepper Problems
Pepper flowers are hopeful little things, but not every flower becomes fruit. Heat, cold nights, dry potting mix, and stress can all interfere with fruit set. If flowers drop during a hot week, do not panic. Move the pot where it gets morning sun and slight afternoon relief, keep moisture even, and wait for the next flush of blooms.
The most common container-pepper problems are usually fixable:
- Blossom drop: Often linked to temperature stress or dry soil. Keep moisture steady and protect the pot from extreme afternoon heat.
- Blossom-end rot: A dark, sunken patch on the fruit end is usually tied to uneven water movement and calcium uptake, not simply a lack of calcium in the mix. Utah State University Extension links blossom-end rot in peppers to poor water management, excessive nitrogen, root damage, and drought stress.
- Aphids: Look for curled leaves, sticky residue, and clusters of small insects on new growth. University of Minnesota Extension lists aphids as a pepper pest and notes that natural enemies may appear nearby.
- Sunscald: Pale damaged patches can appear when fruit is exposed in hot, dry weather. Keep the plant evenly watered and avoid stripping too many leaves.
I learned the blossom-end rot lesson the hard way with a balcony pepper that went from bone-dry to soaked every other day. The fix was not fancy: a bigger pot the next season, a saucer I emptied after watering, and a morning check with my finger in the soil. The plant looked calmer, and the fruit did too.
For aphids, start with the gentlest fix. Pinch off heavily infested tender tips, rinse leaves with a firm stream of water, and check again in two days. If you use insecticidal soap, follow the label exactly and avoid spraying during hot midday sun.
Growing Bell Peppers in Pots Indoors Is Possible, But Light Is the Limiting Factor
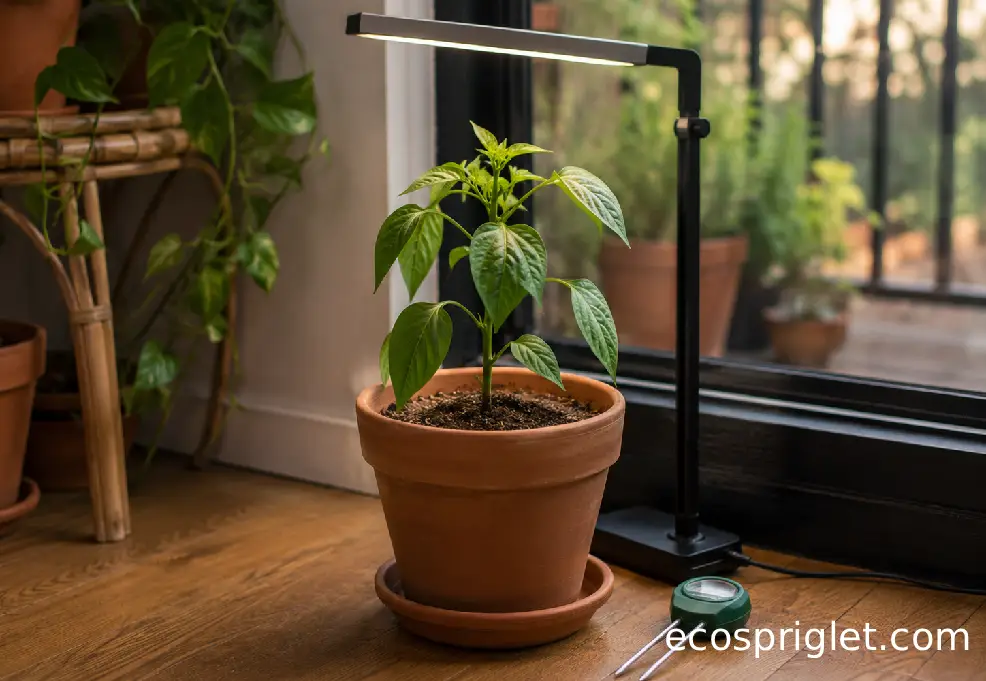
Growing bell peppers in pots indoors sounds convenient, but a normal window is rarely enough for a strong fruiting plant. Peppers need far more light to flower and ripen fruit than they need just to stay alive. University of Maryland Extension says window light is seldom enough for strong seedling growth, and University of Minnesota Extension recommends keeping seed-starting lights close to seedlings for 12–16 hours daily.
If you want to try peppers indoors, use a compact variety, a 3–5 gallon pot, and a full-spectrum grow light. Keep the light close enough that the plant grows sturdy rather than stretched, but far enough away to avoid heat stress. A simple plug-in timer is worth the few dollars because inconsistent light makes indoor plants sulk.
Indoor peppers also need airflow. A small fan running gently nearby for a few hours a day can reduce stale, humid air around the foliage. Hand-pollination may help if flowers form but no fruit follows: tap the stem lightly or brush open flowers with a small dry paintbrush around midday.
Be practical about expectations. Indoors, a jalapeno or small chili pepper is usually more satisfying than a large bell pepper. Bell peppers can work under strong lights, but they take space, patience, and consistent care. If your apartment has pets or children, keep hot peppers and pepper foliage out of reach.
The ASPCA’s poison-control resources are the right place to check plant safety concerns, and pet owners should call a veterinarian or poison-control hotline after a suspected harmful ingestion.
Harvest Green, Red, or Fully Ripe Peppers the Right Way
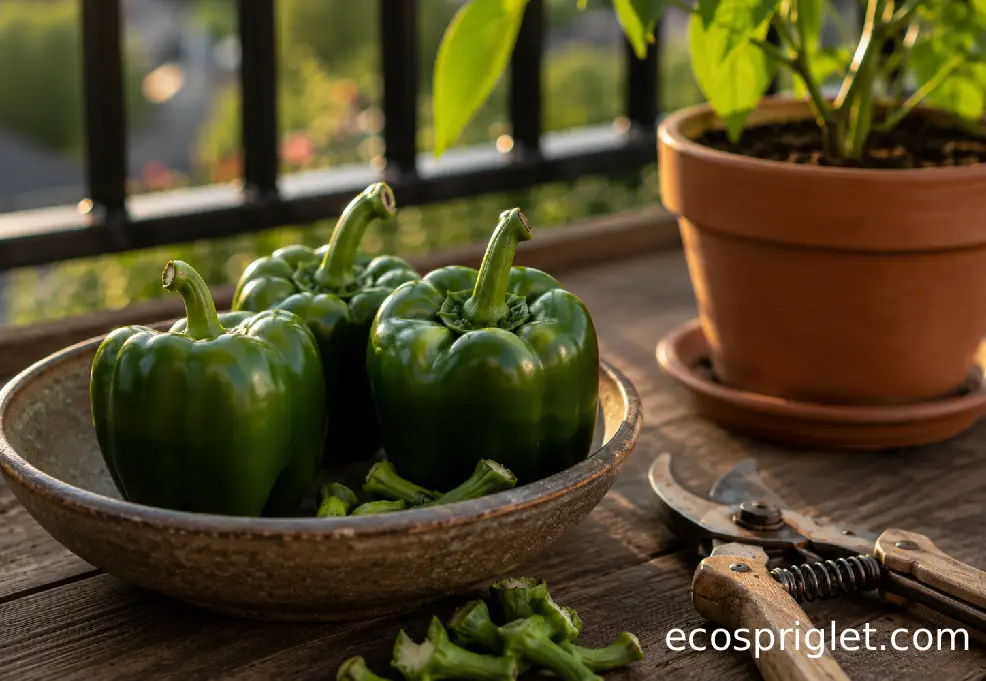
You can harvest bell peppers green once they are full-sized and firm, or leave them longer to ripen to their mature color. Red peppers are simply riper than green peppers in many common varieties, and they often taste sweeter because they have had more time on the plant. The tradeoff is that letting fruit ripen fully keeps the plant busy longer, so a small container plant may produce fewer total peppers than one harvested green more often.
Use scissors or pruning shears instead of pulling. University of Minnesota Extension recommends clipping most peppers from the plant and notes that regular harvest encourages plants to keep flowering and setting fruit.
After harvest, rinse peppers under running water before eating or cutting them. FDA guidance recommends washing produce under running water and not using soap, detergent, or commercial produce wash. FoodSafety.gov also recommends keeping refrigerators at 40°F or below.
For best quality, store whole peppers dry and uncut. University of Minnesota Extension says peppers can keep for a week or more in the refrigerator, but they are sensitive to cold and may develop pitted skins if held too long under refrigeration.
Common Mistakes to Avoid With Container Peppers
Most pepper failures in containers are not dramatic mysteries. They are small mismatches that add up: a pot that dries out too fast, a shady corner, a saucer full of old water, or too much fertilizer after a slow week. Once you know the pattern, peppers become much easier to read.
- Using a tiny decorative pot: A 6-inch pot is fine for herbs, not for a fruiting pepper. Move up to a 5-gallon container when possible.
- Letting the plant wilt hard every afternoon: Repeated wilting weakens flowers and fruit. Check moisture in the morning during hot weather.
- Growing in too little sun: Peppers may stay alive in bright shade, but fruiting will be weak. Save the shadier spot for leafy herbs.
- Leaving water in the saucer: Drainage holes only help if excess water can leave the root zone.
- Feeding more to fix stress: If the plant is dry, overheated, or rootbound, fertilizer is not the first fix. Correct water, pot size, and light first.
The small-space fix I use most is repositioning. Move the pot a few feet and you can change wind, heat, and sun exposure more than you’d expect. On very hot balconies, morning sun with light afternoon shade is often better than a full day against a heat-reflecting wall.
Small-Space Pepper Ideas for Balconies and Patios
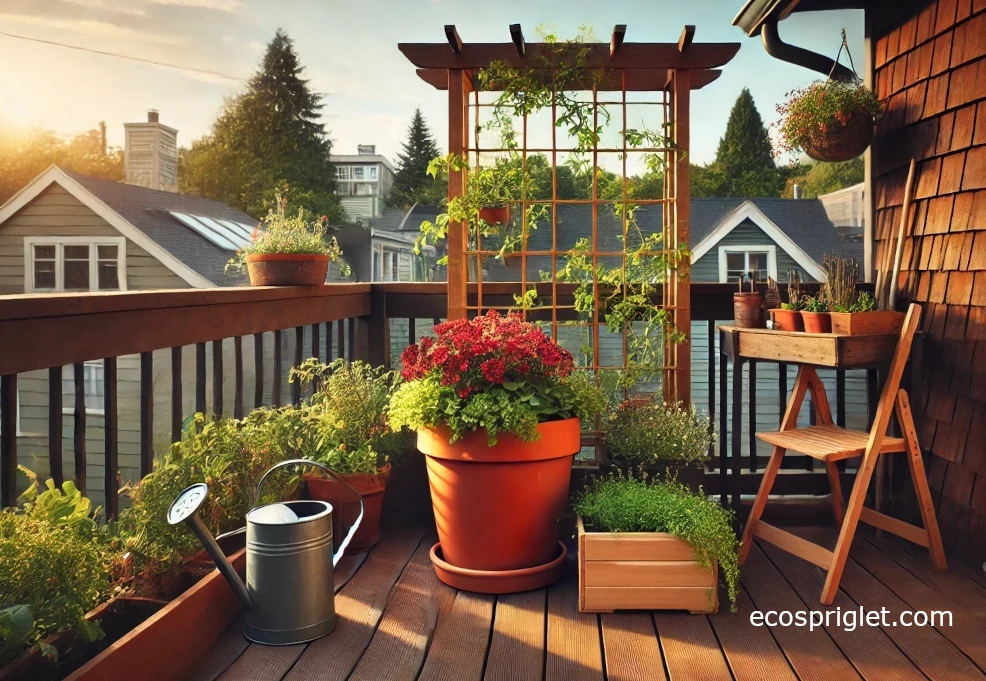
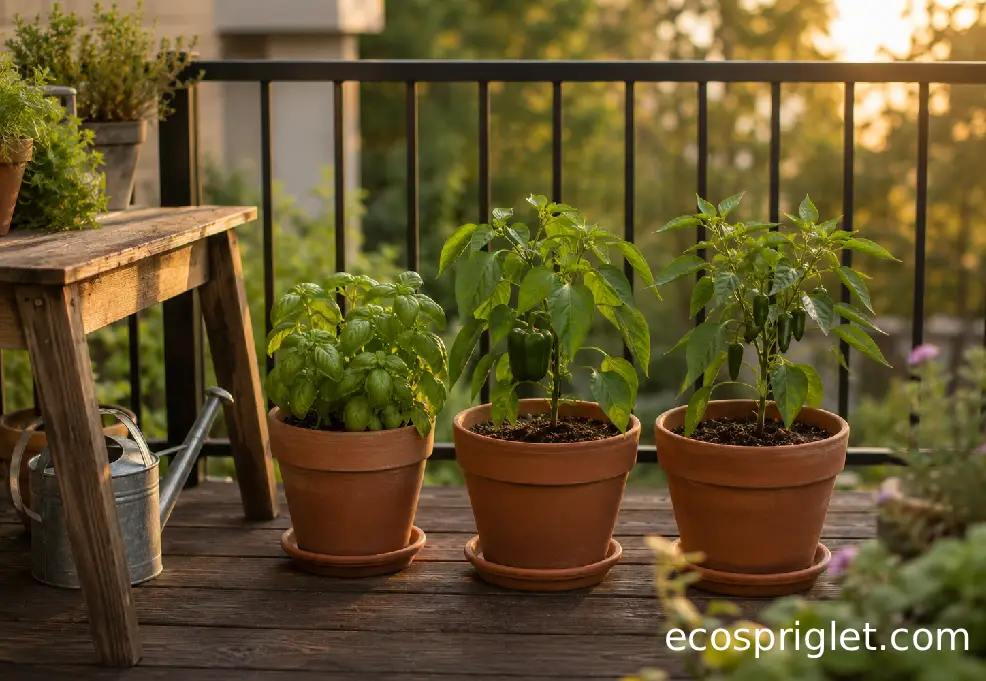
A single bell pepper plant can anchor a useful little edible corner. Pair it with basil, parsley, or a compact flower in nearby pots rather than packing everything into the same container. Peppers like airflow, and separate pots make watering easier because herbs and peppers rarely dry at the same pace.
If you want variety, try one sweet bell pepper and one smaller hot pepper instead of two large bell peppers. Jalapeno peppers growing in pots often feel more forgiving for beginners because the fruits are smaller and useful at several stages. Banana peppers and compact chili types can also be good patio choices when you have strong sun but limited floor space.
For more small-space planning, link your pepper pot into a broader balcony setup. A sunny pepper container works well beside herbs from our kitchen herb guide.
Think about your harvest style, too. If you cook fajitas, salads, and stuffed peppers, one bell pepper plant is worth the patience. If you mostly want quick spice for eggs, tacos, or noodles, one jalapeno or chili plant may be the better first pepper. There is no rule that says a balcony garden has to be impressive. It just has to fit your light, your schedule, and the food you actually like to eat.
Conclusion: A Better Pepper Pot Starts With Steady Conditions
Can you grow bell peppers in a pot? Yes, and you can do it well in a small urban space if you give the plant the basics it cannot negotiate: a roomy draining container, strong sun, warm conditions, steady moisture, and light feeding. Bell peppers are not the fastest container crop, but they are satisfying because the plant tells you what it needs. Wilting leaves, dropped flowers, dry topsoil, or pale fruit patches are all clues, not failures.
Start with one healthy transplant in a 5-gallon pot, place it in your brightest outdoor spot, and check moisture more often once summer heat arrives. Use a stake early, harvest with scissors, and do not worry if the first few flowers do not set. Container gardening is partly observation, and peppers reward the gardener who notices small changes before they become big problems.