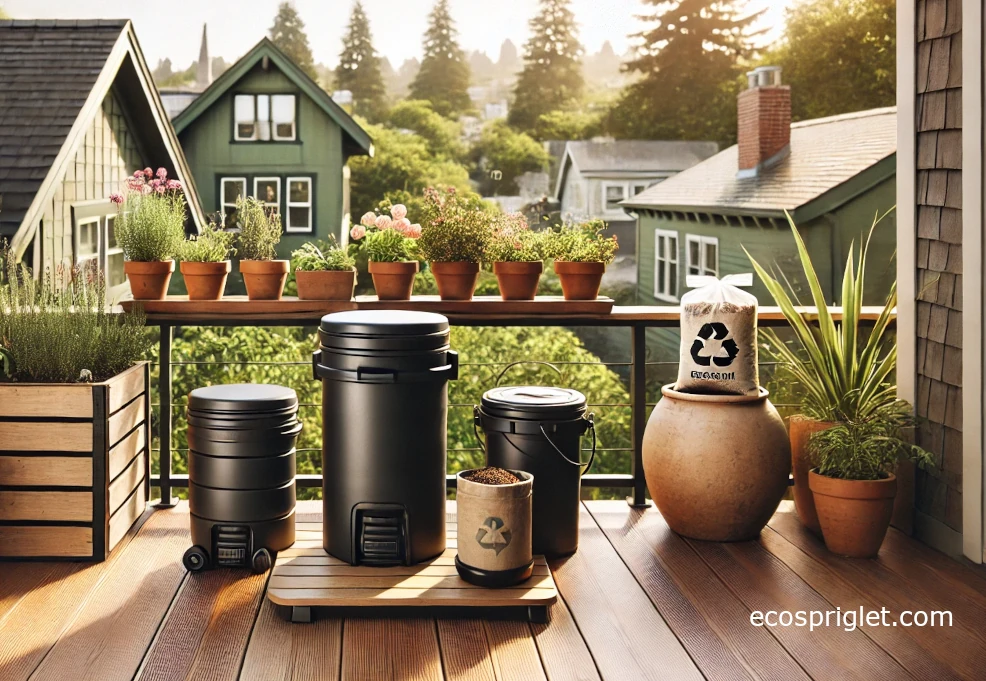
A good soil pH test can save you from a lot of balcony-gardening frustration. I’ve seen gardeners pour on fertilizer, swap pots, and blame the weather, when the real issue was that the roots were sitting in soil with the wrong pH. Once that happens, nutrients can be present but still harder for plants to use. That is why learning how to test soil pH matters just as much as learning when to water or feed.
Soil pH runs from 0 to 14, with 7 as neutral, below 7 as acidic, and above 7 as alkaline. Many fruits, vegetables, herbs, and ornamentals grow best in a slightly acidic to neutral range, while acid-loving plants like blueberries want a much lower number.
For apartment and small-space gardeners, the goal is not lab-coat perfection. The goal is a repeatable method that tells you whether your potting mix, raised bed, or shared garden plot is roughly in range and whether it is worth sending a sample to a lab. I usually tell beginners to start simple: test first, adjust second, and re-test after any major change. That one habit prevents a surprising amount of overcorrecting. You’ll also see where a quick home kit is enough and where a proper lab report is the smarter move.
Why Soil pH Matters More Than Most Beginners Expect
Plants do not read fertilizer labels, but they respond fast when pH drifts too far. Penn State notes that most plants do well around pH 6.2 to 6.8, and University of Minnesota guidance says most fruits and vegetables grow best between about 5.5 and 7.0. Herbs are also usually happiest in well-drained soil around pH 6.0 to 7.5.
That range is broad enough to be practical for home gardeners. If you are growing basil, parsley, lettuce, peppers, or tomatoes in containers, you usually do not need to chase decimal points. You do need to notice when a mix is way off, especially if plants are yellowing, stalling, or looking hungry even after you feed them. I remember testing a container that kept producing pale basil. The fertilizer was fine. The mix had simply drifted enough that the plant never really bounced back until I refreshed the pot and checked the pH again.
There are a few exceptions worth remembering. Blueberries are the classic one. RHS guidance puts them in a much more acidic range, around pH 4.5 to 5.5, which is far lower than what most vegetables want. So if you are comparing plants in one small outdoor space, a single “good garden pH” does not fit everything.
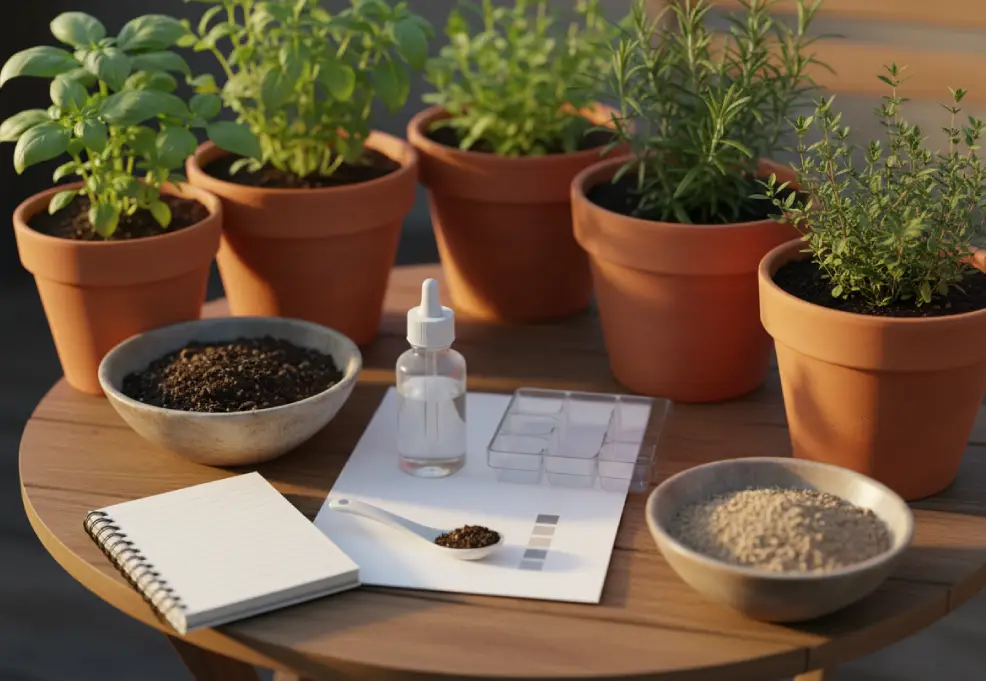
How to Test Soil pH at Home With the Right Method
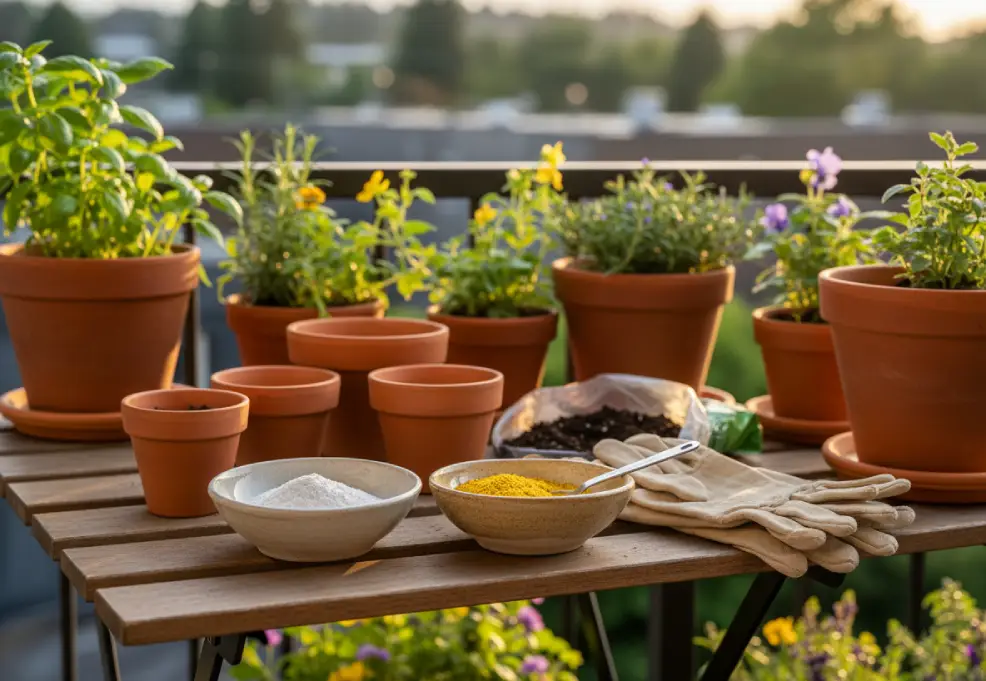
If you want to know how to test soil pH at home, the easiest route is a DIY pH kit or meter. RHS says these kits are easy to use, widely available, and good for getting a reasonable indication of soil pH. But for the best results, it recommends sending a sample to a laboratory for a fuller analysis. University of Minnesota makes a similar point from another angle: home kits can be limited and may not provide recommendations tailored to your situation.
For most balcony gardeners, that gives you a simple decision rule:
- Use a home kit when you want a quick check on a pot, raised bed, or one problem area.
- Use a lab test before major changes like liming a bed, acidifying soil for blueberries, or setting up a long-term edible garden.
- Re-test with the same method after you amend, instead of switching between random kits and guessing.
If you are using a liquid kit, follow the instructions exactly and test soil that is not soaking wet. If you are using a probe meter, clean it between samples and do not assume a cheap meter is automatically more precise than a color kit. Penn State notes that simpler tools like wire-prong meters and litmus paper are not nearly as accurate as properly calibrated testing methods in professional growing contexts, and that is a useful reminder for home gardeners too.
A practical tip I give beginners: test the same container twice, about 10 minutes apart, before making any big decision. If the readings are far apart, your sampling method is probably the problem, not the soil.
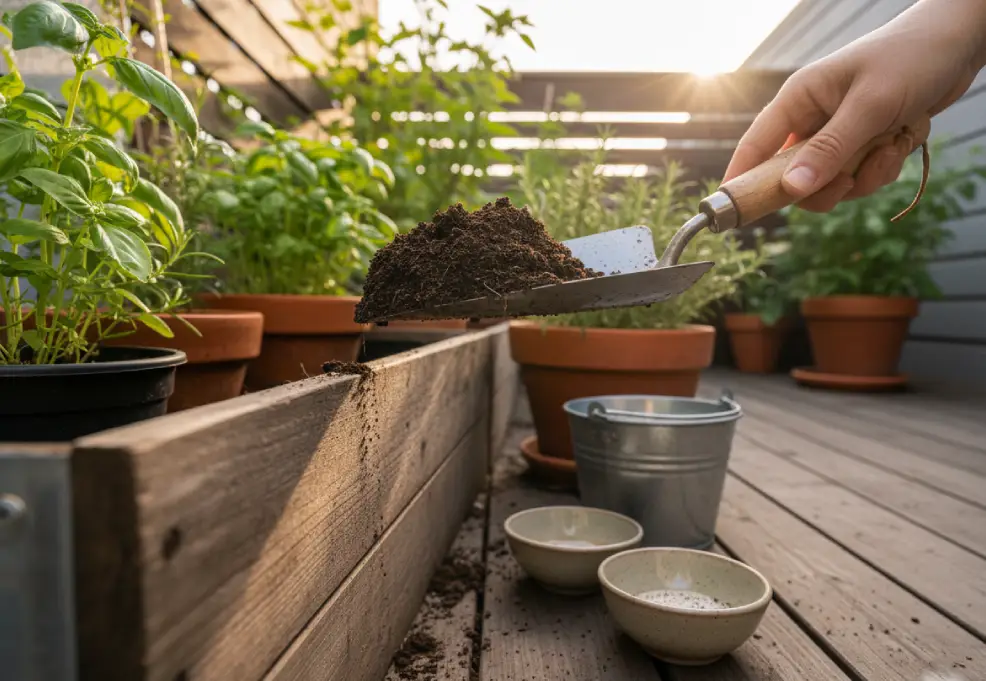
How to Collect a Soil Sample So Your pH Result Means Something
The best soil pH test is only as good as the sample you take. Penn State recommends collecting a slice or core from 8 to 10 random locations, going 6 to 8 inches deep for gardens. University of Minnesota also advises taking soil from various places, then mixing the sample before submitting or testing it. UGA county guidance likewise points home gardeners toward multiple subsamples and about a 6-inch depth for gardens and ornamentals.
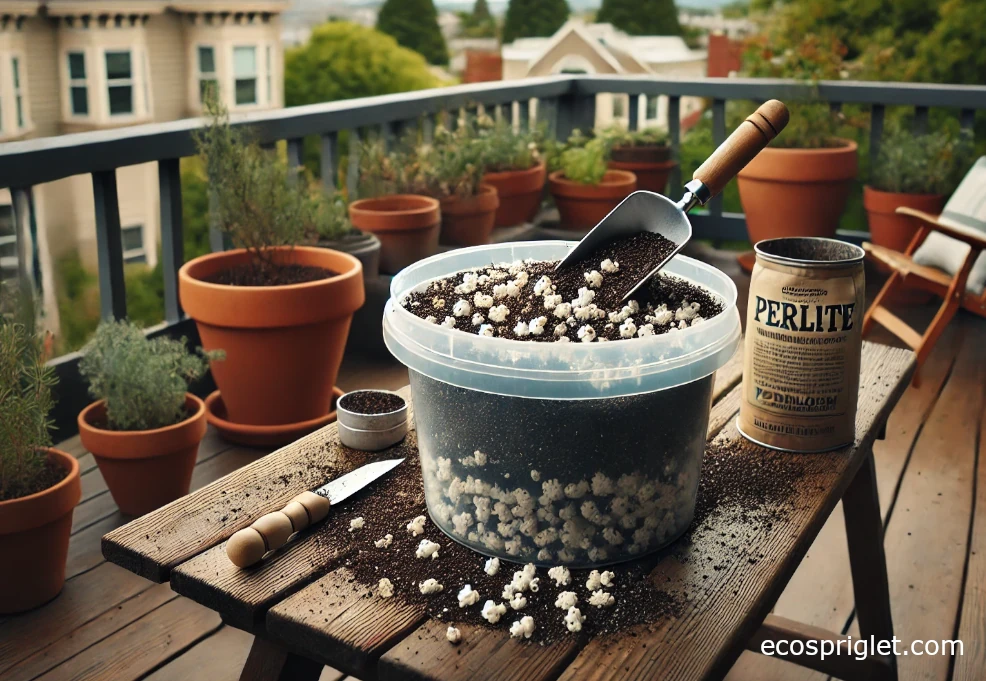
In a big in-ground bed, that means walking the area and taking small scoops from different spots. In a small urban setup, the same logic still applies. Do not scrape one corner of a planter and call it done. For a long window box, take 3 to 5 small scoops from across the box. For a large raised bed, take 6 to 10. Mix them in a clean bucket, remove sticks or mulch, and test that blended sample. If the soil is very wet, let it air-dry first. Minnesota specifically notes that wet samples should be dried before bagging for lab testing.
I learned this the hard way with a shared rooftop bed years ago. One side had compost-rich mix, the other side dried out faster and tested differently. A single scoop gave me a neat number and a terrible decision. Once I blended multiple subsamples, the result finally matched what the plants had been telling me.
- Sample separate zones separately. A tomato tub, herb trough, and blueberry pot should not be combined.
- Avoid sampling right after adding fertilizer, lime, or sulfur. Give amendments time to disperse before re-testing.
- Label every sample immediately, especially if you are testing more than one container.
That is the real secret behind soil pH testing: consistency beats speed.
How to Read Your Soil pH Results for Containers, Herbs, and Veggies
Once you have a result, the next step is not to panic over small variation. For most edible containers, a reading around the low-6s to near-neutral is usually workable. University of Minnesota says most fruits and vegetables do best from about 5.5 to 7.0, and Penn State says many plants do well around 6.2 to 6.8. Tomatoes are often listed in the roughly 5.5 to 7 range, while many common herbs prefer about 6.0 to 7.5.
Here is the practical way I interpret a soil pH test for home growing:
| pH Reading | What It Usually Means | Good Next Step |
|---|---|---|
| Below 5.5 | Quite acidic for most vegetables and many herbs | Consider a lab test before adding lime |
| 5.5 to 6.0 | Acceptable for some crops, a bit low for others | Watch plant performance and crop choice |
| 6.0 to 7.0 | Strong general range for many edibles | Usually focus on watering, nutrition, and structure |
| Above 7.0 | Alkaline enough to reduce availability of some nutrients | Use a lab report before trying to lower pH |
The big beginner mistake is assuming every yellow leaf means low pH or high pH. Water stress, root crowding, compacted mix, and overfeeding can produce similar symptoms. A pH number helps, but it works best alongside what you already see in the pot.
How to Raise or Lower Soil pH Without Overcorrecting
If your soil pH test shows a real problem, correct it slowly. Extension and RHS sources line up on the broad rule: lime is used to raise pH in acidic soil, and sulfur is commonly used to lower pH in alkaline soil. Minnesota notes that pH modification may be recommended when soil falls outside about 6 to 7, and RHS identifies sulfur as the most common acidifying material for garden soils.
What I do not recommend is tossing amendments into a pot by instinct. In containers, a little can go a long way because the total soil volume is small. For a mixed vegetable container that tests a bit off, the safer move is often to refresh part or all of the potting mix rather than trying to force a dramatic pH shift in place. That is especially true for short-season annuals. For long-term beds or specialty crops, a lab test is much more useful because it can include lime requirement guidance, not just a pH reading. Penn State and University of Minnesota both note that standard soil tests can report pH and lime requirement.
A few common-sense rules help here:
- Make one change at a time and re-test before adding more.
- For blueberries and other acid-lovers, start with the right acidic mix instead of trying to “convert” a general veggie pot.
- Do not use random pantry fixes as your main strategy. Coffee grounds and similar home hacks are rarely precise enough to manage pH well over time.
I know the temptation to fix everything in one afternoon. I’ve done it. The result is usually a container that swings from one problem to another. Small, measured adjustments are slower, but they are far kinder to roots.
Common Mistakes to Avoid When You Test Soil for pH
Most bad results come from bad process, not mysterious soil chemistry. Here are the mistakes I see most often when people test soil pH at home:
- Testing one scoop from one corner. Mix subsamples from the whole root zone instead.
- Testing right after fertilizing or amending. Wait, then re-test so you are measuring the soil, not the fresh input.
- Using a home kit for a major correction plan. Home kits are useful for quick checks, but lab tests are better when you need amendment recommendations.
- Assuming every crop wants the same pH. Blueberries are a major exception and need a much more acidic range.
- Chasing tiny decimal changes. For most balcony edibles, plant performance matters more than trying to move from 6.4 to 6.5.
The other mistake is forgetting that potting mix is not static. Regular watering, fertilizer choice, and repeated cropping can all shift the chemistry over time. If a container has been planted hard for a season or two, and your reading seems odd, sometimes the cleanest fix is a partial reset with fresh mix rather than another round of corrections.
When a Lab Soil pH Test Is Worth the Extra Step
A lab test is worth it when you are starting a new food bed, trying to grow a specialty plant, or dealing with a problem that keeps returning. University of Minnesota says a regular soil test is sufficient for most lawns and gardens and can report pH, texture, organic matter, and key nutrients. Penn State notes that a soil test also measures pH and can indicate whether lime is needed. That extra context matters because a pH number by itself does not tell you how much amendment to apply.
For urban gardeners, I especially like lab testing in three situations: first, when you are working with an older shared plot and have no idea what has been added before; second, when you want to grow blueberries or other acid-loving plants long-term; and third, when a container or bed keeps showing nutrient issues even after you improve watering and feeding. In those cases, the lab result usually pays for itself by preventing wasted products and repeated guesswork.
If you only remember one takeaway from this guide, make it this: testing soil pH is less about buying the fanciest tool and more about using a repeatable method. Good sample, sensible interpretation, gradual correction. That is the combination that actually helps plants.
Once you know how to test the pH of soil, you stop gardening on hunches and start making cleaner decisions. That matters even more in urban spaces, where containers dry quickly, roots have less room, and every scoop of potting mix has to work harder. A quick home kit can tell you a lot when you sample properly and read the result with some restraint. A lab test becomes the better move when you are planning major changes, troubleshooting stubborn problems, or growing crops with stricter needs.
The nice thing is that a useful soil pH test does not need to be complicated. Blend several subsamples, keep zones separate, avoid overcorrecting, and match your pH target to the plants you actually grow. Most balcony herbs and vegetables are fairly forgiving when you keep them in that sensible slightly acidic to near-neutral zone, while acid-lovers deserve their own setup. That one distinction alone saves a lot of disappointment.
I still think of soil pH as one of those quiet garden skills that pays you back every season. It is not flashy, but it makes everything else work better.