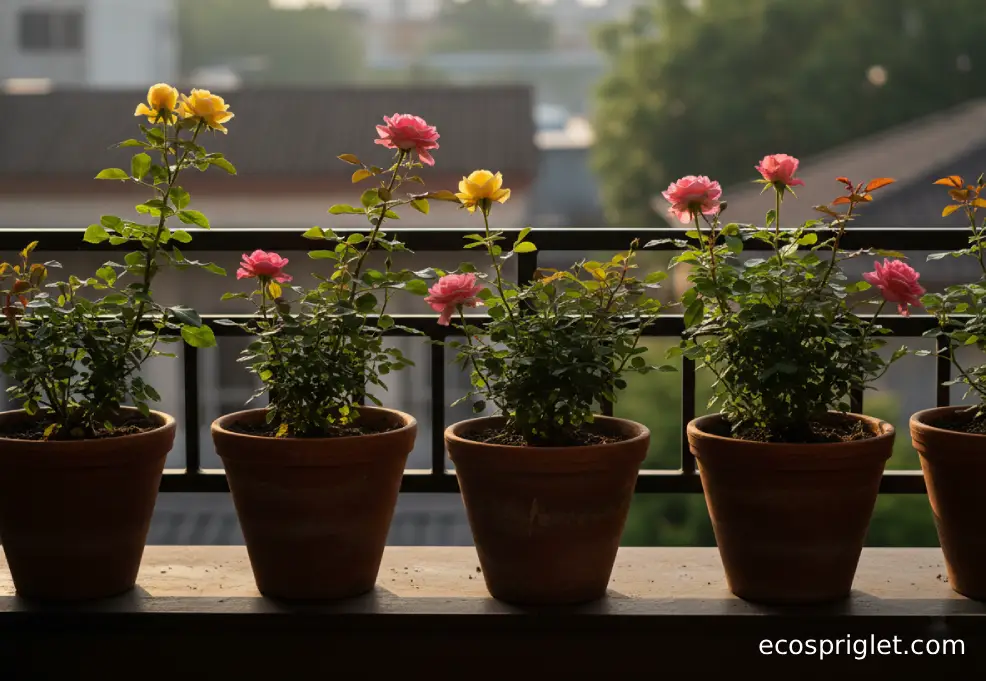
Growing roses at home feels like something you need a big yard and perfect soil for, but honestly, they’re much happier in a sturdy pot than in a cramped apartment courtyard bed. With the right container, a good bag of rose-friendly potting mix (yes, even the “rose and flower” soil from big-box stores), and a sunny spot, you can have blooms brushing your balcony rail all summer. Whether you want to know how to grow roses at home from a nursery plant or how to grow rose from cuttings at home the easy way, the basics are the same: give the roots space, keep the soil draining well, and don’t starve or drown them.
On my own Portland balcony, I’ve grown everything from tiny patio roses in 3-gallon pots to chunky shrub roses in half-barrels. The magic is in paying attention to light, watering before the plant wilts, and choosing varieties that stay compact. In this guide, we’ll walk through picking the right rose, the best pots and soil, how to plant roses at home step by step, an easy cutting method, and simple routines that keep your “roses at home” looking like they came from a professional garden—without ever leaving your apartment.
Picking the Right Roses for a Small Home or Balcony
If you’re growing roses at home in an apartment, variety choice matters more than almost anything. A full-size climbing rose wants a fence and half the block; a patio rose is perfectly happy in a chunky container by your sliding door. The Royal Horticultural Society notes that patio and miniature roses are ideal for containers and can thrive in pots around 9–14 inches deep. That size actually fits nicely on most balconies.
Good options for container-friendly roses at home include:
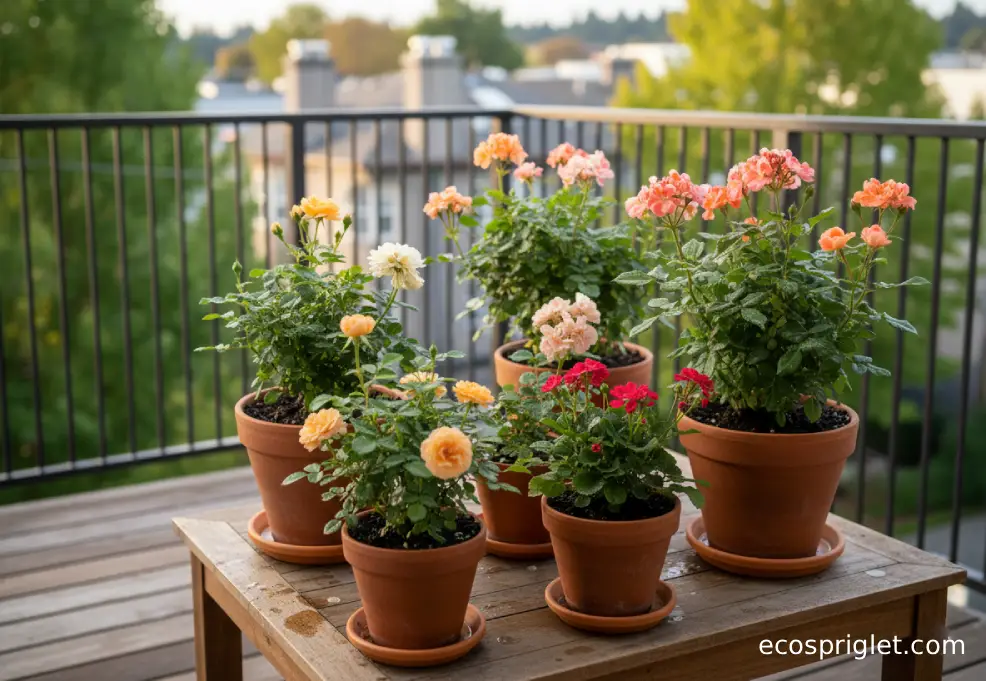
- Miniature and patio roses – naturally compact, lots of blooms, easy to keep in 10–12 inch wide pots.
- Smaller shrub or floribunda roses – bushy roses that flower repeatedly and work well in 5–10 gallon containers.
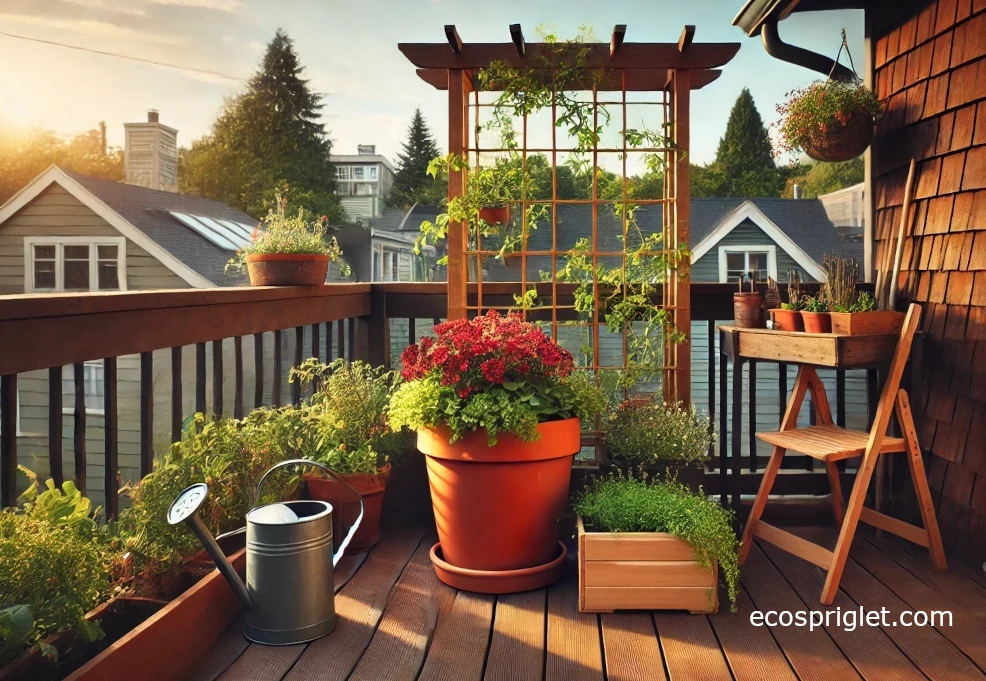
- Short climbers on a trellis – for a narrow balcony screen, as long as you give them a much bigger pot and strong support.
Whenever you can, choose disease-resistant varieties—many breeders and rose societies highlight these in their catalogs and lists. If you live in a damp climate, look for varieties noted as resistant to black spot and powdery mildew. A quick tip: when you’re at the nursery or big-box store, check the label for words like “patio,” “miniature,” or “compact shrub”; those phrases usually mean the plant will adapt well to container life on a small terrace.
If you’re only buying one plant to start, I usually suggest a patio rose in a 3–5 gallon pot. It’s forgiving, flowers a lot, and gives you a feel for how roses behave on your particular balcony before you commit to bigger, thirstier shrubs.
Best Pots and Soil for Roses at Home
Roses can be drama queens, but most of that drama disappears if the roots have enough room and a well-drained, rich mix to live in. For long-term container growing, many rose specialists suggest at least a 15-gallon container for medium shrub roses and even larger (20–30 gallons) for big shrubs or climbers. For balcony roses, I’ve found this rule of thumb works well:
- Miniature or patio rose: pot at least 12 inches wide and deep (about 3–5 gallons).
- Small shrub or floribunda: 14–18 inches wide and deep (roughly 7–15 gallons).
- Short climber on a trellis: 18–20 inches wide and deep (15–20 gallons or more).
Make sure the container has several drainage holes, not just one tiny one. Plastic, fiberglass, or lightweight “stone-look” pots are great for balconies because they’re easier to move and don’t stress the structure as much as solid concrete. If you love terracotta, use it, but expect to water a bit more often because it breathes and dries faster.
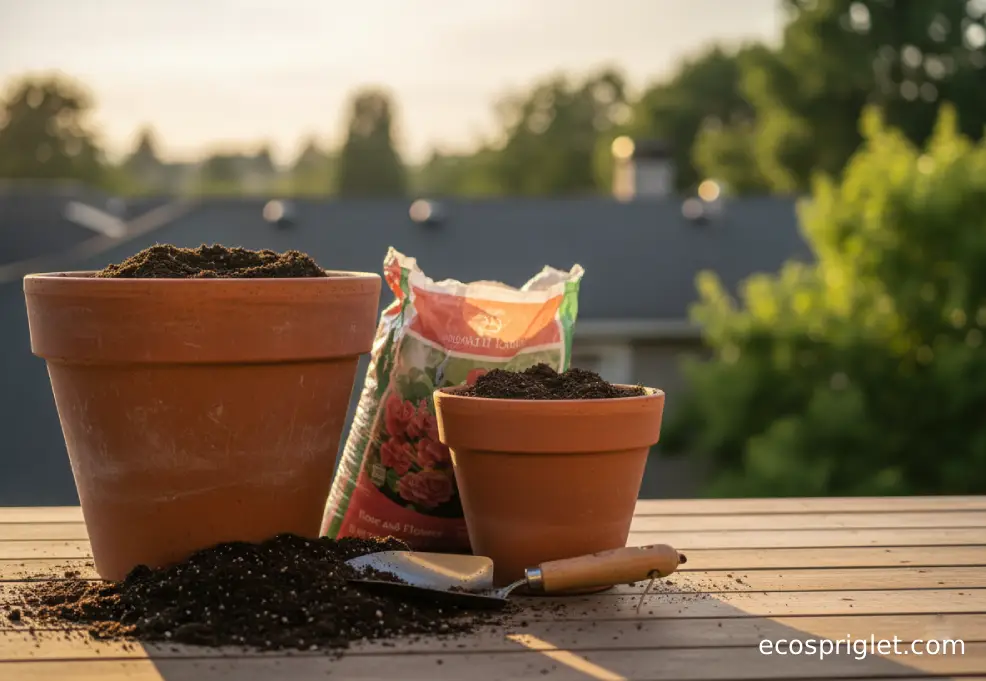
For soil, skip straight garden soil; universities and rose societies consistently recommend a high-quality, soilless potting mix for containers, with organic matter and good drainage. If you’re standing in Home Depot wondering about the best soil for roses, look for a “rose and flower” or “shrub and flower” mix rather than plain “topsoil.” Those “Home Depot rose soil” bags are usually designed to be richer and fluffier. I still like to:
- Add about 20–30% perlite to improve drainage.
- Mix in a couple of cups of compost or aged manure per 5 gallons of mix.
- Skip the old “gravel in the bottom” trick—research on container gardening shows it doesn’t improve drainage and can actually keep water stuck higher up in the pot.
If you prefer ready-made, just pick a premium potting mix plus a labeled rose fertilizer, and you’ll be well ahead of most “roses at home” setups that suffer in cheap, heavy soil. You can always save your energy for the fun stuff, like choosing colors and scents, and lean on simple soil upgrades from big-box stores rather than mixing from scratch.
Where to Put Your Roses: Light, Temperature, and Airflow
Roses are sun-lovers, and container roses are no different. For reliable flowering, rose experts generally recommend at least 6–8 hours of direct sun per day; many container rose guides and growers repeat that same range. If your balcony only gets 4–5 hours, focus on smaller, floriferous varieties like miniatures or patio roses—they’ll tolerate a little less light better than big hybrid teas.
On an urban balcony, a south- or west-facing rail is usually prime real estate. Aim to give your roses morning sun if you can; university extension resources point out that early sun helps dry leaves quickly and reduces fungal disease. If your summers regularly climb above 90°F, tuck the pot so the foliage is in sun but the container itself gets some shade, or add a light shade cloth during the harshest afternoon hours. That keeps the roots cooler and less stressed.
Airflow is the other big piece of the puzzle. On a sheltered balcony, it’s easy to crowd too many pots together. Try to leave at least a couple of inches between containers and avoid wedging your rose right against a wall. Good air movement around the leaves dramatically lowers the risk of black spot and powdery mildew. If your balcony is extremely windy, use a heavier pot or wedge bricks in the bottom so the plant doesn’t topple. I’ve had one rose go flying in a winter storm, and that was enough to convince me to use a sand-filled base for my taller pots.
How to Plant Roses at Home in Containers (Step by Step)
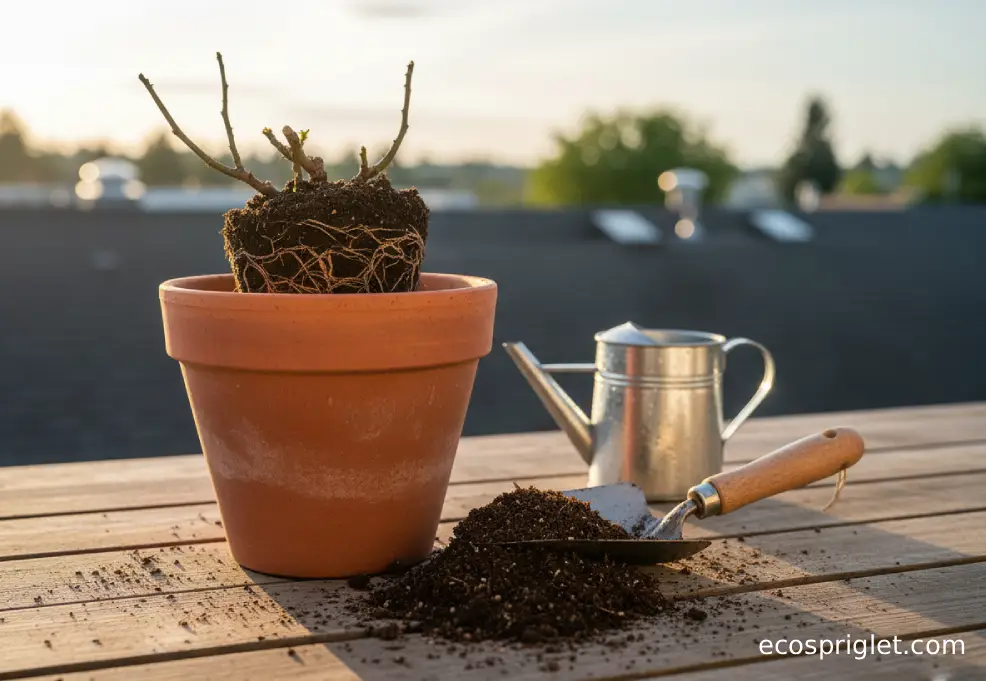
Once you’ve picked a rose and a pot, planting is the fun, messy part. Here’s a simple way to plant roses at home in containers that works for most balcony setups:
- Pre-soak the plant. If it’s a potted rose from the nursery, water it thoroughly and let it drain. If it’s bare-root, soak the roots in a bucket of water for about an hour before planting.
- Partially fill the new container. Add your prepared potting mix so that when you place the rose, the top of the existing root ball will sit about 1–2 inches below the rim of the new pot.
- Position the rose. Gently slide the plant out of its nursery pot. Loosen circling roots with your fingers and set the rose in the center. For grafted roses, keep the graft union (the swollen knuckle) just above the soil surface in mild climates, or barely buried if your winters are harsh.
- Backfill and firm. Fill in around the root ball with mix, gently pressing to remove big air pockets. Stop when the soil level is just below the rim so watering doesn’t overflow.
- Water deeply. Water until you see a good stream coming out of the drainage holes. If the soil settles, top up with a bit more mix.
- Mulch lightly. Add a 1–2 inch layer of fine bark or compost on top to keep moisture even, but don’t pile it against the stems.
For the first few weeks, treat the plant like it’s recovering from a move: keep the soil evenly moist, skip strong fertilizer, and avoid baking it in the hottest possible sun straight away.
How to Grow Rose From Cuttings at Home (Easy Method)
Learning how to grow rose from cuttings at home using an easy method is one of those quiet gardening joys. You start with a single stem from a rose you love and, a few weeks later, you’re checking for new leaves like a kid watching cookies bake. Many rose growers propagate from semi-hardwood cuttings—pieces of this year’s growth that are firm but not woody.
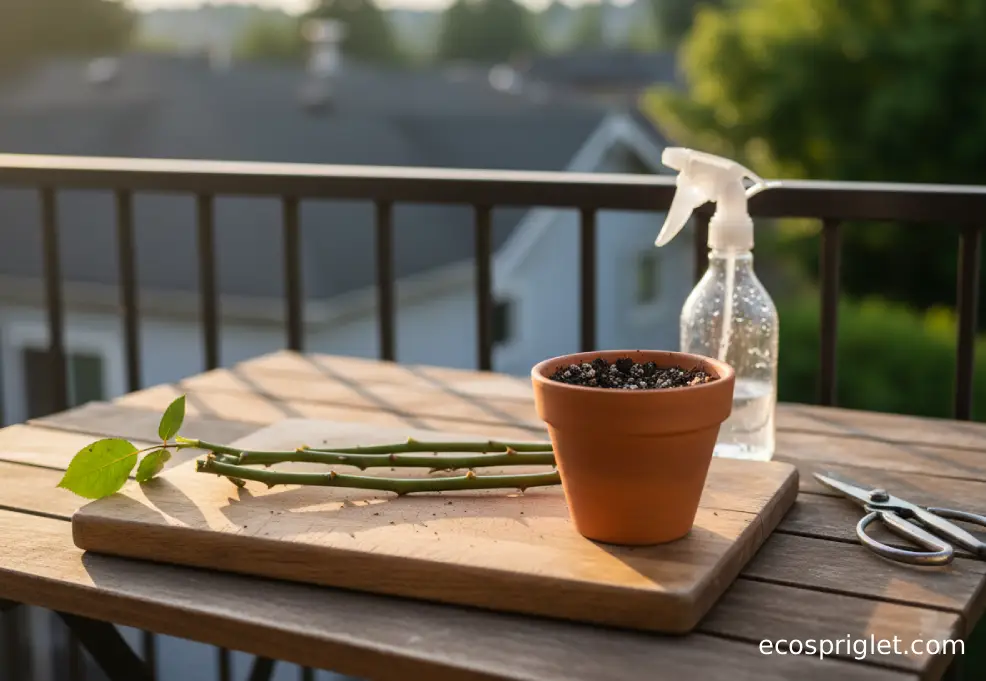
Here’s a balcony-friendly version that doesn’t need a greenhouse or misting system:
- Take the cuttings. Choose a healthy, non-flowering stem about pencil-thick. Cut 6–8 inch pieces with at least 3–4 leaf nodes. Make the bottom cut just below a node and the top cut just above a node.
- Strip and prep. Remove flowers, buds, and the leaves from the bottom two-thirds of each cutting, leaving a couple of leaves at the top. Lightly scrape or nick one side of the lower inch of the stem to expose a bit of inner tissue.
- Use rooting hormone (optional but helpful). Dip the lower end into powdered or gel rooting hormone to encourage faster rooting.
- Pot them up. Fill a small pot (6–8 inches wide) with a light, sterile mix—something like half perlite or vermiculite and half peat or coco coir. Insert 3–5 cuttings around the rim of the pot so each one has breathing room.
- Water and cover. Water thoroughly, let it drain, then cover the pot with a clear plastic bag supported by sticks or bent wire so it doesn’t touch the leaves. This makes a simple humidity tent.
- Place in bright shade. Keep the pot in bright, indirect light (not direct sun) and check weekly to make sure the mix stays lightly moist, never soggy.
Most rose cuttings will begin making roots in a few weeks, but I usually wait 6–8 weeks before gently tugging to check for resistance. When you see strong new leaves and the cutting resists a slight pull, you can gradually open the bag over a week, then move the new rose plant into a richer potting mix like you’d use for a nursery rose. Container and propagation resources from experienced growers emphasize that keeping the rooting mix evenly moist—not soaked and not bone-dry—is the key here.
I still remember my first successful cutting on the balcony. I used the prunings I was about to toss, stuck them around the edge of a spare pot, and honestly didn’t expect much. A month later, one stem had flushed with new leaves while the parent plant was still sulking from a move. That’s when I got hooked on propagating “backup” roses whenever I prune—cheap insurance and a fun way to share plants with friends.
Watering and Feeding Roses at Home
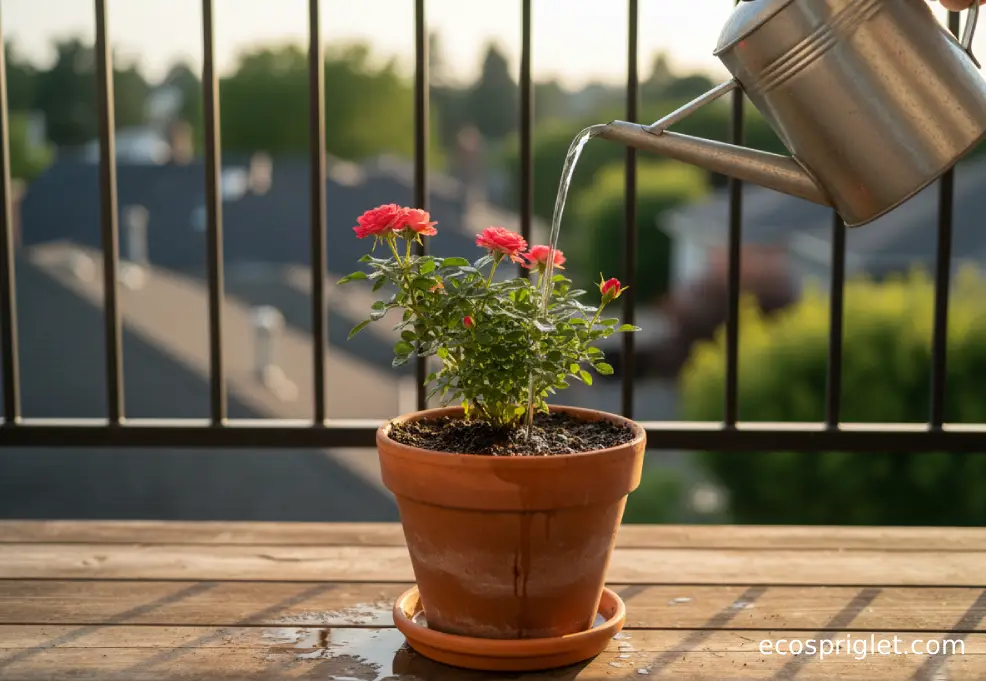
Most people either drown their container roses or let them swing between desert and swamp. Research on container gardening and advice from rose specialists both agree: it’s better to water deeply and based on how dry the soil is, not on a fixed calendar. As a simple rule for roses at home in pots, aim to water when the top 1–2 inches of mix feel dry to the touch.
During mild weather, that might mean watering every 2–3 days. In summer, especially on sunny balconies, potted roses can need water once a day. Container guides note that larger, leafy plants in pots sometimes even need water twice daily in extreme heat. When you water, soak until you see a good flow from the drainage holes, then empty any saucer so the roots don’t sit in a puddle.
Feeding is simpler than many people make it. I like this approach:
- Mix a slow-release rose or shrub fertilizer into the soil at planting, following the label.
- After about 4–6 weeks, start feeding with a balanced liquid or granular rose fertilizer every 4–6 weeks from early spring through mid-summer.
- Stop fertilizing about 6–8 weeks before your expected first fall frost so the plant can harden off instead of pushing soft new growth late in the season.
University and professional rose-care guides also stress the importance of mulch: a 2–3 inch layer of organic mulch over the soil helps retain moisture and evens out swings between wet and dry. Just keep mulch a couple of inches away from the stems so the crown stays dry and healthy. If your leaves start yellowing from the bottom up, check your watering habits first, then consider whether the plant might need a dose of fertilizer.
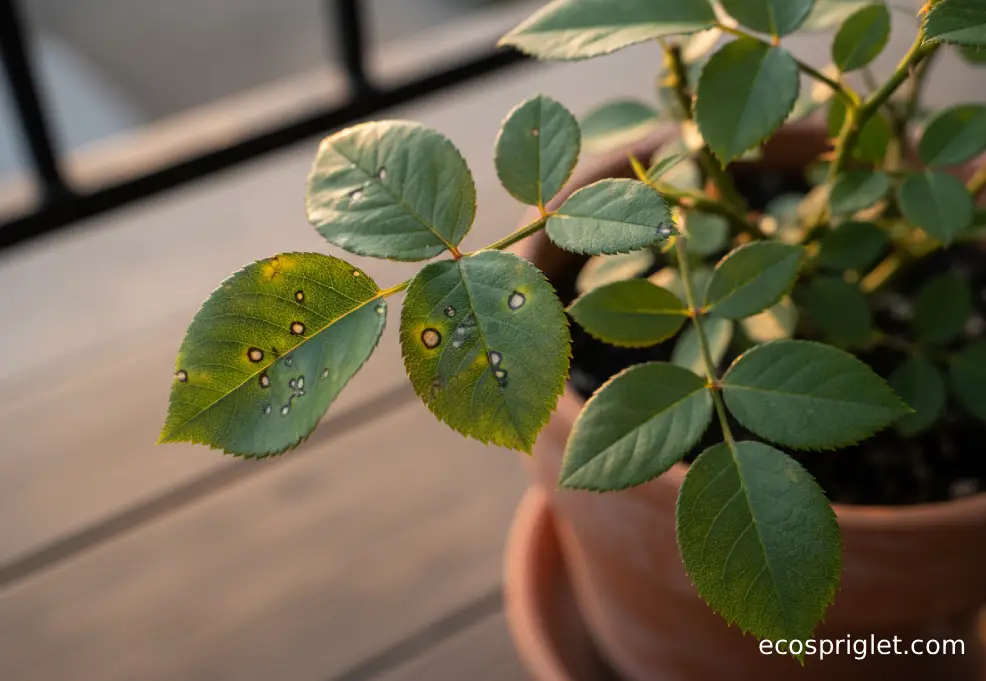
Troubleshooting: Yellow Leaves, Crispy Buds, and Other Rose Problems at Home
Even with good care, roses occasionally throw you a curveball. The good news is that many common issues show up in predictable ways, and university Extension resources give clear clues on what to look for. Here’s a quick balcony troubleshooting list:
- Yellow leaves dropping from the bottom: often under-watering, over-watering, or an older leaf naturally aging. Check the soil 1–2 inches down; if it’s soggy, ease up on water and improve drainage. If it’s bone-dry, water more deeply and consistently.
- Crispy buds or flowers that dry before opening: usually heat stress, drought, or strong hot wind. Move the pot where the roots stay a little cooler and water before the plant wilts.
- Black spots on leaves with yellow halos: classic black spot disease. Remove affected leaves (don’t compost them), improve airflow, and avoid wetting the foliage when watering. If needed, follow up with a rose-safe fungicide according to label directions.
- White powder on leaves: likely powdery mildew. Increase air circulation, avoid overhead watering, and consider a labeled fungicide if the problem is severe.
- Tiny green insects on new growth or sticky leaves: aphids. Spray them off with a firm jet of water, or use insecticidal soap if they keep coming back.
If a potted rose wilts frequently but perks up every time you water, it may simply be root-bound and need a larger pot—container growing guides note that repeated wilting despite good watering is one sign your plant has outgrown its container. On a balcony, I routinely check for roots circling the drainage holes once or twice a season; if they’re trying to escape, it’s time to repot or root-prune and refresh the soil.
Common Mistakes to Avoid When Growing Roses at Home
I’ve made nearly every common rose mistake at least once, and a few of them more times than I’d like to admit. The upside is that container and Extension guides now line up perfectly with what I learned the hard way. Here are the big pitfalls to dodge when you grow rose plant at home:
- Going too small with the pot. A 1-gallon nursery rose might look fine in its original container, but it will struggle long-term. Aim to step up to at least a 3–5 gallon pot for patio roses and larger for shrubs.
- Using heavy garden soil in containers. It compacts, drains poorly, and can suffocate roots. Use a quality potting mix designed for containers.
- Letting pots sit in standing water. A full saucer might feel like a safety net, but it keeps the root zone waterlogged and low in oxygen.
- Too little sun. A rose that gets only brief dappled light will grow leggy with few flowers. If possible, rearrange your balcony so your roses claim the sunniest rail.
- Ignoring wind and weight. Light pots plus tall roses on high balconies can tip in storms. Use heavier containers or add bricks/sand in the base, and secure trellises properly.
For me, the “aha” moment was realizing that a bigger, well-drained pot and a good bag of mix from a place like Home Depot mattered more than any fancy fertilizer. Once I fixed the pot-and-soil combo, even the roses I had nearly given up on started pushing out healthy new shoots and flowers.
Creative Ways to Enjoy Roses at Home (Pet-Safe Ideas Too)
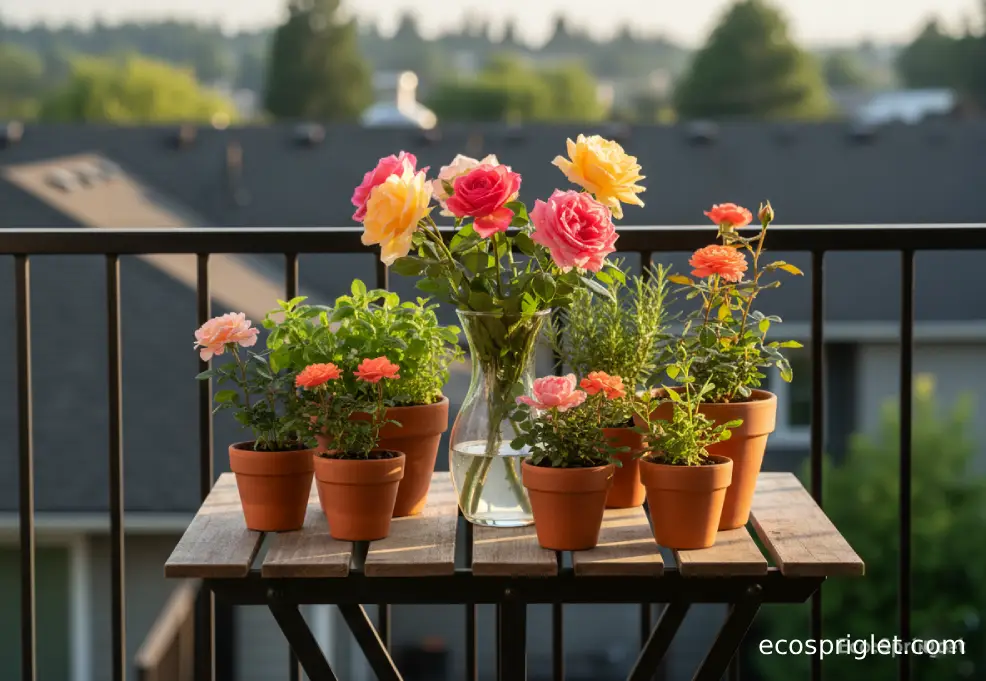
Once your roses at home are thriving, the fun really starts. You don’t need dozens of plants to turn a small terrace into a fragrant nook. One or two well-placed shrubs and a few miniatures can give you regular cut flowers and a surprisingly lush feel in just a few square feet.
Some ideas I love on a balcony:
- Fragrance corner. Cluster one or two fragrant roses with a pot of lavender or thyme near your favorite chair so brushing past releases scent.
- Mini cutting station. Dedicate one rose to small bouquets. Snip stems when blooms are just opening and keep a little vase on your table indoors.
- Rolling rose bar. Put larger pots on wheeled stands to chase the sun in spring and find cooler, shadier spots in extreme summer heat.
If you share your home with pets, the ASPCA lists true garden roses (Rosa species) as non-toxic to cats and dogs—great news if you want to grow rose at home without worrying about a nibble here and there. The thorns are still a hazard for curious paws and noses, though, so I like to position pots where dogs can’t run straight into them and trim off any particularly vicious lower thorns.
Do be careful not to confuse roses with similarly named plants like moss rose (Portulaca) or “Lenten rose” (Helleborus), which are listed as toxic for pets. Sticking with true roses and pet-safe companions is an easy way to get the look you want without sneaky plant risks on a small balcony or patio.
Conclusion: Bringing Fragrant Roses Home
Growing roses at home doesn’t have to mean a sprawling suburban yard or years of experience. With a solid container, a bag of decent mix—whether it’s a “home depot rose soil” type blend or another high-quality potting soil—plus consistent watering and enough sun, roses adapt beautifully to balcony life. You’ve seen how to plant roses at home step by step, how to grow roses at home from nursery plants, and even how to grow rose from cuttings at home using an easy, low-tech method. The rest is observation: feeling the soil before you water, noticing how your plants react to heat or wind, and making small tweaks as you go.
If this is your first rose, start simple: one compact patio rose in a 3–5 gallon pot in the sunniest corner you have. Once you’ve watched it leaf out, bud, and bloom in your own space, you’ll have a feel for what’s possible on that balcony or patio. From there, you can add a climber on a trellis, try a few more colors, or run a little cutting experiment each time you prune.