If you’ve ever sliced into a fresh piece of ginger and thought, “I wish I could grow this at home,” the good news is: you absolutely can. Learning how to grow ginger indoors is surprisingly beginner-friendly, especially for apartment gardeners who already keep a few houseplants alive. Ginger is a tropical understory plant, which basically means it loves the same cozy conditions we do—warm rooms, bright but indirect light, and consistently moist (not soggy) soil. When you give it a roomy pot and a steady, warm spot, it will reward you with lush foliage and a slow-growing stash of spicy, fragrant rhizomes under the surface.
Growing ginger root indoors is not instant gratification—it can take 8–10 months for a full harvest—but you can start sneaking small “baby ginger” pieces much sooner. Along the way, the plant itself is beautiful enough to keep as a foliage houseplant, especially in a bright living room corner or beside a kitchen window. In this guide, I’ll walk you through how to grow a ginger plant indoors step by step: choosing the right roots, setting up containers, dialing in light and watering, harvesting without killing the plant, and avoiding the common mistakes that rot more rhizomes than anything else. By the end, you’ll know exactly how to turn a grocery-store root into a long-term indoor ginger patch.
Why Growing Ginger Indoors Actually Works
Ginger (Zingiber officinale) evolved as a tropical understory plant, which means it naturally grows in warm, humid, filtered light under taller vegetation. That’s almost exactly what a bright apartment provides: steady temperatures, plenty of indirect sun, and protection from harsh wind and frost. Outdoors, ginger is only hardy in roughly USDA Zones 8–12, but universities like Wisconsin Extension and NC State note that it grows very well in containers that can be moved or kept indoors in cooler climates. So if your winters dip below freezing—or you don’t have a garden at all—growing ginger indoors is actually the safer option.
The main things ginger needs inside are:
- Warmth: ideally around 70–85°F, and above about 55°F for consistent growth.
- Light: bright, indirect light for 6–8 hours a day rather than harsh, midday sun.
- Space: a wide pot so the rhizomes can creep and expand under the soil surface.
- Moist but well-drained soil: never waterlogged, or the rhizomes will rot.
Once you understand that ginger behaves more like a slow, tropical houseplant than a fast annual veggie, everything clicks. You’re not trying to rush it through a short outdoor season—you’re giving it a stable, year-round home.
When people message me asking, “Can I grow ginger indoors?” my answer is always yes, as long as you’re okay with the idea that it’s a marathon, not a sprint.
Choosing Ginger and Containers for Indoor Growing
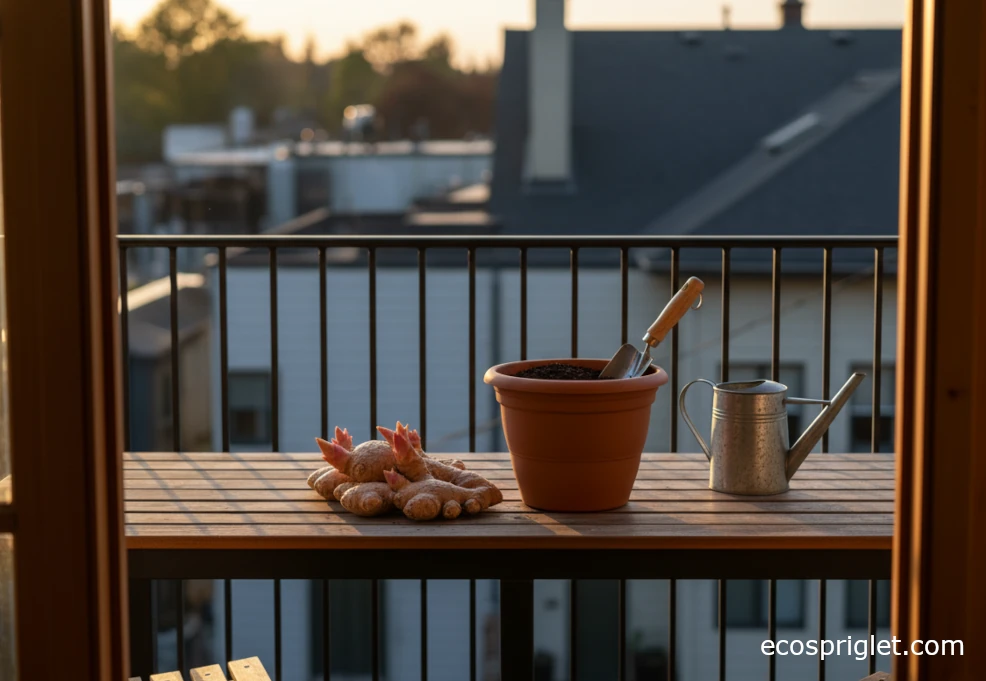
You don’t need anything exotic to start gardening ginger—most of us begin with a piece of grocery-store root. Look for plump, firm rhizomes with clearly visible “eyes” or growth buds. Organic ginger is often easier to sprout because it’s less likely to have been treated with growth inhibitors; Texas A&M Extension even suggests soaking store-bought ginger overnight to help rinse off any retardants before planting. I usually buy a few extra pieces, soak them, and keep the best-looking ones for planting.
Container choice makes a huge difference when you’re growing ginger indoors. Cooperative Extension guidance from Virginia and Illinois suggests at least a 12–15 inch diameter container for ginger, with larger sizes offering better yields. Ginger spreads sideways more than it dives deep, so a wide, moderately deep pot (about 10–12 inches tall) works beautifully. Make sure your pot has multiple drainage holes; ginger hates sitting in stagnant water.
For potting mix, skip garden soil. Use a high-quality, peat- or coir-based indoor potting mix and blend in roughly 20–30% perlite plus a couple of handfuls of finished compost for each pot. This boosts drainage and aeration while still holding enough moisture for those thick rhizomes. Research from Washington State University and Illinois Extension debunks the old “gravel layer” myth—adding rocks at the bottom of a pot doesn’t improve drainage and can actually keep the soil above more saturated. Instead, focus on:
- A pot with real drainage holes.
- A chunky, well-draining potting mix with perlite blended throughout.
- A saucer you can empty a few minutes after watering.
If you’re a visual planner, think of your future ginger harvest now: a single 12–14 inch pot with two or three rhizome pieces can give you a nice, steady supply of baby ginger once the plant is established.
Planting Ginger Root Indoors Step by Step
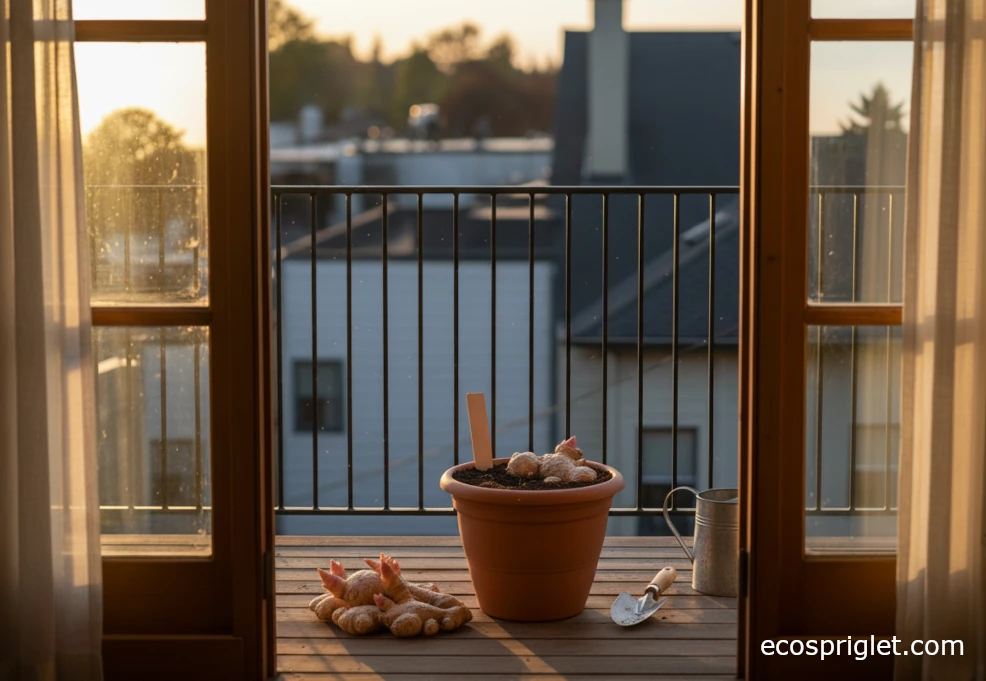
Once your ginger pieces are ready, the actual planting is simple and pretty satisfying. Here’s how I do it in my apartment every spring:
- Pre-sprout (optional but helpful). After soaking the rhizomes overnight, I tuck them in a shallow tray or paper bag in a warm spot (around 70–75°F) with indirect light. Within 1–3 weeks, the buds usually swell and start to show pale nubs of growth, especially if your home is on the warmer side.
- Prepare the pot. Fill your container about two-thirds full with your potting mix blend, then gently firm it so it’s level but still airy. Leave at least 1–2 inches of space between the eventual soil line and the rim of the pot to make watering easier.
- Place the rhizomes. Lay each ginger piece horizontally with the buds facing up, spacing them about 2–3 inches apart. University and extension sources commonly recommend planting ginger pieces just below the surface and covering them with about 1–2 inches of mix rather than burying them deeply.
- Cover and water in. Gently cover the rhizomes with 1–2 inches of mix, then water thoroughly until excess water drains out of the holes. This settles the soil around the “seed” pieces and removes air pockets. Label the pot—you’ll be surprised how easy it is to forget what’s in there before the shoots show up.
- Keep warm and patient. Place the pot in a warm, bright spot (around low-to-mid 70s°F) and keep the soil lightly moist. In warm soil, sprouts typically appear in about 2–4 weeks; in cooler rooms it can take a bit longer, so don’t panic if nothing happens for a month.
I still remember the first time a pale green ginger shoot poked up in my living room—after weeks of staring at bare soil I’d almost given up. With ginger, patience really does pay off; once those shoots appear, growth speeds up and you’ll have a thick clump of foliage before you know it.
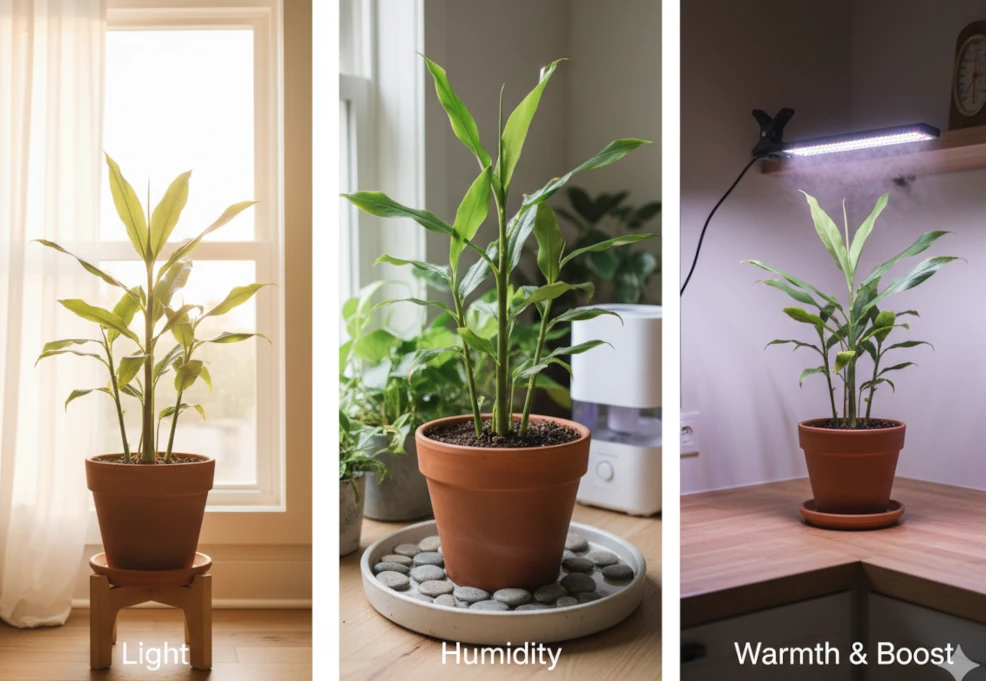
Light, Warmth, and Humidity for Ginger Growing Indoors
Indoors, light and temperature are the two big levers that decide whether your ginger plant sulks or thrives. Ginger prefers bright, indirect light—think an east-facing window with morning sun, or a spot a couple of feet back from a south or west window where the leaves don’t get scorched. Home and garden references commonly recommend avoiding harsh direct midday sun and instead aiming for filtered or indirect light for 6–8 hours a day. If your only bright window is very intense, pull the pot slightly to the side or use a sheer curtain.
Temperature-wise, ginger is happiest when your room stays roughly between 70–85°F. Several research-based and technical guides note that growth slows sharply when soil temperatures drop below about the mid-60s°F, and planting is generally recommended only after soils are above roughly 55°F. Indoors, that usually means keeping ginger away from drafty doors, uninsulated windows, and right next to radiators or AC vents.
For humidity, most apartments are on the dry side, especially in winter heating season. Ginger appreciates a bit of extra moisture in the air, but you don’t need a fancy humidifier. Simple tricks that work well are:
- Standing the pot on a tray of pebbles with water just below the pot’s base (a method even mentioned by extension resources as a way to gently raise humidity).
- Grouping your ginger with other leafy houseplants to create a shared humid “bubble.”
- Running a small room humidifier near your plant cluster if your indoor humidity drops below roughly 35–40% in winter.
If your space is dim, a simple full-spectrum LED grow light on a 12–14 hour timer placed 12–18 inches above the foliage can stand in for sunlight. I’ve grown a surprisingly sturdy pot of ginger in a north-facing kitchen using nothing more than a clamp-on grow light and a warm corner away from cold drafts.
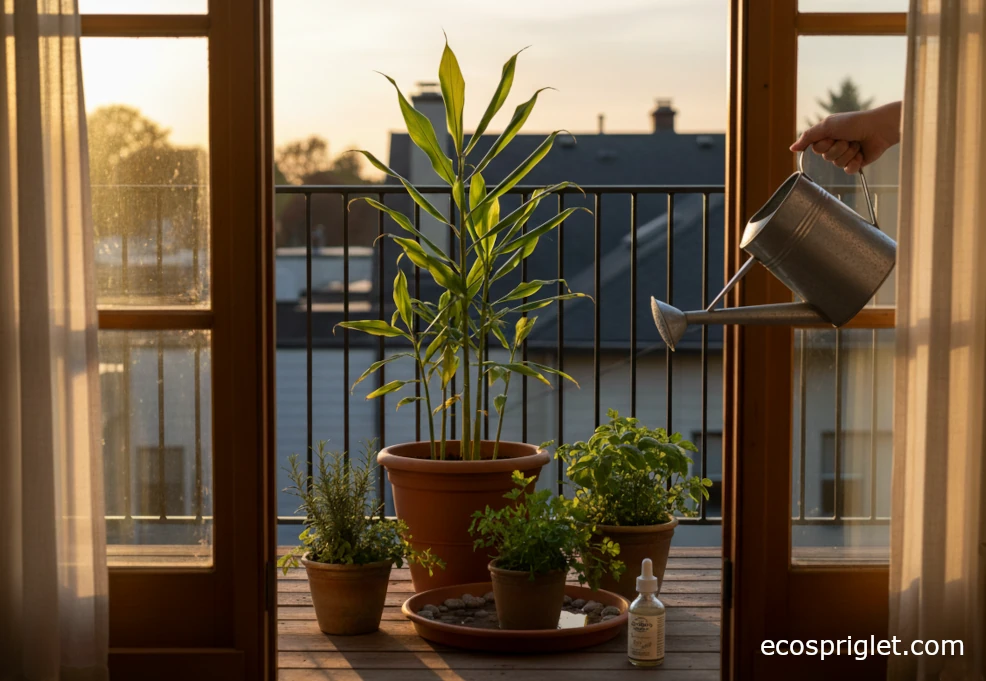
Watering and Feeding Your Indoor Ginger Plant
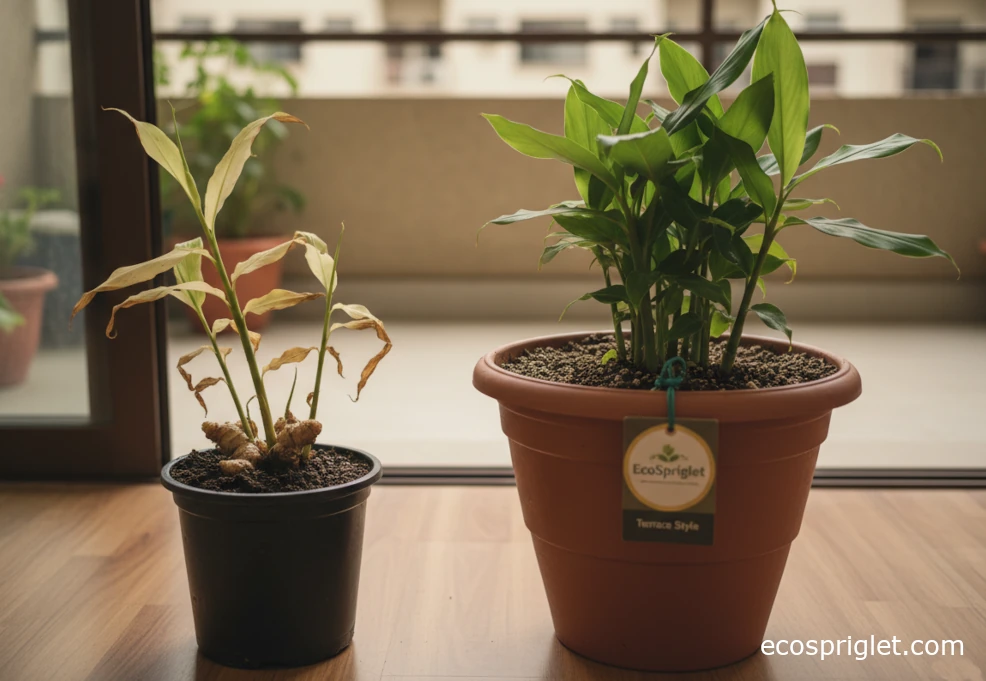
I learned the hard way that “loving” ginger with water is the fastest way to kill it. My first indoor ginger pot looked great for a few weeks—then the leaves yellowed, flopped over, and the rhizomes turned to mush when I checked them. The problem wasn’t the plant; it was my watering can.
Ginger likes its soil consistently moist but never soggy. University and technical guidance on ginger and similar container crops lines up around a simple rule: let the top inch of soil dry slightly, then water thoroughly until some excess drains out the bottom, and always dump standing water from the saucer. For most heated apartments, that means:
- Check moisture 2–3 times per week. Press a finger about an inch into the mix. If it feels dry at that depth, water; if it’s still slightly damp, wait a day or two.
- Water deeply, not in sips. When it’s time, water until 10–20% of what you pour runs out of the drainage holes, then empty the saucer after a few minutes.
- Ease off in cooler, dimmer months. When growth slows in fall and winter, the soil will take longer to dry, so your watering interval stretches out.
Feeding is more forgiving but still important. Ginger is a slow, steady feeder that responds well to regular, light fertilization rather than big, occasional doses. Growers and technical guides commonly suggest a balanced fertilizer such as a 10-10-10 or similar formulation, applied every 4–6 weeks during active growth. I like to use a half-strength, balanced liquid fertilizer once a month from late spring through early fall, and rely on compost in the mix for the rest.
A simple schedule that works for most indoor growers is:
- Start feeding once shoots are 6–8 inches tall.
- Fertilize every 4–6 weeks in spring and summer, using a balanced liquid or slow-release product.
- Stop fertilizing 1–2 months before you expect to harvest heavily, and reduce watering slightly so the rhizomes firm up.
If you ever see white crusts of fertilizer salt on the soil surface or the pot rim, flush the pot by watering deeply with plain water a couple of times, letting it drain fully each time. That little reset alone has saved more than one of my container plants.
Harvesting Ginger Indoors: Baby Ginger and Full-Size Rhizomes
One of the joys of growing ginger indoors is that you don’t have to choose between “never touch it” and “harvest everything.” With a bit of care, you can steal a piece now and then while letting the rest of the plant keep growing.
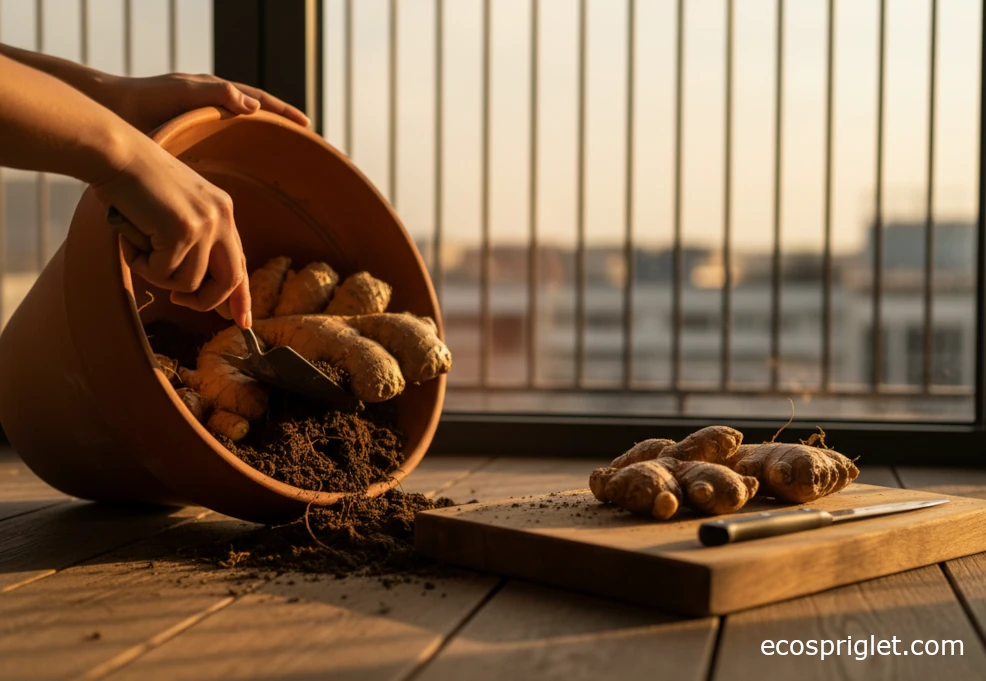
Baby ginger (4–6+ months). After about 4–6 months of good growth, you can start harvesting small, tender pieces—often called baby ginger. Research summaries of indoor ginger guides report that full maturity typically takes 8–10 months, but partial harvests can start earlier if the plant is vigorous. To “sneak harvest,” gently scrape soil away at the edge of the pot, cut off a side piece of rhizome with a clean knife, and then tuck the soil back in place. The plant will usually continue growing as long as it still has a solid central mass of rhizomes and healthy stems.
Full harvest (8–10+ months). When the foliage begins to naturally yellow and die back, that’s your signal that the rhizomes are approaching full maturity. Many technical sources on ginger production note that this stage often arrives around 8–10 months after planting under warm, well-lit conditions. At that point you can:
- Stop fertilizing and reduce watering for 2–3 weeks to let the soil dry slightly.
- Tip the pot on its side, slide out the root ball, and carefully break or wash off the soil.
- Separate a few of the healthiest pieces with strong buds to replant, and keep the rest for the kitchen.
Fresh, homegrown ginger has a juiciness and aroma that’s hard to describe until you’ve grated it into a stir-fry or tea. The skin is thinner than store-bought, so you often don’t even need to peel it—just scrub and slice. I usually keep some in the fridge for short-term use and freeze extra pieces whole in a freezer bag; you can grate them straight from frozen.
Common Mistakes to Avoid When Growing Ginger Indoors
Every time someone tells me “ginger just rots when I try it,” I can almost guarantee one of a few classic mistakes is to blame. The good news is that they’re all fixable.
- Overwatering and poor drainage. Constantly wet soil, pots without real drainage holes, or gravel stuffed in the bottom (which research-based sources show doesn’t improve drainage) are recipe number one for rotted rhizomes. Fix: use a well-draining mix in a pot with holes, water only when the top inch is dry, and always empty saucers.
- Pot too small. Ginger spreads sideways; tiny, narrow pots cramp the rhizomes and dry out too fast between waterings. Cooperative Extension guidance for ginger in containers generally recommends at least 12 inches wide for a single piece. Fix: size up to a wide, medium-depth container.
- Planting too deep. Burying the rhizomes several inches down slows sprouting and increases rot risk. Many university sources recommend covering ginger with only about 1–2 inches of mix. Fix: keep the pieces just below the surface.
- Too little light and warmth. A cool, dim corner will keep ginger alive but barely growing. Fix: move the pot to brighter, indirect light and aim for room temps in the low-to-mid 70s°F where possible.
- Heavy fertilizing on stressed plants. Dumping strong fertilizer on a plant that’s already unhappy often makes things worse. Fix: correct light, water, and pot size first; then restart a gentle, regular feeding schedule.
I once tried to “save” a sluggish ginger plant by giving it extra fertilizer and more water. Unsurprisingly, it crashed. Now my rule is: if the plant looks off, I check roots, pot size, and watering habits before I ever reach for a fertilizer bottle.
Grow Ginger as a Houseplant: Styling and Companion Ideas
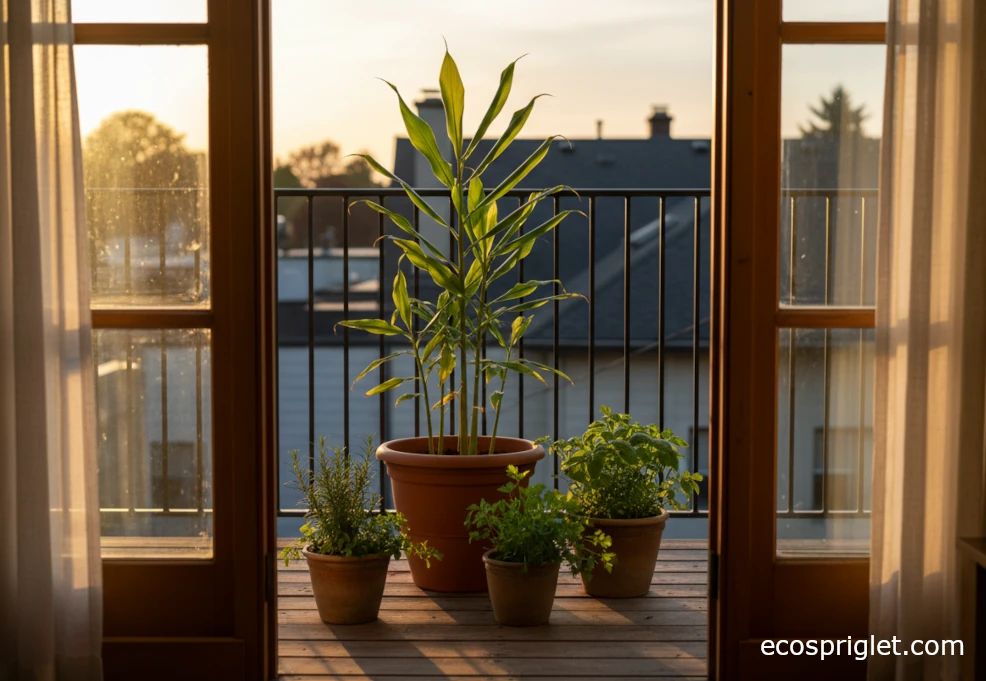
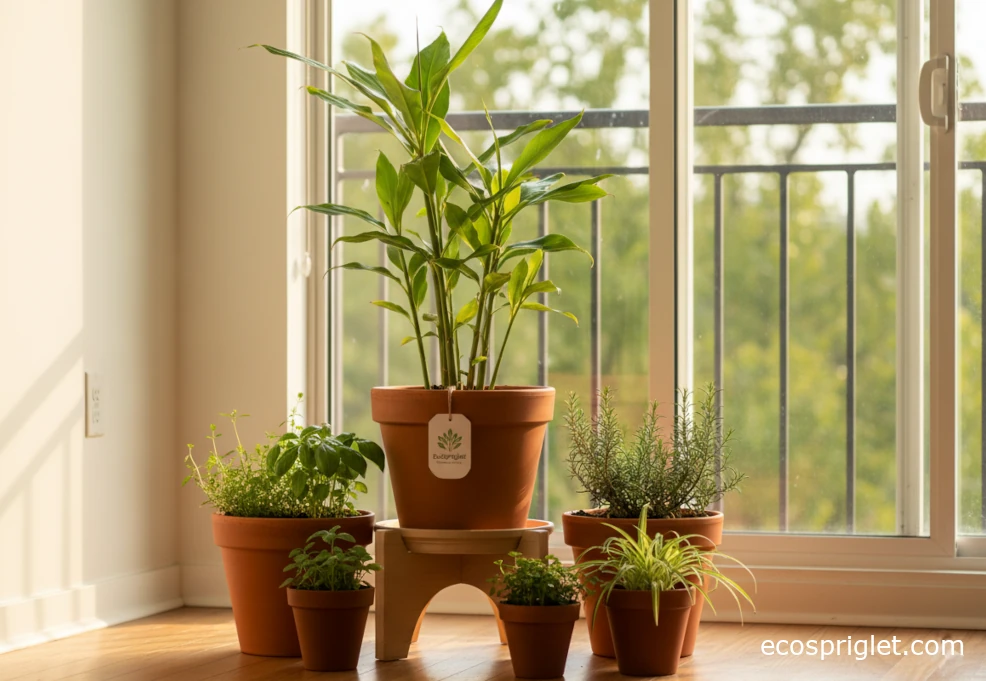
Once your ginger plant has a few tall stems and lush leaves, it stops feeling like “just a crop” and starts acting like a tropical houseplant. I love using ginger as the taller backdrop in a little indoor herb jungle. In a 12–15 inch pot, it can reach 2–4 feet tall under good conditions, giving you a nice vertical accent in a living room or kitchen corner.
Here are a few ways to work ginger into your apartment plant styling:
- Build a kitchen spice corner. Cluster your ginger pot with smaller containers of basil, mint, or chives on a sunny counter or shelf (just be sure they all get enough light and have drainage). For more ideas, check out an all-purpose herb guide like /kitchen-herb-plants/.
- Create a tropical vignette. Pair ginger with broad-leaved, humidity-loving plants in similar light conditions. Many ornamental gingers and related species are listed as non-toxic to pets in ASPCA databases, but always double-check each companion plant you choose.
- Use a self-watering insert or pot. If your schedule is hectic, a self-watering container designed for edible plants can help keep moisture more consistent—just avoid letting the reservoir stay flooded for weeks on end.
One important safety note: culinary ginger (Zingiber officinale) is generally considered safe in small amounts for cats and dogs, but there are lookalike “wild ginger” species (like Asarum canadense) that are toxic. If you have pets or kids, confirm the exact species you’re growing and keep all pots out of reach of curious chewers. When in doubt, ask your vet or consult a trusted pet-poison resource.
From a design standpoint, ginger looks great in simple terracotta or matte ceramic pots that echo its earthy vibe. I often top the soil with a thin layer of fine bark or coconut husk chips for a tidy look that still lets water soak in freely.
By now, the idea of growing ginger indoors should feel a lot less mysterious. You know that the plant wants a wide, well-draining pot, a loose potting mix, bright indirect light, warmth, and steady but not excessive moisture. You’ve seen how a single grocery-store rhizome can turn into a handsome, tropical-looking houseplant that quietly fattens up your future harvest under the soil. And you’ve got a clear sense of timing: a few weeks for sprouts, a few months for baby ginger, and roughly 8–10 months for fully mature rhizomes when the foliage naturally fades.
My favorite part of gardening ginger indoors is that it fits so well into apartment life. You don’t need a yard—just a bright window, a big enough pot, and a willingness to check the soil with your fingers now and then.
Once you’ve dialed in your first pot, it’s easy to keep the cycle going by saving a few healthy pieces each time you harvest and replanting them. Fresh ginger for tea, curries, and stir-fries becomes one of those quiet luxuries you barely remember living without.