Parsley is one of those balcony herbs that rewards you for being a little picky about how you pick it. Snip it the right way and it just keeps pushing out fresh stems; hack at the tops and it can sulk, turn thin, or stall out right when you’re getting used to grabbing a handful for dinner.
This guide walks you through harvesting parsley for three real-life apartment situations: “I just need a few sprigs,” “I want a big batch to store,” and “I’m ready to collect seeds.” You’ll also see exactly how to harvest Italian parsley (flat-leaf), curly parsley, and flat leaf parsley without treating them like three totally different plants—because they’re not. The core trick is simple: take whole outer stems near the base, leave the center alone, and don’t scalp the plant unless you’re doing an end-of-season cleanup.
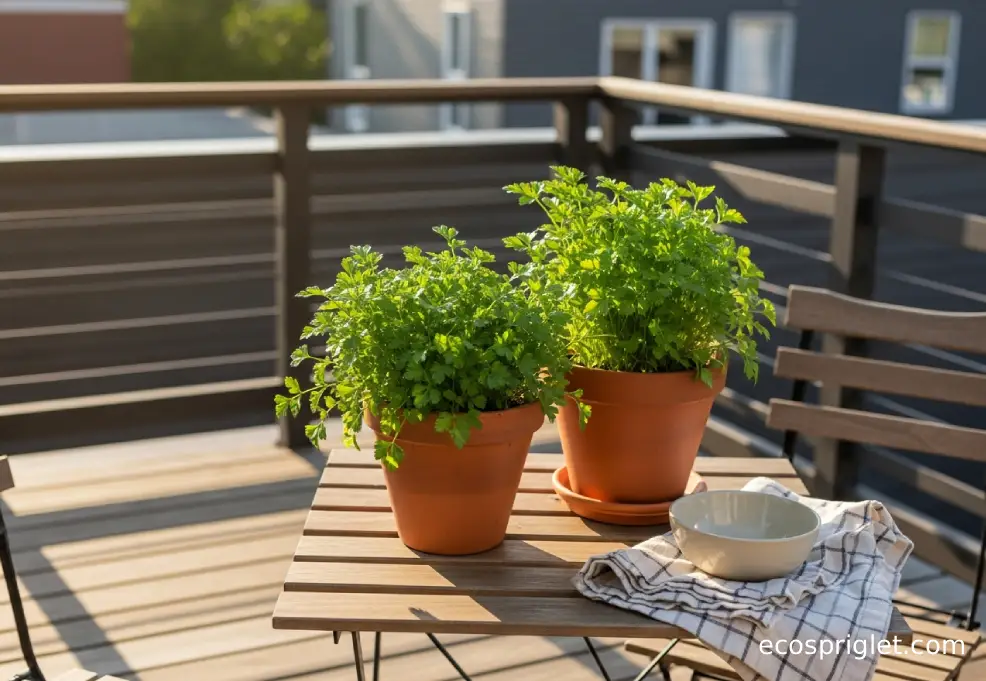
If you’re growing in pots, this all matters even more—containers dry faster, plants have less root room, and parsley can’t always “bounce back” from rough harvesting the way it might in a garden bed. Once you get the rhythm down, harvesting becomes part of care, not a stressful moment.
When and How to Start Harvesting Parsley
The best time to begin harvesting is when your parsley has enough stems to spare—think “small bunch” rather than “tiny seedling.” A good rule is to wait until you can count several sturdy stems and the plant looks like it could lose a couple without looking sad afterward. University of Illinois Extension notes that parsley can be harvested through the growing season, and it’s best harvested in the morning after dew dries but before heat softens the leaves.
For flavor and crispness, aim for early morning harvesting (or, in apartment life, “whenever your kitchen isn’t 85°F”). If you’re growing parsley outdoors on a balcony, another solid cue is leaf texture: choose stems that feel firm and hold themselves upright. If everything is floppy, water first, give it an hour, then harvest.
Quick balcony note: if you’re sowing parsley in a container, the Royal Horticultural Society recommends a pot about 10 inches wide and 10 inches deep. That extra soil volume makes harvesting less of a shock because the plant stays evenly hydrated and doesn’t stall after you cut.
The Cut That Keeps Parsley Growing Back
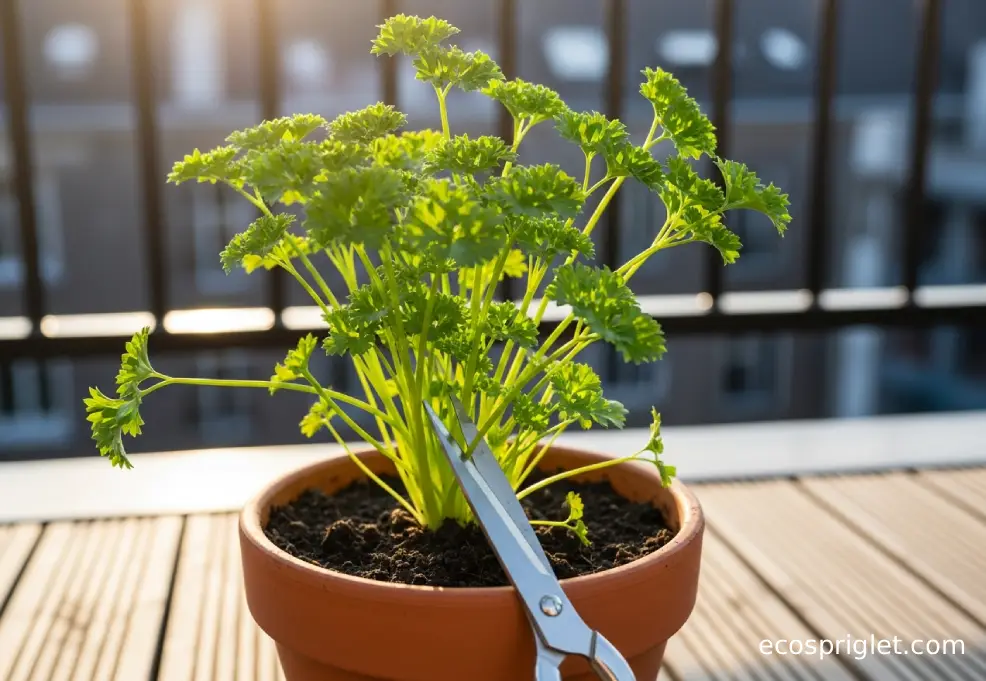
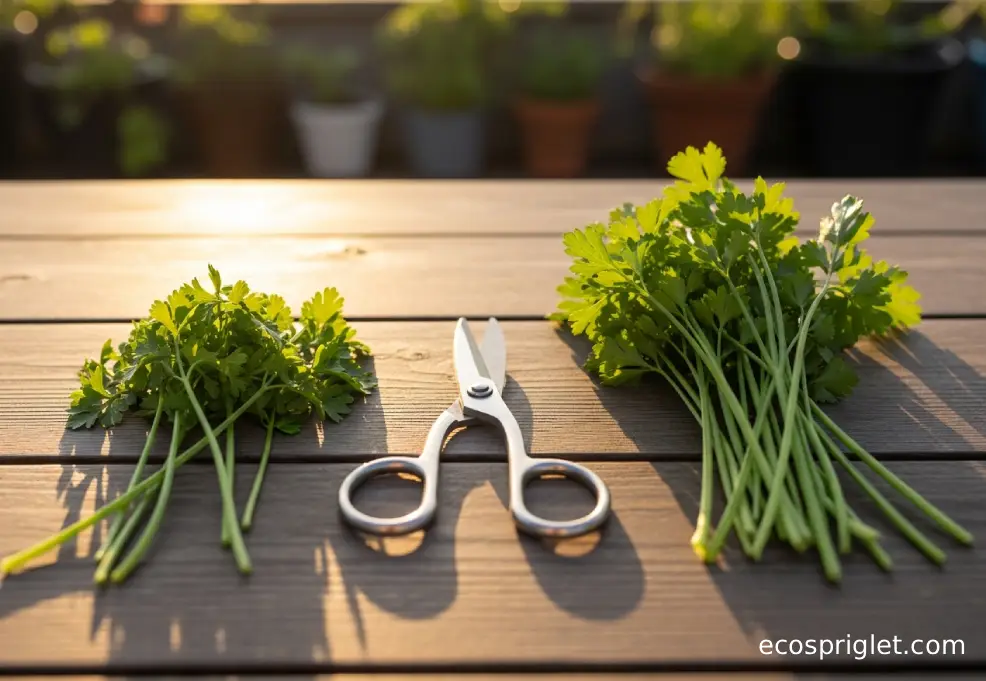
This is the make-or-break technique for how to harvest parsley so it keeps growing: take whole outer stems and cut them near the base. The Royal Horticultural Society and University of Minnesota Extension both describe harvesting by snipping outer stalks close to the ground, which encourages steady new growth from the center.
I remember when I first grew parsley in a pot and “harvested” it like lettuce—just pinching off leafy tops as I cooked. The plant didn’t die, but it turned into a weird shaggy mop with bare stalks and small leaves. The moment I switched to cutting full stems at the base, it started producing like it was actually proud of itself.
Here’s the simple method I use every time:
- Pick from the outside first: choose the tallest, oldest stems around the edge.
- Cut low: snip the stem close to the soil line (or as low as you can without nicking neighboring stems).
- Leave the center crown alone: that’s where the next wave of stems forms.
- Don’t overdo it: remove no more than about one-third of the plant in a single harvest for ongoing growth.
Common beginner mistake: cutting “just leaves” and leaving a forest of bare petioles behind. University of Minnesota Extension specifically warns that leaving stalks can reduce productivity. If you’ve already done it, don’t panic—switch to base cuts for the next few harvests and let the plant rebuild from the center.
How to Harvest Italian, Curly, and Flat-Leaf Parsley
Whether you call it Italian parsley, flat leaf parsley, or curly parsley, the harvesting mechanics are the same: take the outer stems, cut them close to the base, and keep the center growing point intact.
The difference you’ll actually notice is how each type behaves in your hand:
Flat-leaf (Italian) parsley usually has longer, cleaner stems—great for chopping and for sauces. Curly parsley can be a little denser and springier, so you may find it easier to gather a small “bundle” of stems in one hand before cutting. But the plant’s regrowth pattern is still a central crown pushing new stems outward.
If you’re harvesting parsley for a dish and you want it to taste bright, rinse quickly in cool water, then spin or pat dry. (Wet parsley clumps when you chop it, and you’ll feel oddly annoyed at 7:10 p.m. over something that should be relaxing.) If you want more balcony herb tips like this, I keep a running guide here: Indoor Herb Garden.
A Quick Harvest Cheat Sheet for Fresh, Big Batches, and Storage
Most people only ask “when and how to harvest parsley” once—until they realize there are different harvesting styles. Here’s the balcony-friendly cheat sheet I wish someone handed me early on:
| What You Need | How to Harvest | How Much to Take | Best Next Step |
|---|---|---|---|
| A few sprigs for dinner | Snip 1–3 outer stems at the base | Light harvest (well under 1/3) | Rinse, dry, chop fresh |
| A bigger handful to store | Take multiple outer stems evenly around the plant | Up to about 1/3 of the plant | Store as “bouquet” in the fridge or freeze |
| End-of-season cleanup | Cut most stems low, leaving a small center tuft | More than 1/3 is fine here | Dry or freeze what you cut |
For keeping parsley fresh, Arkansas Cooperative Extension suggests washing, drip-drying, and refrigerating in a bag or container. My apartment version: stand stems in a jar with an inch or two of water, loosely cover the top with a bag, and refrigerate—then refresh the water if it gets cloudy.
How to Harvest Parsley to Dry (Without Losing the Flavor)
If your goal is “how to harvest parsley to dry,” think in two phases: harvest at peak quality, then dry at a gentle temperature so the leaves keep their color and aroma.
First, harvest the same way you do for fresh use—outer stems cut near the base. Then wash quickly and dry thoroughly before you start any drying method. Wet leaves dry slowly, and slow drying is where you start getting dull, musty flavor.
For dehydrators, Oregon State University Extension recommends preheating and drying herbs around 95°F to 115°F, with up to 125°F in higher humidity. That range is a sweet spot for balcony growers because it’s reliable and fast, and you’re less likely to forget a bundle hanging in the kitchen for two weeks.
- Dehydrator: Spread stems/leaves in a single layer; dry until leaves crumble easily between fingers.
- Air-drying: Tie small bundles and hang in a warm, dark, well-ventilated spot; avoid direct sun (it fades flavor).
- Storage: Once fully dry, store in an airtight jar away from heat and light; label it (future-you will appreciate it).
Common mistake: drying before the plant (or leaves) are actually dry from washing. If you’re impatient, a salad spinner plus a towel press gets you 90% of the way there.

How to Harvest Parsley Seeds (And Actually Keep Them)
Parsley seed harvesting is a different mindset because you’re letting the plant do its full life cycle. Parsley is typically a biennial: it focuses on leaves, then later flowers and sets seed. Once it starts sending up flower stalks, leaf production usually drops, so you’re choosing seeds over a long leaf season.
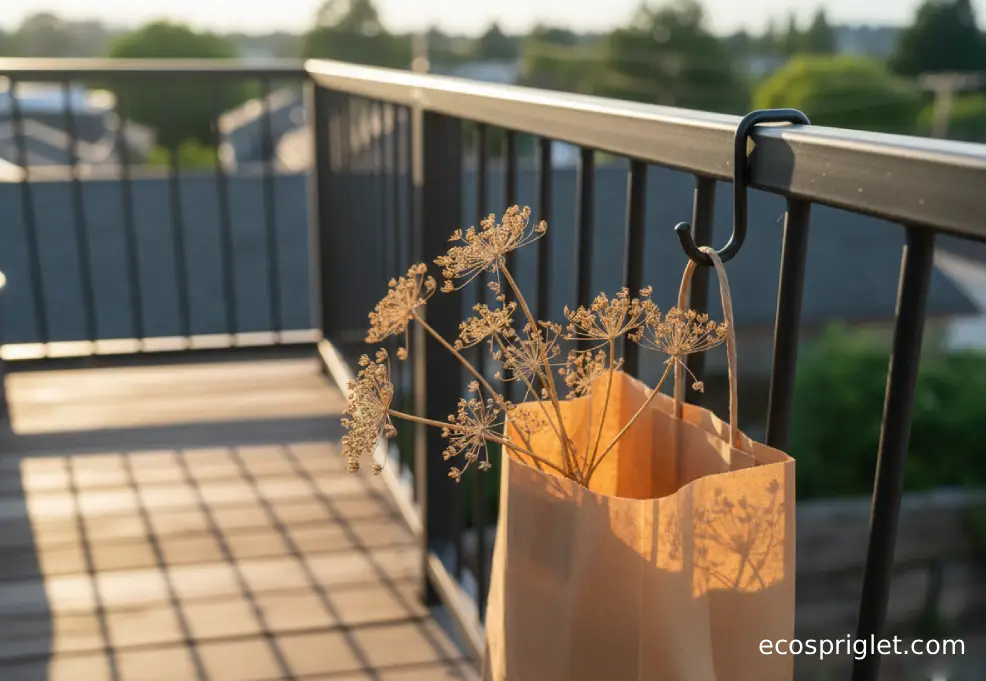
For how to harvest parsley seeds, wait until the seed heads (umbels) turn from green toward tan and brown. North Dakota State University notes that for umbel-type herbs, you can wait until the seed has turned brown in the umbel, then cut and hang the plant upside down to collect seed as it dries. University of Nevada, Reno Extension also recommends collecting seed heads as they turn brown, drying them in a paper bag, then finishing drying and cleaning.
My small-space method:
- Slip a paper bag over a browning seed head (or cut the whole stem and bag it).
- Hang upside down somewhere dry and airy for several days.
- Shake/rub the dried umbels so seeds drop into the bag.
- Spread seeds on a plate for a day or two to finish drying, then store in a labeled envelope or jar.
Common mistake: harvesting too early (green seeds) and wondering why nothing germinates later. If you’re unsure, wait a little longer—browning is your best visual cue.
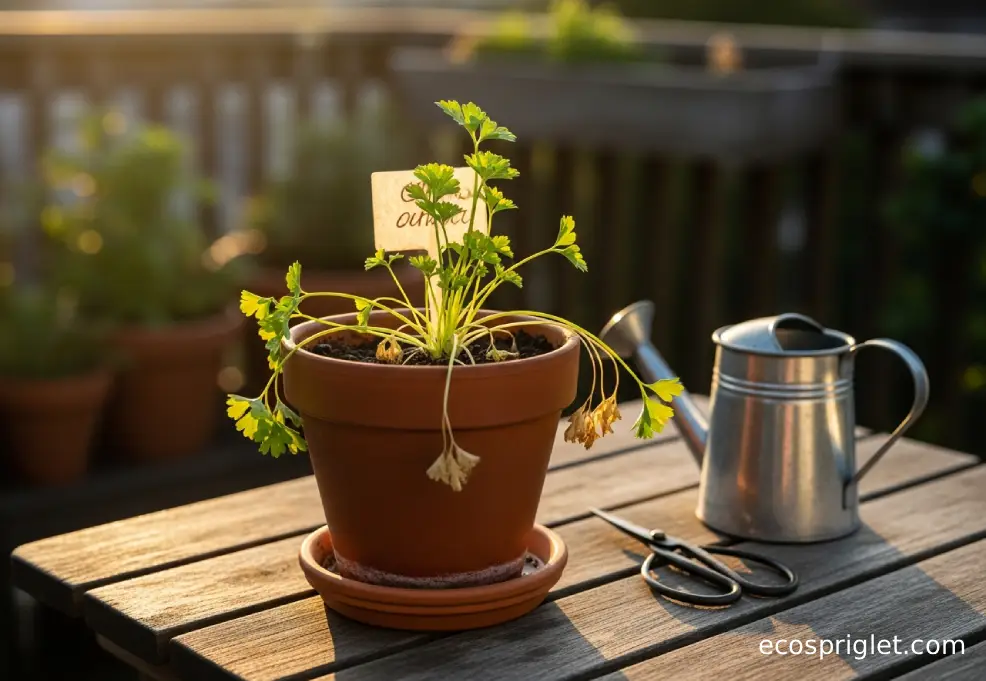
What to Do If Parsley Slows Down After Harvesting
If your parsley looks “stuck” after you harvest, it’s almost always one of three things: you cut too much at once, it dried out, or it’s shifting into flowering mode.
If you took too much: give it time and keep conditions steady. Don’t fertilize aggressively to “fix it”—that often just produces softer growth. Instead, keep the soil evenly moist (not soggy) and harvest lightly for a couple weeks.
If it dried out: containers can go from fine to bone-dry faster than you expect, especially on a windy balcony. Water deeply, then check again the next day. A simple trigger I use: if the top inch feels dry and the pot feels lighter when you lift it slightly, it’s time to water.
If it’s bolting: you’ll see taller stalks forming and leaf production slowing. If you want leaves, pinch off early flower stalks as you spot them. If you want seeds, let it go and shift your harvest plans to seed saving.
One more balcony reality: parsley is also a host plant for black swallowtail caterpillars in many areas. If you see chewed leaves and a chunky green caterpillar, that may be the whole story. I usually move that plant to “wildlife duty” and harvest from a second pot, but that’s a personal choice.
Common Mistakes to Avoid When Harvesting Parsley
- Snipping only leaf tops.
⇒ Cut whole outer stems near the base (University of Minnesota Extension notes productivity drops when stalks are left behind). - Harvesting from the center crown.
⇒ Always take the outside first and protect the middle for regrowth (RHS harvesting guidance). - Removing more than about one-third repeatedly.
⇒ Take smaller harvests more often for steady regrowth. - Drying parsley while it’s still wet from washing.
⇒ Dry thoroughly first; then dehydrate around 95°F–115°F (Oregon State University Extension). - Collecting seeds while they’re still green.
⇒ Wait for umbels to brown before bagging and drying (NDSU Extension; UNR Extension).
Closing Thoughts: Harvest Often, Harvest Gently, and Let the Plant Work
If you remember nothing else, remember the direction of regrowth: parsley pushes new stems from the center crown. Your job is to keep that crown happy—good moisture, enough light, and gentle harvesting from the outside. Once you harvest that way a few times, you’ll feel how predictable it becomes: outer stems come off, the middle fills in, and you always have something to cook with.
When you want parsley for the freezer or for drying, harvest more boldly—but do it intentionally (and dry at the right temperature). When you want seeds, commit to letting a plant flower and mature, then collect brown umbels the tidy, low-mess way with a paper bag. It’s not complicated; it just helps to do each harvest type on purpose instead of improvising at the sink.