Lavender is one of those balcony plants that feels fancy even when it’s living in a basic terracotta pot. But harvesting it can be weirdly intimidating the first time—snip too early and you feel like you wasted the bloom, snip too late and the flowers crumble everywhere. The good news: lavender is forgiving, and a clean harvest actually helps most plants stay tidy and bloom better next season.
In this guide, I’ll show you exactly when to harvest lavender depending on what you want to do (drying, tea, sachets, bouquets, or seed saving), plus how to cut it so you don’t accidentally hack your plant into a sad, woody puffball. I’ll also cover the “is it too late?” question—because on balconies, weather swings and heat waves can make timing feel like a moving target.
Quick note: I’ll mention sources like University of Maryland Extension and NC State Extension where they back up the timing and technique, and I’ll keep everything balcony-friendly and beginner-proof. If you’re also growing other herbs in containers, my kitchen herb plants guide pairs nicely with this.
When to Harvest Lavender for the Best Scent and Color
If you only remember one timing rule, make it this: harvest when the flower spike looks “mostly buds, just starting to open.” That’s the sweet spot for strong fragrance and good color when dried. University of Maryland Extension specifically notes harvesting by cutting whole flower spikes when the first flowers begin to open (great for drying). Sources: University of Maryland Extension; Kentucky Extension (drying flowers); RHS (lavender overview).
On most balconies, the practical window looks like this:
- For drying/sachets: when the first few florets open and most are still in bud.
- For bouquets: when roughly a third to about half of the florets are open (it looks fuller in a vase).
- For essential-oil-style fragrance harvesting: closer to mid-bloom (often around half open), which aligns with production notes from NC State Extension.
Try to harvest on a dry day after the morning dew is gone. If the flower spikes feel damp, drying takes longer and mold risk goes up in tight apartment spaces.

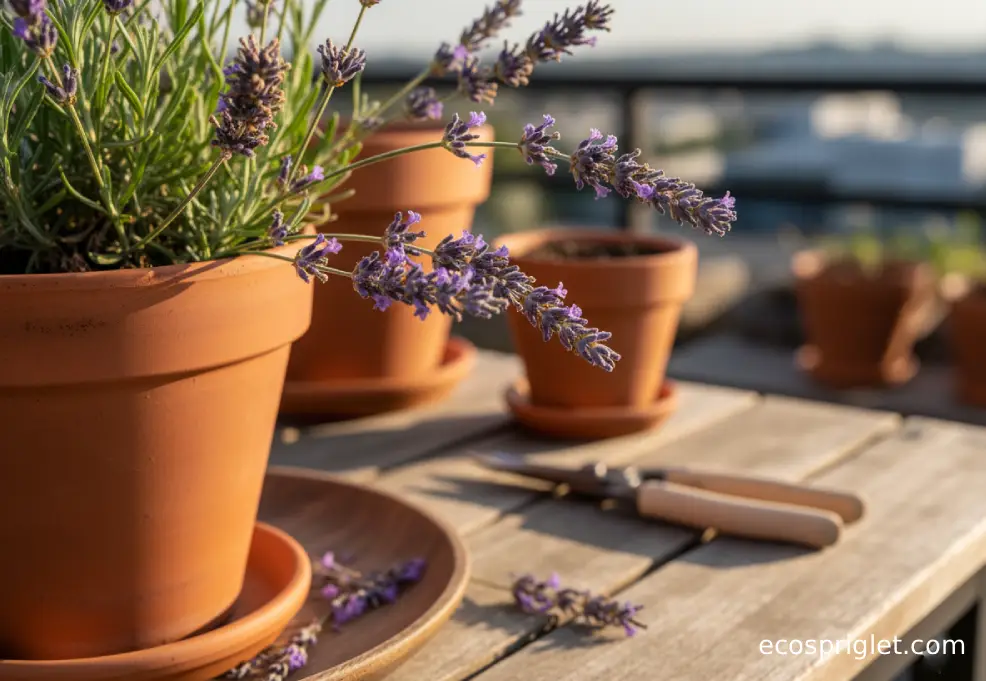
Balcony Prep: Tools, Timing, and a Clean Setup
Harvesting lavender is fast—if you set yourself up first. Here’s what I keep within arm’s reach on my balcony:
Must-haves: clean, sharp snips (or pruners), twine or rubber bands, and a paper bag or basket for moving stems indoors. If you plan to dry it, add a hook/hanger spot and a dark-ish, airy corner.
Sanity tip for small spaces: lay down a towel or tray under the pot before you cut. Lavender buds are tiny confetti, and they love to bounce into every deck crack.
Clean cut rule: wipe blades with rubbing alcohol before you start—especially if you’re hopping between plants. It’s a simple habit that helps reduce disease spread in container gardens where plants sit close together.
How to Harvest Lavender Flowers Without Stressing the Plant
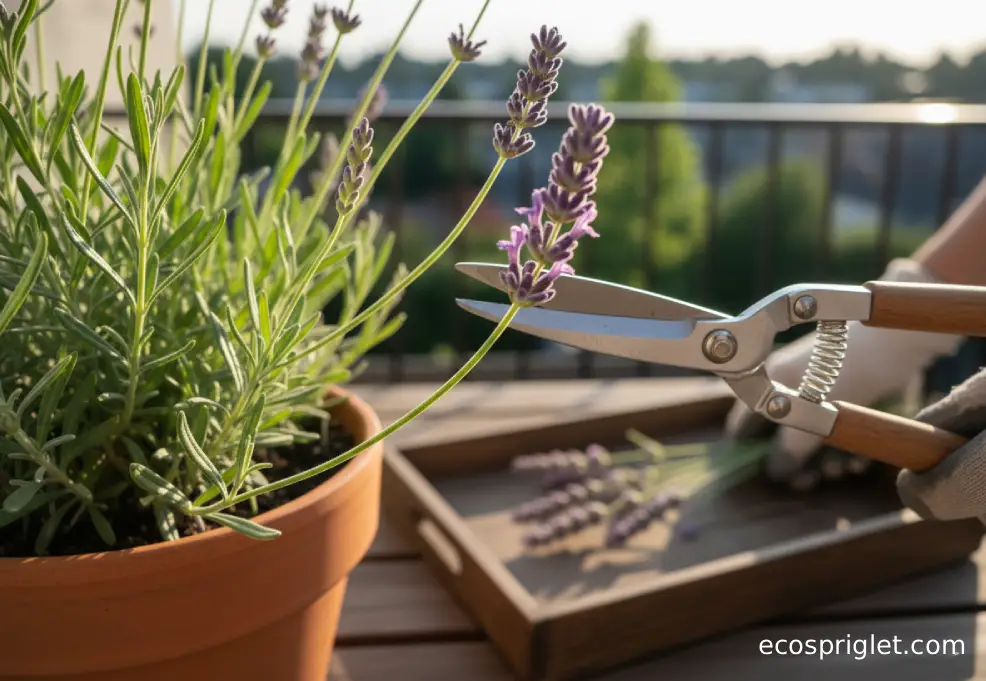
Lavender likes a haircut—but it hates being scalped into old wood. The goal is to take the flower stems and a bit of green stem, while leaving plenty of leafy growth to fuel the plant.
I remember when I first tried this, I cut “where it looked neat,” which (unfortunately) was right into the woody part. The plant lived, but it took forever to fill back in—and it never looked as lush as it did before. Since then, I follow one simple cutting pattern that works in pots and in-ground.
- Find the leafy section: look down the flower stem until you see healthy leaves (not bare stick).
- Cut just above a leaf node: leave at least 1–2 inches of green growth below your cut when possible.
- Avoid cutting into woody brown stems: especially on older plants—new shoots don’t reliably sprout from deep old wood.
- Take stems in batches: harvest a few, step back, and keep the plant roughly even (it helps it regrow symmetrically).
For dried flower harvesting, NC State Extension notes cutting the stalk just under the first pair of leaves for that “spike + stem” form. That’s a great visual anchor. Sources: NC State Extension; University of Maryland Extension; RHS.
How to Harvest Lavender for Drying and Sachets
If your main goal is drying (for sachets, wreaths, or just that “walk-in closet smells amazing” moment), harvest when the first florets begin opening and most buds are still tight. That timing is echoed by University of Maryland Extension and drying guidance from multiple Extension sources for best color retention.
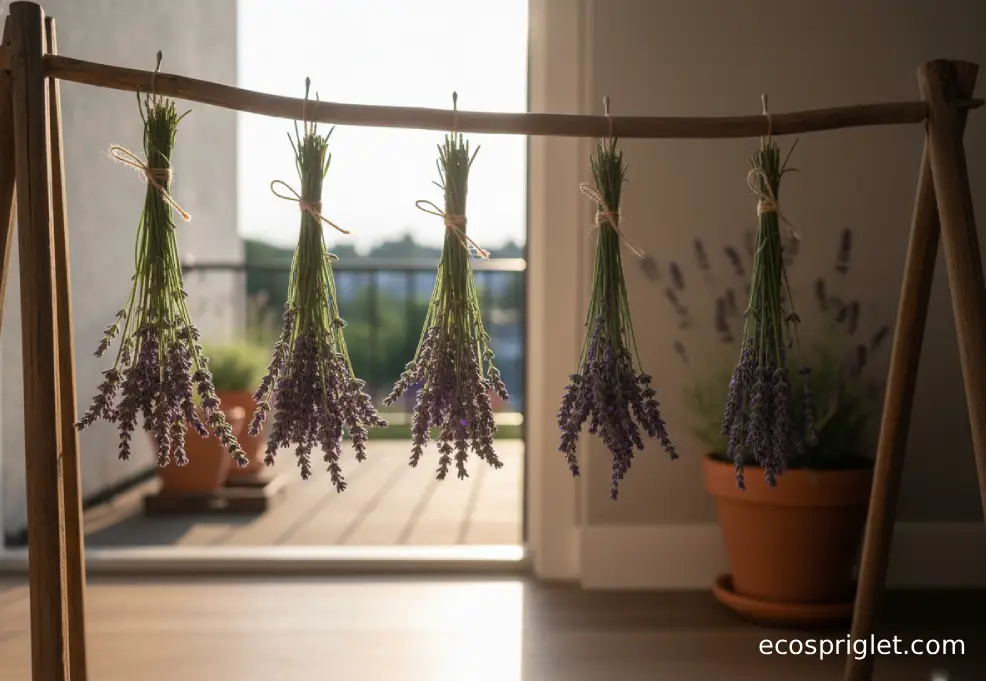
Drying on a balcony is possible, but indoors is often easier because wind and surprise drizzle can mess with bundles. The basic method is simple: tie small bunches and hang them upside down in a warm, dry, well-ventilated spot out of direct sunlight. Iowa State Extension describes this general approach for air-drying flowers, and it’s the same rhythm lavender loves.
Two balcony-specific tips that prevent the most common drying failures:
- Keep bundles small: about 20–30 stems per bundle (or smaller if your place is humid). Big bundles trap moisture and can mildew.
- Give it airflow: a gentle fan across the room (not blasting directly at the bundles) helps a lot in apartments.
Once fully dry, rub the flower buds off the stems into a bowl, then sift out stem bits.
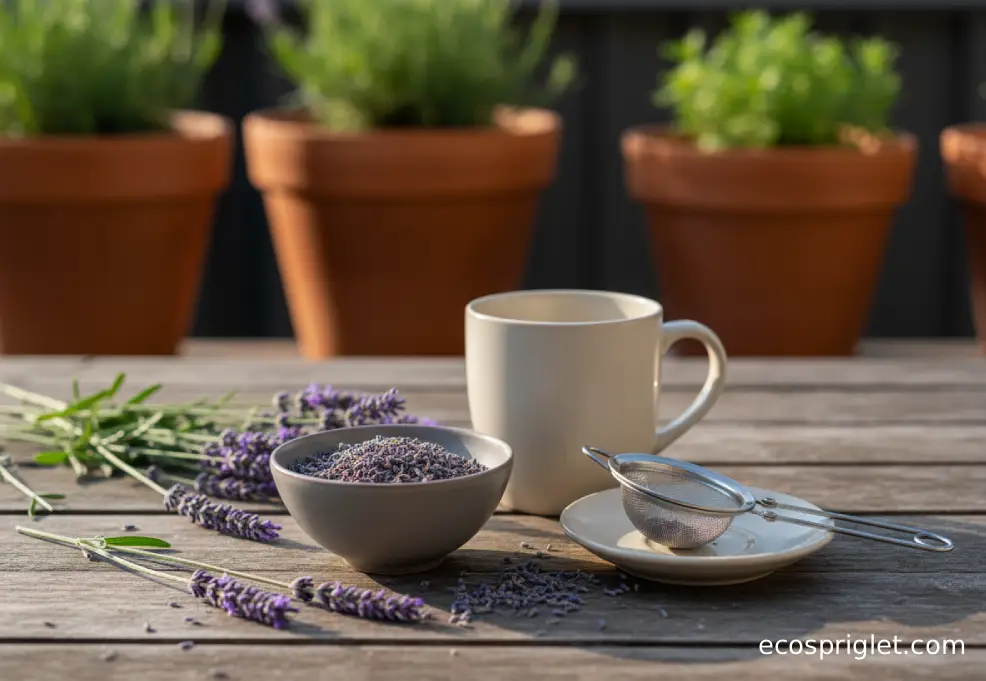
How to Harvest Lavender for Tea and Cooking
First, the safety-and-flavor reality: not all lavender tastes good in tea. For culinary use, many gardeners stick with English lavender (Lavandula angustifolia) because it’s widely recognized as an edible flower species and tends to have a softer flavor profile than some ornamental types.
Harvest timing for tea is similar to drying: cut spikes when the first florets open, on a dry day. Then dry the buds before storing for consistent flavor and to reduce spoilage risk.
- Use culinary-grade, pesticide-free buds: especially if you didn’t grow it yourself.
- Start small in tea: think “pinch,” not “handful.” Lavender can get soapy or bitter if overused.
- Skip the leaves for tea: most people prefer the flower buds for a cleaner flavor.
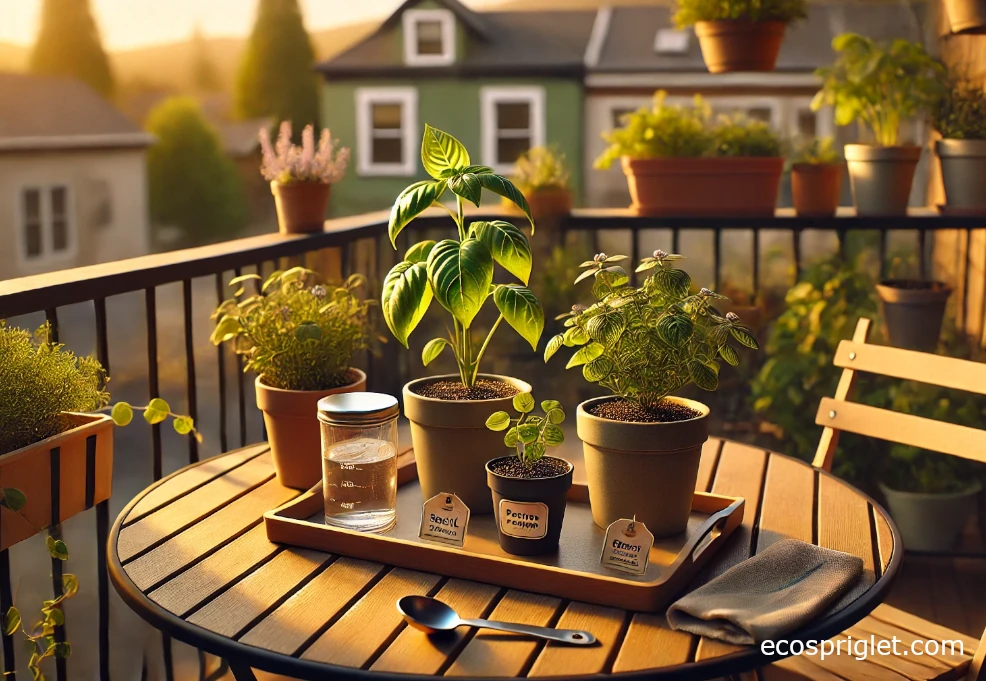
If you’re growing multiple lavender types, label your pots. It sounds silly until you’re staring at two similar plants thinking, “Which one did I actually mean to drink?”
How to Harvest Lavender Seeds (And When It’s Worth It)
Seed harvesting is the “slow patience” version of lavender harvesting. Instead of cutting early, you wait until the flower heads are fully spent and dry on the plant—brown and papery—then collect what’s inside.
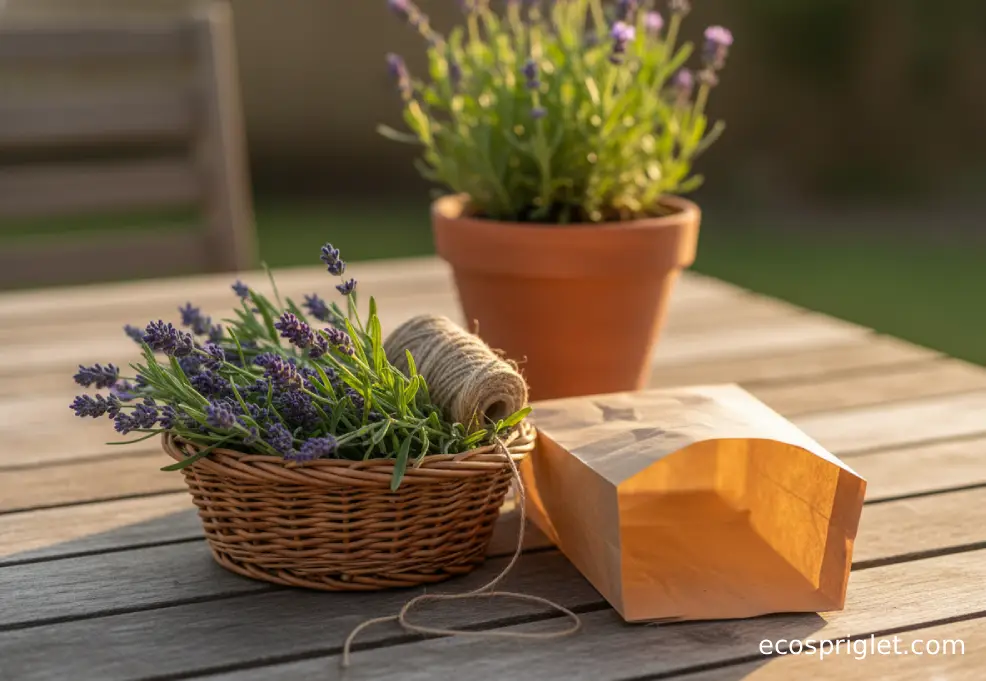
Here’s the balcony-friendly method that keeps the tiny seeds from vanishing into the wind:
Cut a few fully dried flower spikes and place them upside down in a paper bag. Let them finish drying for several days in a cool, dry spot, then gently rub the heads between your fingers to release seeds. The bag catches everything, and you can pour it into a bowl to separate chaff. (Paper beats plastic here because it breathes.)
A quick honesty note: lavender from seed can be slow and variable, and some hybrid lavenders won’t come true from seed. If your main goal is “more plants that look like this one,” cuttings are often more reliable—but if you enjoy experimenting, seed saving can be fun.
When Is It Too Late to Harvest Lavender?
If you’re asking “is it too late to harvest lavender,” you’re usually in one of these situations:
- The spikes are fully open and starting to drop petals. You can still harvest, but you’ll lose some buds during handling and drying. It’s better for potpourri or casual sachets than picture-perfect bundles.
- The flower heads are turning brown and crispy on the plant. That’s past peak for drying fragrance, but it’s right around seed-saving territory—especially if you wanted to try harvesting lavender seeds.
- The plant is pushing new green growth and the old spikes look tired. At that point, it’s often smarter to do a gentle cleanup cut (removing spent stems above leafy growth) rather than chasing perfect dried flowers.
Even if the harvest isn’t “perfect,” trimming off old spikes can help the plant look better and focus energy. Just keep those cuts out of woody stems.
Common Mistakes New Balcony Gardeners Make When Harvesting Lavender
- Cutting into old wood: This is the big one. If you cut below leafy growth into woody stems, regrowth can be sparse. Fix: keep harvest cuts in green growth and above leaf nodes.
- Harvesting when the plant is wet: Damp stems dry slowly and can mold. Fix: wait until dew is gone and the spikes feel dry to the touch.
- Making bundles too thick: Fat bunches look cute, then rot in the middle. Fix: smaller bundles with more airflow (especially in apartments).
- Drying in direct sun: Sun can fade color and drive off fragrance faster. Fix: dry in a dim, airy spot.
- Not labeling varieties: Culinary vs ornamental matters for flavor. Fix: a simple plant tag saves a lot of guesswork later.
I learned the “too-thick bundle” lesson the hard way in a small closet—everything smelled great for two days, then the centers went musty. Since then, I keep bundles modest and let airflow do the work.
Quick Harvest Plan for Apartment Balconies
If you want the simple version you can actually remember:
- Pick a dry morning: after dew dries.
- Cut at “first florets open”: best for drying, sachets, and most culinary uses.
- Cut above leafy growth: avoid woody stems.
- Bundle small and dry airy: upside down, out of sun.
- Save seeds only when brown and papery: bag it so seeds don’t blow away.
That’s it. Lavender doesn’t need complicated gear—just good timing and clean cuts.
When you harvest lavender with intention, you get better fragrance, better color, and a healthier-looking plant in the pot. And honestly, it’s one of the most satisfying balcony rituals: ten minutes of snipping turns into months of little lavender “wins”—tea, sachets, jarred buds, or a bundle hanging near the closet that makes your whole place smell calmer.
Next time you see those buds starting to crack open, grab your snips and go for it. You don’t need perfect timing to get a great harvest—you just need to avoid the two big traps: cutting wet, and cutting into wood.