Dill looks delicate, but it’s surprisingly forgiving—if you harvest it the right way. The trick is knowing what you’re harvesting (feathery “dill weed” leaves vs. flower heads vs. dill seed) and when each one is at its best. If you’ve ever snipped a handful for dinner and then watched your plant sulk—or bolt into flowers overnight—yeah, I’ve been there. On my own Portland balcony, dill is the herb that taught me timing matters as much as technique.
This guide walks you through exactly how to harvest fresh dill for cooking, how to harvest dill for pickles and pickling, and how to harvest dill seeds (including the easy paper-bag method). I’ll also show you how to harvest dill to promote growth so you get more tender fronds instead of a tall, floppy plant that calls it quits early. Along the way, I’ll flag the common mistakes I see apartment gardeners make—especially in containers where wind, heat, and missed waterings can push dill to flower fast.
Know What You’re Harvesting: Dill Weed, Flower Heads, or Dill Seed
Dill gives you three different “harvests,” and they don’t all peak at the same moment:
Dill weed (the leaves):
Those soft, feathery fronds are what most of us mean when we talk about harvesting dill as an herb. They’re best taken before heavy flowering, when the plant’s energy is still going into leaf production. Utah State University Extension and NC State Extension both emphasize harvesting leafy herbs before they bloom for the best flavor and overall quality.
Flower heads:
Dill flowers are edible and super useful for pickling. If you’re making classic dill pickles, those yellow umbels (or the still-green seed heads) are a feature, not a flaw.
Dill seed:
If you’re looking to harvest dill seed, let the umbels mature and start to dry. University of Minnesota Extension notes that you typically cut the stalks as the seeds begin turning tan and then finish drying them in a bag so the seeds drop cleanly.
Quick balcony note: dill can go from “leafy and perfect” to “flowering everywhere” fast during hot spells or if the pot dries out. The Ohio State University Extension (Small Space Big Produce) points out that heat encourages flowering, and once that happens, leaf production slows down.
How and When to Harvest Dill Weed for the Best Fresh Flavor
If you’re trying to figure out how and when to harvest dill, here’s the simple rule: start once your plant has several sets of fronds and is roughly 6 inches tall, then harvest lightly and often. North Dakota State University Extension suggests cutting for drying when plants are around that height, and Utah State University Extension notes that leaves can be harvested once seedlings are up and growing.
Timing for flavor:
Harvest earlier in the day once the plant is dry (no dew or recent watering on the leaves). If you can, aim for harvesting before the plant is in full bloom—Utah State University Extension notes best flavor around the time flowers begin to open, and many herb guides emphasize foliage harvest before flowering.
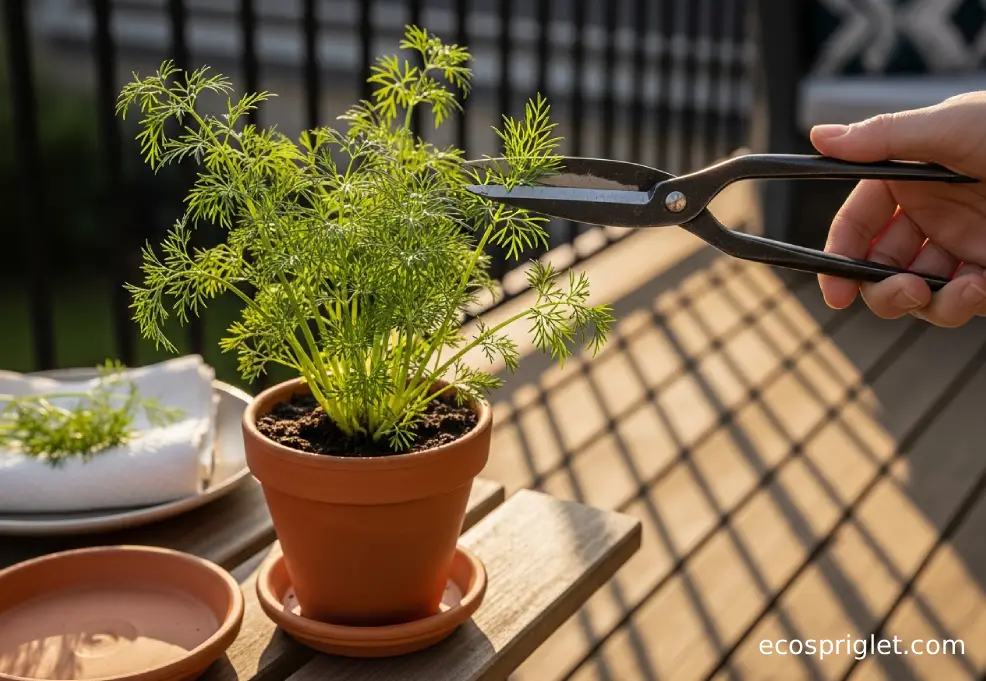
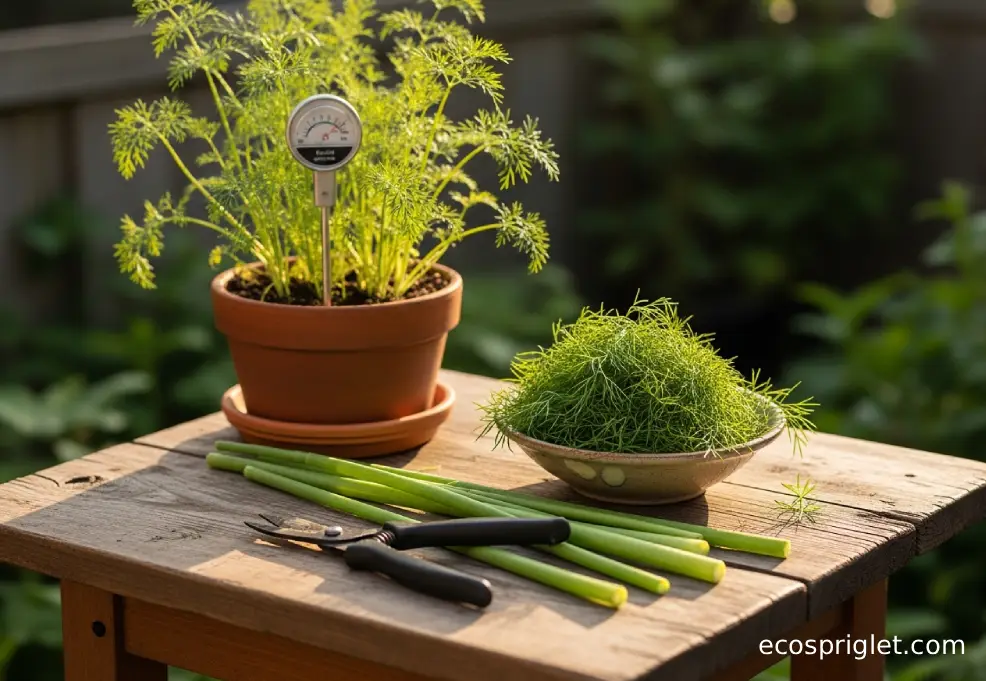
Where to cut:
Don’t just “pluck anywhere” and hope for the best. For a tidy plant, snip a small stem section rather than tearing fronds. Make your cut just above a leaf junction so the plant can branch from that point and look fuller instead of leggy. In containers, that branching matters—it’s the difference between a skinny 18-inch wand and a plant that keeps giving.
How much to take:
In a single harvest, don’t strip the plant bare. As a safe container-gardener baseline, take no more than about one-third of the leafy growth at a time, then give it several days to rebound. (The UC ANR Master Gardener guidance on pinching herbs commonly reinforces “no more than one-third” for healthy regrowth.)
If you want a bigger, steadier herb supply on a balcony, sow or pot up a second dill plant a couple of weeks after the first. That way, when one bolts, you’re not suddenly dill-less. If you’re building out your small-space herb lineup, my starter planning approach is here: Indoor Herb Garden.
How to Harvest Dill to Promote Growth Instead of Triggering a Fast Bolt
I remember the first time I grew dill in a pot on a windy balcony—I harvested by yanking fronds off the sides like I was pulling threads. The plant looked fine for a week, and then it shot upward, flowered, and basically said, “We’re done here.” What I changed was small: I started harvesting in a way that nudged branching, and I stopped stressing the pot with big “all-at-once” cuts.
Here’s the balcony-friendly approach that keeps dill producing longer (even if it still eventually flowers—dill is an annual and likes to complete its life cycle):
- Harvest the outer, taller stems first so light still reaches the center and new growth can fill in.
- Make cuts just above a leaf junction to encourage side growth instead of one tall central stalk.
- Harvest little and often (a small handful every few days) rather than a big weekly haircut.
- Keep the pot evenly moist—not soggy, not bone-dry. NC State’s plant profile for dill notes consistent watering helps reduce bolting, and container swings can push flowering faster.
If your dill is already making flower buds and you’re growing it mainly for leaves, you can pinch off early buds to buy a little time. But if your goal is to collect dill seed, let those umbels develop and shift your plan toward harvesting seeds and pickling heads.
One more small-space tip: wind makes dill flop, and a flopping plant is harder to harvest cleanly. A simple bamboo stake or a small tomato ring in the pot can keep stems upright without turning your balcony into a jungle gym.
How to Harvest Dill for Pickles and Pickling (Leaves, Flowers, and Green Seed Heads)
If you’re thinking about how to harvest dill for pickles, you’re usually after a mix of fronds for fresh aroma and umbels for that classic pickling flavor. The good news is you can start using the fronds early, then shift over to harvesting the flower heads as they appear.
For fresh-pack pickles: Snip a few leafy sprigs right before you start prepping jars. Dill’s flavor fades with heat and long cooking, so adding it fresh (or late) preserves the brighter character—Utah State University Extension notes fresh dill is commonly used as a garnish and loses punch when heated hard.
For classic dill pickle flavor: Use flower heads when they’re fully open and yellow, or slightly earlier when the head is still tight and greenish. Many picklers love the “green seed head” stage because it’s aromatic and less likely to shower seeds everywhere in your kitchen.
How to cut without wrecking the plant: Take one or two umbels per plant at a time, and leave plenty of leafy growth below if you still want dill weed harvests. If you remove too many umbels at once, the plant often responds by racing to finish, especially in a warm container.
Apartment reality check: if your dill is in a small pot that dries quickly, it may flower earlier than garden-bed dill. That’s not failure—it’s a cue to start harvesting umbels for pickling and think of the plant as a dual-purpose crop.

How to Harvest Dill Seeds for Cooking or Seed Saving
If you’re wondering how to harvest dill seed for next year, the key is waiting for the umbels to mature. NC State University’s plant profile notes that seed is harvested after stems begin drying and the seeds turn a golden-brown color. University of Minnesota Extension gives a very practical timing cue: cut the flower stalks just before the seeds fully ripen and turn tan, then let them finish drying so you catch the seeds before they scatter.
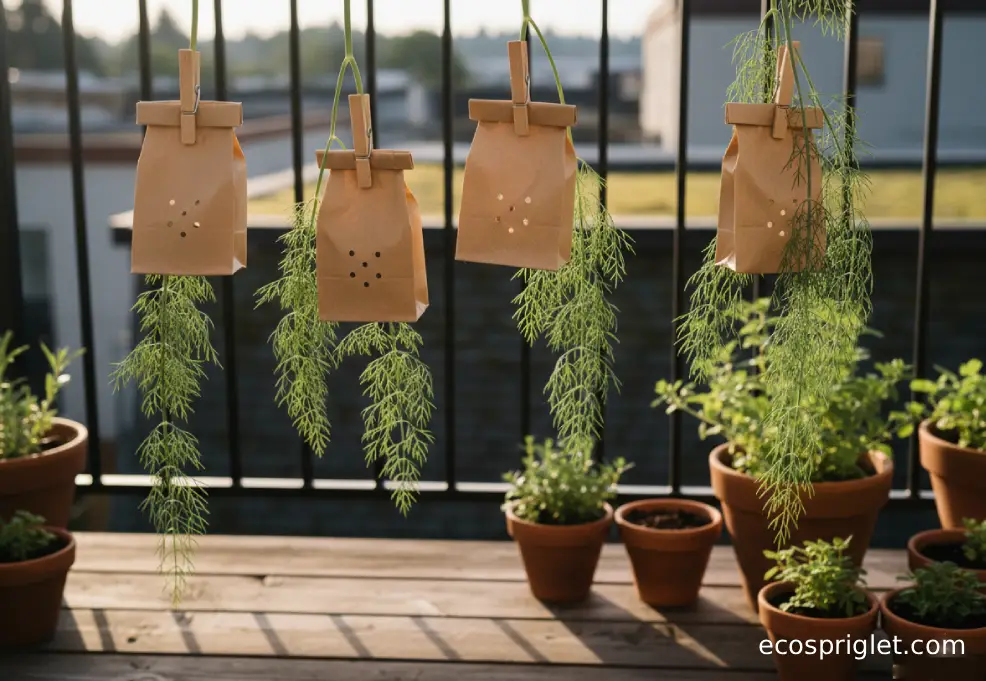
The easy paper-bag method
Cut a seed stalk with a few inches of stem attached. Slide a small paper bag up over the seed head and secure it. Hang it upside down in a warm, well-ventilated spot out of direct, blazing sun. University of Minnesota Extension specifically recommends the bag method so seeds drop neatly into the bottom as they finish drying.
After a week or so, give the bag a gentle shake. You’ll hear the seeds rattle. Pour them onto a plate and pick out any stem bits. University of Wisconsin Extension notes a similar approach—dry seed heads in a warm, dry place (often in paper bags) before separating seeds and storing them airtight.
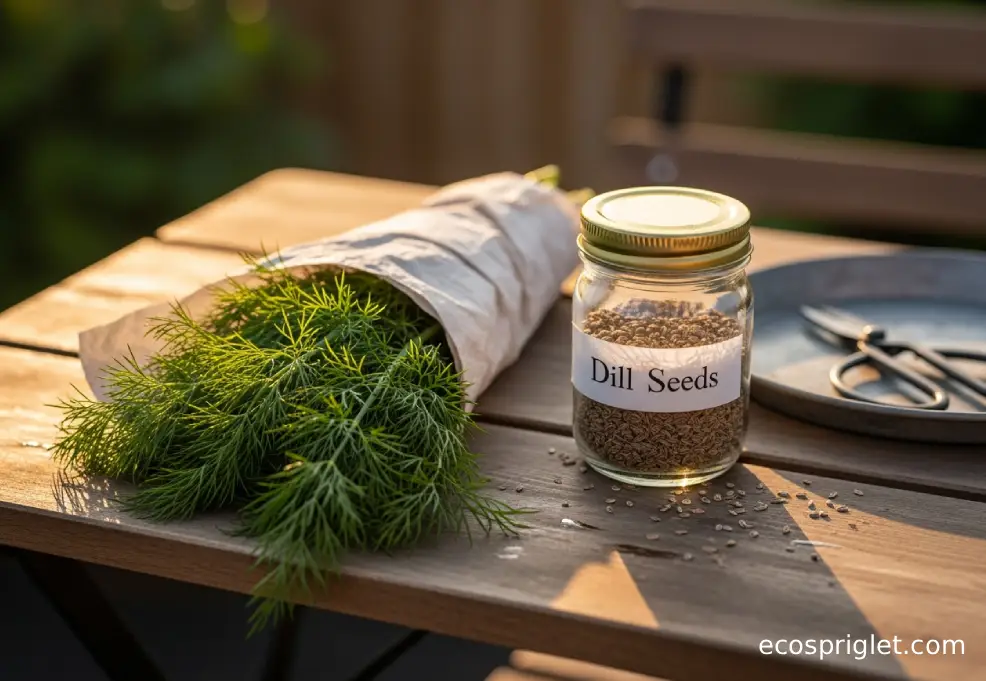
Cooking vs. saving
If you’re harvesting for spice, you can keep seeds once they’re fully dry and tan-to-brown. If you’re saving to plant, store seeds cool and dry, labeled with the year. (NC State Extension’s general seed-saving guidance often notes many seeds can remain viable for multiple years when stored properly, but home conditions vary—so I treat last year’s seed as “best” and older seed as “maybe.”)
Store Fresh Dill and Dill Seed So It Still Tastes Bright Later
Dill is one of those herbs that can go limp fast if you treat it like a hardy bunch of kale. Here are storage methods that work well in small kitchens (and don’t require fancy gear). North Dakota State University Extension and University of Minnesota Extension both describe straightforward drying approaches, and the basics apply just as well in an apartment.
- Refrigerate fresh dill (short term): Wrap sprigs in a slightly damp paper towel and tuck into a loosely closed bag or container. Use within several days for the best aroma.
- Freeze for the most “fresh-like” flavor: Chop fronds and freeze in an ice cube tray with water (or a little oil if you’re cooking with it). Pop cubes into soups, beans, dressings, and sauces.
- Air-dry for shelf storage: Bundle stems loosely and dry in a cool, dark, well-ventilated spot. NDSU Extension describes drying herbs in a paper bag to keep dust off and catch crumbles.
- Store dill seed airtight: Once fully dry, keep seeds in a sealed jar in a cool cabinet away from the stove. If your kitchen runs warm, the fridge can help—just make sure seeds are truly dry first.
Common Mistakes New Balcony Gardeners Make When Harvesting Dill
- Stripping the plant bare: If you take most of the fronds at once, dill often responds with stress (and faster flowering). Stick to harvesting a portion—about one-third is a safe guideline for many herbs (UC ANR guidance commonly reinforces this).
- Tearing instead of snipping: Ragged tears invite breakage and make the plant look messy. Clean snips give cleaner regrowth and a tidier container.
- Ignoring the “flowering switch”: Once dill is focused on blooms and seed, leaves usually get less abundant. Decide early: do you want more dill weed, or do you want umbels and seed?
- Letting pots swing from soggy to bone-dry: In containers, that stress can push bolting. NC State University notes consistent watering helps, and balconies amplify extremes (wind + sun = faster drying).
- Waiting too long for seed and losing it: Seeds can shatter off the head once fully dry. University of Minnesota Extension recommends cutting just before they fully ripen and finishing in a bag to catch them.
If you only fix one thing: harvest earlier and more gently. Dill rewards the steady hand.
Harvesting dill isn’t about being precious—it’s about being intentional. Once you know whether you’re after fronds, umbels for pickling, or mature dill seed, the timing becomes obvious: cut leaves lightly before heavy flowering, shift to flower heads when you’re in pickle mode, and use the paper-bag method when seeds start turning tan or golden-brown. On a balcony, you’ll also get better results if you treat harvest as part of care: small, regular cuts plus consistent moisture beats a dramatic “chop and pray” every time.
If you want a fun challenge, try this: harvest dill weed for two weeks, then let one stem flower and harvest the umbels for a small batch of quick pickles. It’s a surprisingly satisfying way to get multiple “crops” from one pot.