If you’ve got a sunny balcony and a single decent pot, you can grow a tomato plant that’s genuinely worth bragging about. The trick isn’t fancy gear—it’s matching the plant to the container, keeping the root zone evenly moist, and giving vines a stable “backbone” so they don’t flop over the moment fruit shows up. Container tomatoes are a little like espresso: small batch, higher intensity, and they’ll punish you fast if you swing wildly between drought and flood.
I grow tomatoes on a terrace in Portland, and I’ve learned the hard way that most “container failures” come down to three things: pots that are too small, potting mixes that compact, and watering that’s inconsistent. Nail those, and everything else—fertilizer, pruning, pest control—gets easier. Let’s walk through a balcony-friendly setup, plus exactly how often to water tomato plants in pots (with a simple test you can trust).
Why Growing Tomatoes in Pots Works So Well for Small Spaces
Potted tomatoes are basically made for city living. Instead of fighting poor ground soil or shady courtyards, you can move your pots to the sunniest corner of your balcony and give the roots exactly what they want in a controlled mix. If your building has sketchy soil history or you’re worried about contamination, containers let you skip that stress entirely.
Tomatoes love full sun and warmth, and pots warm up faster than in-ground beds. That means your plants often get going earlier, and you can even pull them under cover if a late cold snap shows up. Tomatoes are considered full-sun crops—most university and extension references recommend at least 6–8 hours of direct sun per day, with 8–10 hours ideal where summers are mild.
The other bonus is control. You control the potting mix, the drainage, the fertilizer, and how often you water. Once you dial in how to grow a tomato plant in a pot that fits your balcony and schedule, you can repeat that setup every year, just swapping in fresh plants and refreshed soil.
Choosing the Right Pot and Tomato Variety for Containers
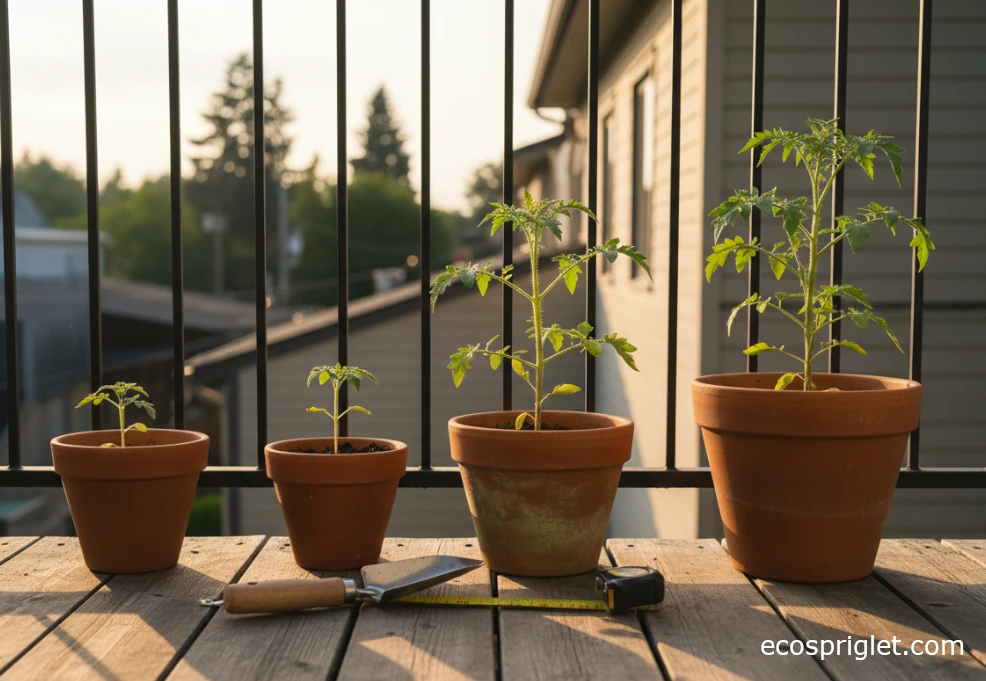
Container choice is one of the biggest make-or-break decisions when learning how to grow tomato plants in pots. Tiny pots dry out fast and stunt roots; oversized planters without enough soil can stay soggy and cold. The sweet spot depends on the type of tomato you grow.
Extension sources generally suggest at least 2 gallons (around a 10-inch pot) for compact cherry types and 4–5 gallons (roughly 12–14 inches wide) for standard tomatoes. Larger indeterminate varieties often perform best in containers of 10 gallons or more, especially if you want steady harvests rather than a few fruits. When in doubt on a balcony, go larger; more soil buffers heat and watering swings.
A quick rule of thumb I use with new growers:
- Micro dwarf and very compact cherry tomatoes: 2–3 gallon pot.
- Most cherry tomatoes and bush (determinate) slicers: 5–7 gallon pot.
- Tall, vining (indeterminate) beefsteaks or heirlooms: 10–15 gallon pot if your balcony can handle the weight.
Look for words like “patio,” “bush,” “compact,” or “container” on seed packets or plant tags if you’re tight on space. If you’re specifically asking how to grow a cherry tomato plant in a pot, compact cherry varieties in a 5-gallon container are usually the easiest win. I still grow at least one cherry tomato every year because they forgive more watering mistakes and keep producing even when the weather gets weird.
Whatever pot you choose, make sure it has several drainage holes. Avoid narrow, deep decorative sleeves without holes—those are great at rotting roots and not much else.
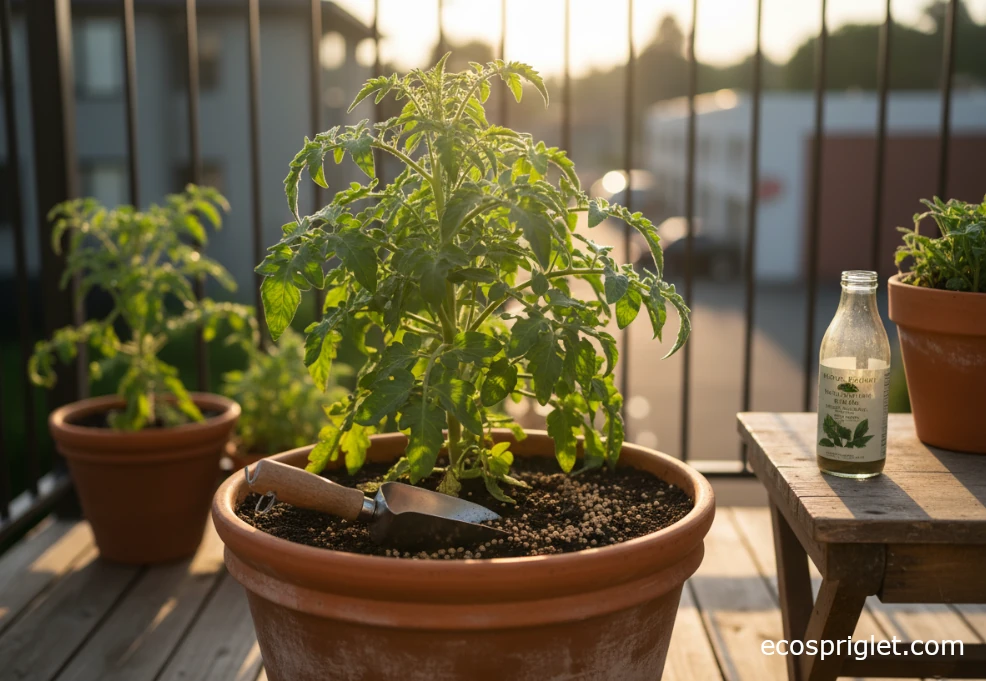
Soil, Drainage, and Setting Up Your Tomato Pots
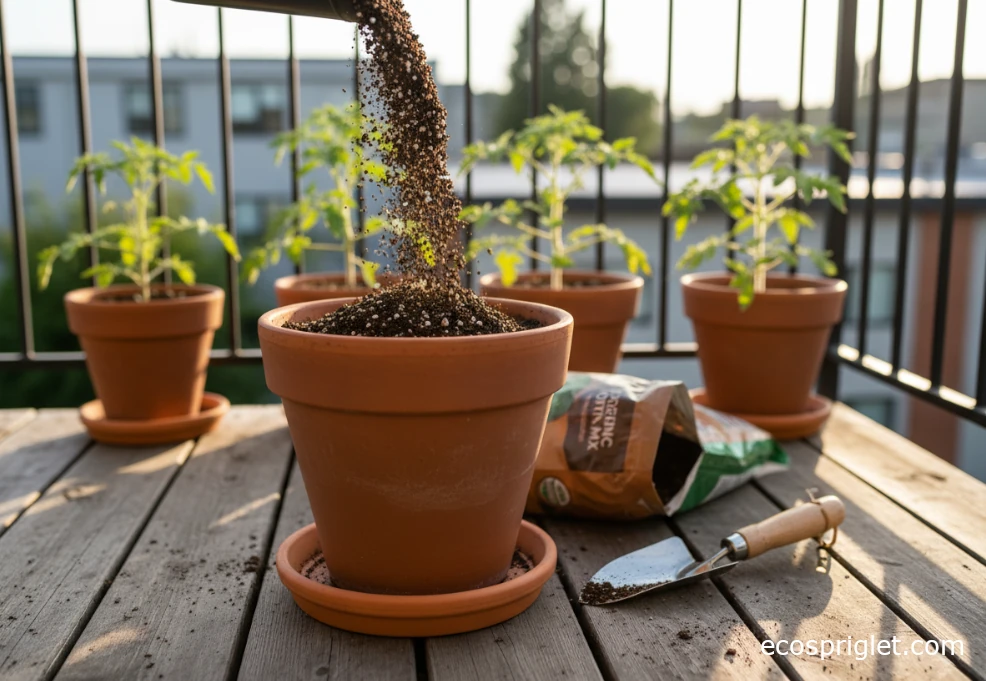
The fastest way to disappoint a tomato plant is to stuff garden soil into a pot. Tomatoes in containers hate compacted, heavy media. Use a high-quality potting mix labeled for containers, not “topsoil” or straight garden soil. Universities like Maryland and Illinois Extension recommend soilless mixes made from ingredients like peat or coir, perlite, vermiculite, compost, and sometimes bark because they drain well yet hold moisture and air for roots.
For tomatoes in pots, I like a mix that feels fluffy in the hand, not sticky or gritty. If your bagged mix feels dense, stir in extra perlite or fine bark so it drains better. Mixing in 10–20% finished compost or worm castings can improve nutrient holding without making the pot too heavy.
One important myth to skip: don’t put gravel or rocks at the bottom of your pot “for drainage.” Container research and master gardener groups have been debunking this for years—the water actually perches on top of the gravel, raising the soggy zone higher into the root ball and increasing the risk of root rot instead of reducing it. Just use a good potting mix from top to bottom and rely on the pot’s drainage holes to let excess water escape.
Fill your pot to about 1–2 inches below the rim. That little lip makes watering a lot easier because water doesn’t immediately sheet off the top of the container and onto your neighbor’s balcony.
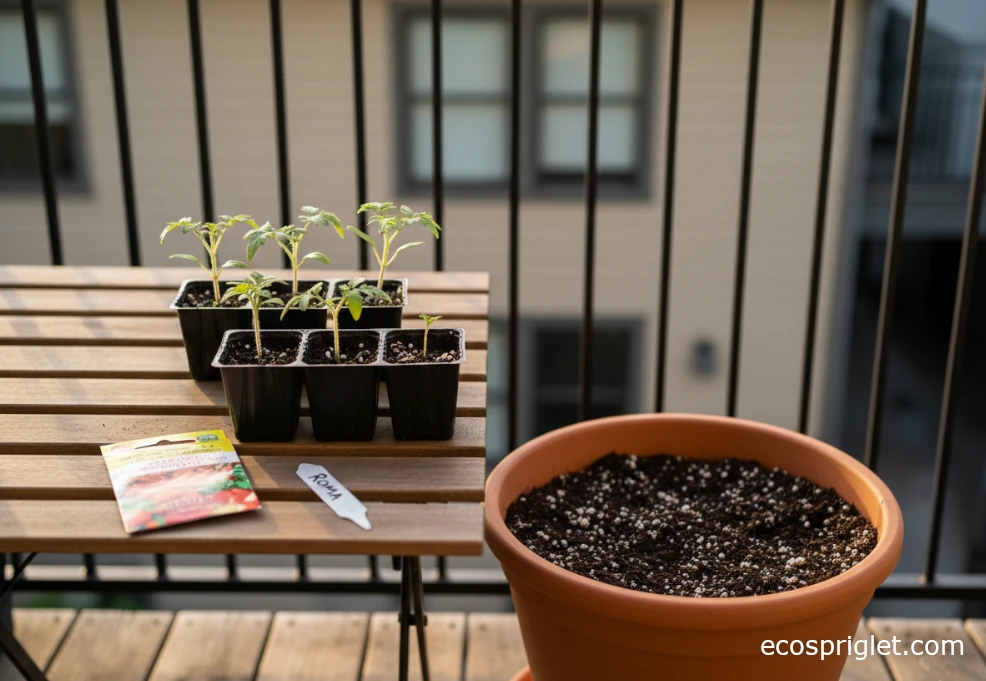
How to Grow Tomatoes in Pots From Seeds vs. Starts
If you’re wondering how to grow tomato seeds in pots versus buying starts, here’s the short version: seeds are cheaper and fun, but starts are easier and faster.
Growing tomatoes in pots from seeds usually starts indoors 6–8 weeks before your last expected frost. Sow seeds into small pots or cell trays filled with seed-starting mix, keep them warm and lightly moist, and give them bright light as soon as they sprout. Many guides report tomato seeds germinating in about 7–10 days under warm conditions. When seedlings have a couple of true leaves, you can pot them up into 3–4 inch pots until they’re sturdy enough for their “forever” containers.
When I started out, I tried to skip straight to “how to grow tomatoes in pots from seeds outdoors” on my balcony. The cool spring nights slowed them down so much that store-bought plants passed them easily. These days, I start seeds inside under a simple LED or just buy healthy starts from a nursery to save time.
Whether you start from seed or buy plants, harden them off before planting into their big pots. That means giving them a few days of gradually increasing outdoor time so they can adjust to wind and sun without frying or wilting.
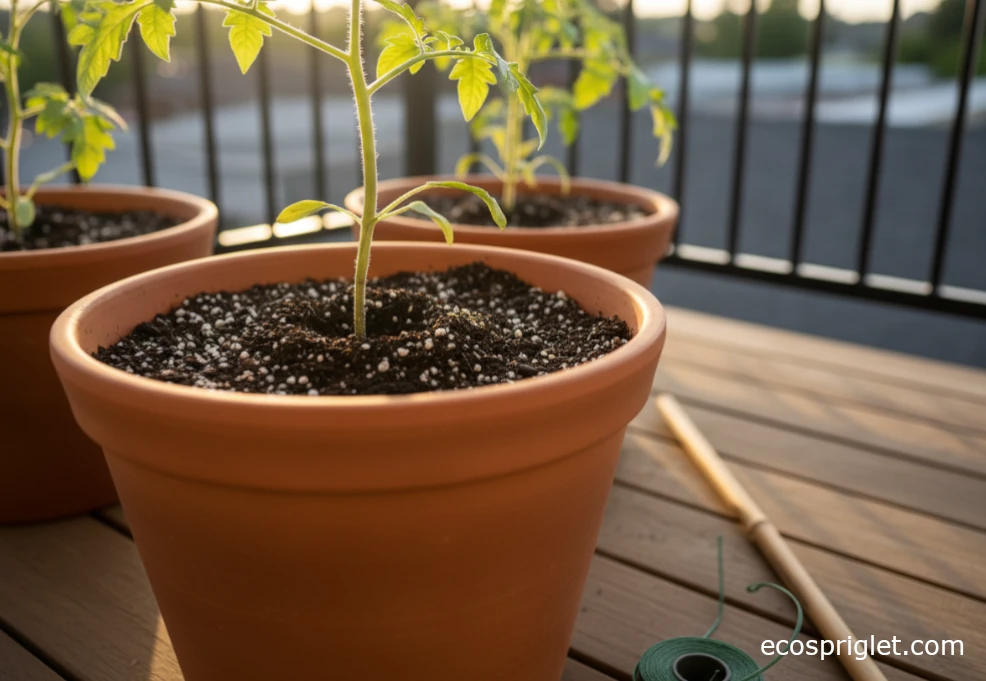
Planting and Supporting Tomato Plants in Pots
Once nights are reliably above the mid-40s°F and your plant is sturdy, it’s time to move it into its main pot. Remove the lower leaves and plant deeper than it grew in the nursery pot, burying part of the stem. Tomatoes can grow roots from buried stems, which gives you a stronger, more drought-resistant plant.
Set one plant per pot unless you’re using a very large container (15+ gallons). Cramming multiple plants into a small pot is a classic beginner move that leads to constant wilting and disease pressure as the foliage stays crowded and damp.
Give every tomato some kind of support at planting time—don’t wait until it’s flopping all over the balcony. For container tomatoes, short cages, compact trellises, or single stakes work well. UC and other extension guides suggest staking or caging to keep plants off the ground, often with containers at least 14–18 inches deep for good root development. Tie stems loosely with soft ties in a figure-eight pattern so they don’t get strangled as they thicken.
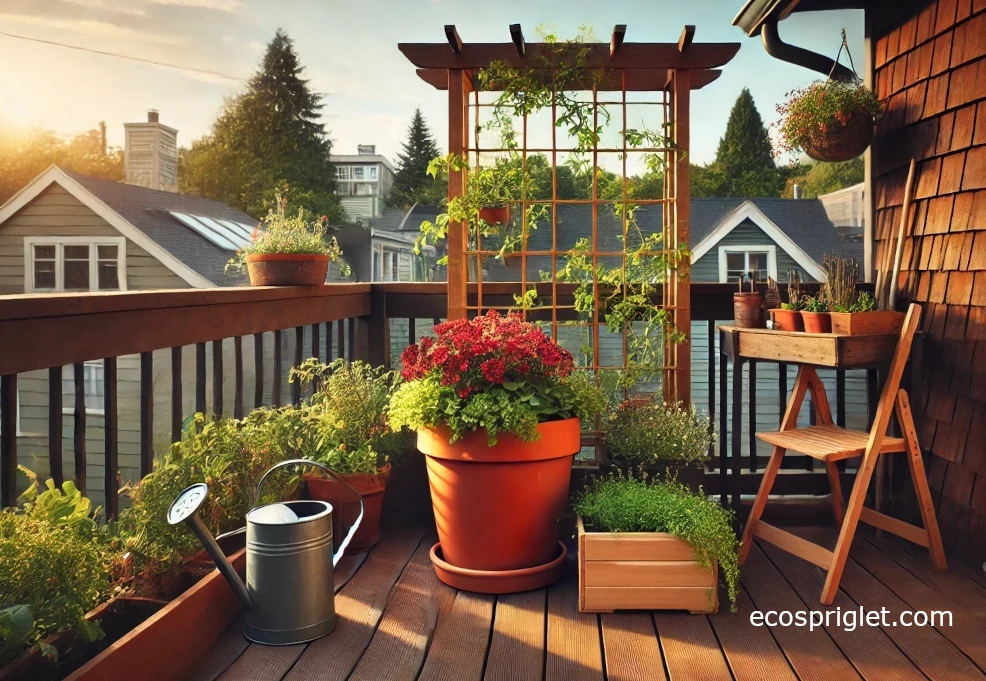
For tall indeterminate types in big pots, I like a central stake plus a lightweight trellis panel fixed to the balcony railing (within whatever building rules you have). It keeps the plant vertical, out of your walking path, and lets wind flow through the foliage instead of turning the whole plant into a sail.
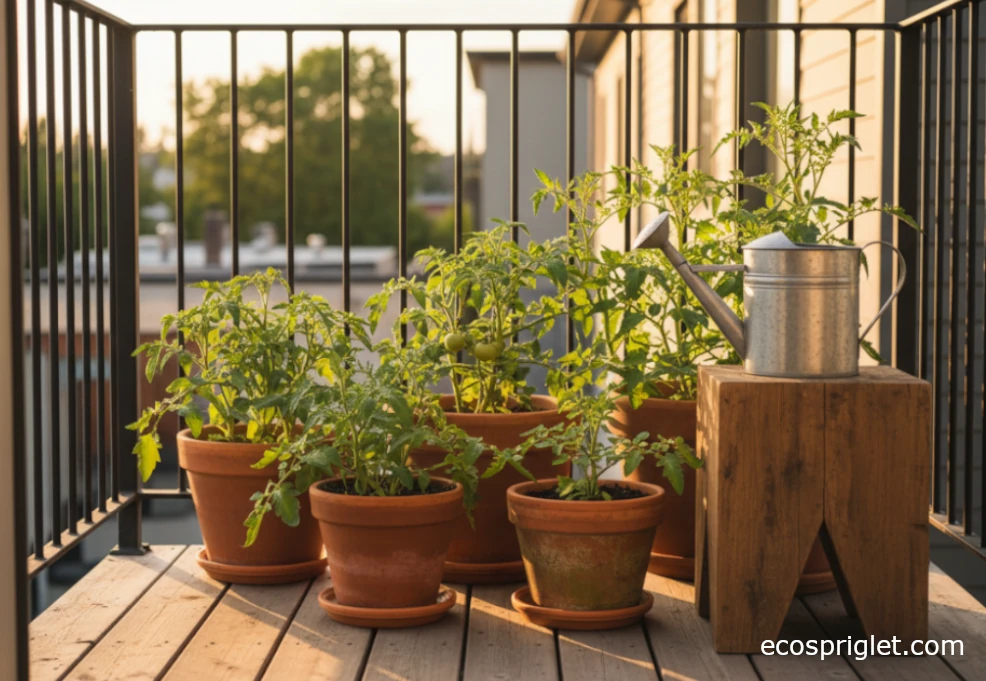
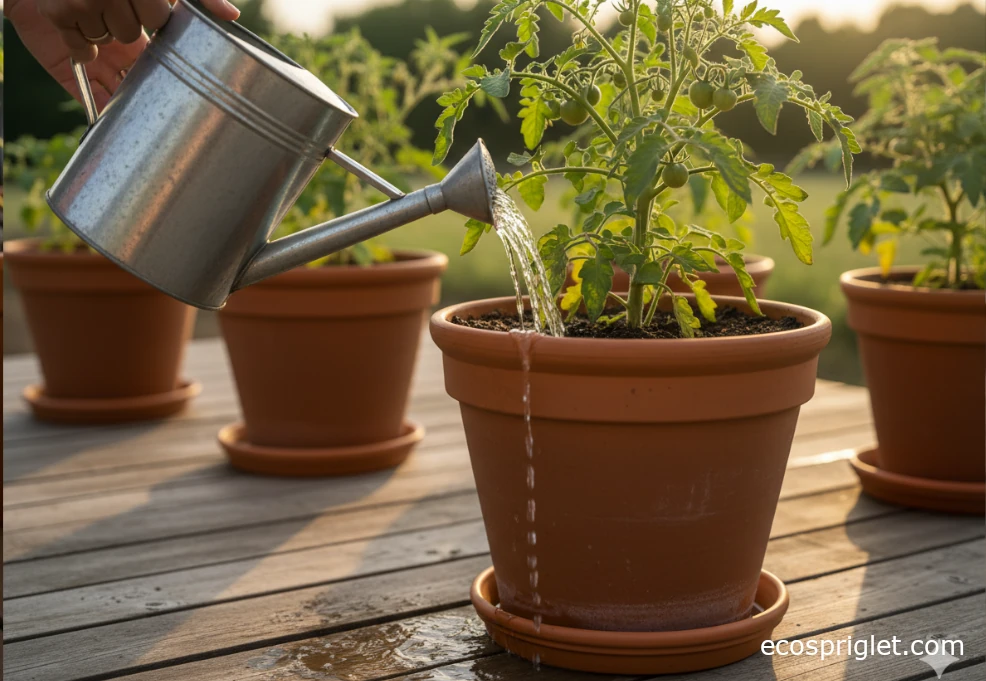
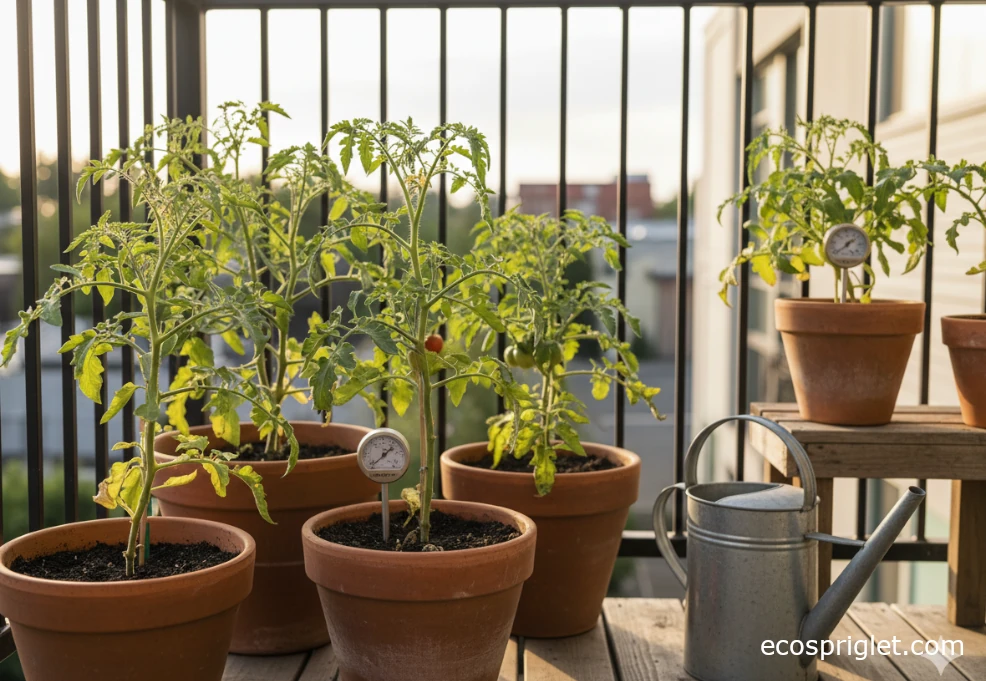
How Often to Water Tomato Plants in Pots (and How Much)
Watering is the question I get most: how often to water tomato plants in pots so they don’t crisp up or drown? The honest answer: it depends on pot size, weather, and how root-filled the container is. But there are solid starting points.
University guidance for container tomatoes generally says to water thoroughly when the top 1–2 inches of potting mix feel dry, and to expect at least once-daily watering in warm weather, possibly twice daily in hot, windy conditions. Stick a finger in the soil each morning; if that top layer is dry and the pot feels light when you lift it, it’s time.
- Cool to mild weather (below about 75°F): water every 2–3 days, checking the soil first.
- Warm weather (mid-70s to mid-80s°F): once a day is common for 5–7 gallon pots.
- Very hot spells (upper 80s and above): large pots may need morning watering and a light evening top-up if the top layer dries again.
When you do water, water deeply. Add water until it just starts to drain from the holes at the bottom, then stop. This pulls moisture down through the whole root zone and helps avoid shallow, thirsty roots. Letting the potting mix swing from bone-dry to sopping wet over and over is one of the main triggers for issues like blossom end rot, where the bottom of fruits turns dark and leathery because calcium can’t move steadily into the developing tomato.
If you travel or forget easily, a self-watering insert or sub-irrigated planter can be a lifesaver. Just remember they still need checks—if the reservoir runs dry in a heat wave, plants can crash quickly.
Feeding and Ongoing Care for Potted Tomatoes
Tomatoes in pots are hungry. Unlike in a garden bed, roots can’t wander off to find more nutrients, so you have to bring the buffet to them.
Most quality potting mixes include enough fertilizer to carry a plant for 3–4 weeks. After that, shift to a routine. Many extension and horticultural sources suggest combining a slow-release fertilizer in the potting mix with periodic liquid feeds through the season. One simple pattern that’s worked well for me:
- Mix a slow-release organic fertilizer into the top few inches of soil at planting time and again mid-summer.
- Once flowers appear, use a balanced or slightly lower-nitrogen liquid tomato fertilizer every 2–4 weeks when you water.
Too much nitrogen (especially from high-nitrogen lawn fertilizers) gives you huge, impressive leaves and not many fruits. If a plant is all foliage and no flowers by early summer, ease up on feeding and make sure it’s getting enough sun.
Keep an eye out for suckers on indeterminate (vining) tomatoes—those side shoots that grow between the main stem and a leaf branch. Different gardeners prune differently. On a balcony, I usually remove the most vigorous suckers to keep plants from swallowing the entire railing, but I don’t strip them bare. If you’re new, focus first on consistent watering and feeding; pruning is just refinement.
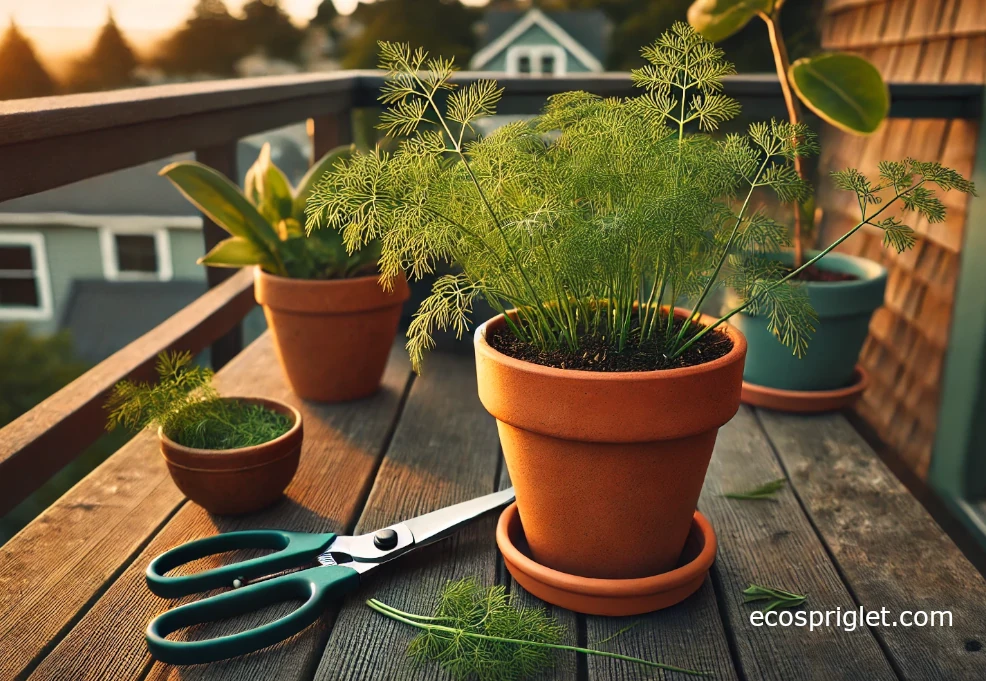
For more on pairing tomatoes with herbs, you can cross-check ideas in a dedicated herb container guide like this balcony herbs guide.
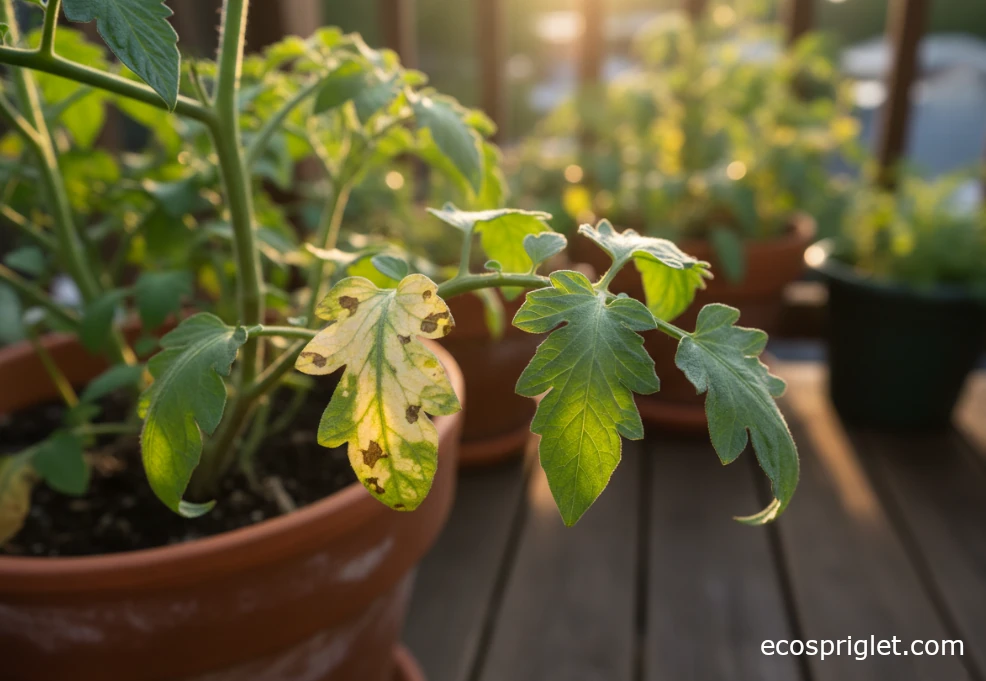
Common Problems With Potted Tomatoes (and How to Fix Them)
Even with good care, container tomatoes throw curveballs. The nice part about pots is that you can troubleshoot quickly because there are fewer variables than in a big garden bed.
- Yellowing lower leaves: A few older leaves yellowing at the bottom can be normal as plants age. If many leaves are yellowing, check watering—roots that stay soggy or swing from bone-dry to drenched struggle to move nutrients. Adjust watering and consider a gentle balanced feed.
- Blossom end rot: Dark, sunken spots on the blossom end of fruits are usually caused by a lack of calcium reaching the fruit, often from inconsistent moisture rather than strictly from “low calcium” in the soil. Keep watering steady, avoid letting pots dry out completely, and don’t overdo high-salt fertilizers.
- Cracked fruits: Often a sign of sudden heavy watering after a dry spell. Aim for smaller, more consistent waterings instead of a once-a-week deluge.
- Flowers dropping: Heat above about 90°F or big moisture swings can cause blossoms to fall. Give plants morning sun and some afternoon shade if your balcony bakes, and keep the soil evenly moist.
- Leggy, weak stems: Usually too little light. Tomatoes really do need that strong direct sun. If your balcony only gets a couple of hours, consider herbs or leafy greens there and put tomatoes in your very brightest spot.
When I first grew tomatoes in pots, I panicked at the first spotted leaf and started spraying every “cure” I could find. The plants looked worse every week. These days I start with the basics: sun, water, air flow, and cleanliness (removing badly affected leaves into the trash). That alone solves most balcony-scale problems.
If disease pressure is high in your area, choosing resistant varieties listed by organizations like the American or Royal Horticultural Societies can save you a lot of grief.
I learned most of these the hard way so you don’t have to. If you remember nothing else from this guide on how to grow tomatoes in pots, remember these “don’ts”:
- Using garden soil in containers: It compacts, drains poorly, and can carry diseases. Use potting mix instead.
- Choosing pots that are too small: A tall tomato stuffed into a 2-gallon pot will spend all its energy surviving, not fruiting.
- Inconsistent watering: Letting pots swing between desert-dry and swampy stresses plants and leads to blossom end rot and cracked fruit.
- No drainage holes: Decorative pots with no holes are plant traps. Either drill holes or use them only as outer sleeves with a draining pot inside.
- Ignoring wind and weight: Tall tomatoes in light plastic pots can blow over on high balconies; consider heavier containers or weights and secure supports safely.
On my own balcony, my breakthrough year was the one where I finally respected minimum pot sizes and made “check tomatoes and water if the top inch is dry” part of my morning coffee routine. Everything else—cultivar names, fancy pruning—matters less than getting those basics right consistently.
Special Focus: How to Grow Cherry Tomatoes in Pots
If you’re nervous and just want one reliable win, start by learning how to grow cherry tomatoes in pots. They handle containers and cooler nights better than many big slicers, and they’re more forgiving if you miss a watering or two.
Here’s a simple setup that works well for most balconies:
- Pick a compact or patio cherry variety and plant it in a 5–7 gallon pot with good drainage.
- Use a quality potting mix and mix in a slow-release fertilizer at planting.
- Give it 6–8+ hours of direct sun; move the pot if needed to chase light during the season.
- Add a small cage or stake at planting so stems have support as fruit clusters develop.
- Water when the top 1–2 inches of soil feel dry; expect daily watering in warm weather, especially on exposed balconies.
I still remember one especially cramped summer when my entire “garden” was a single cherry tomato in a 7-gallon pot plus a pot of basil. That plant sat by the railing, got a quick morning soak most days, and gave me handfuls of tomatoes for salads and pasta all season. It convinced me that learning how to grow cherry tomatoes in a pot is one of the best ways to fall in love with container gardening.
If you’d like to combine them with other edibles, consider underplanting with basil or trailing thyme.

Pet Safety and Balcony Tomato Pots
If you share your apartment with cats or dogs, it’s worth knowing where tomatoes fall on the safety spectrum. The ripe fruits are generally considered much safer, but tomato leaves, stems, and unripe green fruits contain natural compounds (like tomatine and solanine) that can be toxic to pets if they chew on them. Organizations like the ASPCA flag tomato plants and unripe fruits as a potential risk.
Practical steps I use on my own balcony:
- Place tomato pots where pets can’t easily reach or climb into them—sometimes that’s as simple as raising the pot on a table or plant stand.
- Use a simple low barrier (wire cloche, mesh, or even a circle of bamboo stakes and twine) around the base of the plant if your pets love nibbling greenery.
- Clean up dropped unripe fruits so they’re not rolling around like cat toys.
If you ever suspect your pet has eaten part of a tomato plant and seems off—vomiting, extra drooly, or lethargic—call your vet or a poison control line for guidance.
Quick FAQ: Tomatoes in Pots and Watering
How often should I water a potted tomato plant?
Most potted tomatoes need deep watering every 1–3 days in cooler weather and usually once a day in warm weather; in hot, windy conditions, you may need to water twice daily for smaller pots. Always use your fingers first—water when the top 1–2 inches of soil feel dry, and water until a bit drains from the bottom.
Can I grow tomatoes in a 2–3 gallon pot?
You can grow very compact or micro dwarf tomatoes in 2–3 gallons, and some cherry types will survive there, but yields and watering needs will be more demanding. For most people learning how to grow a tomato plant in a pot, a 5–7 gallon container is a much friendlier starting point.
Do tomatoes in pots need full sun?
Yes—aim for full sun, which is at least 6 hours of direct light per day; 8–10 hours is even better in cooler climates. If your balcony only gets 3–4 hours, tomatoes will survive but often stay spindly and produce very lightly, so prioritize your brightest spot for them.
How to grow tomatoes in pots from seeds outdoors only?
You can sow seeds directly into large pots once frost danger is past and nights are mild, but in many climates this delays your harvest significantly. Starting seeds indoors 6–8 weeks earlier or buying nursery starts is usually a better option if you want ripe fruit before late summer.
Tomatoes can look intimidating, but in a lot of ways they’re the perfect balcony crop. Give them a pot that’s big enough, a fluffy potting mix, strong sun, and a steady watering routine, and they repay you with weeks of fruit you can snack on right off the plant. Once you’ve set up one successful pot, repeating the process each spring is as simple as refreshing the soil, picking a plant, and re-committing to that quick morning moisture check.
If you’re just starting to figure out how to grow tomatoes in pots, I’d begin with one compact cherry tomato in a 5–7 gallon pot and one larger slicer in a 10-gallon or bigger container if you have the space. Use a good container mix, add a slow-release fertilizer, stake or cage them early, and water when the top inch or two feels dry. From there you can experiment with different varieties, self-watering containers, and companion herbs without changing the core routine that keeps plants healthy.
Ready to turn your railing into a mini tomato forest? Start with one pot, dial in watering and sun, and expand from there. A couple of well-grown pots can turn even the smallest urban balcony into a space that smells like tomato leaves and summer whenever you open the door.