If you’ve ever stared at a lonely garlic bulb on your counter and wondered how to grow garlic indoors, you’re in the right place. Garlic is tougher than it looks, and with a bright window or a small grow light, you can turn a simple clove into a pot of fragrant greens or even full bulbs right in your apartment. You don’t need a backyard or raised beds; a few deep containers, a sunny corner, and a bit of patience are enough.
In this guide, I’ll walk you through choosing cloves, picking the right potting mix and containers, planting garlic indoors step by step, and caring for it so it actually thrives instead of sulking in a soggy pot. We’ll talk about the big question—can you really harvest bulbs indoors?—plus how to get fast garlic greens for cooking. I’ll also share some mistakes I’ve made over the years (learn from my muddy windowsill era), and a few fun ways to use garlic as a small, stylish indoor crop.
Can You Really Grow Garlic Indoors?
The short answer is yes, you can grow garlic indoors—but what you get depends on your setup and expectations. With bright light and a deep pot, you can enjoy a steady supply of garlic greens (the tasty leaves) in just a few weeks, and with more time and good conditions, you may harvest full bulbs after 8–9 months, similar to outdoor garlic.
Indoors, garlic behaves a bit differently than it does in a garden bed. In the ground, most gardeners plant cloves in fall and harvest the following summer after a natural chill period outdoors. Inside an apartment, we’re faking those conditions with containers, potting mix, and sometimes a bit of fridge time to “chill” the cloves before planting. You can absolutely skip the perfect bulb harvest and grow garlic purely for the greens—trimmed leaves taste like a mild mix of garlic and chives and are usually ready to snip in 1–3 weeks once the shoots reach 3–7 inches tall.
If your main goal is full bulbs indoors, lean into patience and consistency: deep pots, bright light for 6–8 hours a day or equivalent grow lights, and steady, not-soggy moisture. Think of indoor garlic as a long-term roommate rather than a quick microgreen crop. For city dwellers with limited space, I often suggest starting with one pot for greens and a second pot you baby along for bulbs.
Choosing Garlic, Containers, and Soil for Indoor Growing
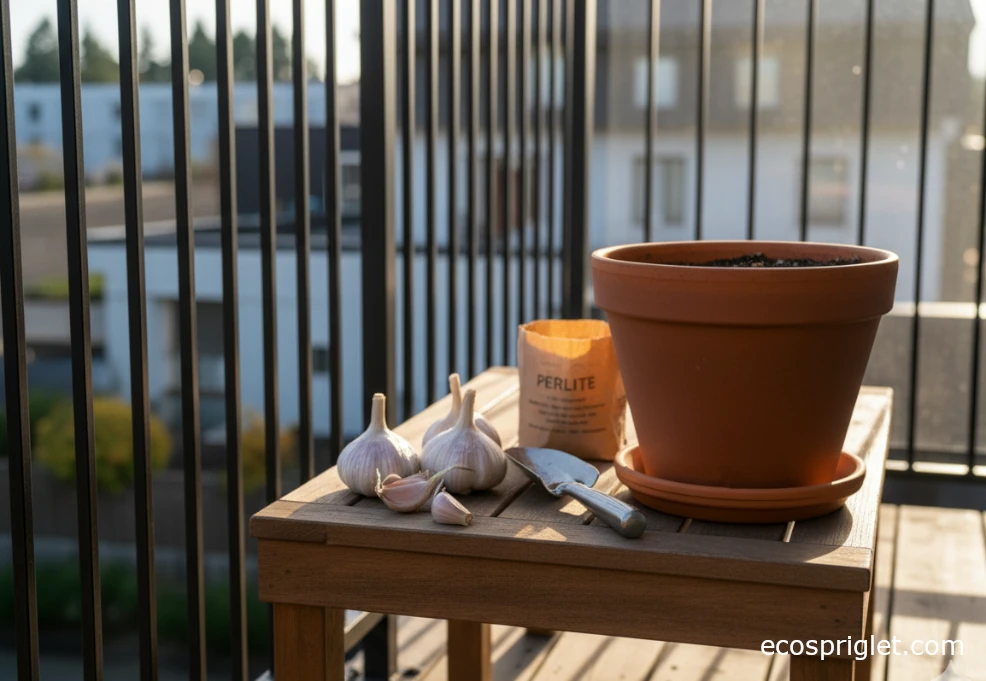
Before you plant, a few smart choices will make indoor garlic growing much easier. Start with healthy, firm bulbs—either seed garlic from a garden center or untreated organic bulbs from a farmers’ market. Many grocery-store bulbs are treated to prevent sprouting, so I treat those as a backup, not the first choice. Softneck types are usually more flexible indoors and at typical room temperatures than hardneck varieties, which like colder winters.
For containers, depth matters more than width at first. University sources note that garlic performs well in containers that are at least 8 inches deep with good drainage holes, which gives the roots enough room to spread. I like terracotta or ceramic pots because they dry out more predictably than pure plastic, but plastic is lighter and easier to move around a small apartment. If you’re mainly after greens, you can use a wide planter and space cloves a bit closer; for bulbs, give each clove a reasonable patch of soil.
Skip garden soil and use a high-quality, peat-free potting mix that drains well. Garlic hates sitting in a heavy, waterlogged medium. A soilless mix amended with roughly 20–30% perlite or similar drainage material works well for containers. If you have compost, mixing in a small portion (around 20–25% by volume) adds gentle nutrition without making the mix dense and sticky. For a deeper dive into soil for pots, you can cross-reference your setup with a general indoor herbs guide and use the same potting mix recipe for both.
How to Plant Garlic at Home in Pots
Planting garlic indoors feels almost too simple, which is why so many people rush and then wonder why nothing sprouts. Take your time and set things up properly once, and the pot will reward you for months.
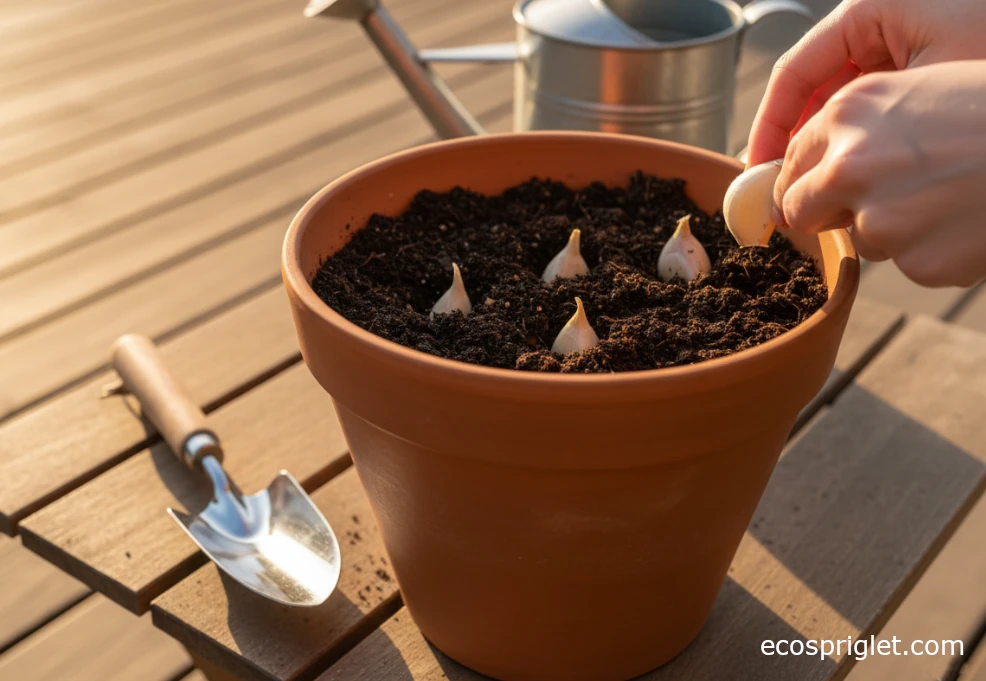
First, break the bulb into individual cloves right before planting and keep the papery skins intact; damaged cloves are more likely to rot, so use those in the kitchen instead. Fill your container with moistened potting mix, leaving about 1–2 inches of space at the top. Plant each clove pointy side up and flat side down, about 2–3 inches deep and roughly 3–4 inches apart if you’re aiming for bulbs. For a pot dedicated to greens, you can plant more densely—just far enough apart that the shoots can stand upright without crowding.
After planting, water slowly until you see a little excess draining from the bottom of the pot, then let it stop dripping before setting it on a saucer. Label the pot with the date and variety (if you know it); you’ll be surprised how easy it is to forget what’s in which container once your windowsill fills up. Place the pot in a bright, cool spot while the cloves are establishing. If you’re serious about bulb production indoors, some gardeners chill cloves in the fridge for 4–6 weeks before planting to mimic fall weather, a technique backed by indoor growing guides from reputable magazines.
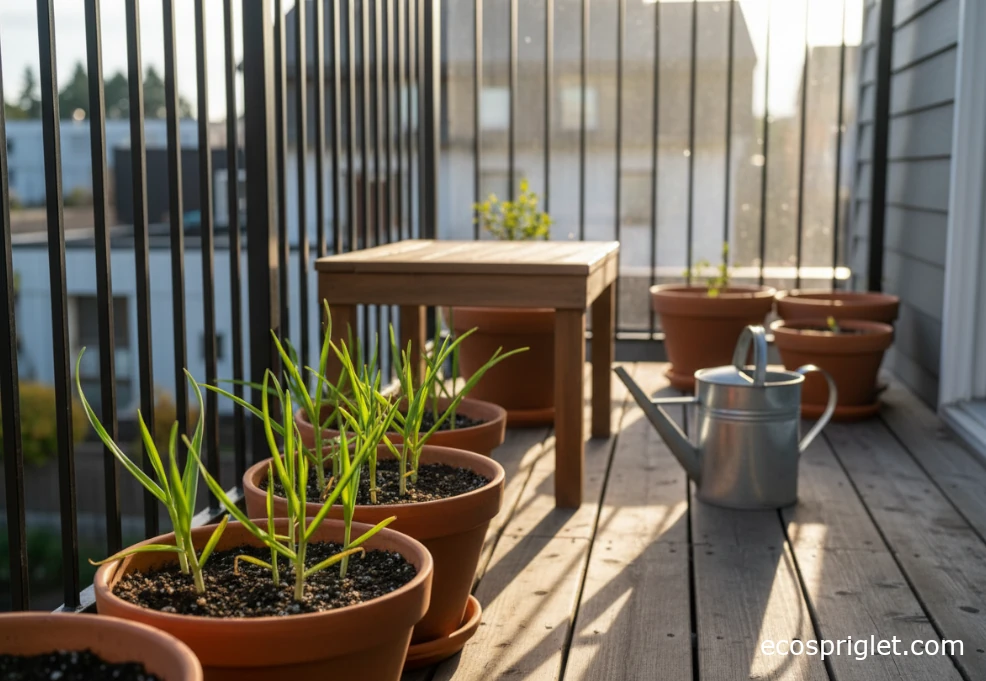
Light, Temperature, and Water: Everyday Garlic Care Indoors
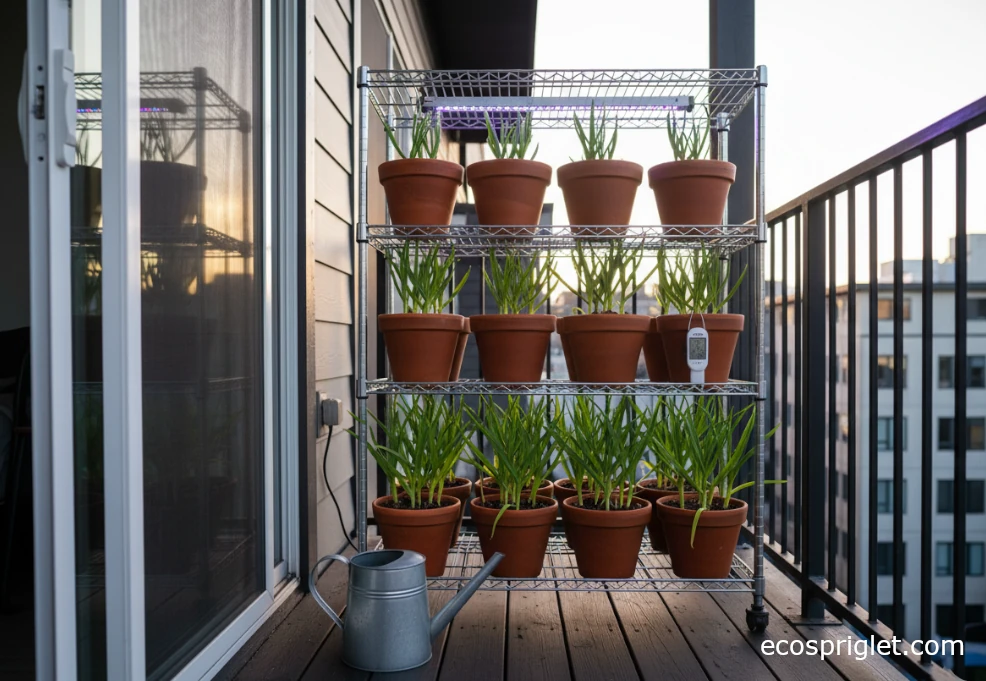
Once the cloves sprout, your job is to keep them consistently comfortable. Garlic loves bright conditions that mimic a sunny garden bed. Aim for 6–8 hours of strong light per day from a south-facing window, or supplement with grow lights for 12–16 hours if your apartment is shaded or north-facing. I use a basic timer with my lights so I don’t have to think about it.
Normal indoor temperatures—around 60–70°F—are ideal for actively growing garlic. Hot, dry air from heaters can make pots dry out fast, while cold, drafty windows can slow growth. If your cloves got a proper chill period before planting, you’re helping them understand “okay, winter is over, time to grow.” Without that chill, you’ll still get greens, but bulb formation may be less reliable.
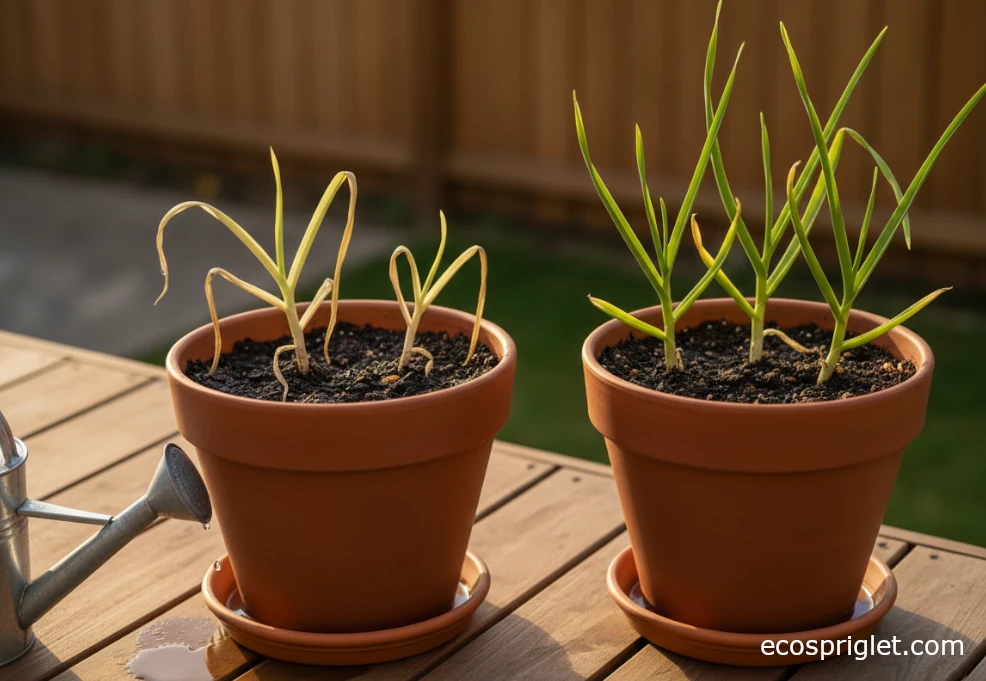
Watering is where most indoor garlic attempts go sideways. As a rule of thumb, water when the top 1–2 inches of soil feel dry to the touch. Then water deeply until you see a bit of excess coming from the drainage holes—this ensures the whole root zone is moist. Outdoor garlic guidance from universities suggests deep, thorough watering during active growth is better than frequent sips, and that logic carries over into containers. Just don’t let the pot sit in a saucer of water for more than 15–20 minutes; tip out any standing water.
- Check soil moisture every few days by pressing a finger 1–2 inches into the mix.
- Rotate the pot weekly so leaves don’t lean too hard toward the light.
- Use a half-strength liquid organic fertilizer every 3–4 weeks if you’re growing for bulbs; for greens only, you can feed less often.
I still remember one winter when I tucked a garlic pot too close to a baseboard heater. The leaves fried on the heater side while the other half stayed green—like a before-and-after photo in the same container. Since then, I’ve kept garlic a reasonable distance from heaters and used a cheap hygrometer to remind me how dry indoor air gets in January.
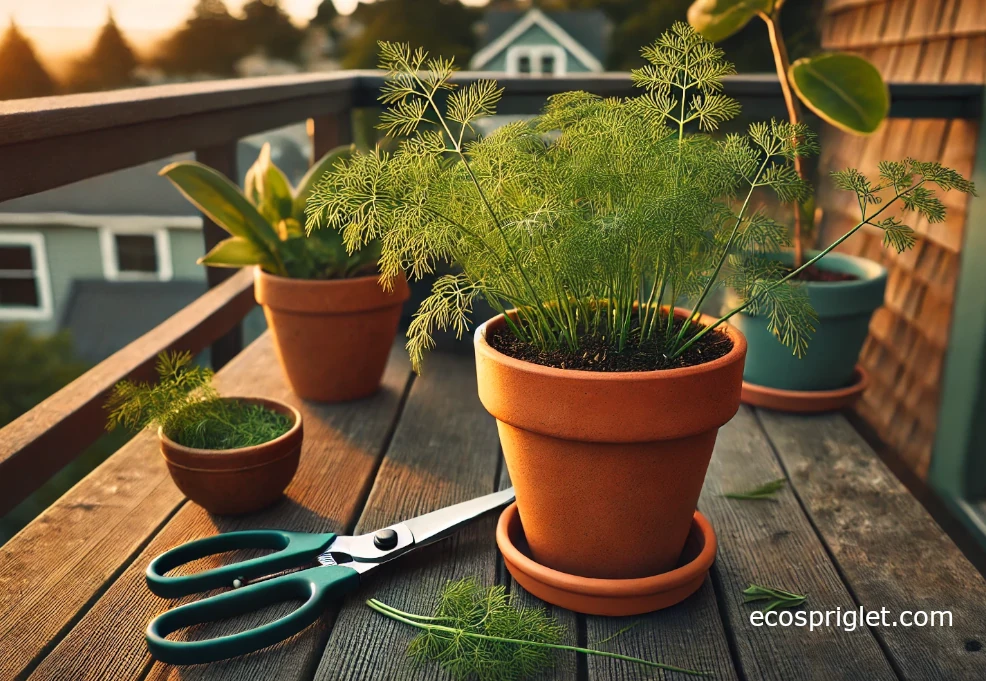
Harvesting Garlic Greens and Bulbs Indoors
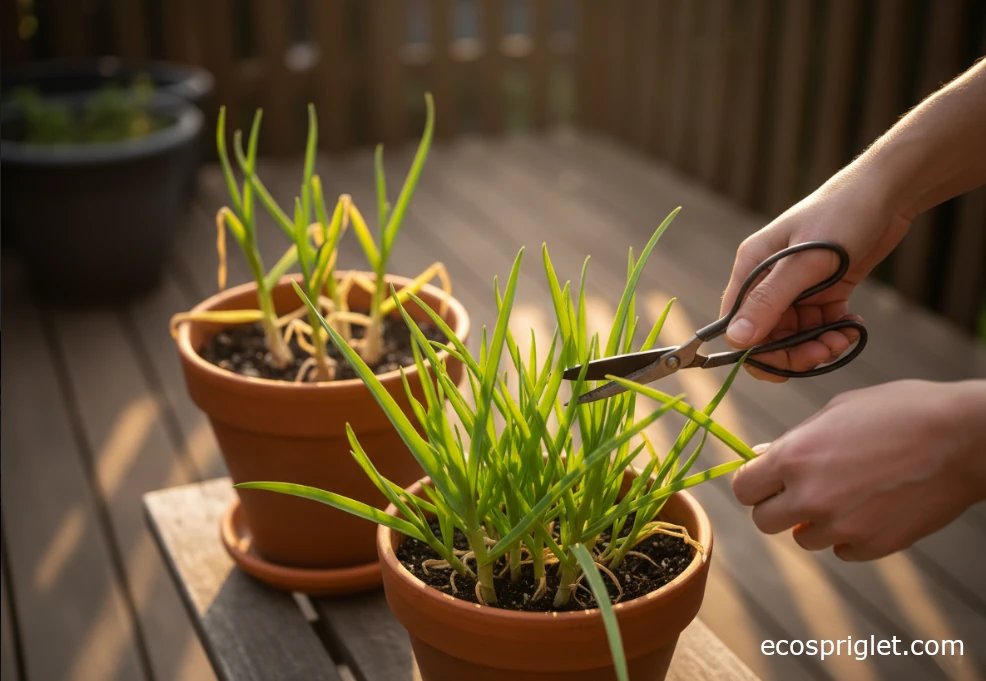
For fast flavor, harvest garlic greens as soon as they reach about 3–7 inches tall. Use scissors to snip a few leaves from each plant, leaving at least half the foliage so the clove can keep photosynthesizing and re-growing. Indoor guides commonly note that you can begin light harvests of greens just a week or two after sprouts appear, especially if you planted densely for greens. Toss the chopped greens into omelets, stir-fries, or soups—anywhere you’d use chives or scallions.
Growing full bulbs indoors is a longue durée project. Count on 8–9 months from planting to bulb harvest, just like outdoor garlic, especially if you gave the cloves a chilling period. Watch the leaves rather than the calendar: bulbs are typically ready when the lower third to half of the leaves have turned brown and dried while the upper leaves are still green. At that point, stop watering for about two weeks to let the bulbs dry a bit in the pot.
To harvest, gently loosen the soil with your fingers and lift the entire plant rather than pulling on the stems, which can snap. Brush off loose soil, keep the papery skins intact, and cure the bulbs in a dry, airy place out of direct sun for a couple of weeks.
Many university sources recommend cool, dry conditions (around 32–38°F) for long-term storage, but in an apartment, a dark, dry cupboard works fine for a shorter storage period.
Common Indoor Garlic Mistakes to Avoid
Even experienced gardeners trip over garlic indoors, so don’t beat yourself up if your first try isn’t perfect. Here are a few of the big pitfalls I see over and over.
- Too little light. A dim kitchen corner won’t cut it. Garlic grown with weak light becomes pale, floppy, and slow. Move pots to the brightest window you have or add a simple LED grow bar.
- Shallow containers. If the pot is only 4–5 inches deep, roots hit the bottom quickly and bulbs stay small or misshapen. Aim for at least 8 inches of depth with drainage holes.
- Wet feet. Constantly soggy soil encourages rot. Let the top 1–2 inches dry before watering and always empty excess water from saucers.
- No chill period (when you want bulbs). If you’re serious about bulbs, give cloves 4–6 weeks in the fridge before planting to simulate winter. For greens only, this step is optional.
- Ignoring pet safety. Garlic (like onions and chives) is toxic to dogs and cats, so pots should live where pets can’t nibble the leaves or dig in the soil.
I learned the “shallow container” lesson the hard way. Years ago, I planted cloves in a cute but tiny ceramic bowl because it looked great on Instagram. The leaves were fine, but the bulbs looked like marbles. Now, I care more about root room than matching my coffee mugs.
Creative Ways to Use Indoor Garlic Plants
Part of the fun of growing garlic indoors is that it does double duty: it’s both a flavor booster and a surprisingly handsome plant. Those upright green leaves give your windowsill the same clean lines as ornamental grasses, just in miniature.
If you’re mainly harvesting greens, think of your garlic pots as a cut-and-come-again crop. Snip leaves regularly for:
- Finishing soups, stews, and stir-fries like you would with chives.
- Mixing into softened butter or cream cheese for quick garlic spreads.
- Folding into scrambled eggs or omelets for a gentle garlic kick.
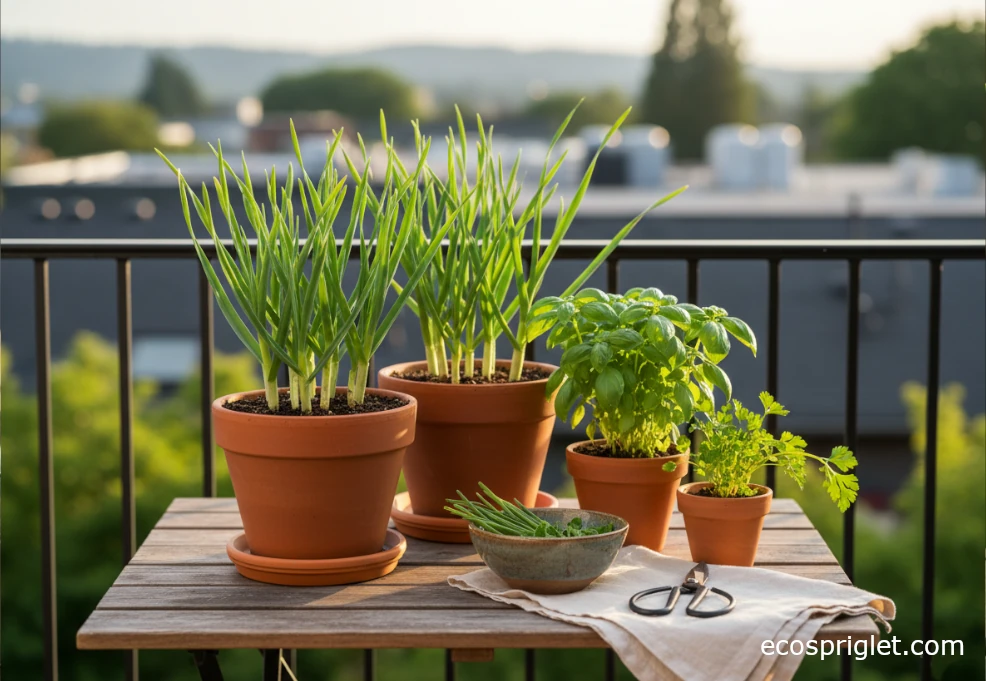
You can also tuck a garlic pot into a mini “kitchen cluster” with basil, parsley, and thyme so all your main flavors live in the same bright corner. If you like styling your space, pair terracotta garlic pots with matte black containers or baskets to match your apartment decor. I have one garlic-and-herb trio that lives on a small rolling cart; when friends come over, I just roll the “edible bar” closer to the dining table and snip greens on the spot.
When bulbs are ready, treat them the same way you would store-bought garlic—just with more pride. Use homegrown heads in special dishes or keep a couple aside to replant cloves and keep your indoor garlic circle going.
Quick Indoor Garlic FAQ
How Long Does Garlic Take to Grow Indoors?
For greens, you can start gentle harvests once shoots are 3–7 inches tall, often within 1–3 weeks of sprouting. Full bulbs typically take 8–9 months from planting, even indoors, especially if the cloves had a chill period first.
Can I Grow Garlic from Grocery-Store Bulbs?
Sometimes, yes. If the bulb is firm and already showing a bit of sprouting, it’s worth a try, especially for greens. Just know that some grocery garlic is treated to prevent sprouting, so seed garlic or organic market bulbs are usually more reliable. For long-term indoor bulb production, I prefer true seed garlic when I can find it.
Do I Need a Grow Light to Grow Garlic Indoors?
If you have a bright south-facing window that gets several hours of strong sun, you may not need a light, particularly for greens. In darker apartments or for winter bulb projects, a small LED grow bar set 6–12 inches above the foliage makes a big difference and helps prevent leggy, floppy growth.
Is Indoor Garlic Safe Around Pets?
Garlic is toxic to dogs and cats if eaten in meaningful amounts, so keep pots out of reach of curious chewers and diggers. A high shelf, a closed room, or a pet gate is a simple way to enjoy your garlic without risking your animals’ health.
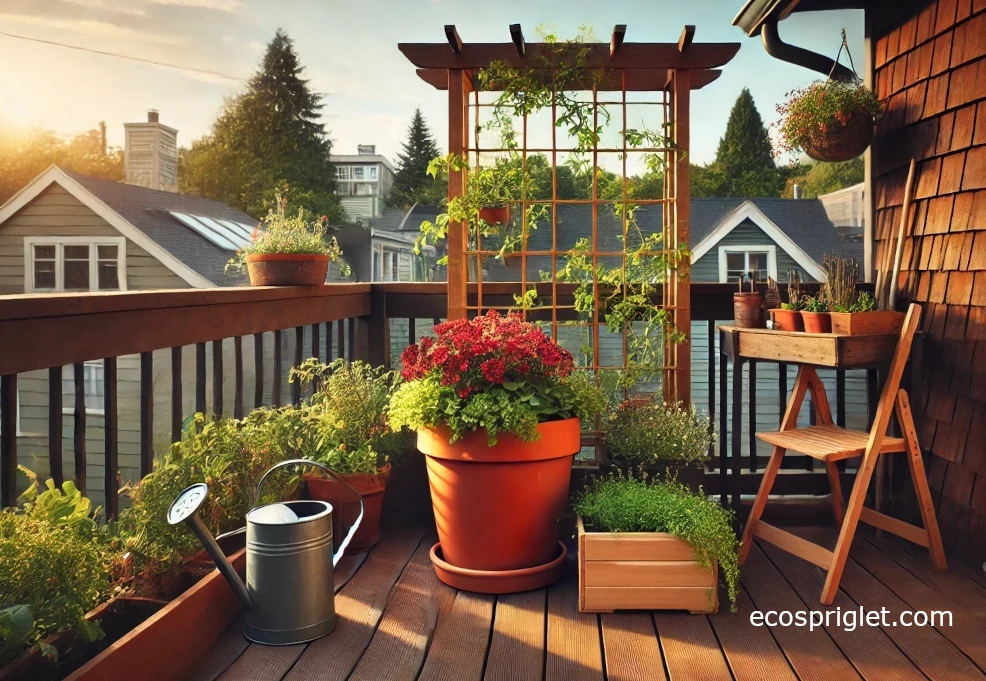
Growing garlic indoors is one of those projects that looks fancy but is secretly very forgiving. With a deep container, a loose potting mix, and decent light, you can turn a handful of cloves into months of fresh greens and, with patience, your own cured bulbs. For apartment gardeners, it’s a clever way to stretch limited space: garlic pulls its weight as both an edible crop and a clean, architectural plant in your living area.
If this is your first time trying indoor garlic, start simple: one pot for greens and one pot you patiently grow out for bulbs. Watch how quickly your cooking changes when you can step over to a pot and snip a handful of bright green garlic leaves instead of reaching for a jar of dried flakes. When you’re ready to expand, pair garlic with other compact edibles—herbs, salad greens, even dwarf peppers—and build out your own little balcony pantry.